Photo Realistic Rendering
Design of a Chopper using Solidworks
Objective: The main objective of this project is to design a complete model of Chopper and create its assembly using Solidworks software.
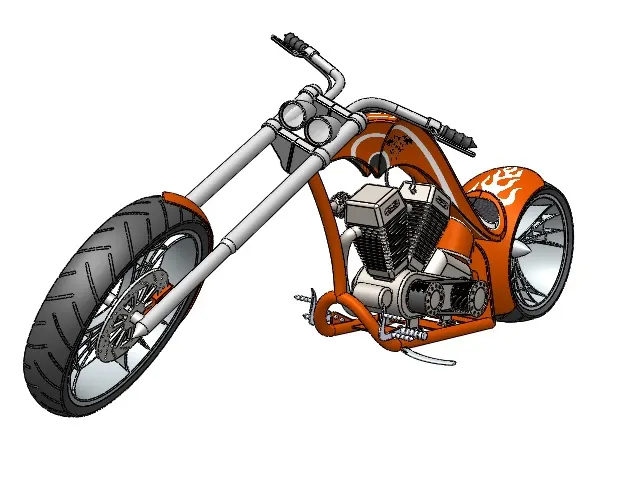
Fig 1 Design of Chopper
Introduction: In this project, we have learned about various features of a CAD(Computer Aided Designing) software of Solidworks. We have modelled different parts of a chopper namely. We have adopted Bottom up Assembly approch, where all the parts have been modelled separately and then we have created final assembly of chopper. Solidworks is a high end software where complex part designing, surface designing, assembly designing, high end rendering and many other features are available.
Design Methodology: As described earlier, bottom up approch of assembly is used for designing, where each part has been modelled separately and assembled after that. Different features like extrude,sweep,revolve, pattern etc. has been used for individual part creation. We have modelled 13 parts for chassis namely:Chain,chassis,engine,front fender,front fork,front wheel,gas tank,kickstand,oil tank,pedal,rear fender,rear wheel and transmission belt using Part Designing. As we have completed designing of these parts the were taken for the assembly.
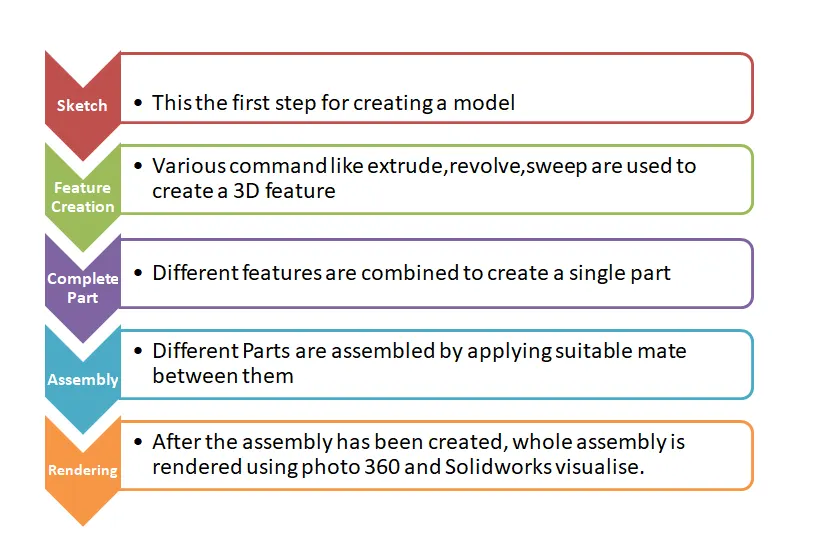
Fig 2 Flow chart of Designing Process
Description:
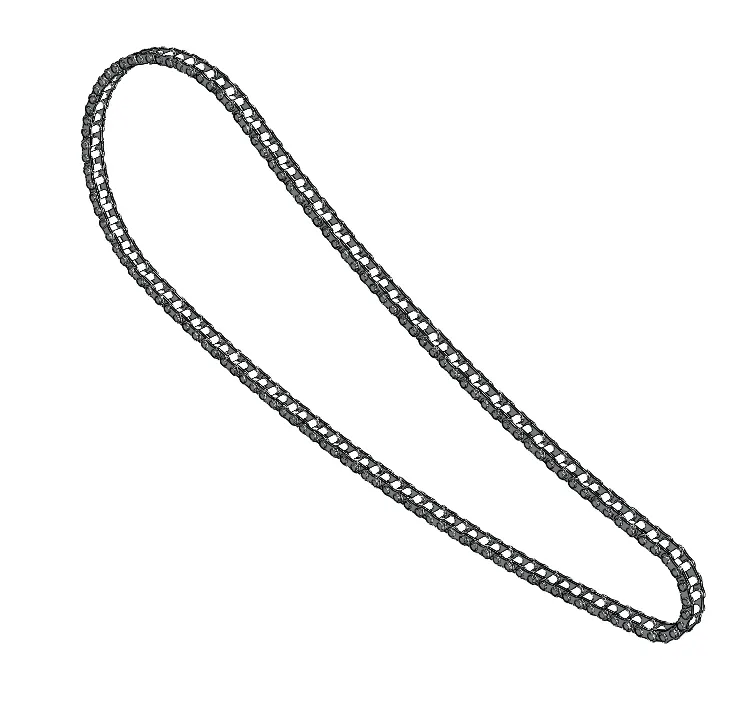
1. Chain : Sprocket parts are modelled by using extrude command and the are multiplied by using curve driven pattern to create thye link along thebase curve. Used in transmission of power from engines to wheels.
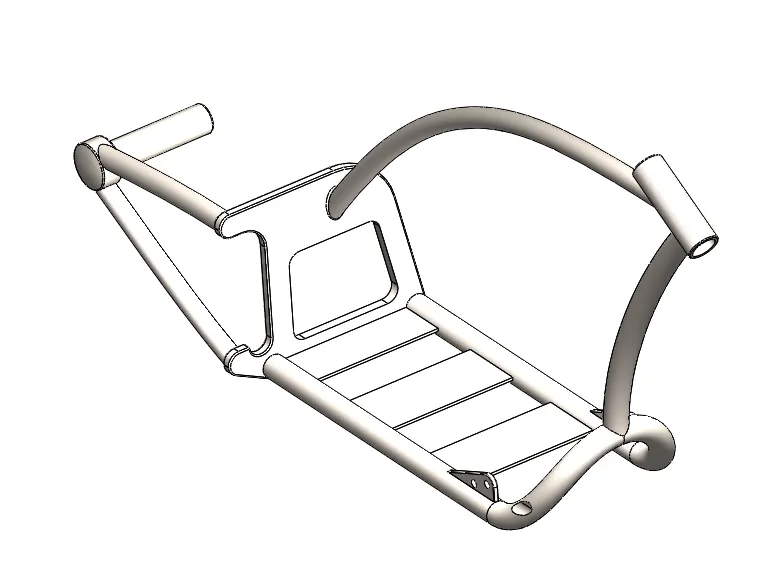
2. Chassis: We have used sweep and extrude commands for creating different features of chassis step by step to create a complete part. It is used to support the whole parts of chopper.
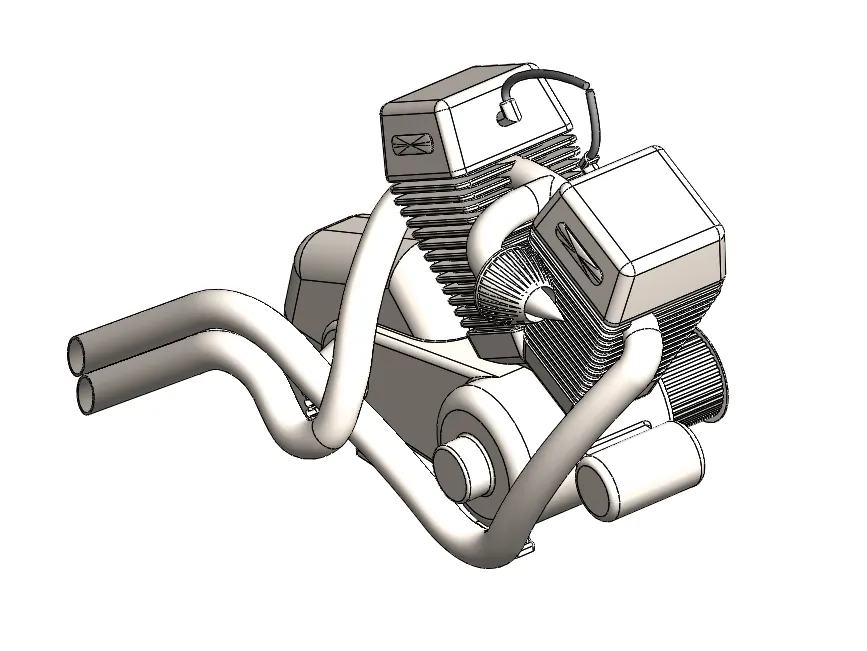
3: Engine : Extrude is used to create the basic structure of engine and fins are created using 3D linear pattern feature. For creating silencer, projected and composite curve are used to create path for sweep. It is the major part of chopper where combustion occurs.
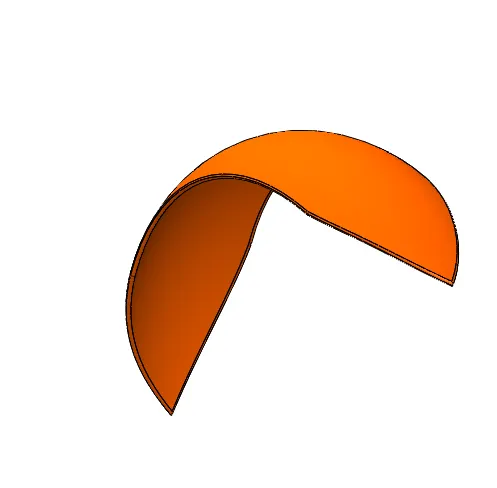
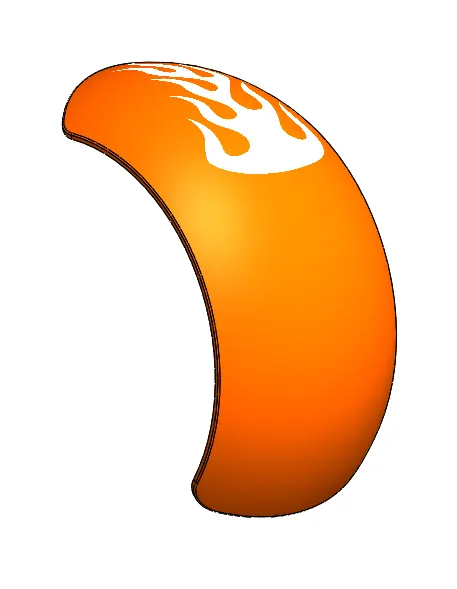
4: Front Fender : Revolve and spilt commands are used to create the frond fender. Used to support front wheel
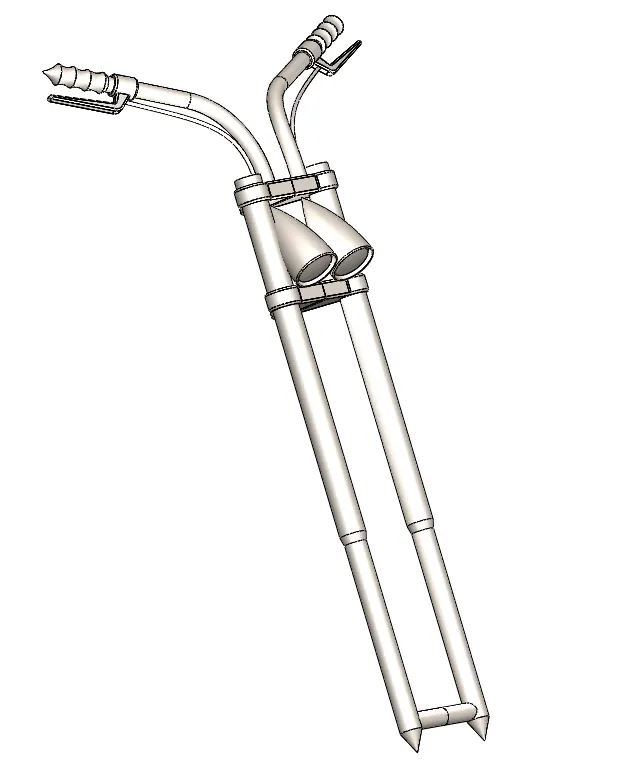
5 Front fork : Revolve extrude are used to create the stand and grip og handle. Remaining part of handle is modelled using sweep and mirror is use to duplicate the axisymmetric parts. It is the part that supports the front end of the chopper and contains lights.
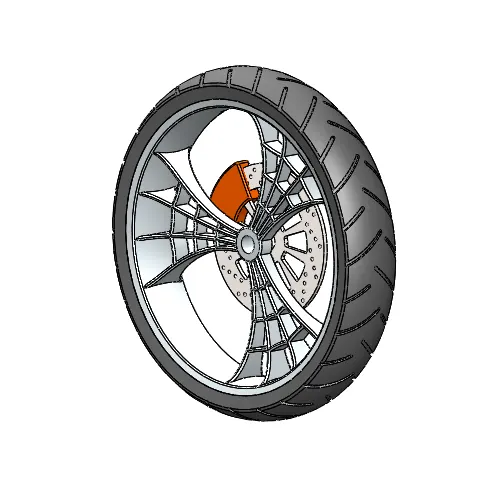
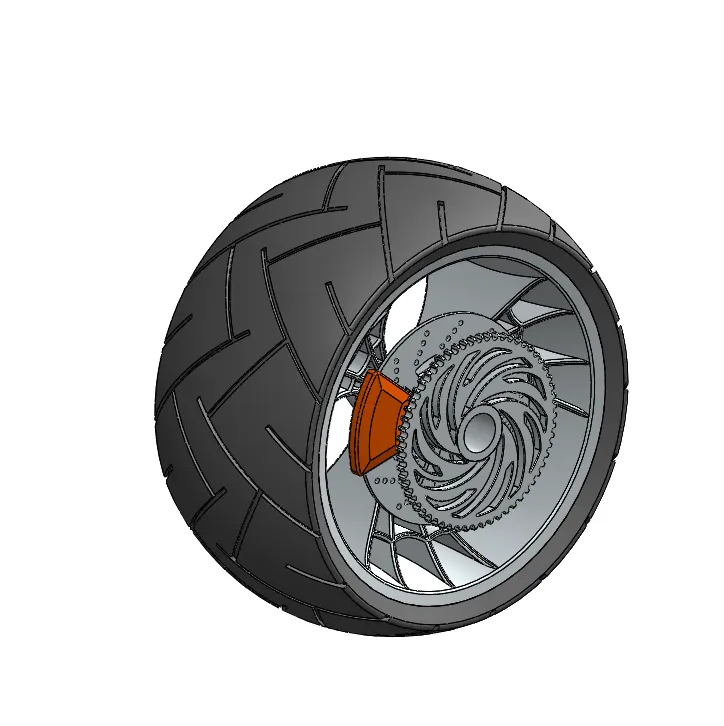
6 Front Wheel : Extrude, cut extrude and circular pattern are mainly used to create the whole model of front wheel.
7 Gas Tank : this is most challenging part of the whole design as it has many complex features involved in it. Surface sweep, surface loft ,split tools, trim tools are used to create the basic surface of the gas tank,which is then knitted again to for a solid part and further solid body opeartion like extrude cut are performed to get the final shape of gas tank. Use to store the gas.
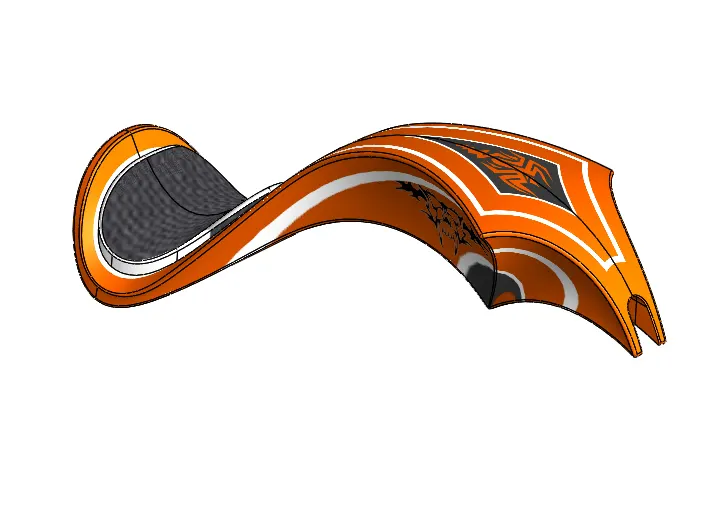
8 Kick stand : It is very basic part, which requires one loft operation and extrude cut to obtain the final shape. Used to give initial spark to start the engine.
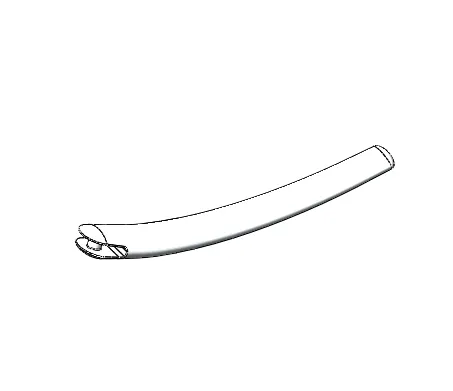
9 Oil tank : it used extrude combine and shell feature to create a thickened surfaced tank. It is used as a storage for oil/petrol.
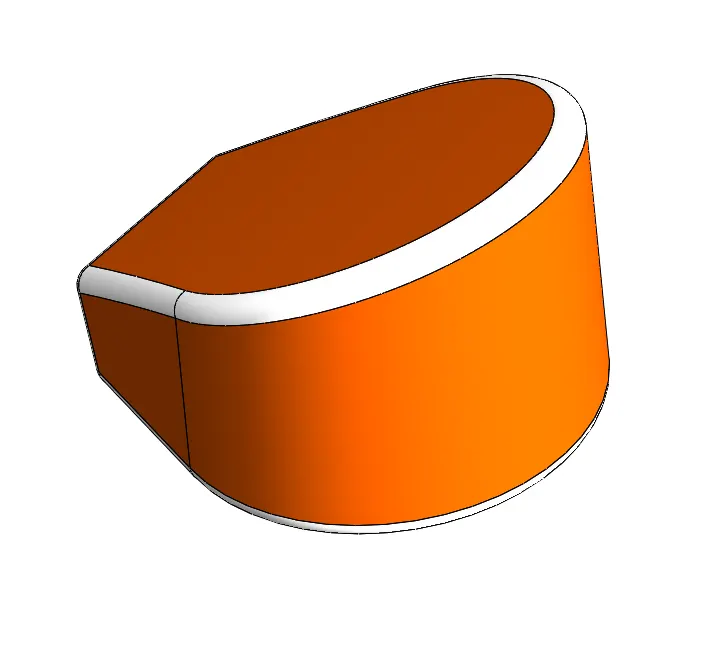
10 Pedal : it is also comparitively simpler part which involves less features to used. It uses extrude, revolve and linear pattern to complete the basic structure of the part. It is used for transmission of gears.
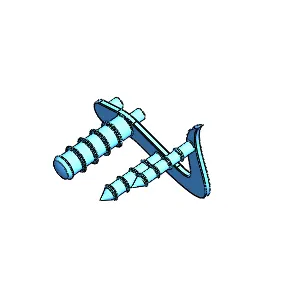
11 Rear Fender : It uses sweep and split like front fender design to complete its part design.It is used to cover the rear wheel.
12 Rear Wheel : It uses circular pattern, revolve cut, extrude and revolve feature to complete the basic structure similar to front wheel design.
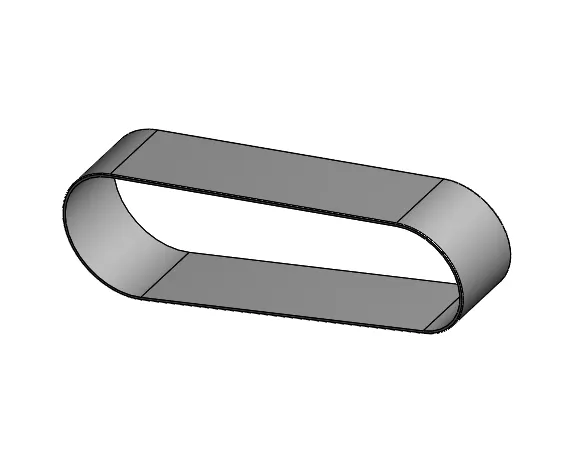
13 : Transmission belt : It is fairly simple model which utilises sketch and extrude command simply to create a part that transmittes power from shaft to wheels
Assembly Model
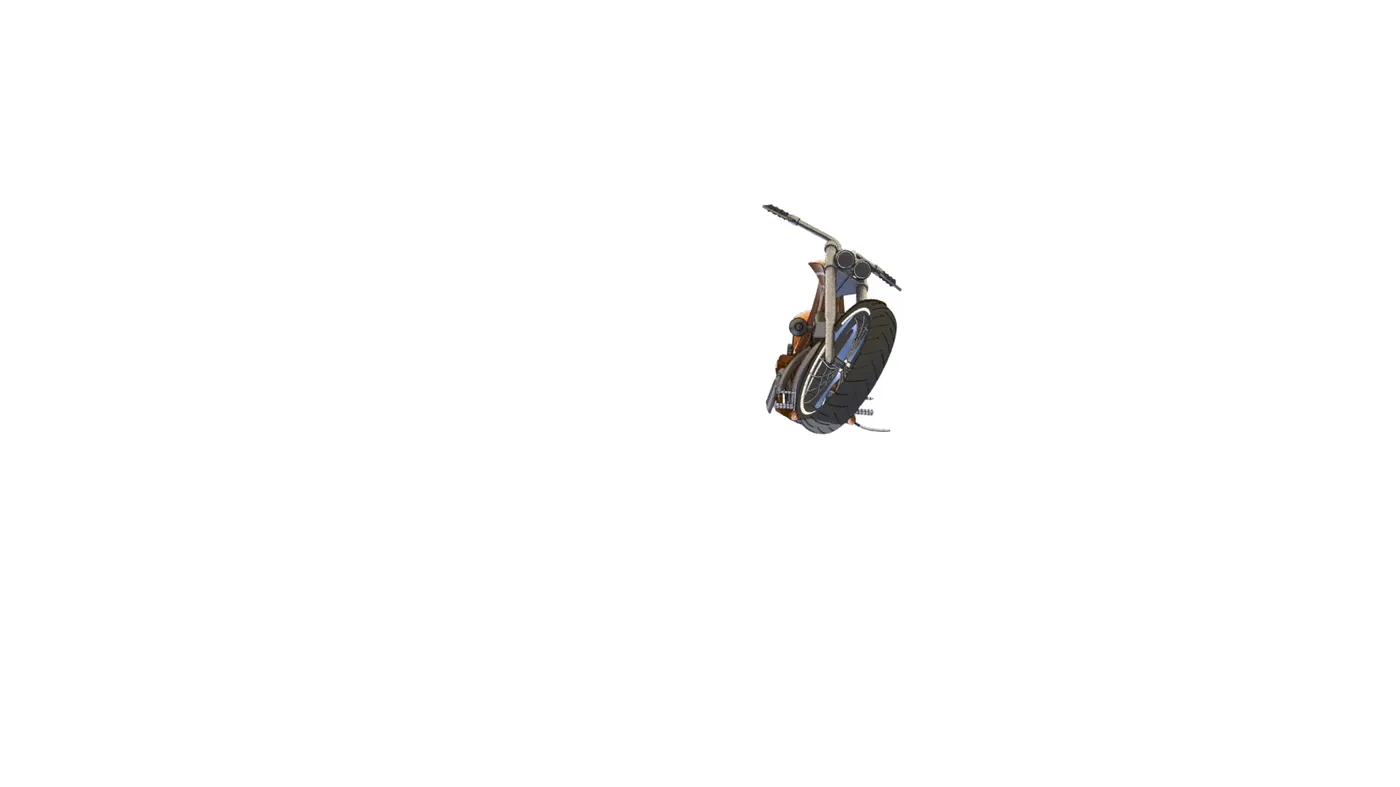
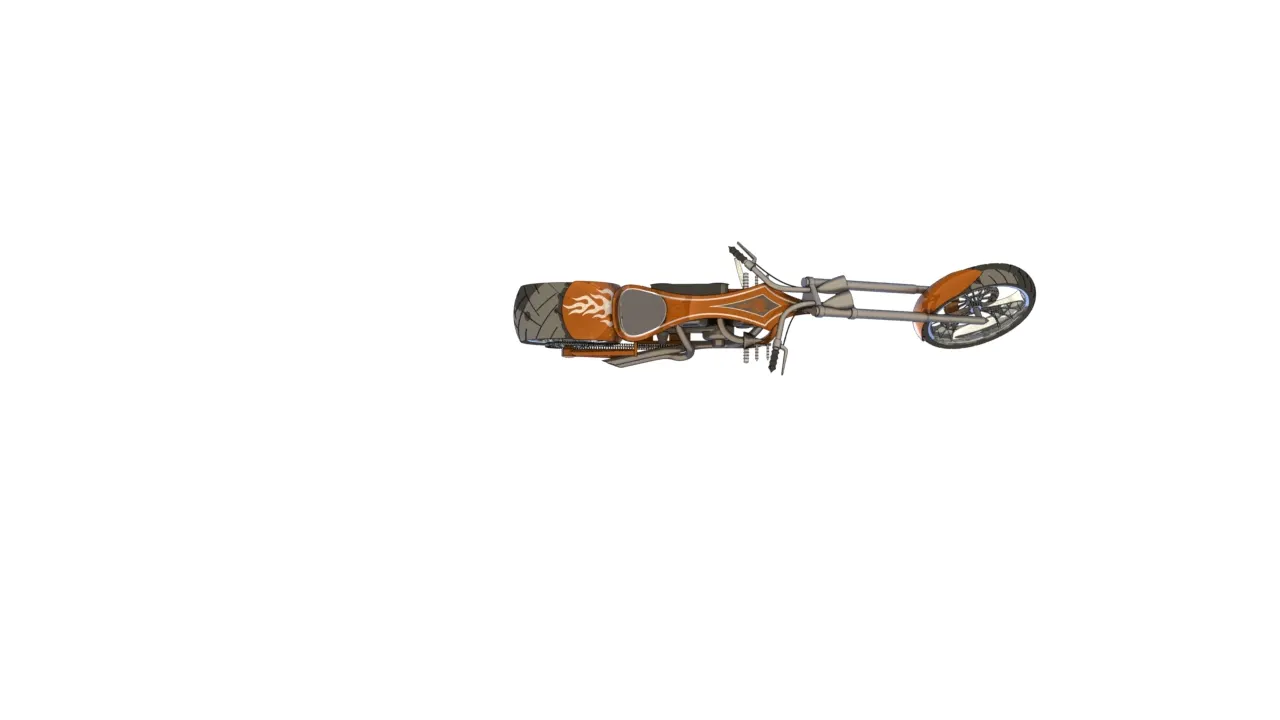
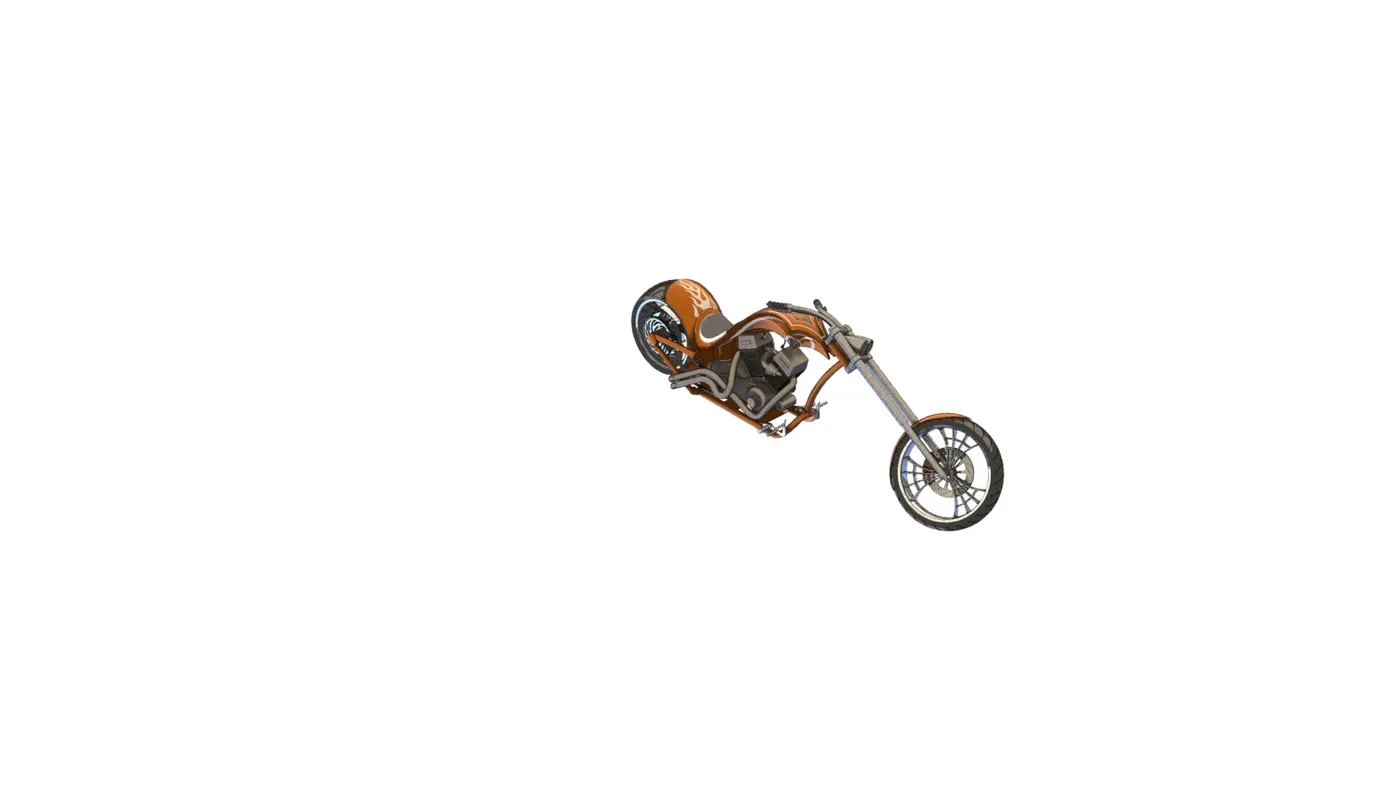
Camera View
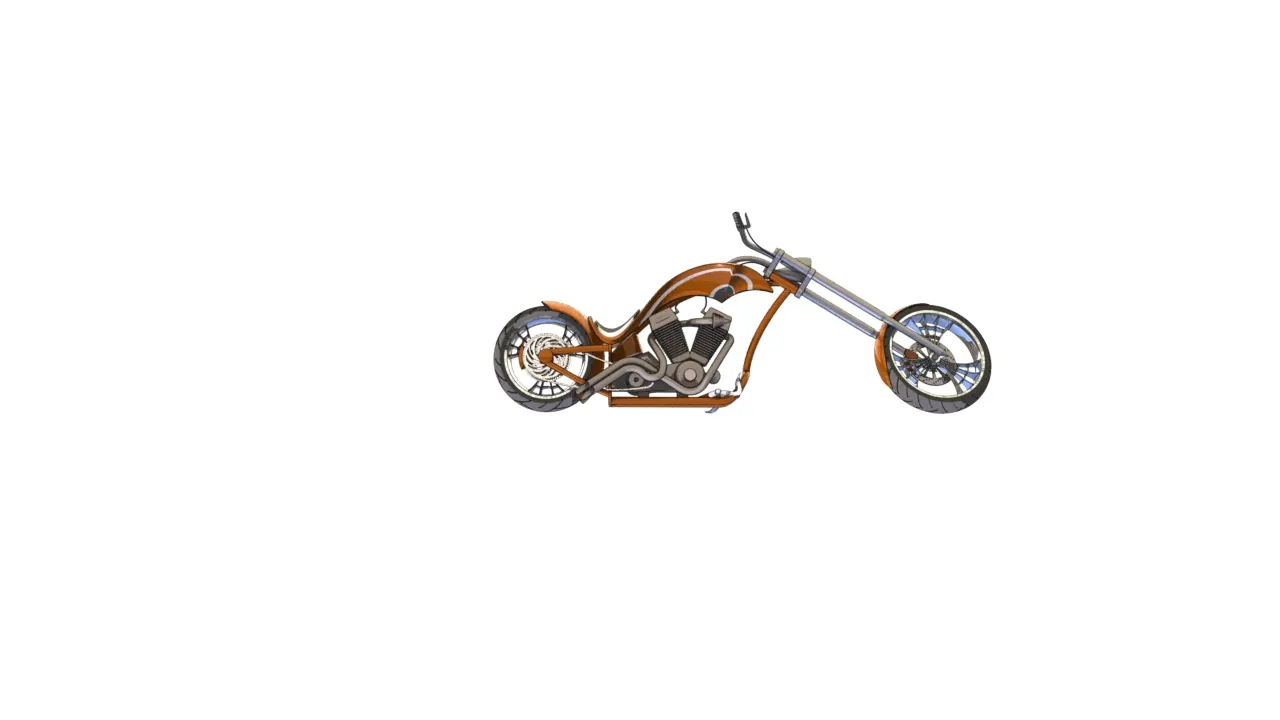
Front View
Side View
Top View
Isometric View
Rendering Pictures
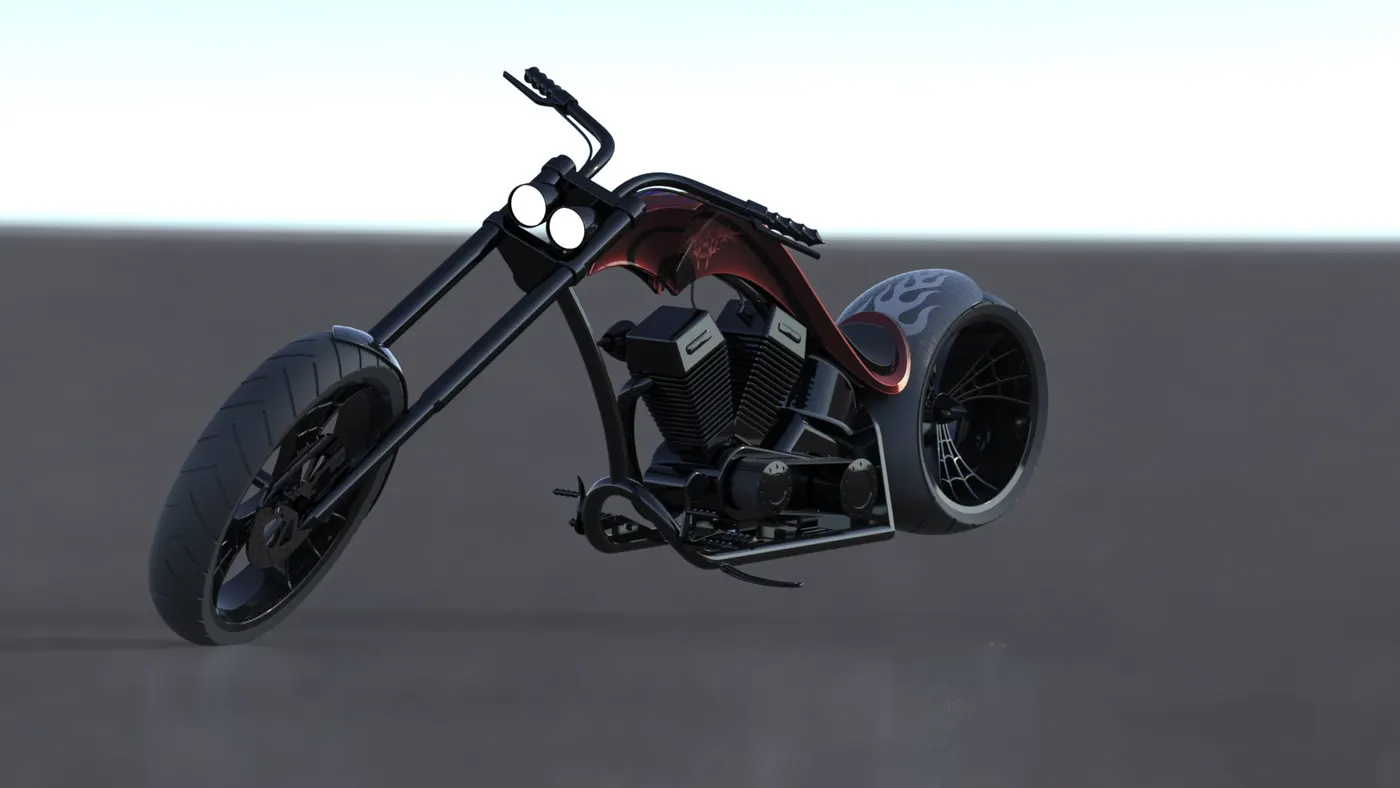
Rendering 1
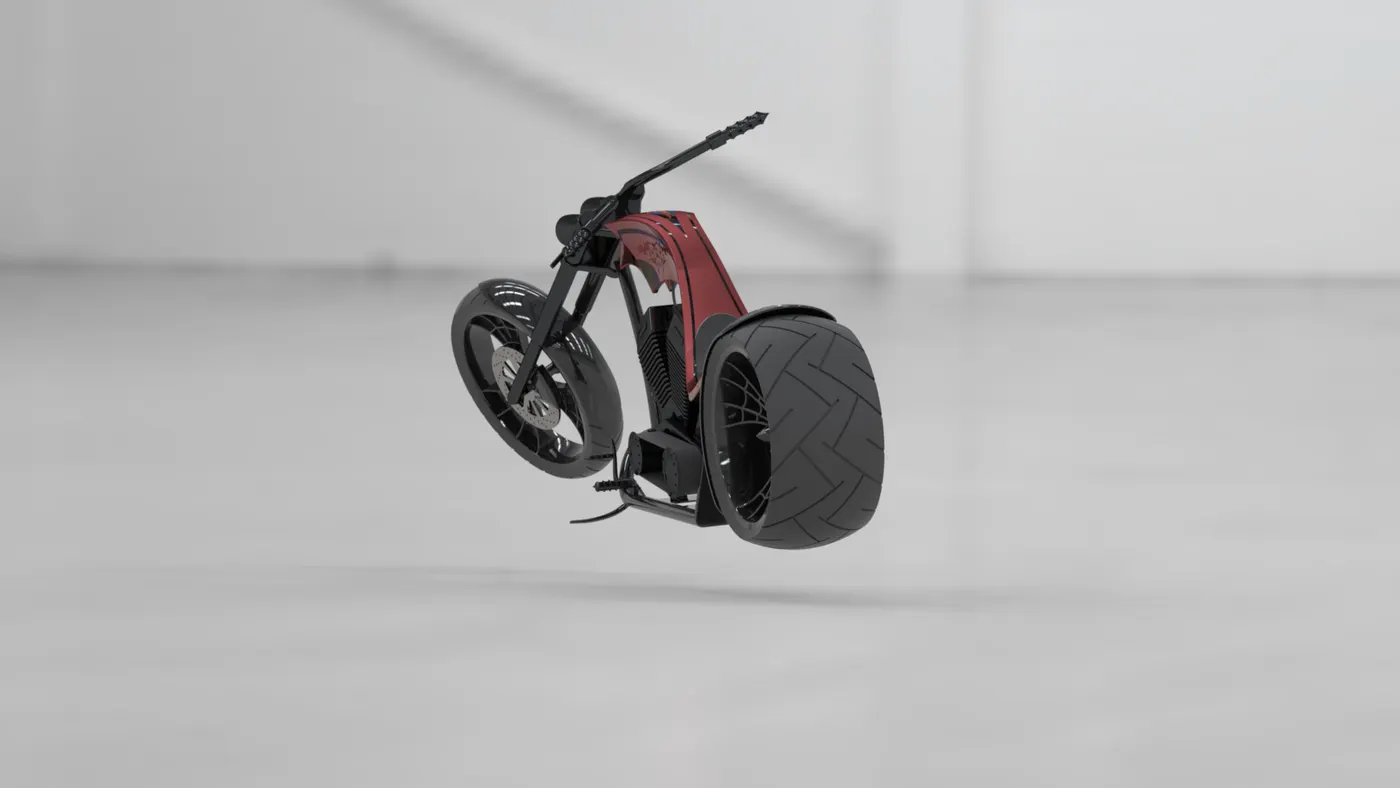
Rendering 2
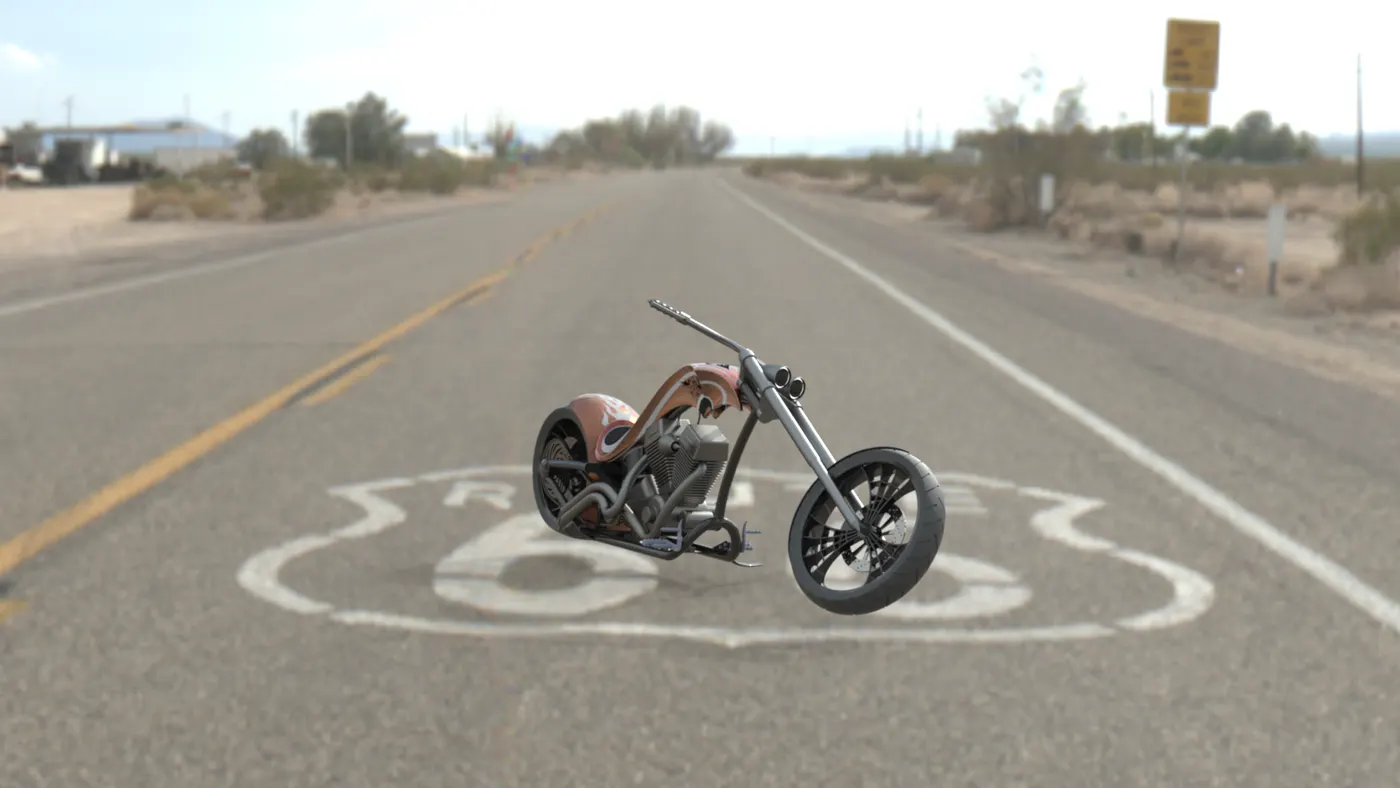
Rendering 3
Conclusion : The chopper parts has been designed succesfully using Solidworks and assembled using required mates to restrict and get the desired degrees of freedom for our chopper model.