Photo Realistic Rendering
Chopper renders
Objective
- Visualization clear and realistic of the chopper.
- Correct orientation and configuration of lights and cameras.
- Correct configuration of environment.
Introduction
First of all, as at this point I have my model finished and everything is in order of orientation and mating we proceed to configure lights and cameras as well as the environment so as to make a realistic render of the chopper to have the final image of it.
Design methodology/approach (Flowchart)
First of all, once you have the chopper armed and the decals where you want them, you can start setting the lights an cameras of your scene so it looks realistic and good enough. Once thecameras and lights are configured yo start to set the scene, with it background and lighting parameters provided by the photoview 360. During this process you can open the window preview to make sure that the configuration is woirking properly, it is a fast simple render to see if everything is working correctly.
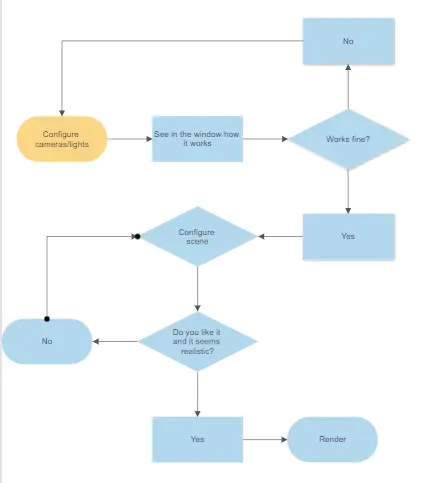
Once you have your final render and you are happy with it the next step would be using the Solidworks Visualize to have extra configuration and better results for the render. In Visualize you have extr configuration for cameras and lights as well as realistic 360 backgrounds that make your bike look like it is sitting in a real place. The process would be more or less the same as the one explained previously.
Description
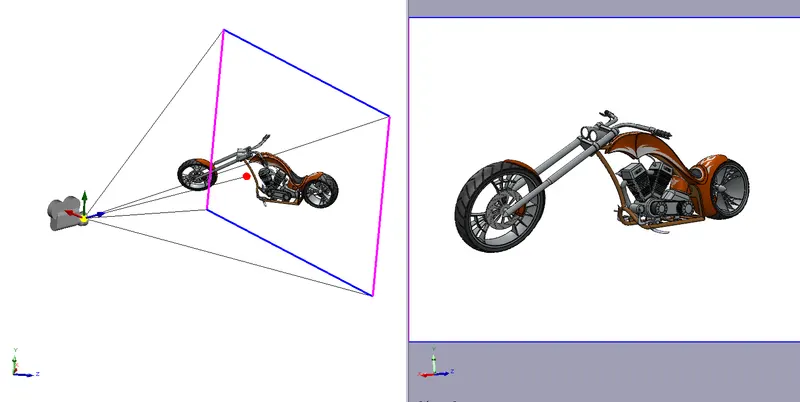
We start this part having our assembly completely done and our decals in the correct place. To start, we proceed to configure in the view tab the cameras and lights that are going to be used in this scene.
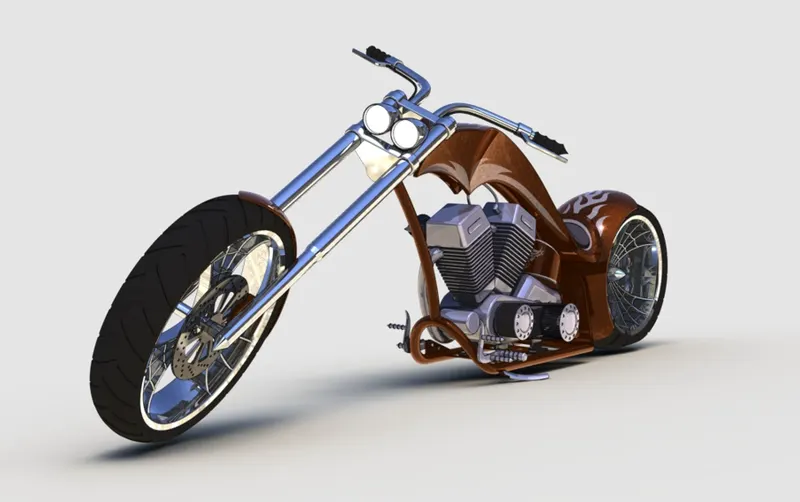
Once this is done, we configure our scene with the photoview 360 add-on. In the ption tab we have all the paraeters we need for the scene configuration such as luminosity, reflectivity...
Then you can render the final result and see how it works. Once I was happy with it I proceed to use the Visualize program.
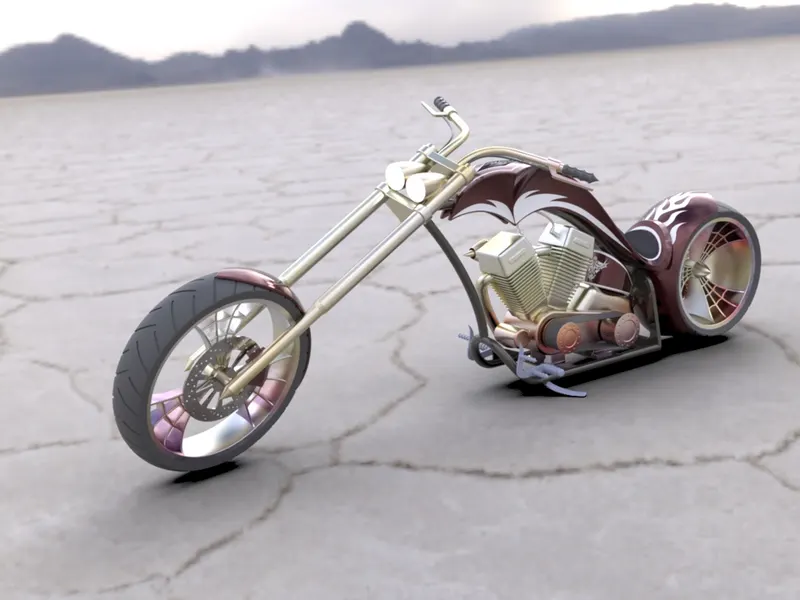
In Visualize you have extra configyration for cameras, lights and background which is the main thing we are goin to change in this case, as well as extra color painting and so on. so I went with a salt desert and applied a few other colors that I liked the most. I got the final result matching the image shown in the render images section.
Images
- Front
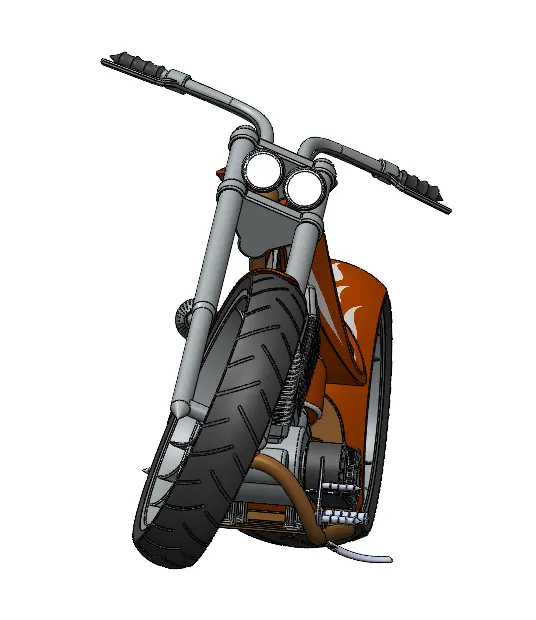
- Side
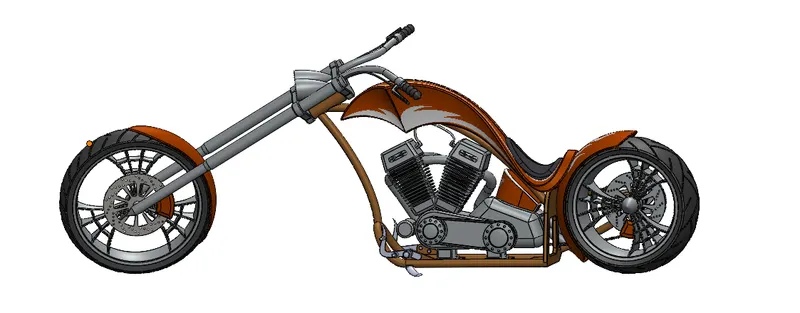
- Isometric
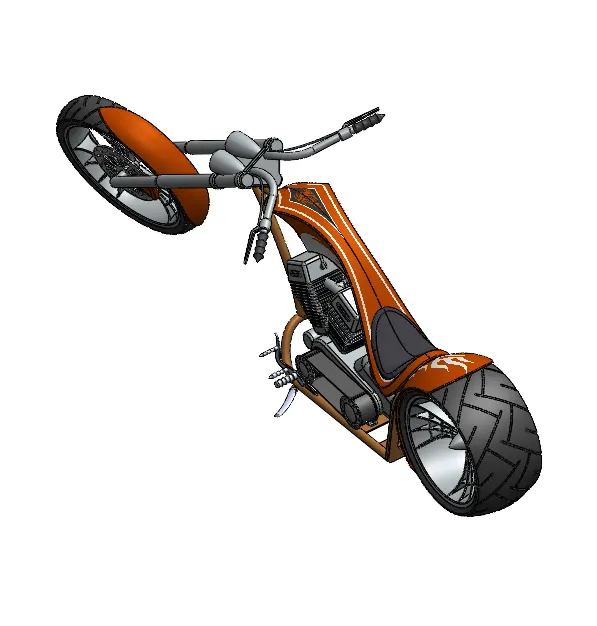
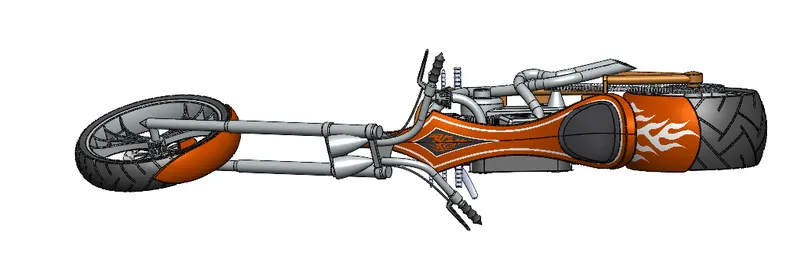
- Top
- Camera setup
Render images
Standard solidworks result:
Visualize result:
Conclusion
As we can see in the previous sections I configured the cameras, lighting and environment to make the chopper look great, realistic and clear enough so that the render gives a really good looking model of the chopper. I also think that I have learnt a lot with this project and the final result is facinating.