Photo Realistic Rendering
open the assembled chopper model
make the model in the bottom plane correctly
such as tyres are fix in the bottom plane
and add a small inclination of midplane to stannt occur side
then fix the stant and 2 tyre correctly in the bottom plane as give below,
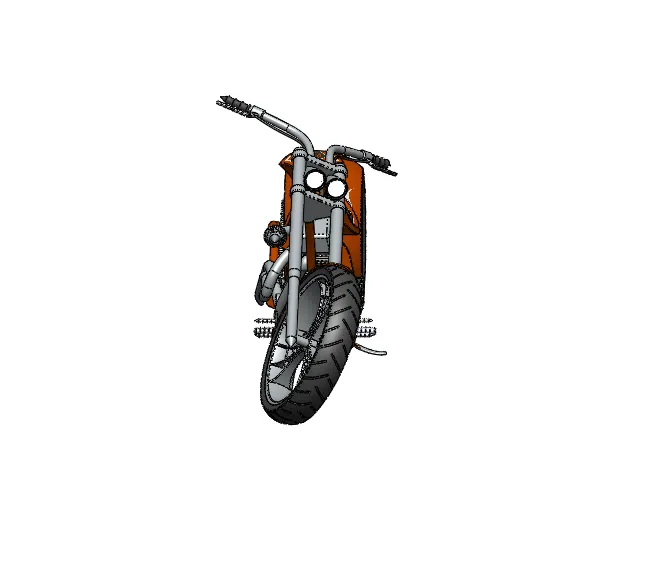
insert the photoview360 feature in the assembly model
open the edit decal options
add the graphic gastank3 image and allow the use decal image alpha channel
select the correct plane for add picture and set the size of graphics and change the plane of image
correctly
same graphics can be add into the opposite side of the tank at same size
add the graphic gastank2 image and allow the use decal image alpha channel
select the correct plane for add picture and set the size of graphics and change the plane of image
correctly
same graphics can be add into the opposite side of the tank at same size
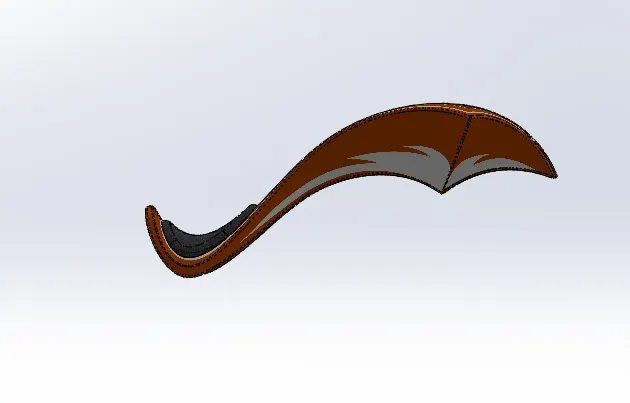
add the graphic gastank1 image and allow the use decal image alpha channel
select the top 2 faces of tank and change the plane of image correctly
set the graphics for very accuratly to the faces
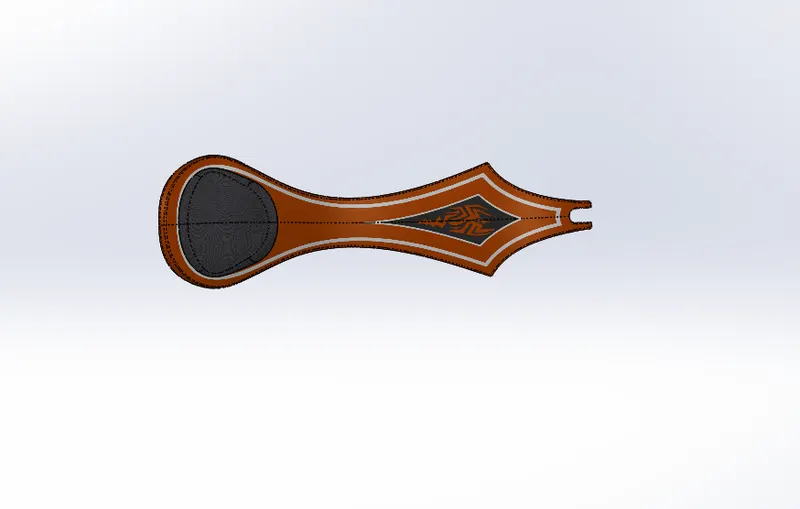
add the graphic oiltank image and allow the use decal image alpha channel
select the correct plane for add picture and change the plane of image correctly
and set the size of graphics properlly in cylindrical mapping
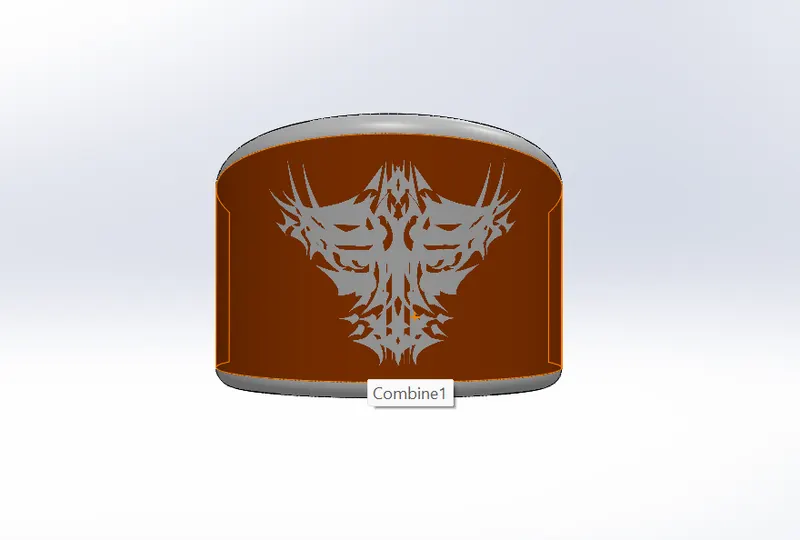
add the graphic rearfender image and allow the use decal image alpha channel
select the correct plane for add picture and change the plane of image correctly
and set the size of graphics properlly in cylindrical mapping
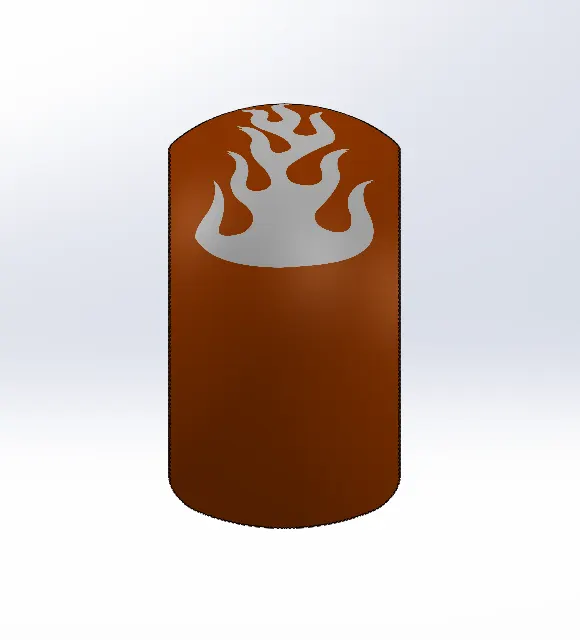
rendering:
making the view of front of chopper
change the appearence of rear tyre into blue chromium , in the part and add into assembly file using
composite componets
change the apperacence of light into glass as same in rear tyre
add an background in the scene such as urban or landspace images
open the render tool in photoview 360
set the camera set up properly as needed direction
open the edit scene and add a background image from the browser
add an enviroment image for looking very orginal
change the plane align upto xy and offset is set in to zero
set the back bround brightness and rendering brightness an needed values
add the display state correctly
open the options tool and set the size of image
make quality of renders quality as need pixel
add custom render and bloom and direcct caustics as needed numbers
open the preview window to check the as shown the getting final image
add sunlight or direction light properly to the climate
and add addition light of spot light and point light
check the image ones more to look in naturally
open the final render , its take more time for rendering process
zoom option used to set rendering size
use advanced image processing to color of the body and enviroment
savr the final render umage inthe as needed folder
compire option used to check the difference of 2 images properlly
open the shcedule render to check the all maked changes and save theis in a correct folder
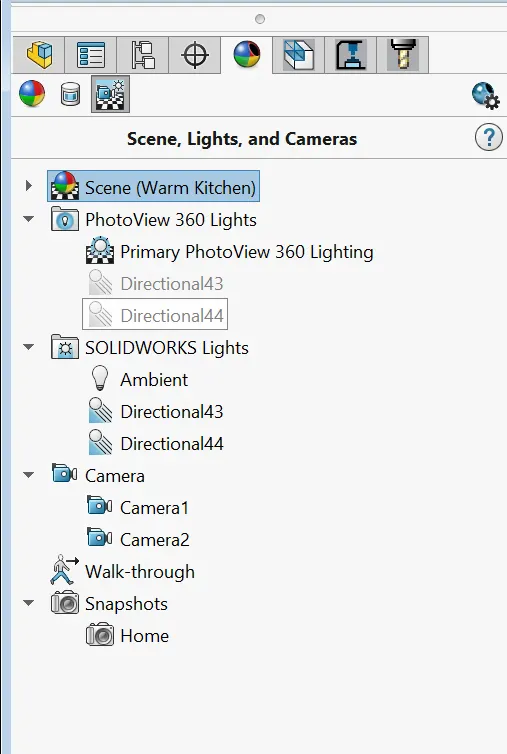
rendereing images:
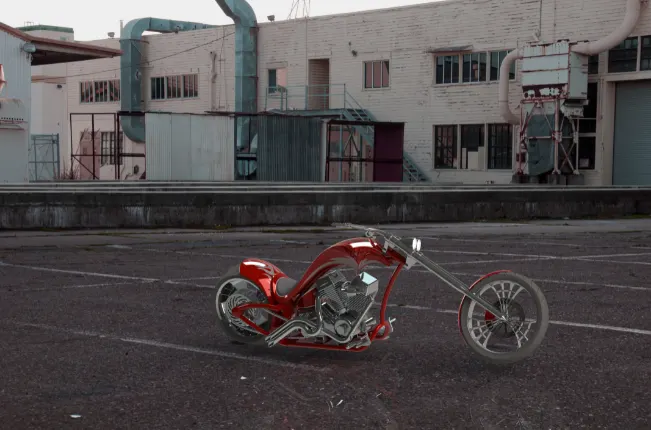
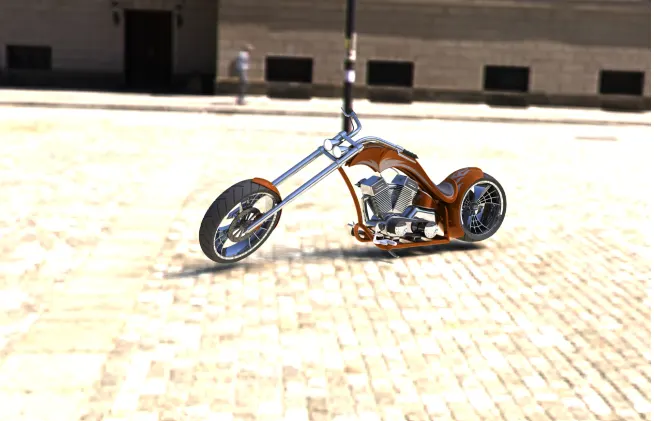
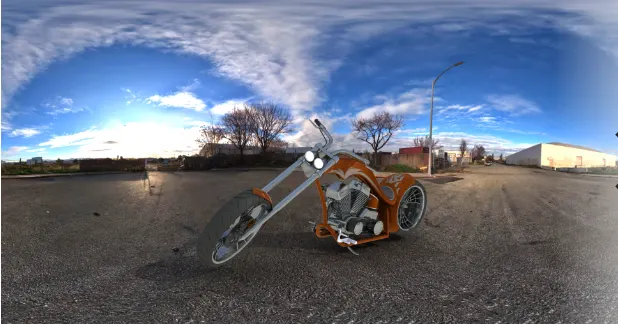
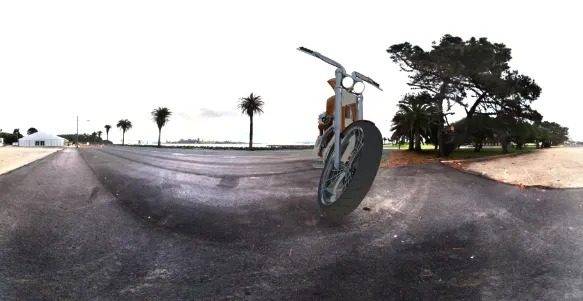
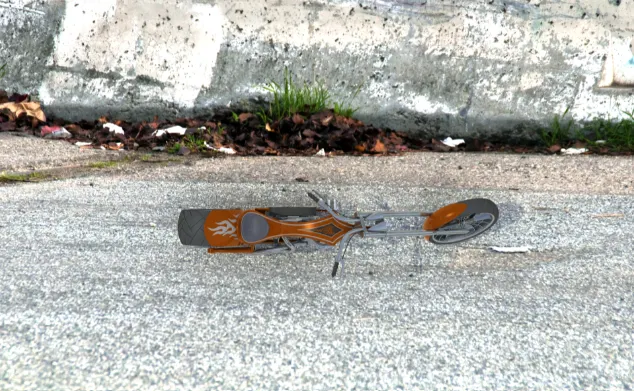
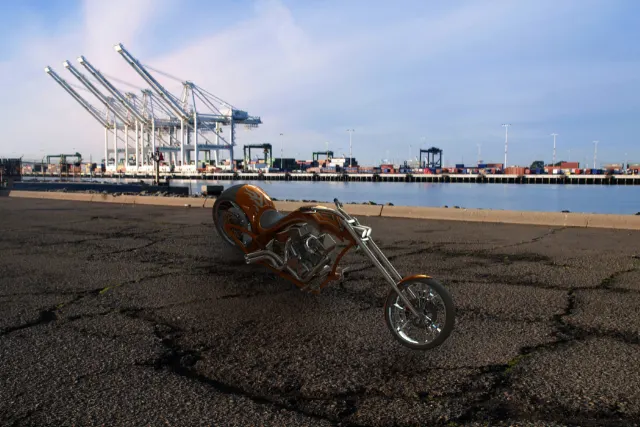
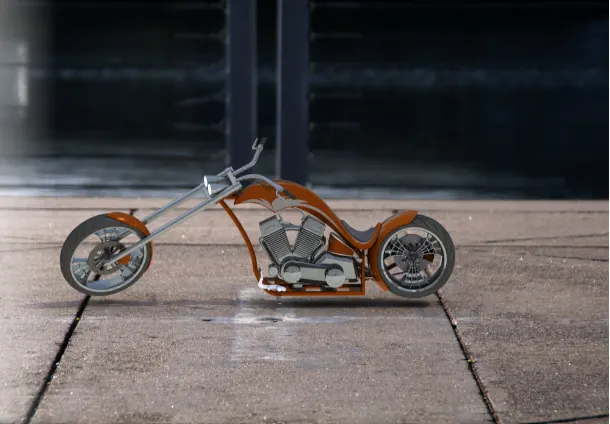
google drive link of render:
https://drive.google.com/file/d/1lGGXbTtGFzViRuF18D2l8PgINnjBUQfv/view?usp=sharing
conclusion :
makes the rendering process at the given refference