Photo Realistic Rendering
Chopper Assembly
Project Title: Chopper
Objective: Design multiple parts, assemble and create photo realistic renderings of the chopper using Solidworks.
Introduction: The design of any model begins with an idea. As a designer, creativity and the ability to fulfill the clients’ specifications are essential. Designers consider how to fabricate a model that is safe and cost efficient. They may encounter unexpected problems in the design and will need to come up with a universal solution.
For this Ultimate Solidworks Course by Skill-Lync, a chopper is designed. A chopper is another version of a motorcycle. The chopper originated from veterans that desired a change of design in motorcycles in the 60’s. They changed the motorcycle’s design by “chopping” the fenders and other unnecessary parts. The goal was to make the bike lighter and visually appealing. These bikes are great for minimalists. In this course, the chopper is sketched, modeled, assembled and rendered.
Design methodology/approach:
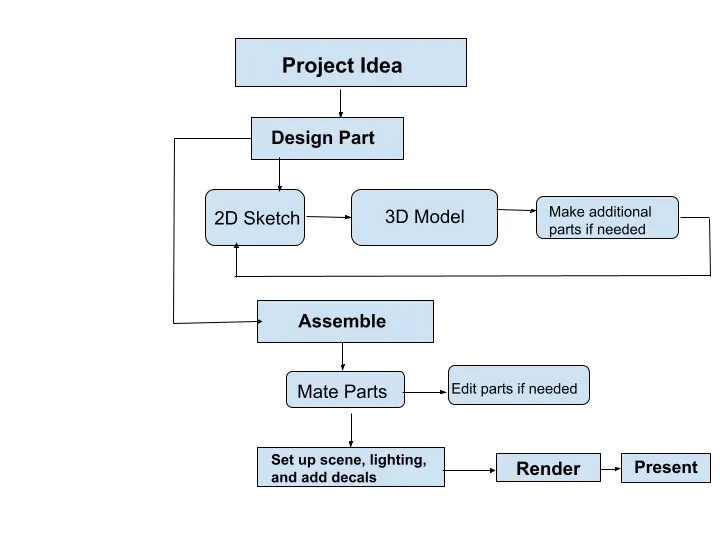
The design commenced with an idea. Then each part for the project is designed by sketching in 2D, then applying features to create a 3D model. After all the parts are designed, assembling can start. Assembly is done by mating the parts. If the dimensions need adjusting, the parts are edited again. After assembly, the model can be set up for rendering by choosing the scenes, camera views and lighting.
In the following flowchart, the design methodology is presented.
 Description:
In order to design the chopper in Solidworks, various features were applied. First, a 2D sketch is created. The sketch should be fully defined before applying features. Then, features are applied such as extrude, sweep, loft and more. Extruding is when a 2D sketch is extended from one plane to another face or plane. Extrude cut removes material from a part by a 2D profile. Sweep is used by creating two sketches. One sketch is the profile and the other sketch is the path. Sweep is useful to create curves and other paths. Loft can connect multiple cross-section profiles to create complex geometries. Shell is used to make a solid body hollow. Revolve is applied by revolving a cross-section profile about an axis. Project curve can combine two splines and project it as one curve. Mirror helps with duplicating parts. Linear and circular patterns are useful to duplicate a pattern multiple times.
After the model is created, appearances are applied to produce a realistic model. For the chopper, siena paint is applied to the body of the chopper such as the chassis, oil tank, fuel tank and fenders. Rubber is applied to the tires.
For the assembly, the chassis is fixed. All the parts are mated according to design.
Rendering is helpful to present the model in different environments and for clients to visualize. The rendering procedure includes adding scenes, lighting, camera views, and decals. Solidworks Visualize was used to create photo realistic renderings of the chopper. Certain environments were not available in my Solidworks Visualize.
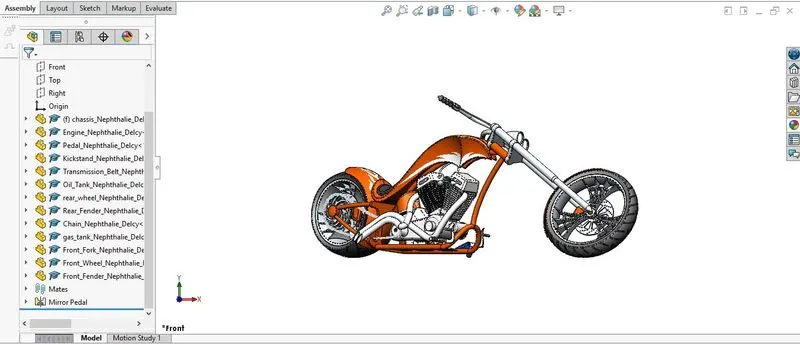
Parts that were designed to model the chopper were the transmission belt, kickstand, front and rear fender, chain, oil tank, pedal, front and rear wheel, front fork, chassis, engine, and gas tank.
Assembly Model:
Front view
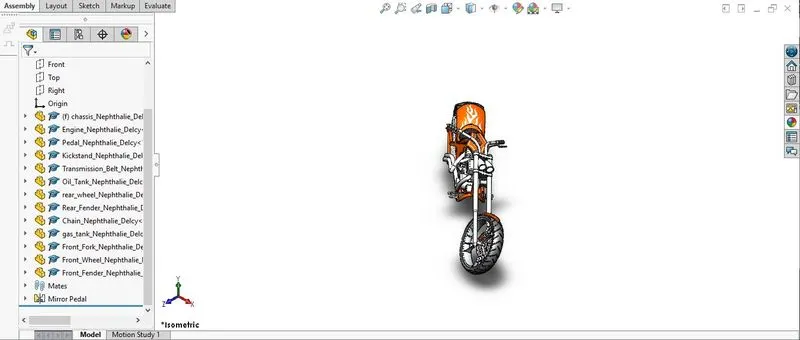
Isometric View
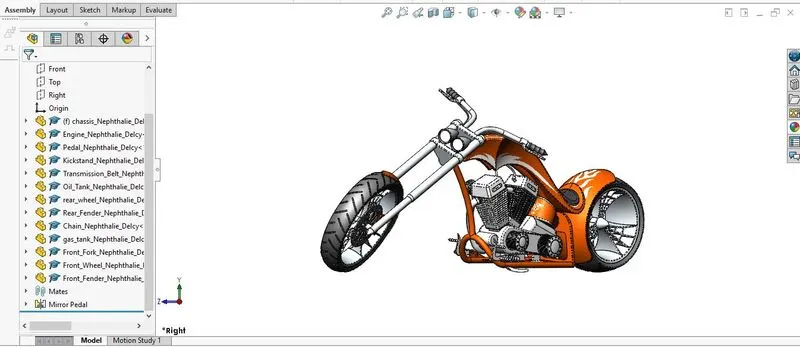
Side View
 Top View
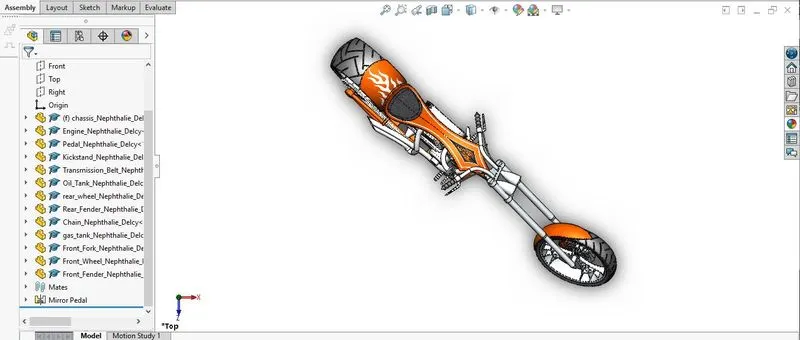
Camera Setup View
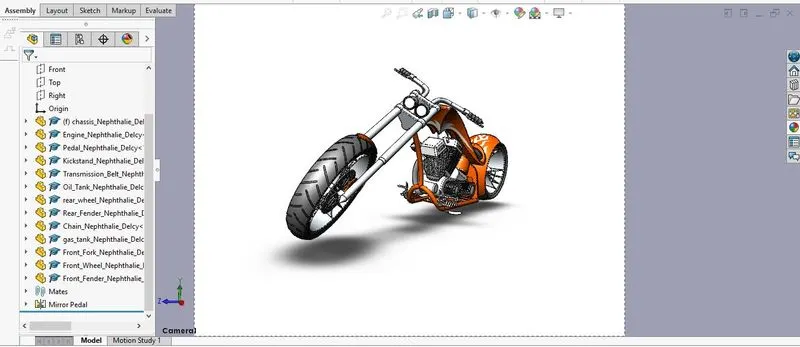
Rendering Images of Assembly:
Camera View Rendering:
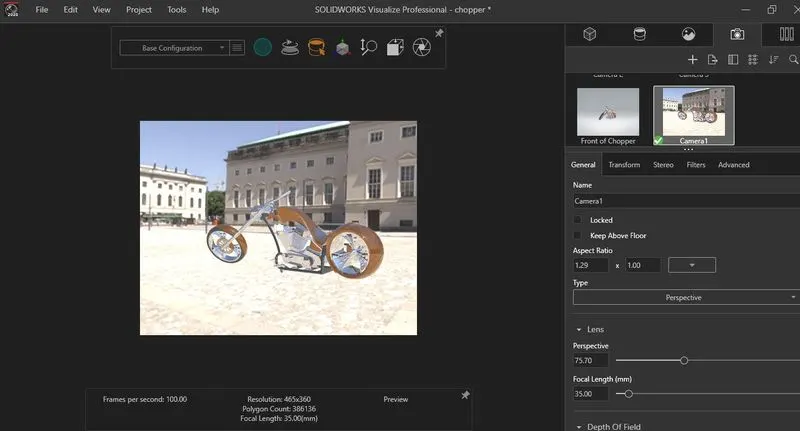
Front View Rendering:
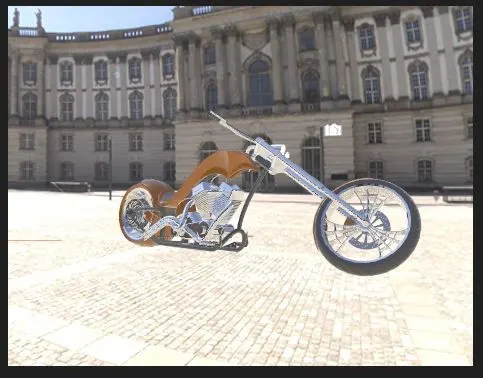
Isometric view Rendering:
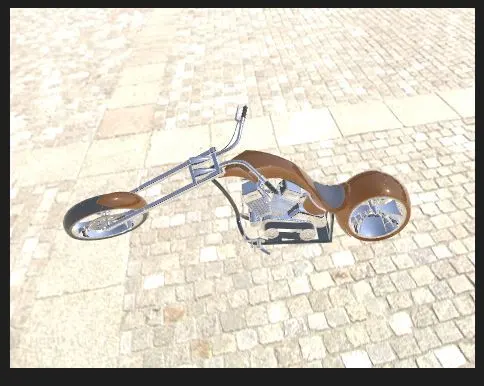
Side View Rendering:
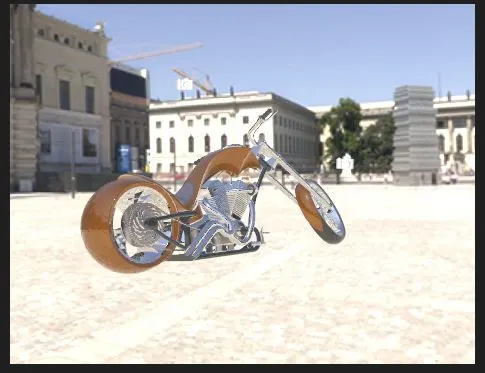
Top View Rendering:
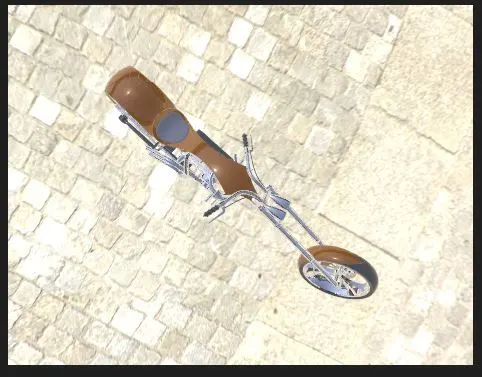
Conclusion:
The Chopper project helps designers learn and practice various skills. One can learn how to adjust the design when parts are not fitted nicely in the assembly. I got to preview what it would be like to design a model for industry. This course has been helpful.