Performing Batch Meshing over the Hood and Fender Components using Hypermesh
Aim:
To Perform Batch-meshing on the hood and fender components with the given criteria and assign the non-linear material property Steel to them.
Quality Criteria:-
| S.N | Quality Criteria | Value |
| 1 | Aspect Ratio | 5 |
| 2 | Skewness | 45 |
| 3 | Warping | 15 |
| 4 | Taper | 0.5 |
| 5 | Min. Length | 2mm |
| 6 | Max. Length | 8mm |
| 7 | Min angle Quad | 45 |
| 8 | Max angle Quad | 135 |
| 9 | Min angle Tria | 20 |
| 10 | Max angle Tria | 120 |
| 11 | Tria % | 10 |
| 12 | Target Element Length | 5 mm |
Procedure:
1. Hood Model Batchmeshing:
1) We import the hood model first using the import geometry option.
2) We get all the components of Hood as shown in the image given below.
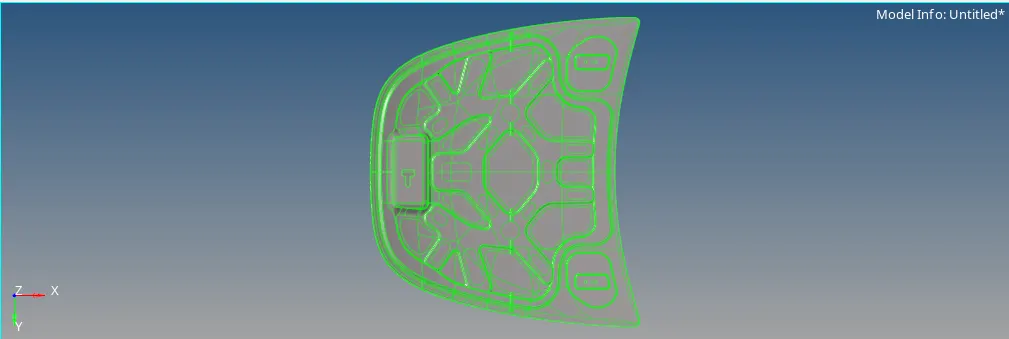
3) We first, duplicate the parent geometry because, on performing batch-meshing the parent geometry gets deletes automatically.
4) We set the parameters file and criteria file in the prefrences option and we save them as .PARAM file and .criteria file for future reference. The parameter file setting and crtieria file setting images are given below.
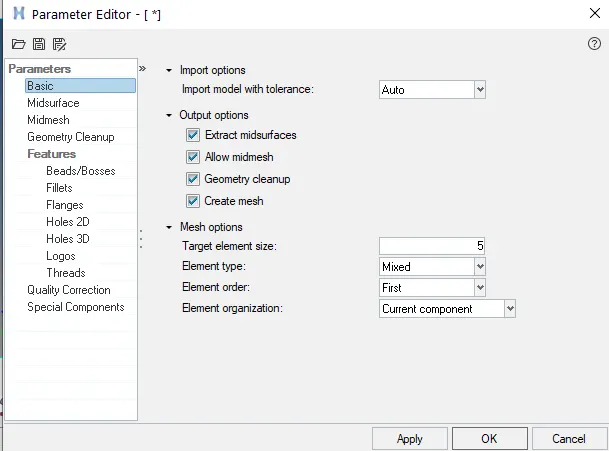
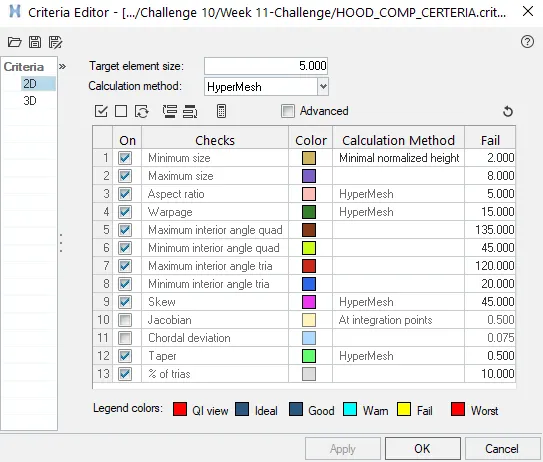
5) We proceed to start batchmeshing on the component using the batch mesh option in automesh option of 2D option. The batchmeshing tab is shown in the image given below.
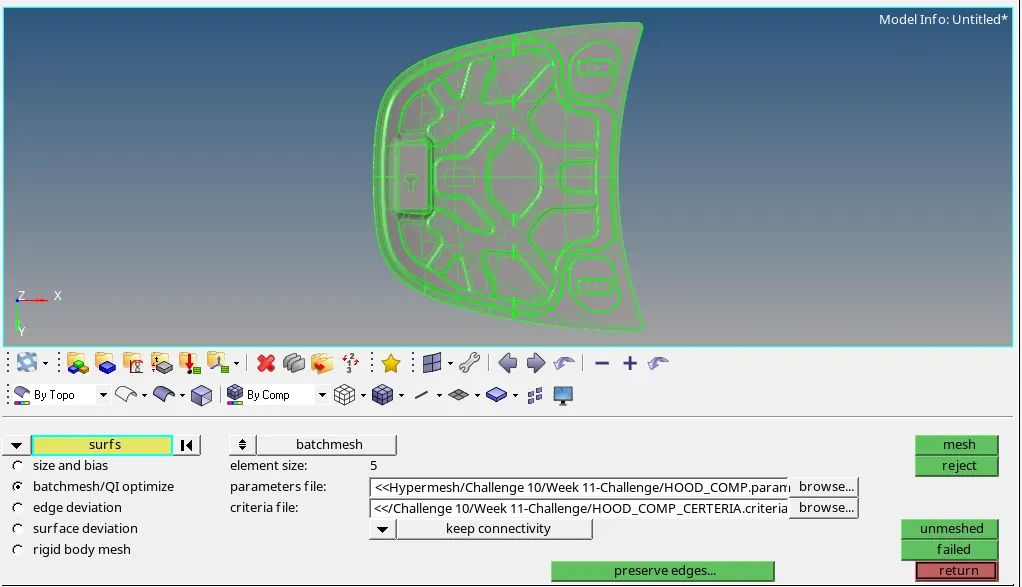
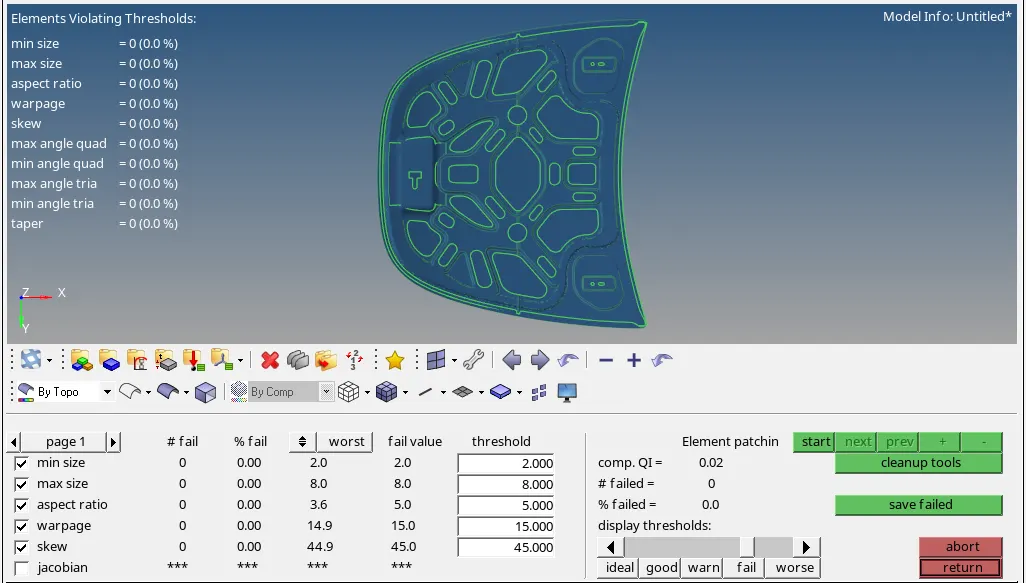
6) On performing batchmeshing, we get a single mid surfaced and meshed component ID containing all the components. Therefore, we seperate them into different components and we check for element quality in the Quality index option in the 2D module. We also all the quality errors and get error free model as shown in the image given below.
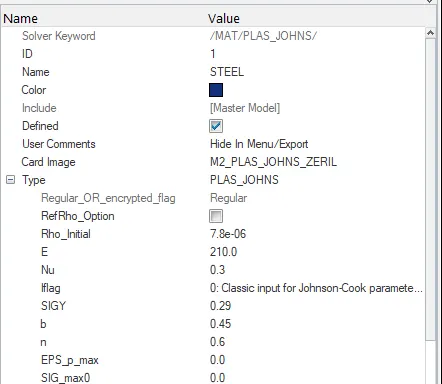
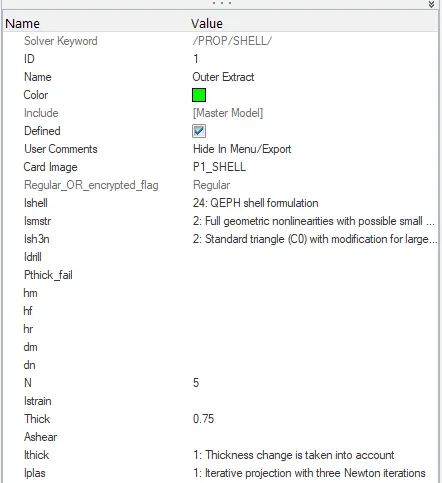
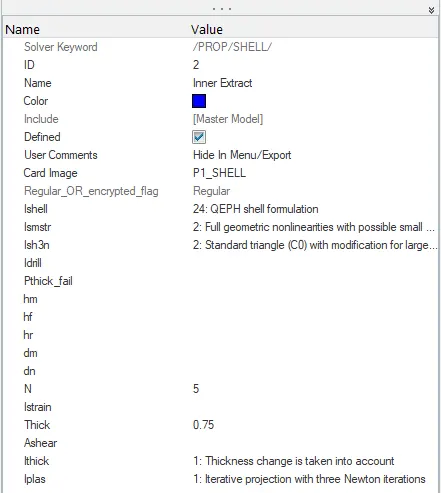
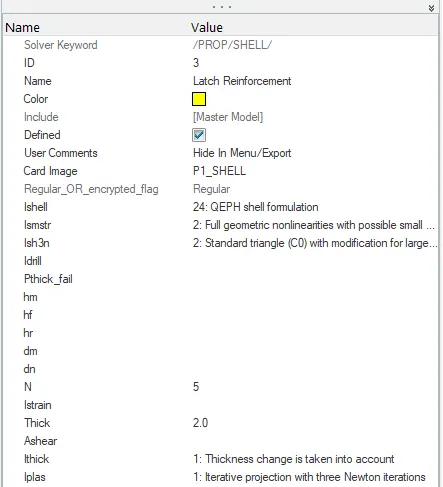
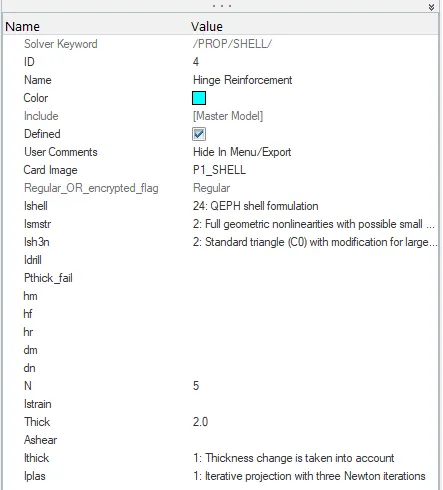
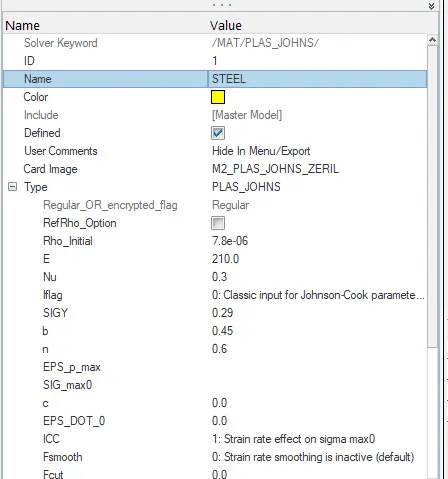
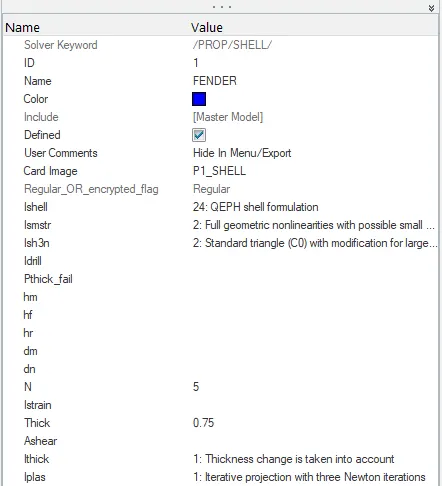
7) We finally assign a non-linear material property to the components and also property of the elements as recommended QEPH shell formulation to avoid hourglass energy effect. The material and properties are shown in the images given below.
2. Fender Model Batchmeshing:
1) We follow the similar method for fender model too. We import the fender model first using the import geometry option.
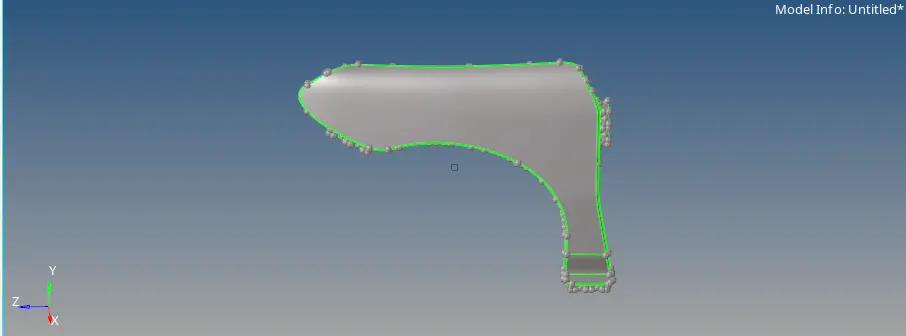
2) We get all the components of Fender as shown in the image given below.
3) We first, duplicate the parent geometry because, on performing batch-meshing the parent geometry gets deletes automatically.
4) We set the parameters file and criteria file in the prefrences option and we save them as .PARAM file and .criteria file for future reference. The parameter file setting and crtieria file setting images are given below.
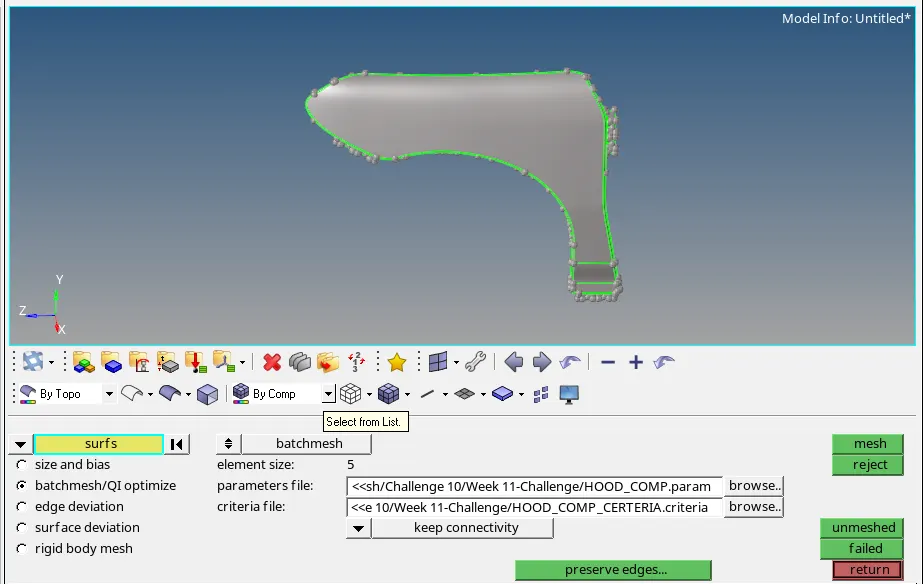
5) We proceed to start batchmeshing on the component using the batch mesh option in automesh option of 2D option. The batchmeshing tab is shown in the image given below.
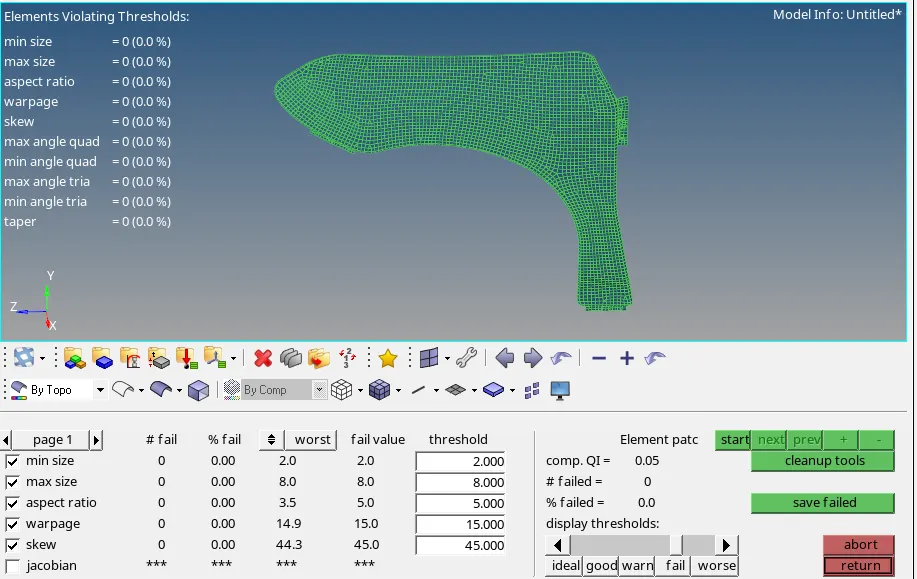
6) On performing batchmeshing, we get a single mid surfaced and meshed component ID containing all the components. Since, we have single component earlier we can leave the formed component as it is and we check for element quality in the Quality index option in the 2D module. We also all the quality errors and get error free model as shown in the image given below.
7) We finally assign a non-linear material property to the components and also property of the elements as recommended QEPH shell formulation to avoid hourglass energy effect. The material and properties are shown in the images given below.
Conclusion:
1) We have initially set and saved the parameter file & criteria file. We have performed batch meshing over the hood model and fender model.
2) We have cleared all the quality errors were ever present in the component.
3) We have also assigned non-linear material for the components as mentioned in the aim.
4) We find that batch meshing is best in generating the mid-surface and defeaturing unwanted construction lines, fillets regions etc. but, the only problem is on meshing there is a lot of tria concentration present in the component which is undesirable and the mesh has to rebuilt again in those particular areas to avoid those errors.