Introduction to REVIT concepts
- Ans -
- Aim - To create new project and use 3D model to familirise it.
- Introduction - Revit is BIM software widely used by architects, engineers, and contractors to create a unified model that all disciplines and trades can use to complete their work. Revit hosts the information that forms the model from which drawings and documents are derived.
- To introduce the revit we perform the different functions and operations to it. Revit has 3D model drafting tools. Autodesk Revit was created to support BIM and not to replace BIM. Revit hosts the information that forms the model from which drawings and documents are derived.
- Revit is software for Building Information Modeling. Revit supports a multidiscipline design process for collaborative design. Its powerful tools let you use the intelligent model-based process to plan, design,
construct, and manage buildings and infrastructure. - 1 - From the file menu, create a new project (Structural / Architectural / Construction template ) and name the project appropriately.
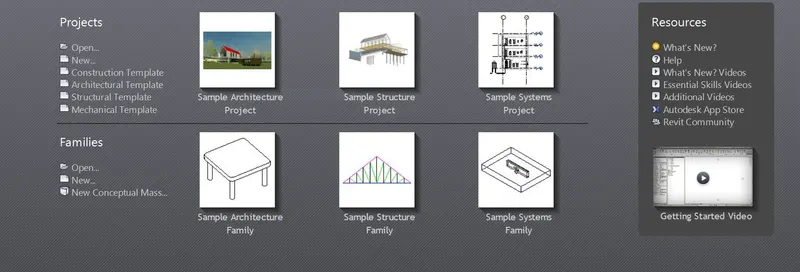
- Go to open revit.
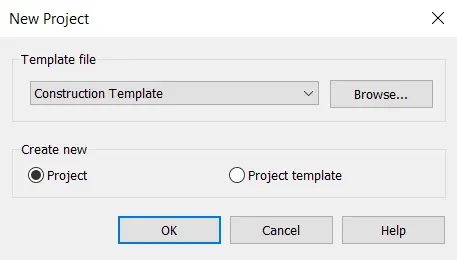
- After it do new project.
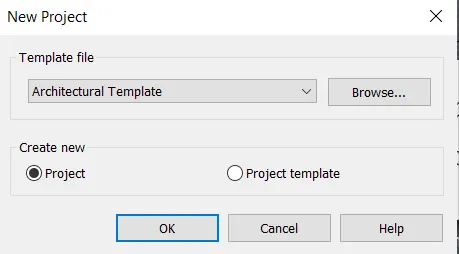
- Select the template such as Structural / Architectural / Construction template.
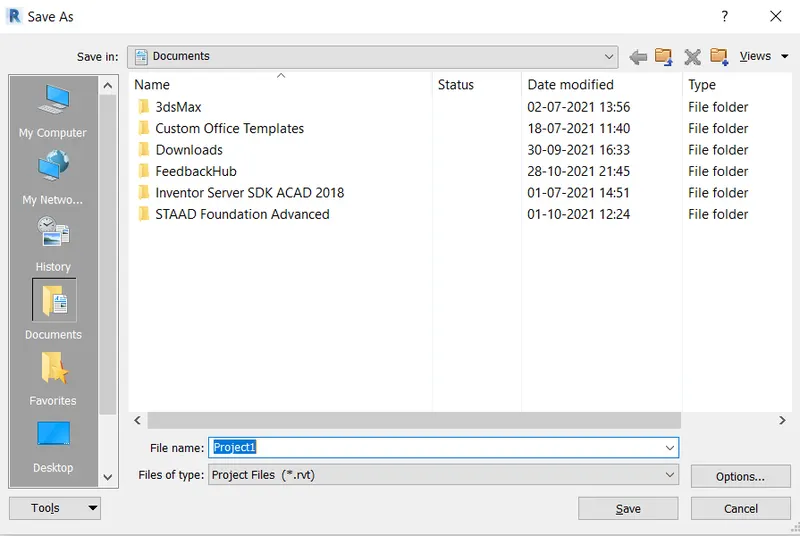
- After opening of revit go to save as option save it as name of project 1.
- 2 - Save the new project file. Close and open using icons from file toolbar.
- Here we save the file and close and open the tools using icons.
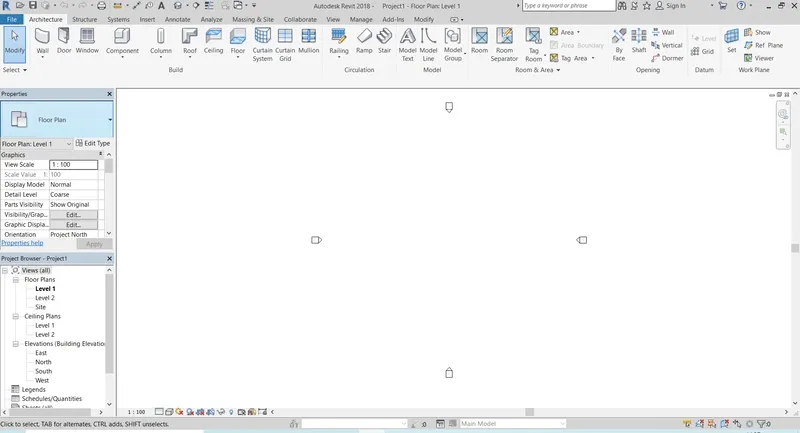
- 3 - From the architecture/ structure toolbar familiarize with options to draw a wall. Create a rectangular layout of walls of about 40’-0” X 35’-0”.
- Select architecture toolbar.
- After draw walls of rectangle 40' x 35'.
- Choose annotate option to select or mesure linear dimensions.
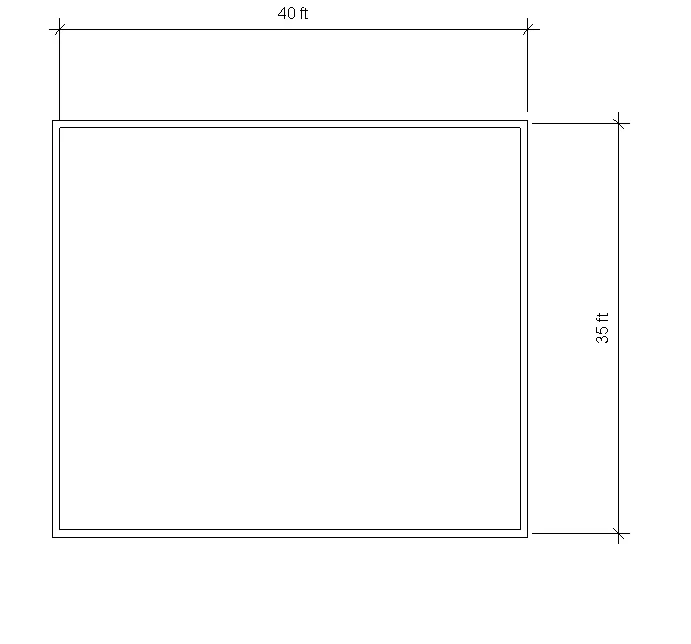
- 4 - From the Annotate toolbar use the aligned option to add dimensions to the layout.
- By using annotate aligned option add dimensions.
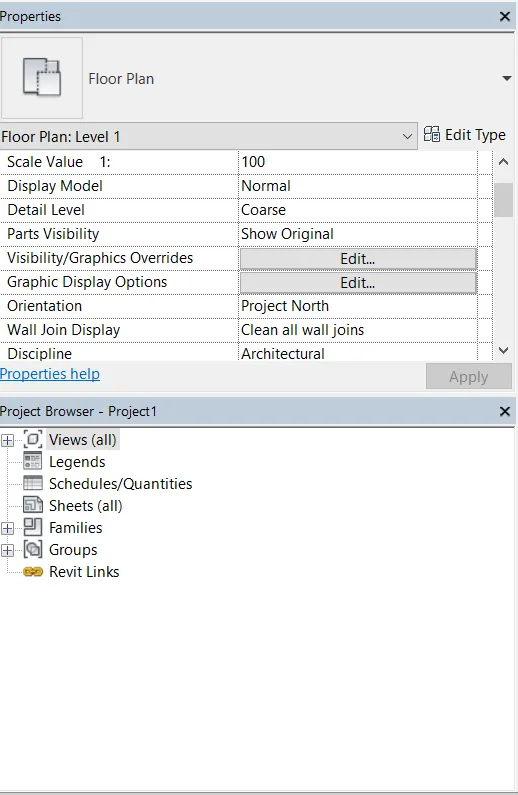
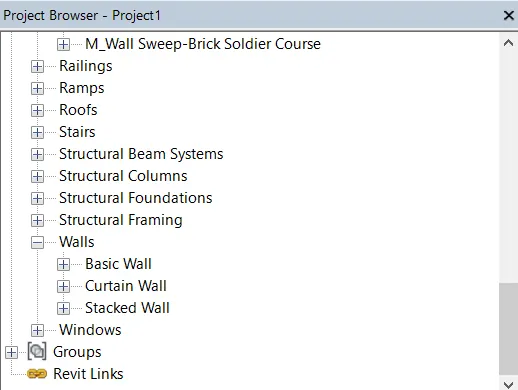
- 5 - Use the properties browser to switch to different wall types.
- Here we use properties to switch different wall types.
- 6 - Create a 3D view from the view toolbar and save the view with the appropriate name.
- Go to view.
- Select 3D view.
- Default 3D view.
- Give name and save to it.
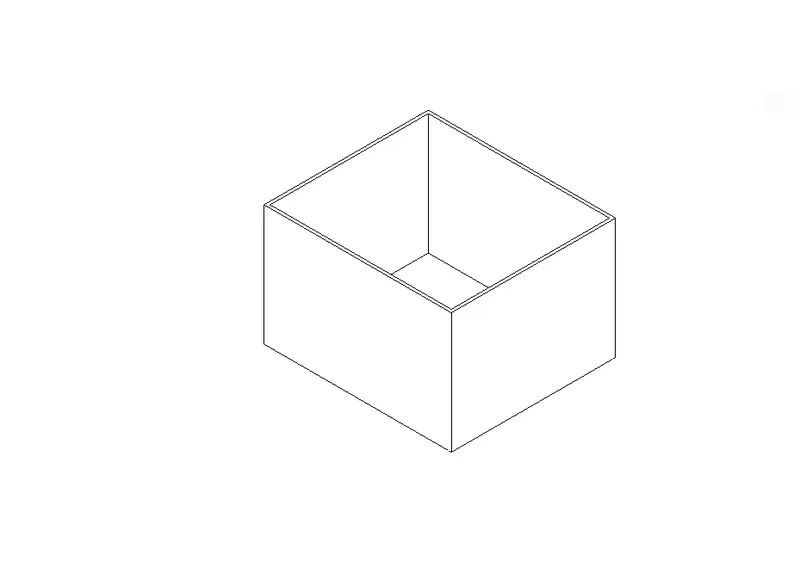
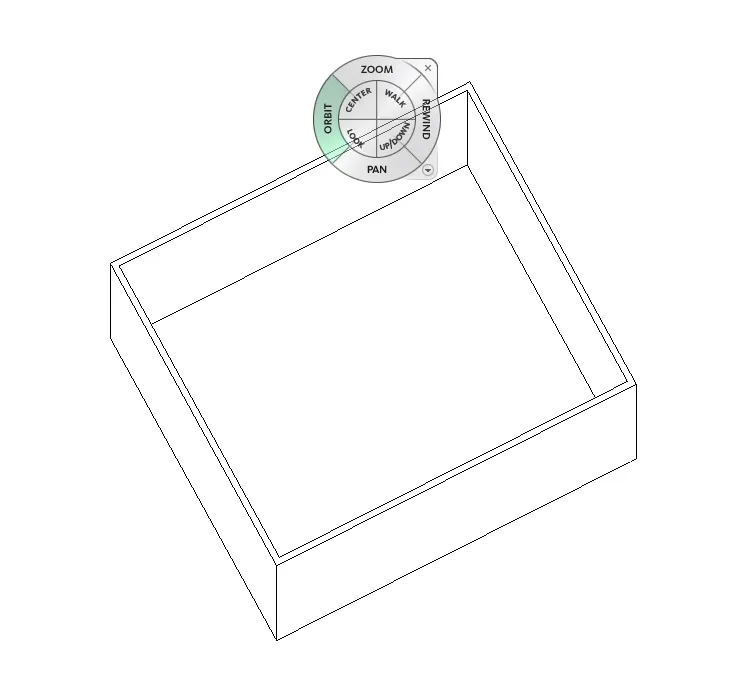
- 7 - Navigate through the 3D model using the view cube. Orbit/pan through the model layout created.
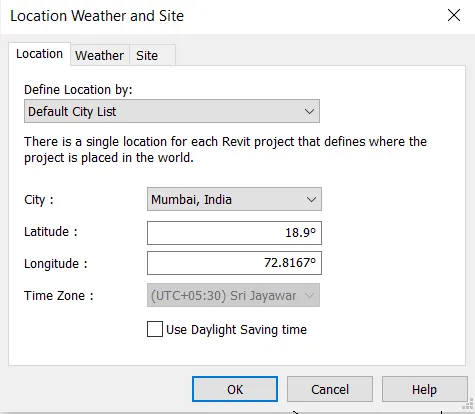
- Go to manage option.
- Select default city list such as mumbai india.
- Go to orbit use orbit to see the layout view.
- Use pan to move the object of layout.
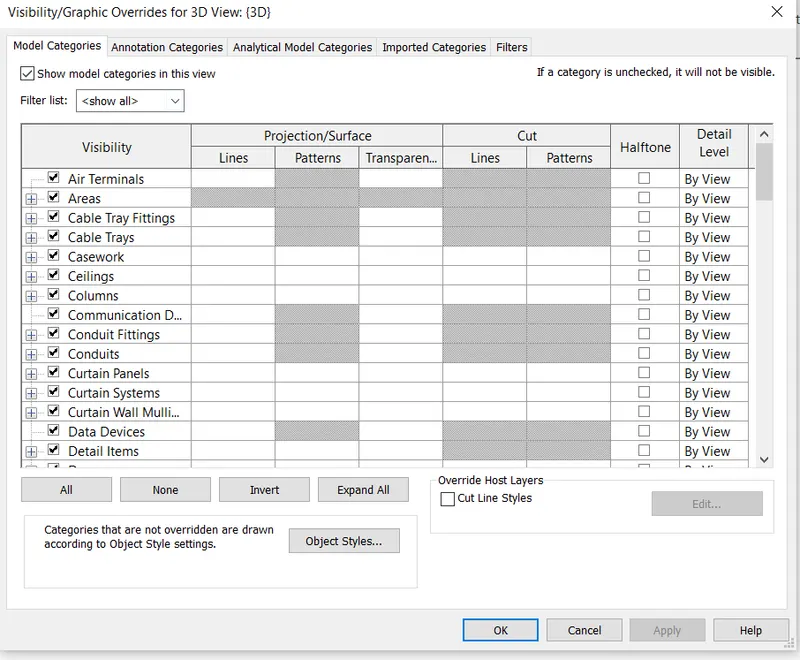
- 8 - Use the visibility settings option below to switch model to shaded, realistic, hidden lines options.
- Go to views show hidden lines option use it.
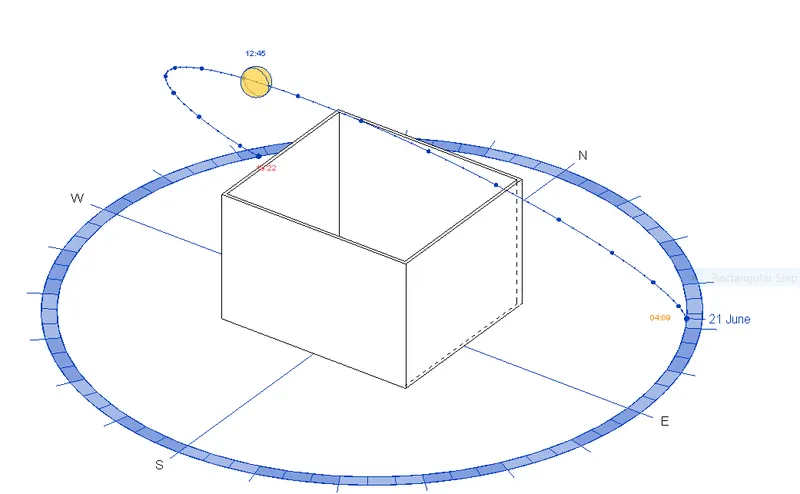
- 9 - Turn the sun path on and off to view shadings in the layout created.
- Go to down tool bars.
- Select sun setting in that sun path on and off to view shadow.

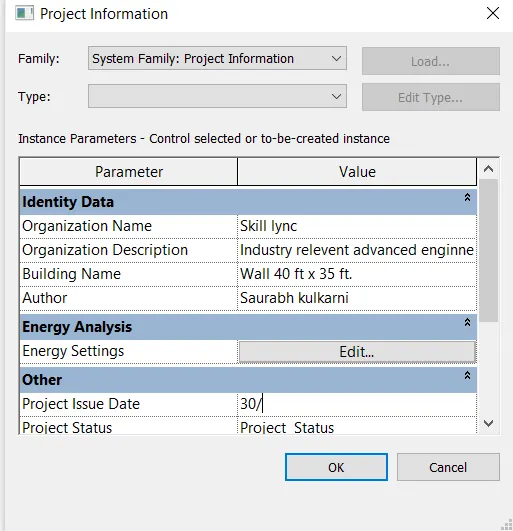
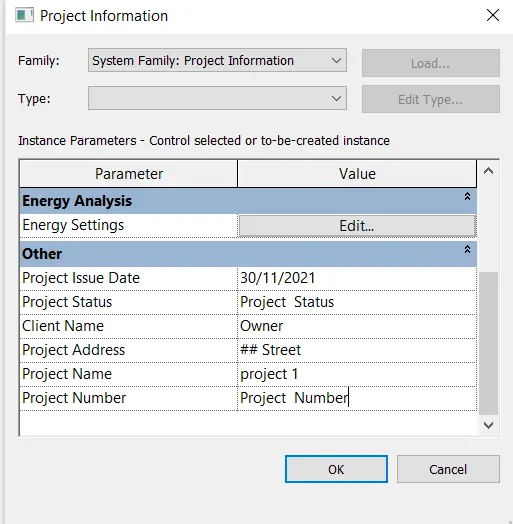
- 10 - Use the Manage toolbar to enter project settings, project name, and project issue date (choose according to your convenience).
- Go to manager option.
- Select project information.
- Give date, name and other settings on it.
- 11 - What is the Analyze toolbar used in Revit? How it is beneficial for design and modeling.
- Go to analyze toolbar in revit.
- It is more beneficial to design and modeling.
- In that we can use boundary conditions.
- We use the loads, load cases and load combinations.
- Check support condition.
- Check the various system such as duct, pipe system.

- 12 - What are the links that Revit supports to be linked to the model?
- Go to insert option in revit.
- Show the link revit.
- Show the link IFC.
- Show the link CAD.
- In the link revit links another revit model to current model.
- Links model together to specify relive location of individual building on campus or to coordinate efforts across disciplines.
- Link IFC files to current project to reference its information to additional design work.

- 13 - Why do you need the Collaborate tab in Revit? How it supports modeling and its efficiency.

- Collaboration gives communicator, manage collaboration.
- As buildings become more advanced to meet energy and water use goals, such as those outlined in the LEED and Architecture 2030 Challenge platforms, the design of MEP systems must be able to react to changes in the overall building design throughout the design process. This will ensure that the MEP systems are properly sized and take into account the inevitable load variations throughout the building. Understanding the importance of real-time coordination between MEP engineers, architects and construction managers means taking advantage of software tools that exist on the market today. Luckily Revit has been designed with collaboration in mind, by including powerful and efficient tools that make communication between disciplines understandable and easy.
- Revit is useful for MEP engineers who need to collaborate with other disciplines because -
- It keeps all parties updated with the current project via worksharing backed by Revit cloud services.
- It allows key design features to be communicated effectively via Visual Templates and color fills.
- It allows users to divide the model into worksets, which can be made editable or not editable by the current user to avoid confusion and lessen computing load.
- It allows users to define parameters as the design progresses, to make model-wide changes quick and easy.
- Understand that collaborative work implies that every user works against the same file, that is, a common repository, and not with independent and fragmented files.
- Understand the need for better team coordination, to distribute work in a proper way so that work from different users does not overlap or contradict.
- Understand in depth how worksharing works in Revit, and make sure every user is able to work firmly and without doubts that changes will be correctly saved and they won’t interfere with other users.