Introduction to REVIT concepts
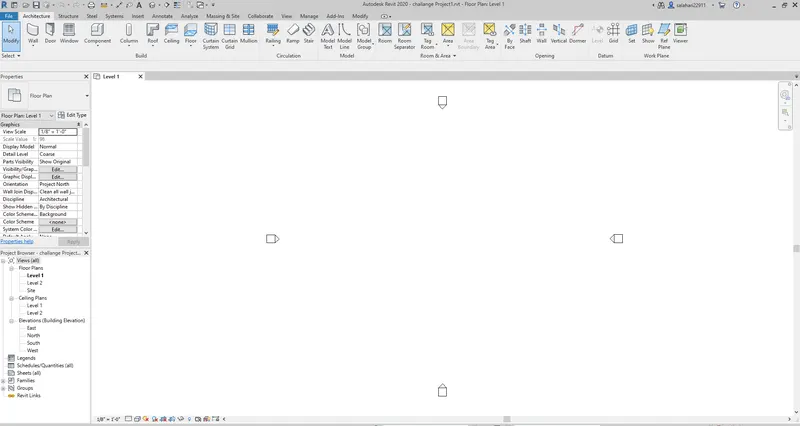
- Aim :Creating a New Project
- Procedure : Click the file menu, select new, select template and click ok button to save the new project.
2.
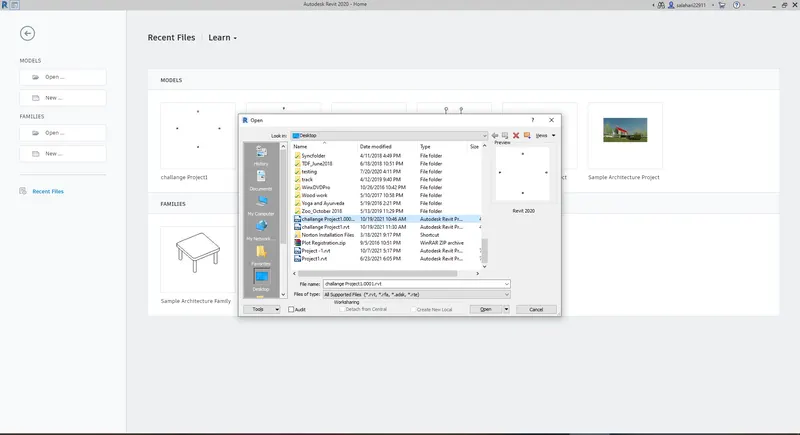
Aim :Saving and opening the project
Procedure : Save project by a name and close. i saved as Challange project 1. close the project and open the same project from file toolbar.
3.
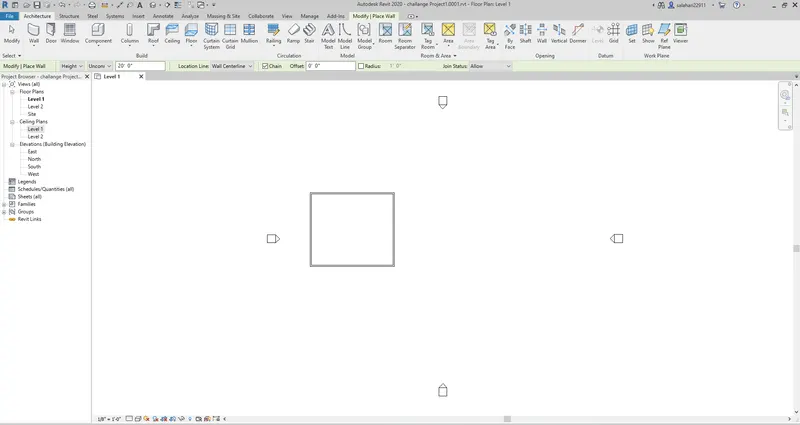
Aim : Drawing a layout of Walls 45'-0 * 30'-0"
Procedure : From Architectural/Structural toobar select Architectural wall and type 40' to create 40' wall horizontally and then type 30' to create vertical wall, then horizontally 40' and then 30' vertically to end the layout.
4.
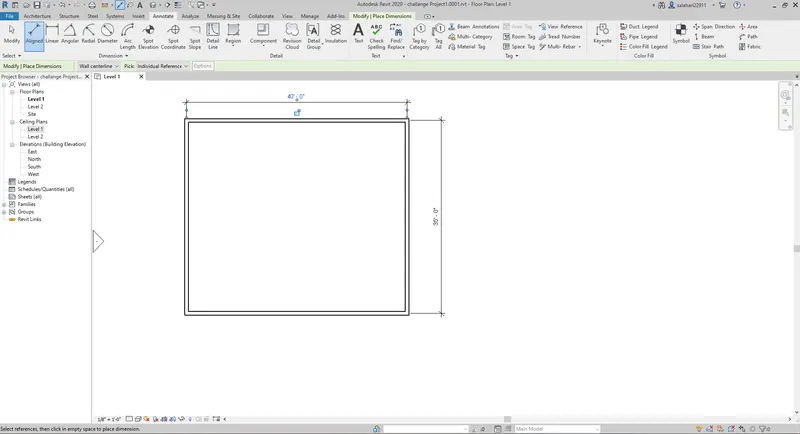
Aim : Adding dimensions
Procedure : From Annotate toolbar click aligned option to annotate dimensions on the layout horizontally and vertically
5.
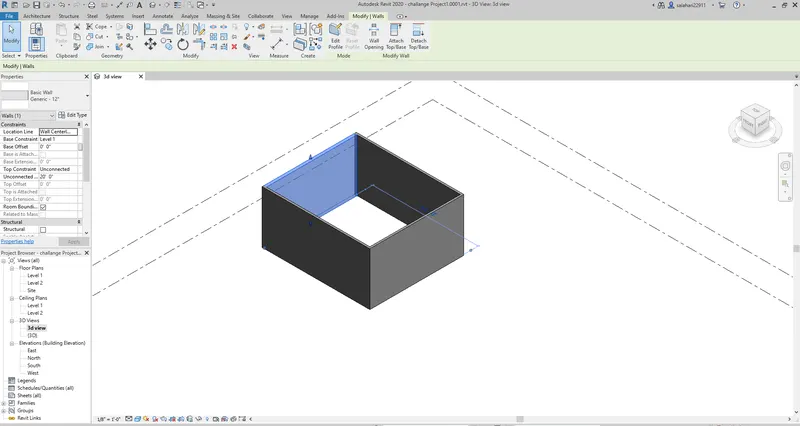
Aim : Switching to Wall types
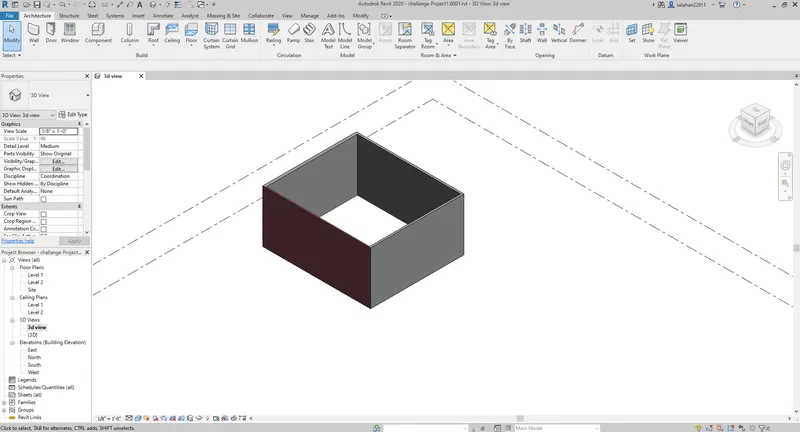
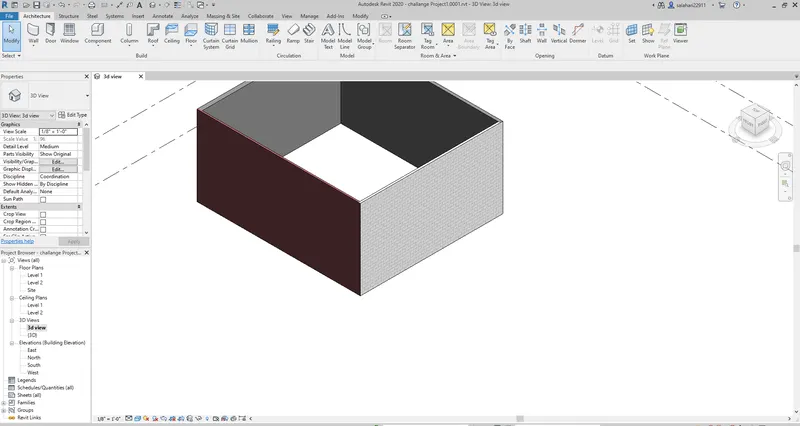
Procedure : First select a wall that you want to change. now Click the properties browser and select a wall type and click on that then the wall will change to the type that we selected.
Basic wall 12"
Basic wall 4" Brick
Basic wall 6" Masonary
6.
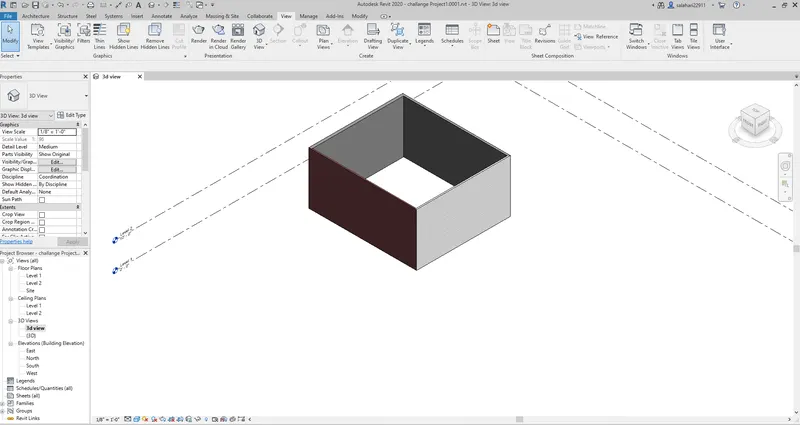
Aim : Creating a 3D view and Saving
Procedure : Go to View toolbar and select 3D View. if you want to save, then you wil have a View cube on the right side of screen.
right click on the view cube and select save view and give any name.
7.
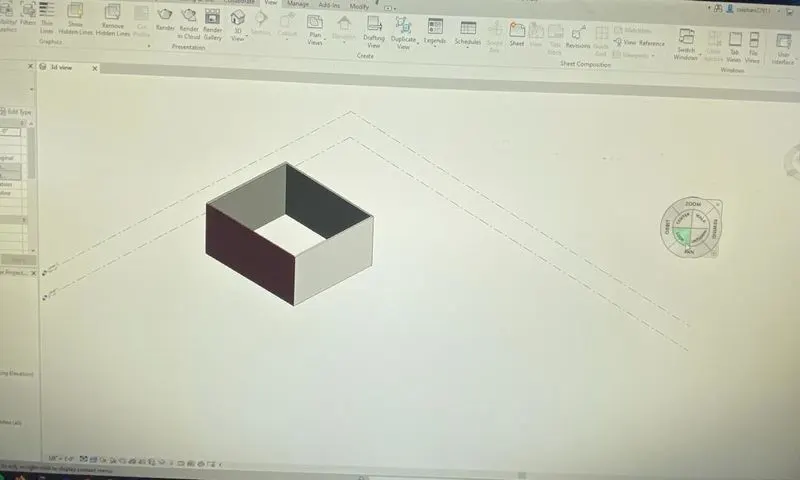
Aim : Navigating 3D model
Procedure : on the Revit Screen right side you will have the key named Full Navigation Wheel. You can see some options like orbit, pan ,zoom and rewind. you can use in the project.
8.
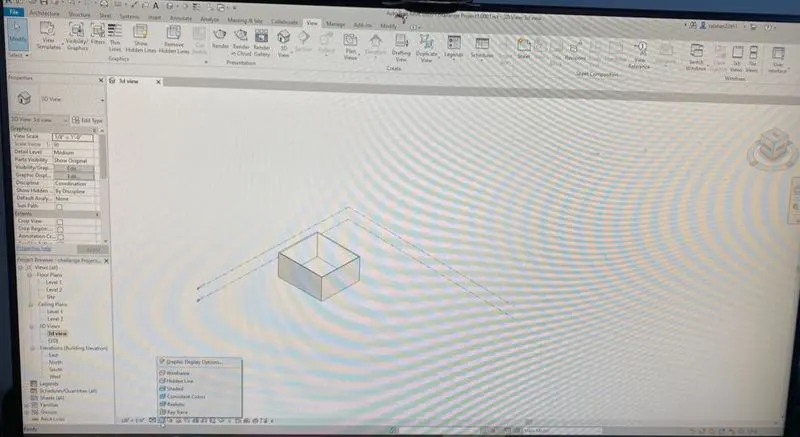
Aim : Changing Visibility Settings
Procedure : On Revit Screen you will have a tool named Visual Style, Click on that to change different types of visibility of the project
there will be wire frame, Hidden line, Shaded, Consistent colors, Realistic and Ray trace. You can select any of these options.
9.
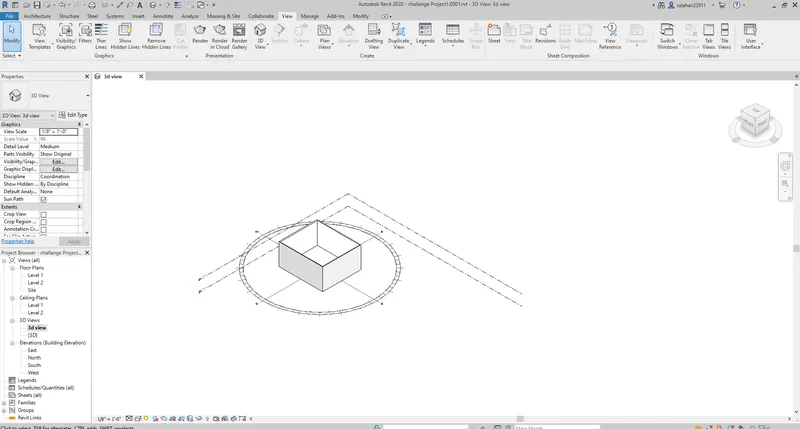
Aim : Using Sunpath tool
Procedure : On Revit Screen at the bottom you can see a tool named Sun path, you can on or off that to see the sun path in your project
10.
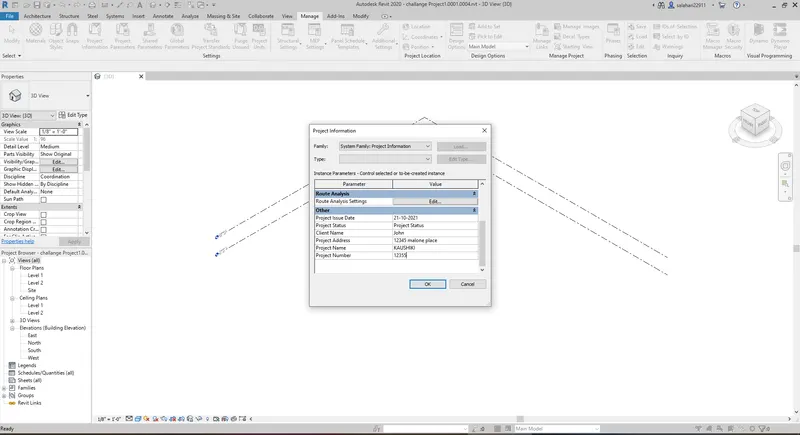
Aim : Project information
Procedure : In the manage toolbar go to project information, there yoy can give project name, issue date, owner name, project status and address all the information you can store.
11. Analyze toolbar helps to create models, these consists of load combinations, boundary conditions, Consistancy, adjustments, supports etc...where we can adjust the model with load cobinations and support combinations...
12.
Linking models is primarily intended for linking separate buildings, such as that all linked buildings forms as one campus.
You can link architectural models, structural models, and MEP models.
For example, we can select 4 building models linked to one model.
13.Revit provides several different ways to collaborate with team members who are also using the software. You can link multiple Revit models together allowing team members to work in context. Through worksharing, users on the same local area network can work together in the same Revit model.