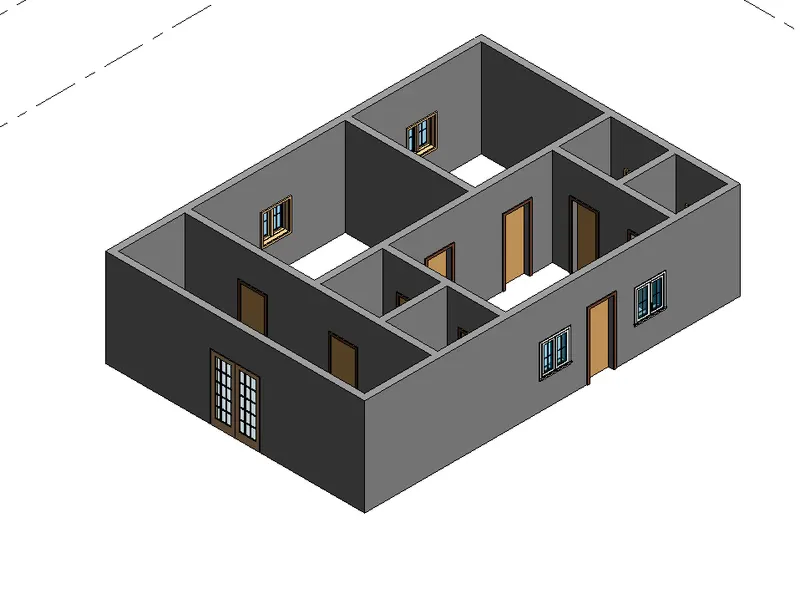
Creating Levels, Grids, Layout and model elements for a residential unit using REVIT
1.What is BIM? Summarize the features of BIM and benefits of using BIM over 2D CAD tools.
- Building Information Modeling (BIM) is the foundation of digital transformation in the architecture, engineering, and construction (AEC) industry.
- Building Information Modeling (BIM) is the holistic process of creating and managing information for a built asset. Based on an intelligent model and enabled by a cloud platform, BIM integrates structured, multi-disciplinary data to produce a digital representation of an asset across its lifecycle, from planning and design to construction and operations.
- BIM integrates multi-disciplinary data to create detailed digital representations that are managed in an open cloud platform for real-time collaboration. Using BIM gives you greater visibility, better decision-making, more sustainable options, and cost-savings on AEC projects.
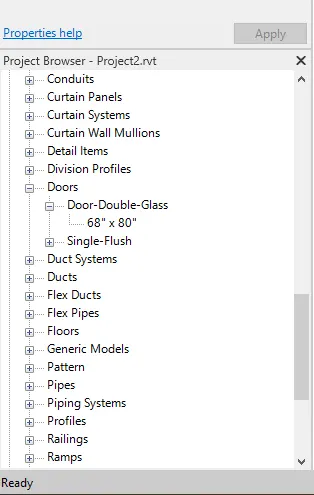
2.Understand the concept of Categories, Families, Elements, Instances in Revit. Go to Insert Tab, choose a category. Pick a family and element. Understand the instances and insert it to Revit model.
-
A family is a group of elements with a common set of properties, called parameters, and a related graphical representation.
Different elements belonging to a family may have different values for some or all of their parameters, but the set of parameters (their names and meanings) is the same. These variations within the family are called family types or types.
Examples
- The Furniture category includes families and family types that you can use to create different pieces of furniture, like desks, chairs, and cabinets.
- The Structural Column category includes families and family types that you can use to create different wide flanged, precast concrete, angle, and other columns.
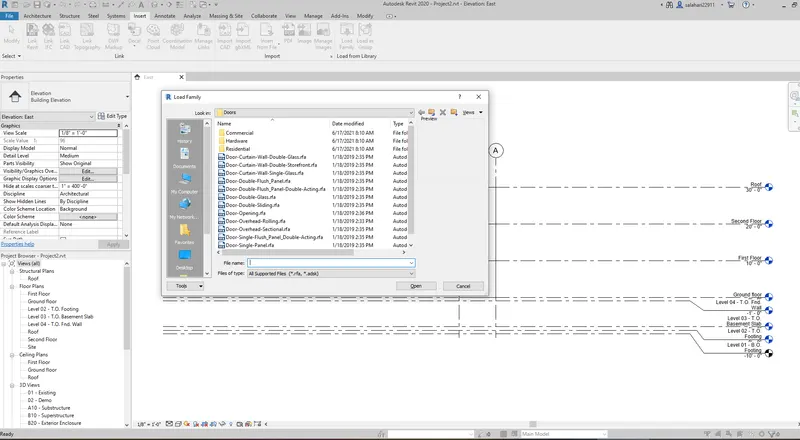
Loading the family from Revit:
- Open Revit.
- Go to the insert tab.
- Select the option load families.
- Select the perticular family and enter in Revit.

3.Setting up a Project – Open a project file with architectural template. Save the file with appropriate name. Set up the project units to Imperial / Metric based on your convenience of modelling. Complete the project information under Manage tab. Set up the maximum backups for project file to 3
Aim :- Setting up a Project
Procedure :-
- Open Revit,
- Select Architectural Template.
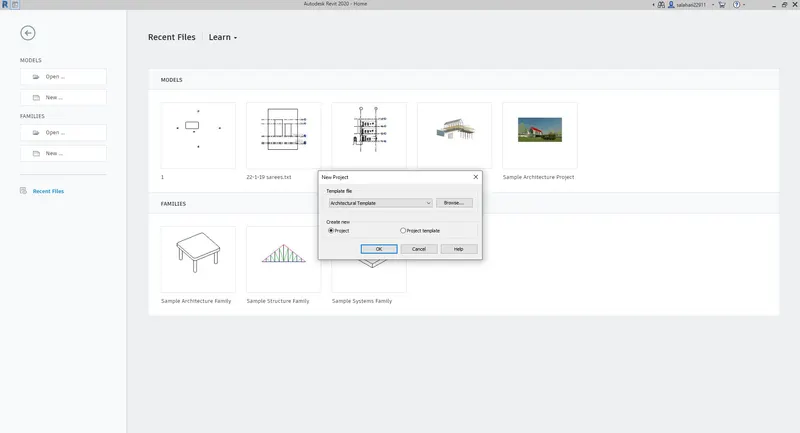
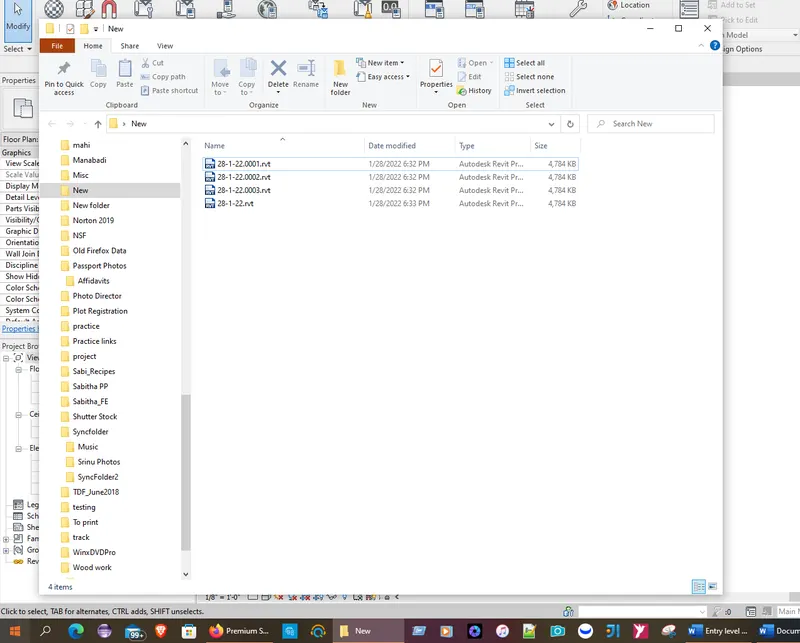
- Save with a name (28-1-22).
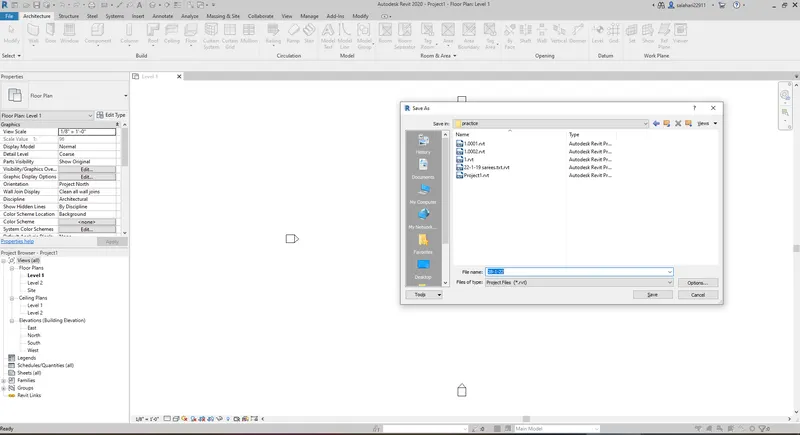
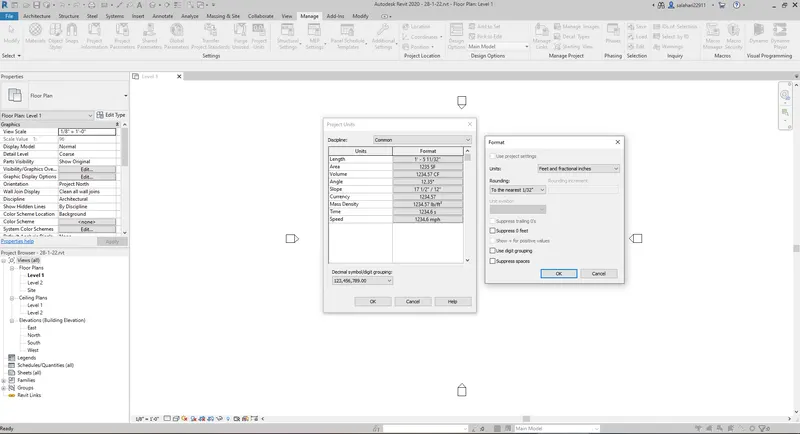
- Go to Manage tab, click on Project units, Click on Formats and change units, Click ok to Save.
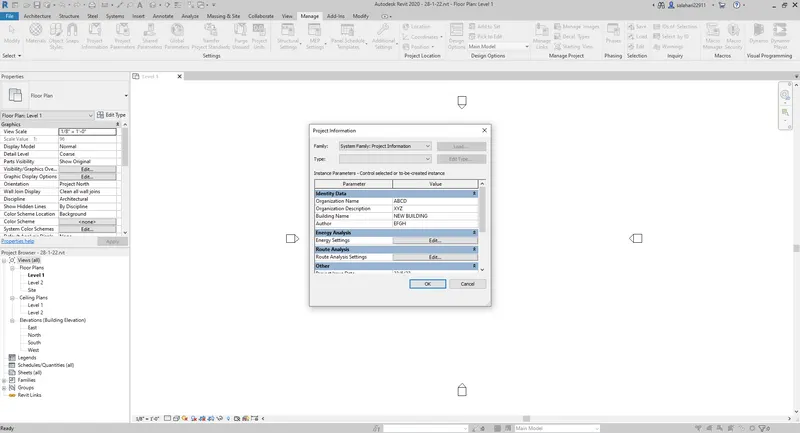
- Click on Manage Tab, and go to Project information tab and enter appropriate information,
- Open File menu,
- Select Save as option and select Project
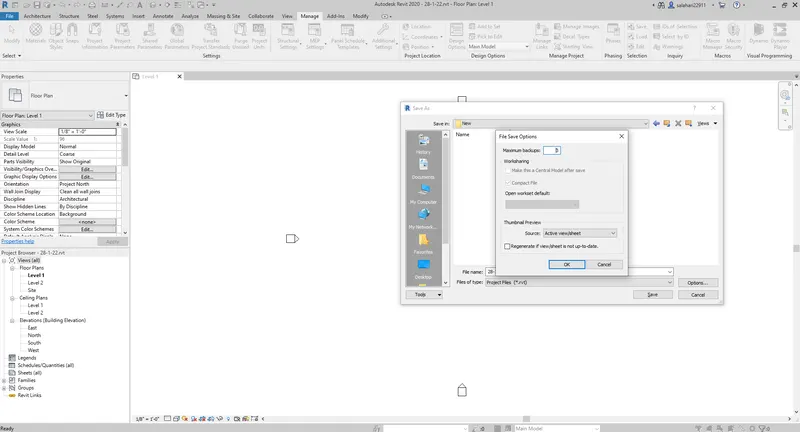
- A Save as dialogue box appears on the screen,
- Click on the OPTIONS tab on the right side of dialogue box and set the maximum back ups as 3 and click ok.
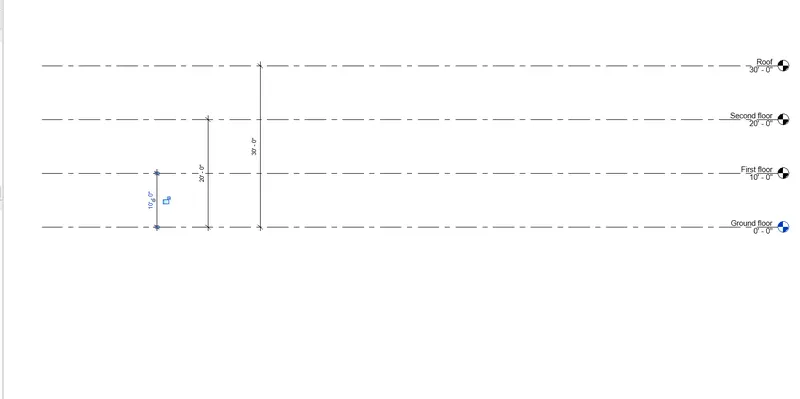
4.Understand the concept of Levels and Grids. Follow the naming and conventions. Create the following Levels: ( Convert to metric equivalents if metric is your units)
Ground Floor @ 0’
First Floor @ 10’
Second Floor @ 20’
Roof @ 30’
Creating different Levels in Revit
- Go to View tab and select elevation
- From the Project browser section in the left of the screen select the option elevation and select East.
- two basic levels will be displayed on the screen.
- Keep the bottom most level and delete the second level.
- Rename the bottom level as Ground Floor and rename height as 0'
- now go to the modify tab and select copy command.
- Copy the levels 10',20',30'
- Rename the levels as Ground floor, First floor, Second floor and roof.
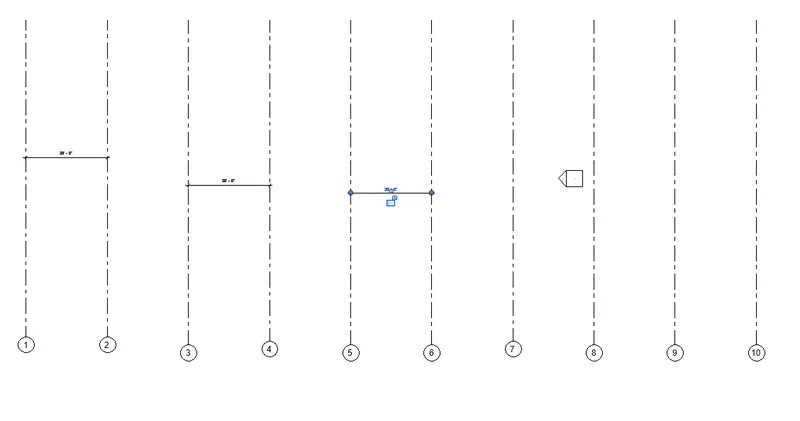
Creating Different Grids in Revit
- Go to Architectural tab and select Grids option
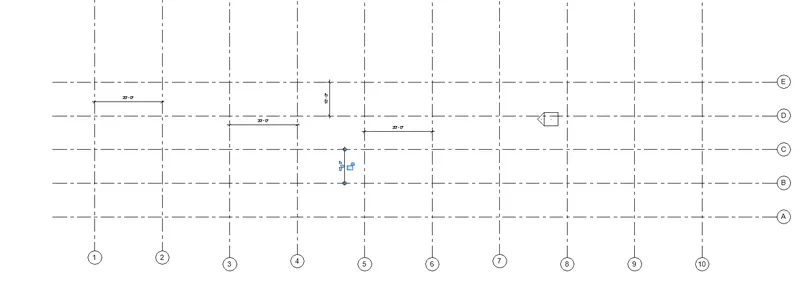
- Select pick line and give offset 10' and copy lines A,B,C,D,E
Longitudinal grids at spacing of 20'
Transverse grids A,B,C,D,E @10' Spacing
5. 3D modelling of Residential unit:-
- Open Revit
- set dimensions to feet and inches.
- Go to wall option in the architectural tab.
- Draw the External walls.
- Go to wall option and draw internal walls with required measurements
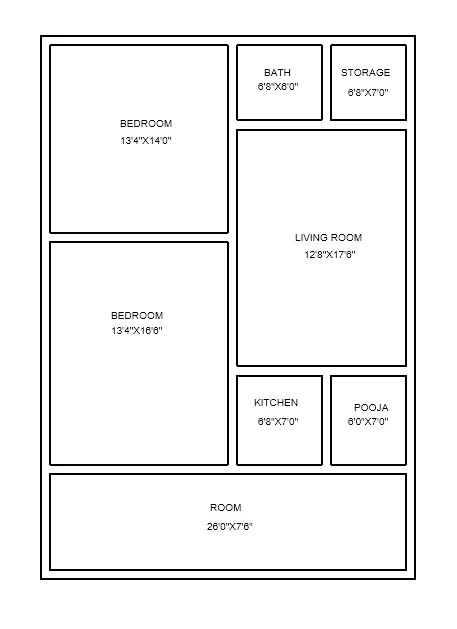
6.In the layout created draft the level of details you are planning to include – Dimensions of room, components you plan to add in the residential unit.
7.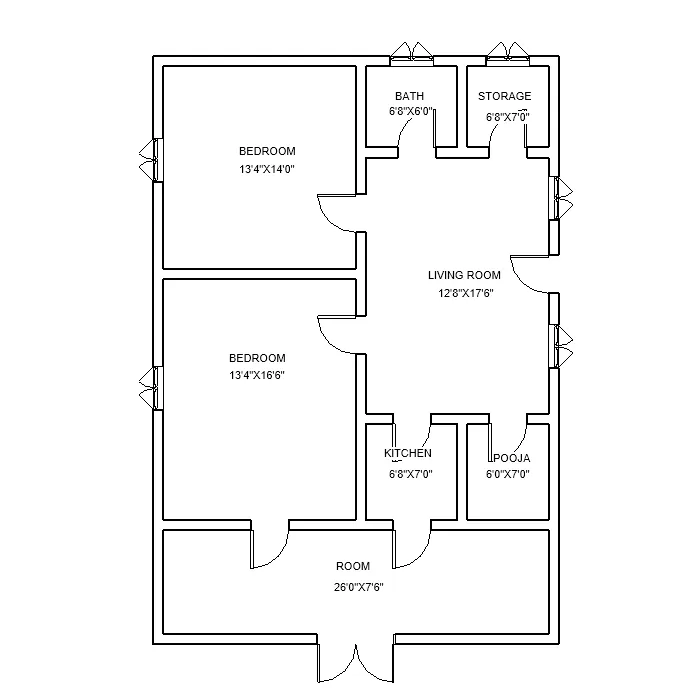
7.Identify the residential model elements such as Door, Windows, Tables, Chair, Couch, Bed, Lamps from the library and insert them to the model . Save the project for use
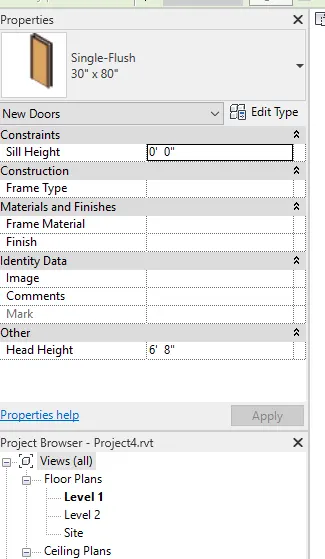
DOOR DETAILS
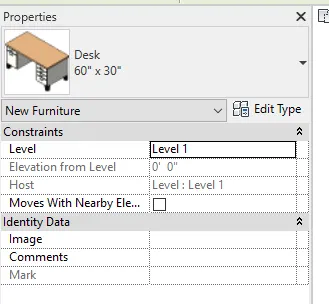
FURNITURE MODEL DESK DETAILS
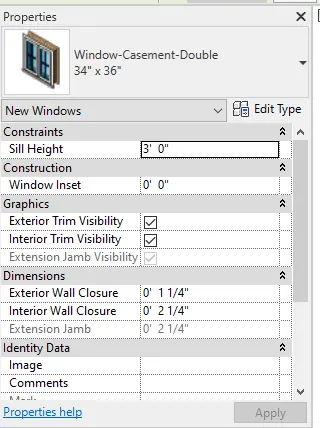
WINDOW DETAILS
FINAL 3D MODEL