Introduction to REVIT concepts
CHALLENGE-1
- AIM- To create a new project and name the project.
STEPS-
- Open Revit 2021.
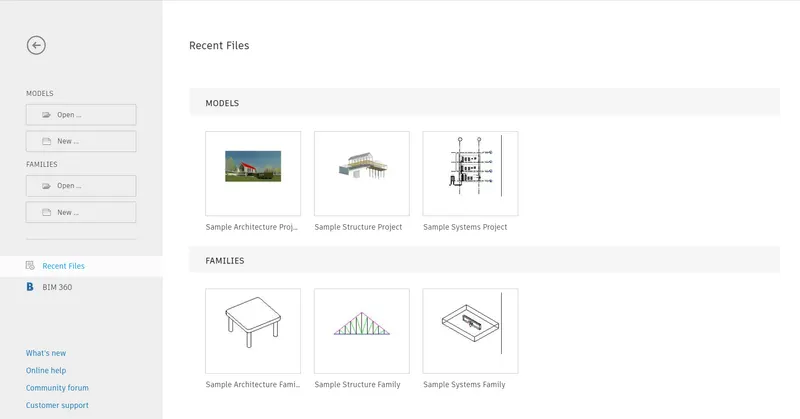
- A pop-up window will be appearing on the screen.
- In the model select new.
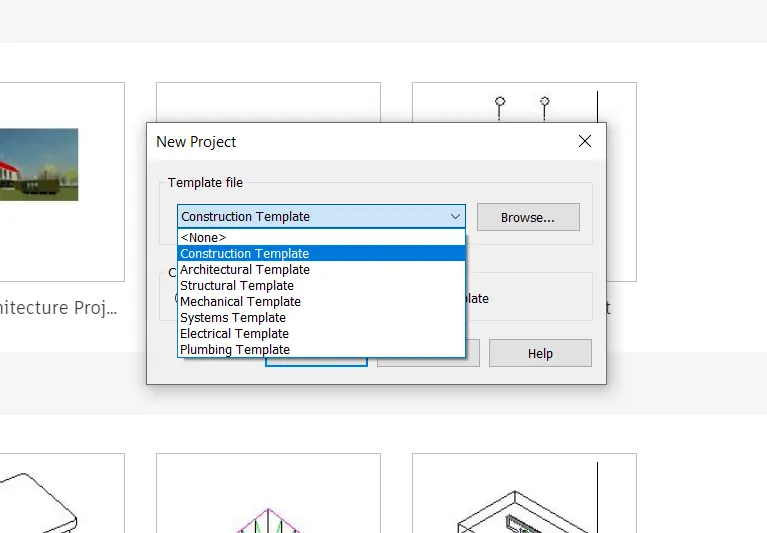
- Again, a pop-up window will be appearing named new project showing various templates such as structural, architectural, construction, mechanical, plumbing, electrical etc.
- Select the architectural template.
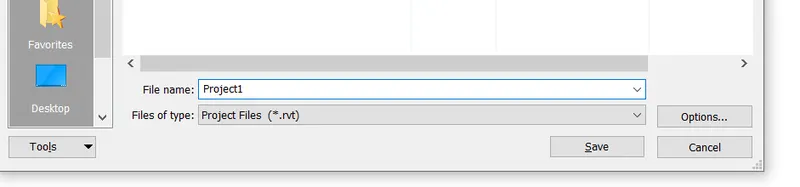
- Save the drawing from the file menu and name it as Project-1.
- AIM- Save the new project file, Close and open using icons from tool bar.
STEPS-
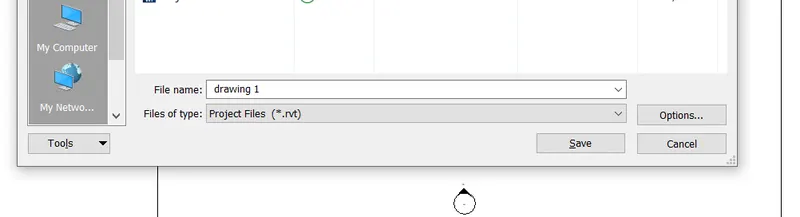
- Save the drawing from the save command.
- Name the project as drawing 1.
- Exit revit 2021.
- Again open revit 2021.
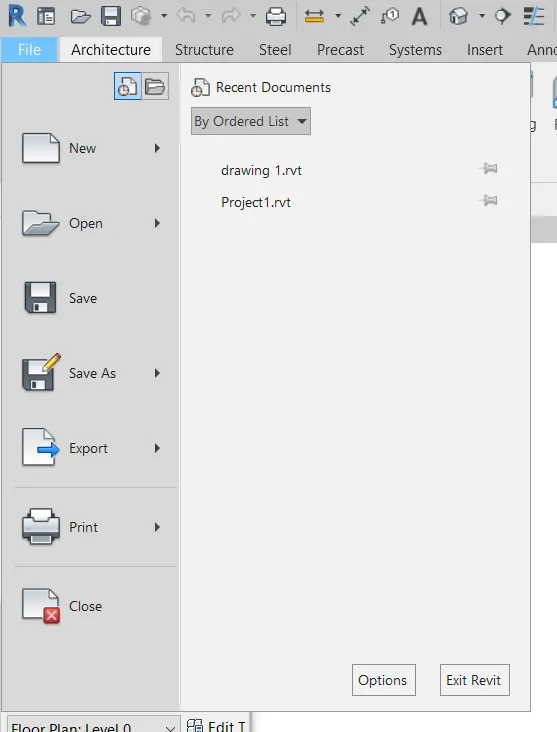
- Go to file menu in tool bar select open option and open the desired file saved previously named drawing 1.
open file
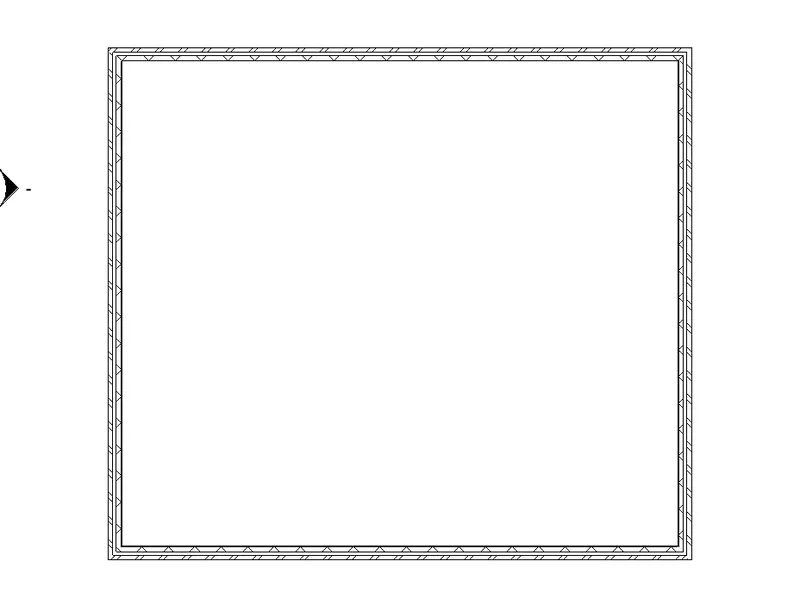
- AIM- To create a wall of size 40’-0’’ X 35’-0’’.
STEPS-
- Open Revit 2021.
- Select the template as architectural.
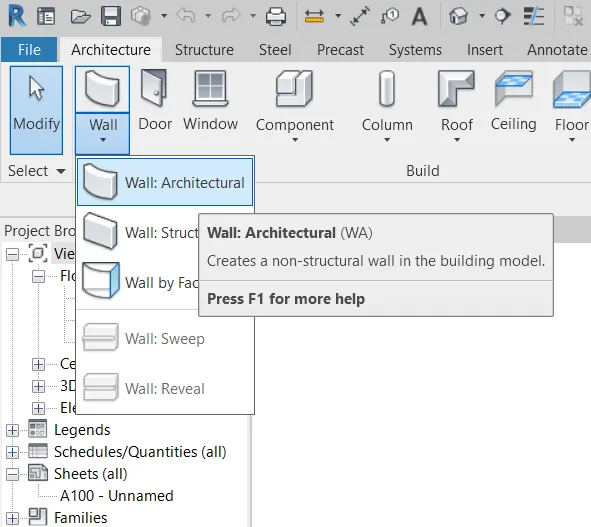
- Select the architectural section from the tool bar and select wall type as Wall : Architectural.
- Draw the wall.
- AIM- To give dimensions to wall using annotate tool bar.
STEPS-
- Go to the annotate bar in the toolbar.
- Select dimensions and select linear.
- Give the dimension to the wall.
- AIM- To use properties browser to switch different wall types.
STEPS-
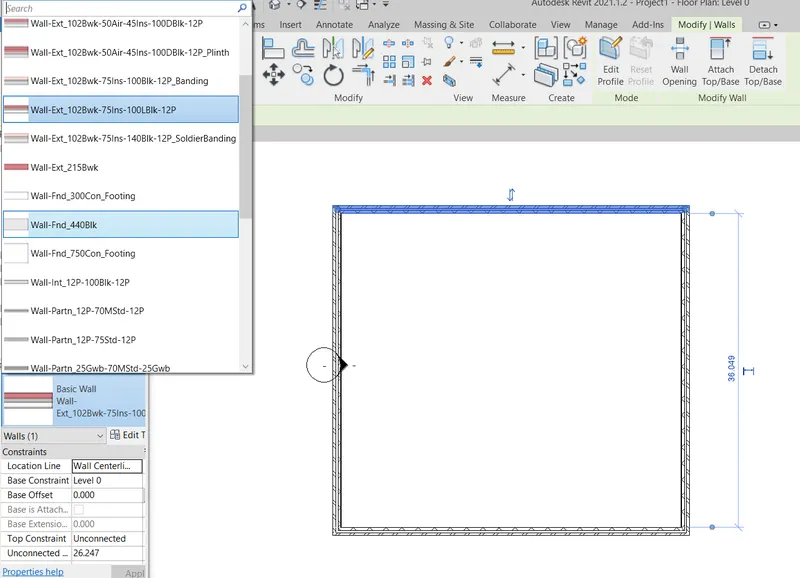
- Select any of the wall.
- In the left hand of the screen there is a dialog box named properties.
- Click on the wall details.
- Select any type of wall details.
- In such way change the wall details of 4 walls.
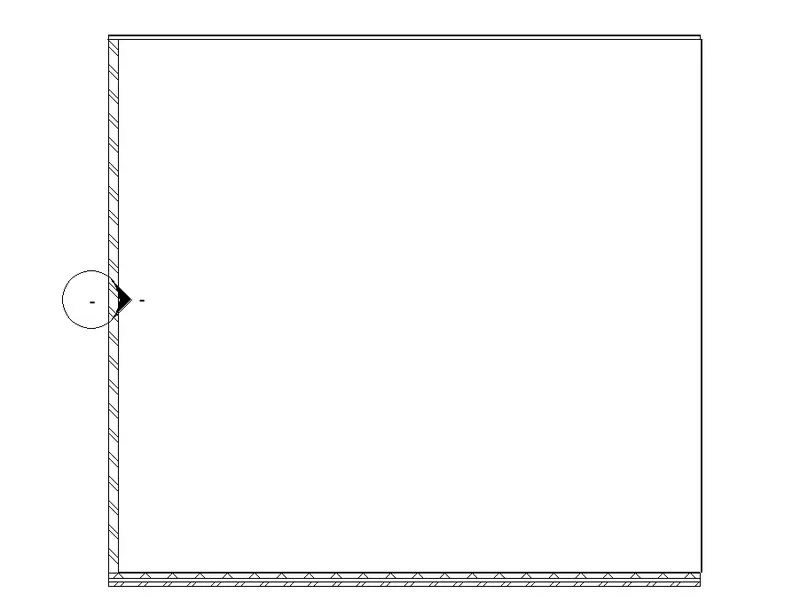
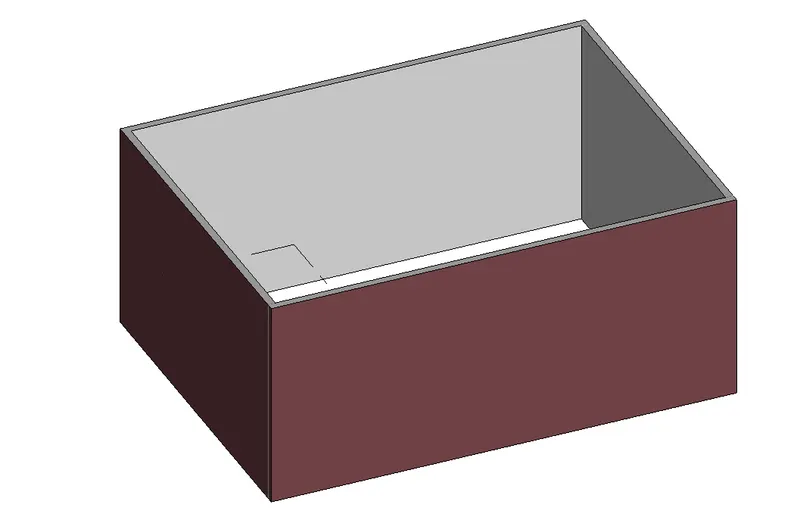
- AIM- To create a 3D view and name the view with approximate name.
STEPS-
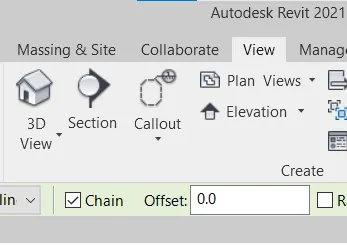
- Go to the view tab.
- Select the 3D view from the tab.
- In the button tool bar there is an option visual style.
- Change the style as desired as shaded, wireframe, realistic etc.
- AIM- To navigate through the 3D model using view cube.
STEPS-
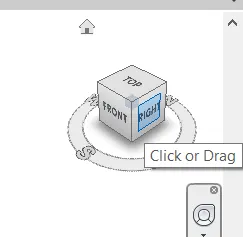
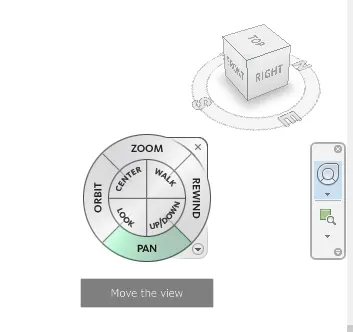
- On the left corner of the Revit 2021 window click on the view cube.
- Rotate the view cube as desired and the 3D objects.
- Switch between standard and isometric model views using the View Cube.
- The View Cube is a clickable and draggable interface tool that allows you to switch between standard and isometric views of your model.
- In a 3D view, click View tab Windows panel User Interface drop-down View Cube.
- Alternatively, click File tab Options. Click the View Cube tab, select Show the View Cube, and click OK.
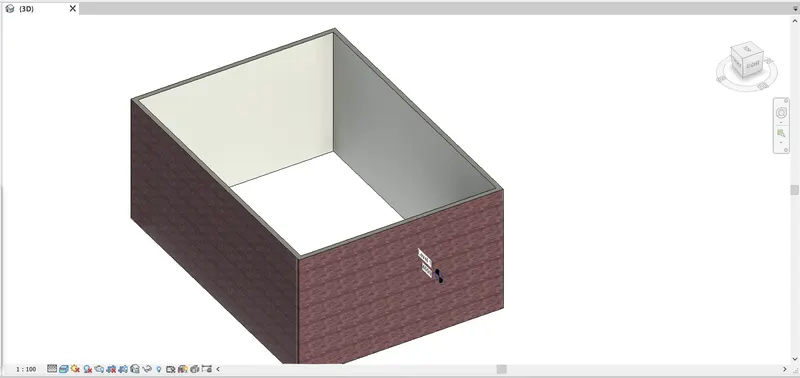
- AIM- To use the visibility settings option below to switch model to shaded, realistic, hidden lines option.
STEPS-
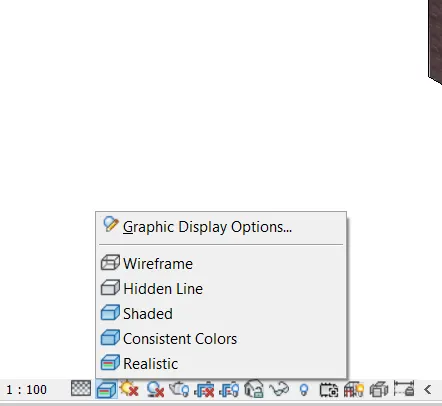
- The bottom task bar consists of the option visual style.
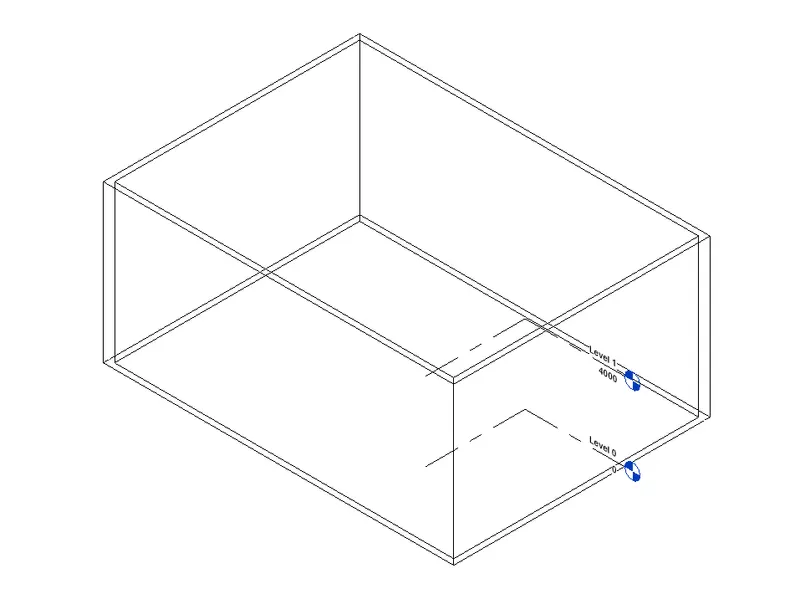
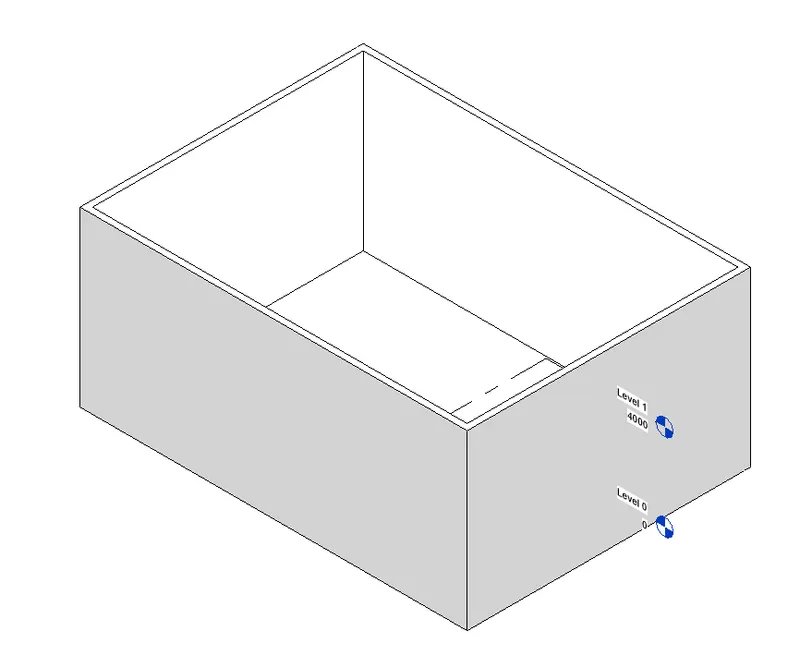
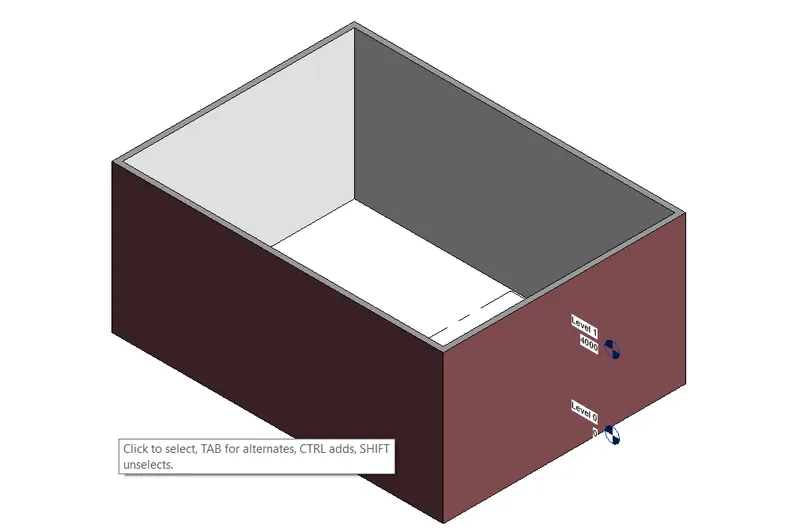
- In the graphic display option, there are different views such as wireframe, hidden line, shaded, consistent lines, realistic.
WIREFRAME-
HIDDEN LINE-
SHADED-
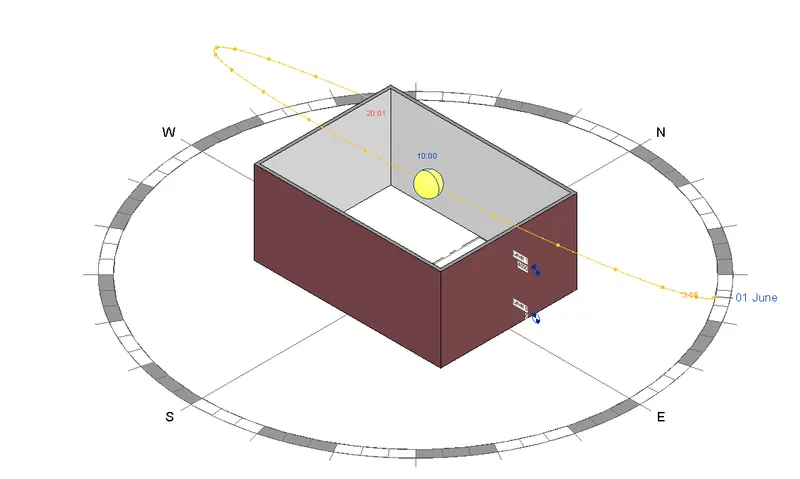
- AIM- To turn the sun path ON and OFF to view shadings in the layout created.
STEPS-
- On the View Control Bar, click Sun Path Off/On Sun Path On.
- Click in an empty area of the view to display the view properties. On the Properties palette, under Graphics, select Sun path, and click Apply. (If the Properties palette is not displayed, click View tab Windows panel User Interface, and select Properties.
- SUN PATH ON.
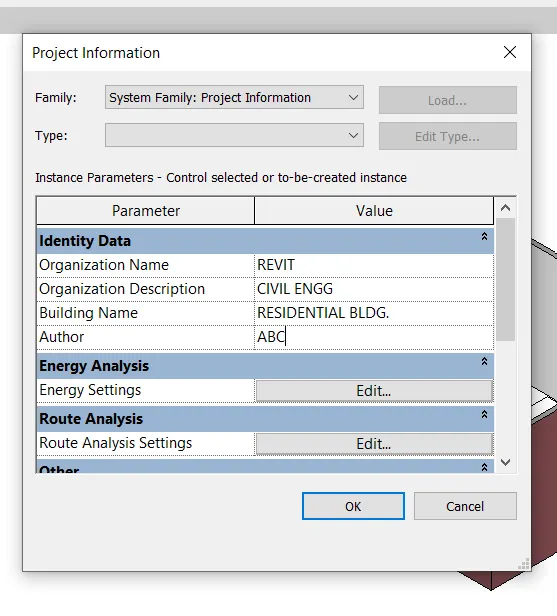
- AIM- Use of manager tool bar.
- The manage tool consists of various options like the object’s styles, snaps, project information, shared properties, project parameters, project units etc.
- It also consists of options such as design options, create study, explore outcomes, manage links, phases etc.

- AIM- Use of Analyze tool bar.
- Use analysis tools to inform decisions during the design process.
- Area Analysis
- Energy Analysis for Autodesk Revit
- Heating and Cooling Loads Analysis
- The Structural Analytical Model
- Analysis Results Exploration and Management
- Display Styles for Analysis Add-In Applications
- Room book, Area book, and Building book Extensions for Revit

- AIM- The links that Revit supports to be linked to the model.
STEPS-
- Open an existing model or start a new model.
- You will link another model into this model.
- Click Insert tab Link panel (Link Revit).
- In the Import/Link RVT dialog, select the model to link.
Links in Revit -
- Link Revit.
- Link IFC.
- Link CAD.
- Link Topography.

- AIM- Use of Collaborate Tab in Revit.
- Revit provides several different ways to collaborate with team members who are also using the software.
- You can link multiple Revit models together, allowing team members to work in context.
- Through work-sharing, users on the same local area network (LAN) can work together in the same Revit model.
- When collaboration needs to occur among users who are not in the same geographic location, use Revit Server or Revit Cloud Work-sharing.
- Revit Server connects offices who share a network but are not in the same geographic location.
- Revit Cloud Work-sharing is a cloud-based service that allows any Revit users inside or outside a network to collaborate on a Revit model.