Introduction to REVIT concepts
Answer 1)
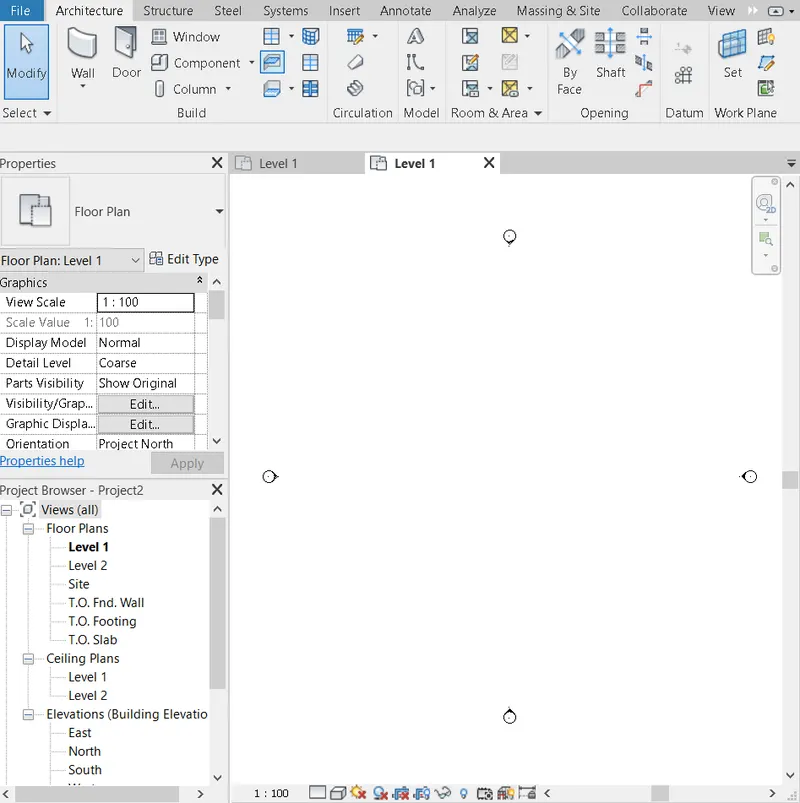
click file > click new > select the template "Structural / Architectural / Construction template" >press ok
the following screen is seen
Answer 2 )
Press save and name your file > select the location of the save file
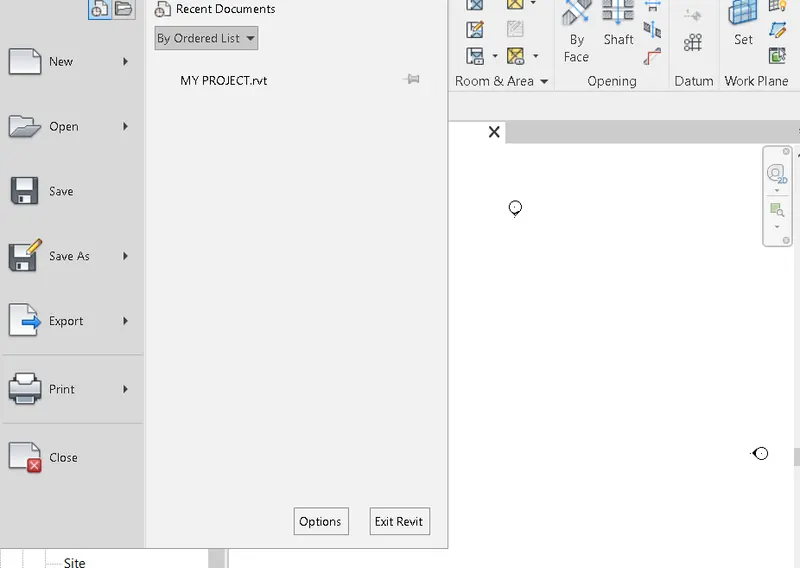
close revit > open revit > click on file on toolbar > click on the file name saved.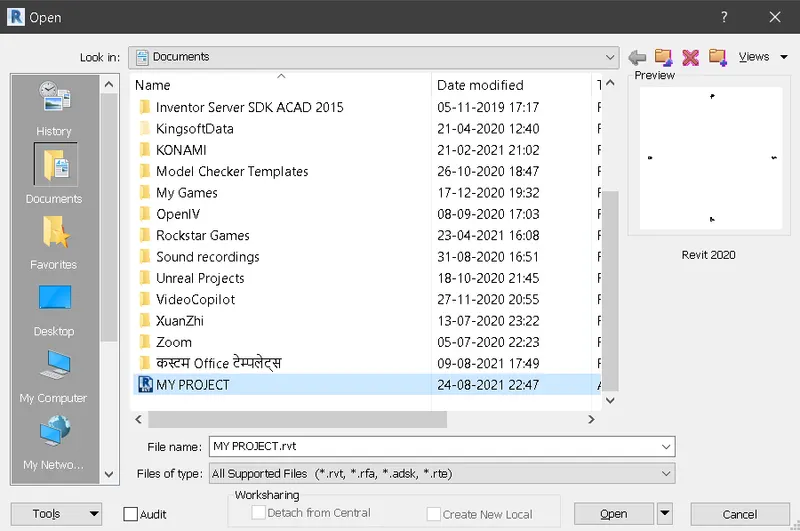
DONE.
Answer 3 )
click on wall choose architectural or structural
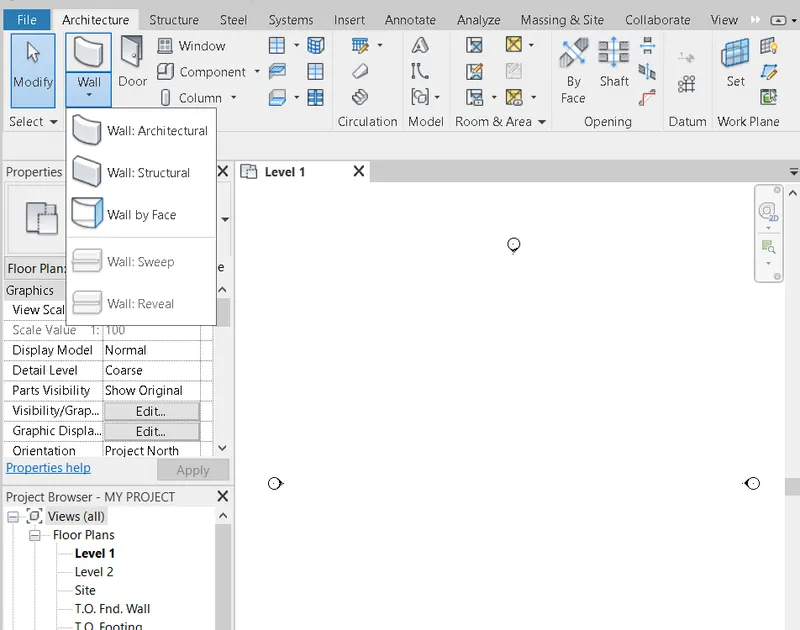
choose the thickness of the wall form properties tab
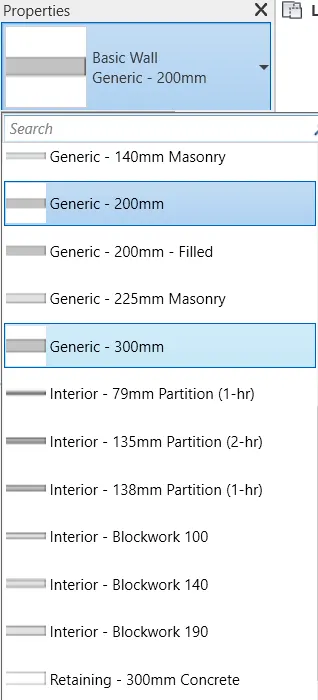
then draw in the drawing area between the area of the markers
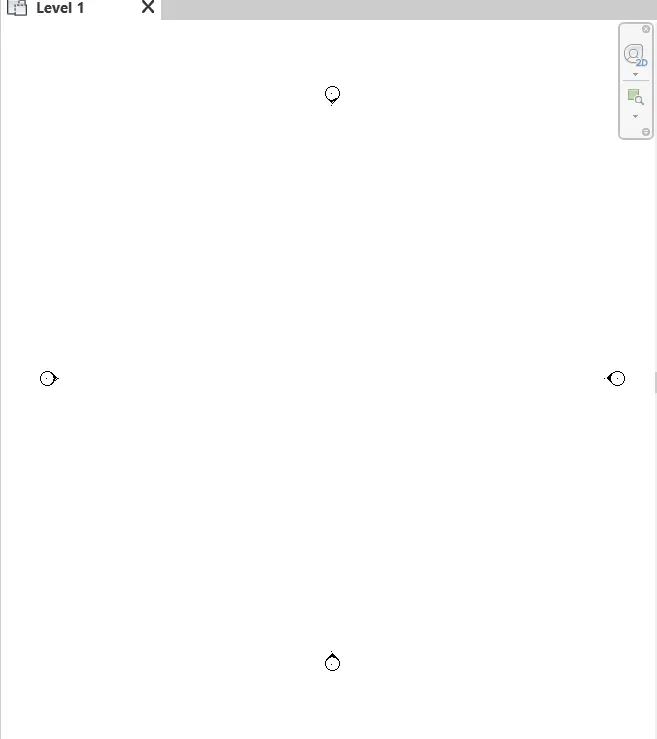
*make sure your set the units to the desired set of units in my case its feets and inches
draw the line for the desired length here its 40' X 35'
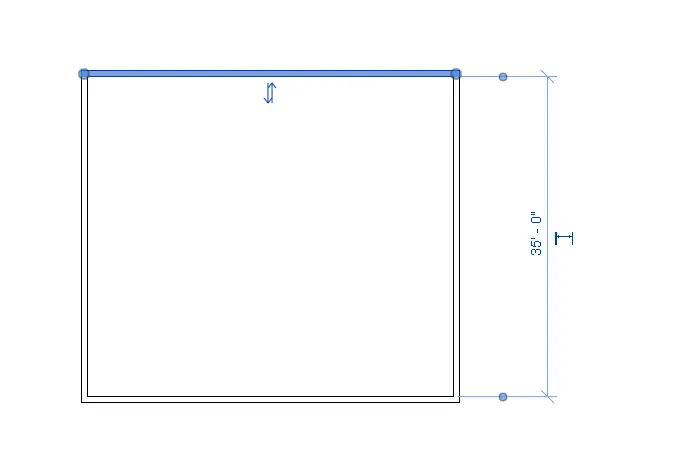
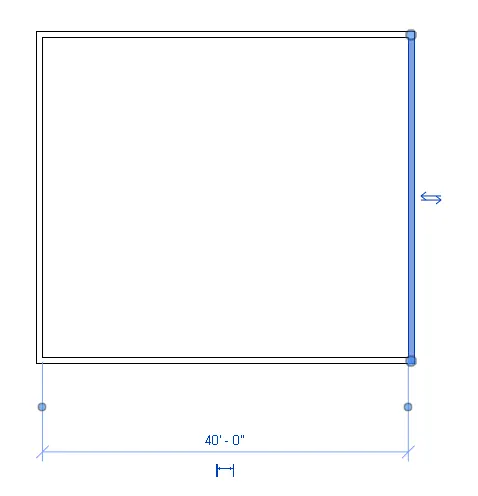
Done.
Answer 4)
using annotate to add dimension to the layout

click on the aligned and select the layout or the dimension to be known
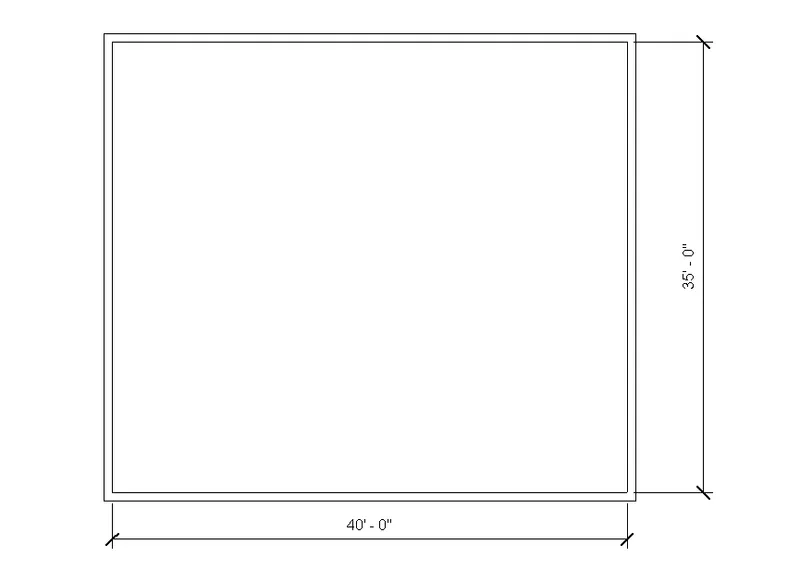
done.
Answer 5)
Click on the properties tab to change the properties of the
click on edit type to select the materials, wraps and etc
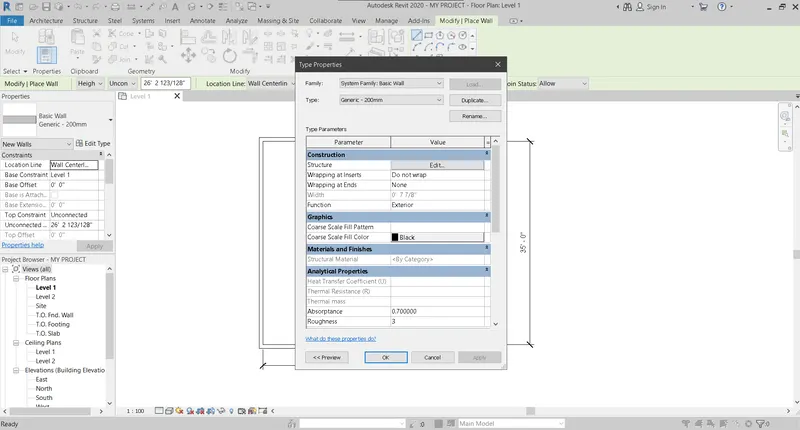
click on the parameter > construction > structures click on edit to change the properties of the wall
Answer 6 )
3D view
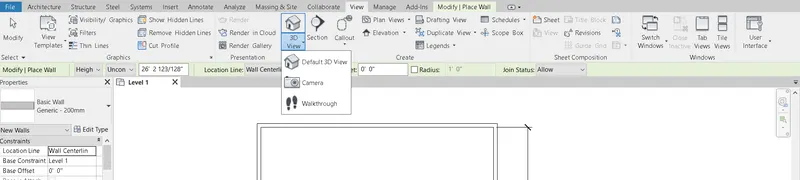
click on default 3 D view
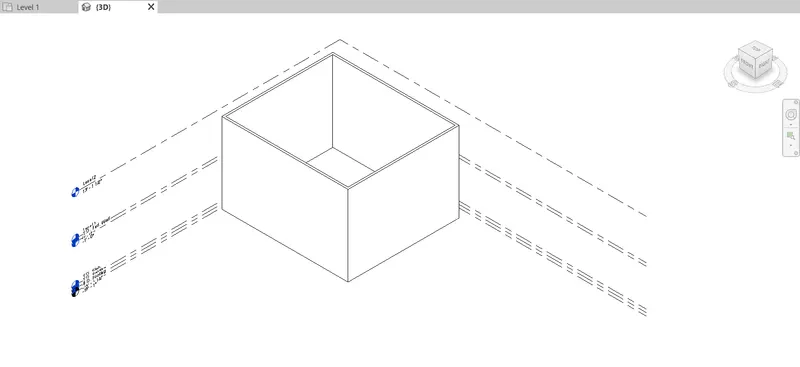
rename the view
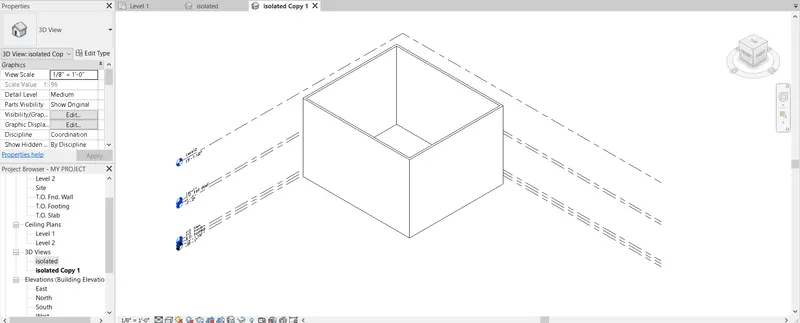
here its isolated view
Answer 7)
Orbit through the pannel on the right top .
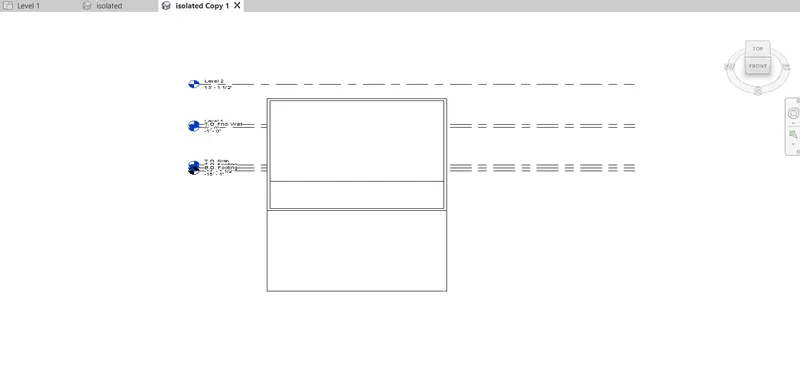
top-front
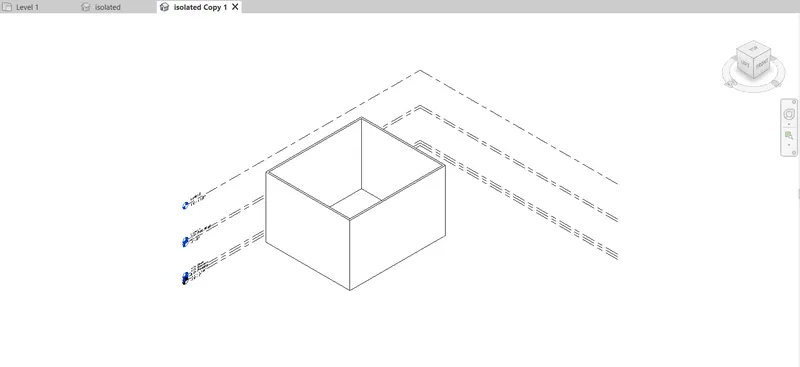
View 2 rotatoted anti clockwise
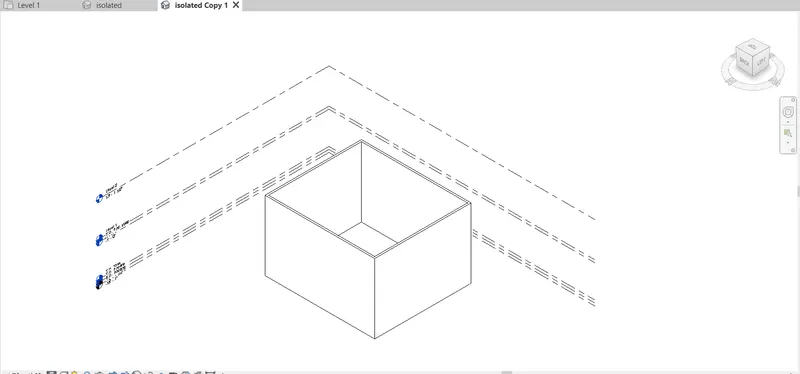
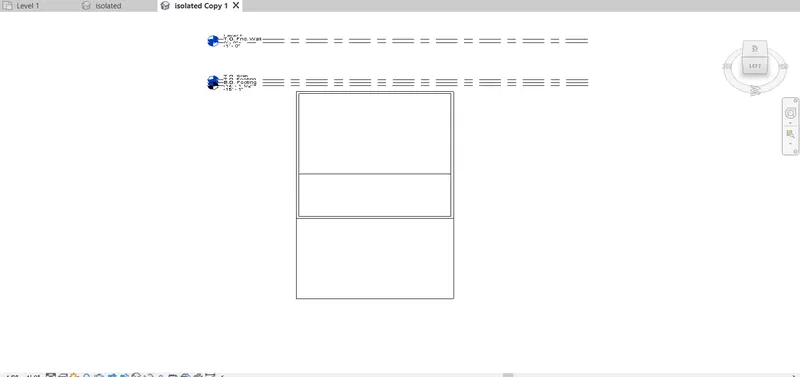
Answer 8)
shaded,
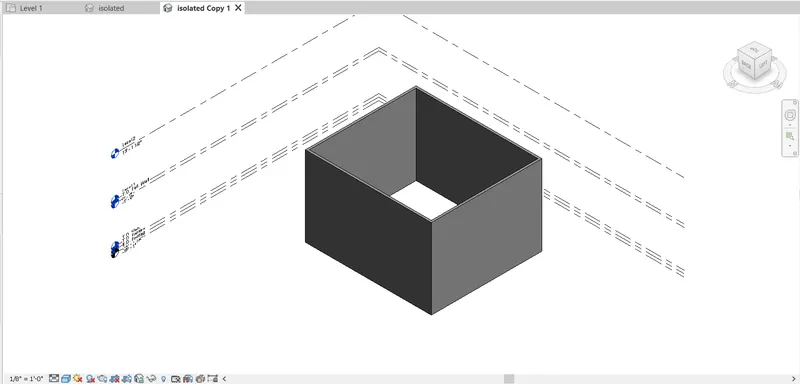
realistic,
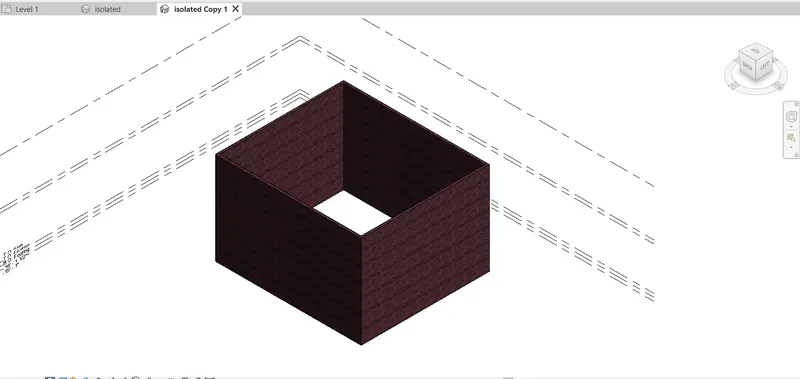
hidden lines,
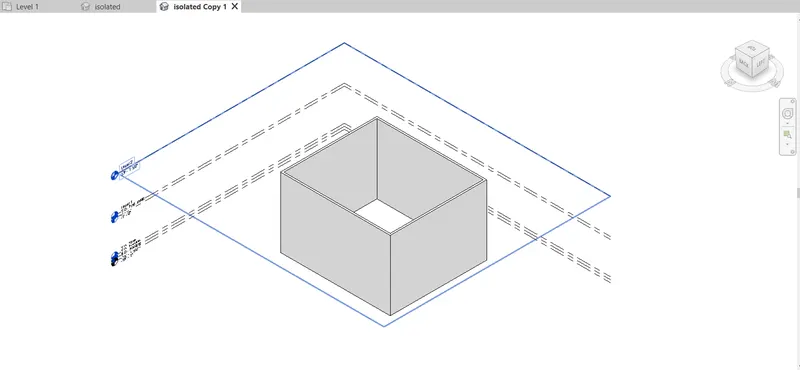
Answer 9)
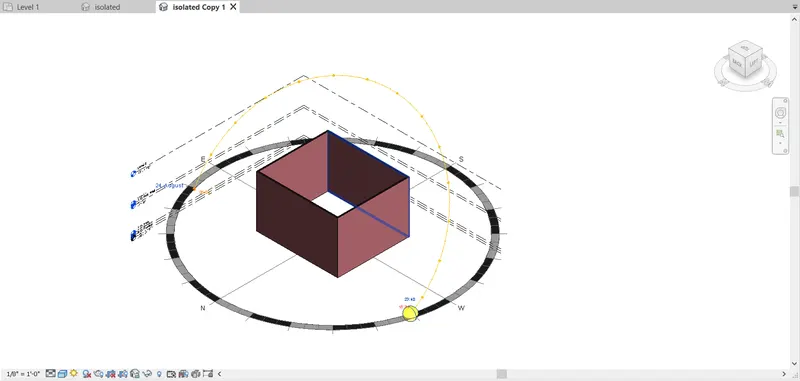
SUN path ON.
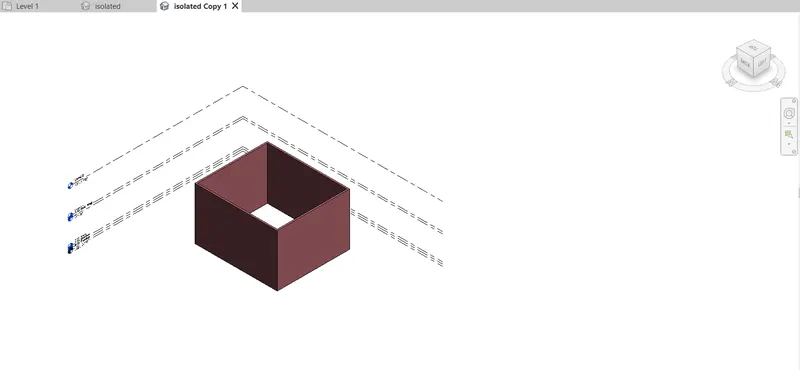
SUN path off
Answer 10)
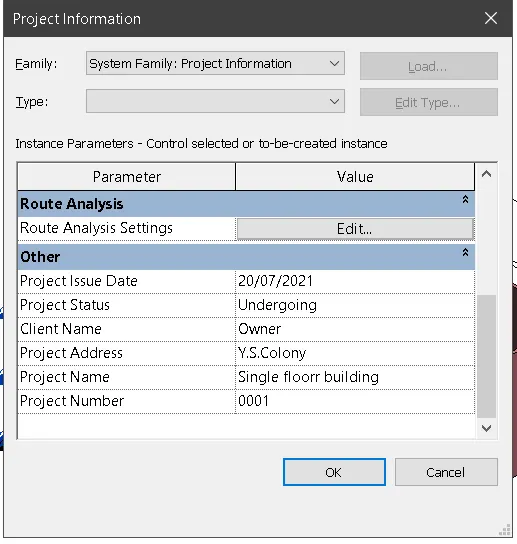
In Manage Tab > click on project information.
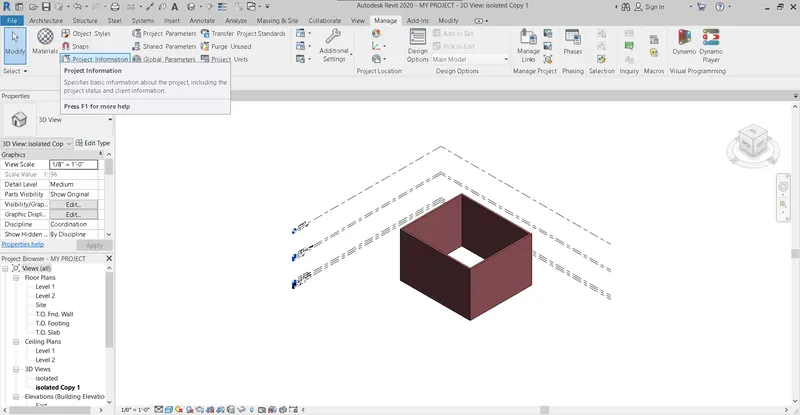
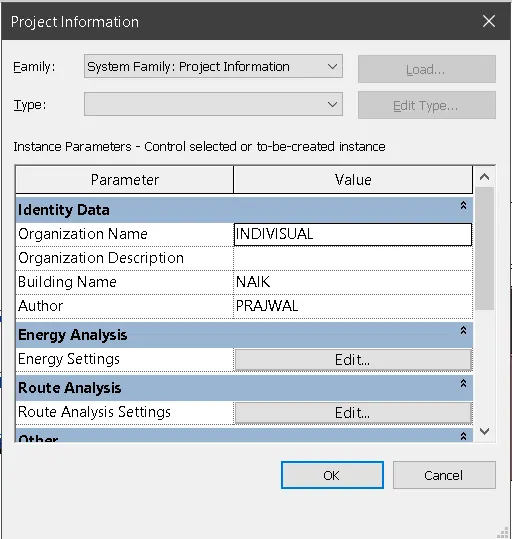
Here changing the name, location, owner, project status is updated or provided.
Answer 11 )

- The analyse toolbar helps you to perform analysis on our structural buildings.
- the boundary conditions enable you to define point line and area bnoundary conditions in an anlytical model.
- It will verify the boundary conditions in an analytical model.
- It will verify the boundary condition family types are loaded and assigned in your parametric features of the structural model.
- We can also apply point load to a model to evaluate the performance of the building.
- Adding, Editing of load casest define the design standard suggested load case of the project.
Answer 12)
Linking is done basically to combine all the different structures to one campus of a large project which helps in analysing the project thorougly.
When you link a model into a project, Revit opens the linked model and keeps it in memory. The more links a project contains, the longer it can take to open. Linked models are listed in the Revit Links branch of the Project Browser. You can convert linked Revit models to groups, and you can convert groups to linked Revit models
Answer 13)
Revit allows all the project members to collaborate there sstructures in link with each others without using any third party softwares which itself increases the efficiency and time consumption of the usage of the other softwares.
Here you can link multiple revit models together, allowing team members to work together in the same revit model, helping the most for the users are not from same geographic location.