Introduction to REVIT concepts
Introduction to REVIT concepts
AIM:
To create a new project in Revit software with introduction to Revit concept
INTRODUCTION:
Revit is BIM software widely used by architects, engineers, and contractors to create a unified model that all disciplines and trades can use to complete their work.
PROCEDURE:
1.Open the Revit software and select Imperial-Architectural template.
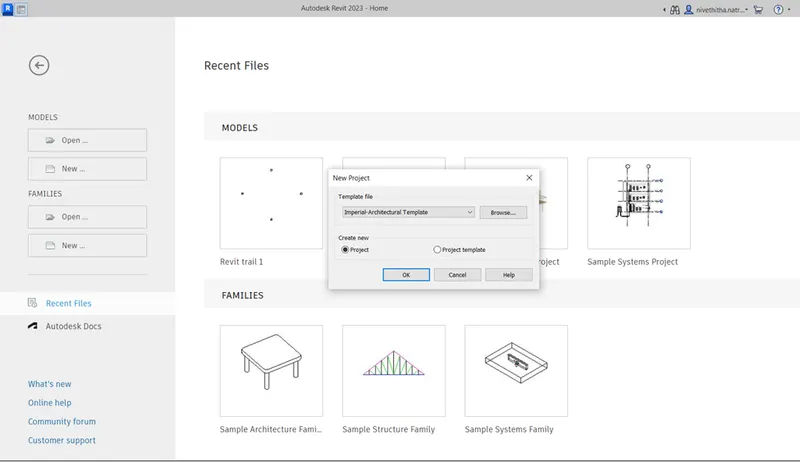
- After entering inside click file tab in the left corner and click save which will displays the following popup. Give the name and click save
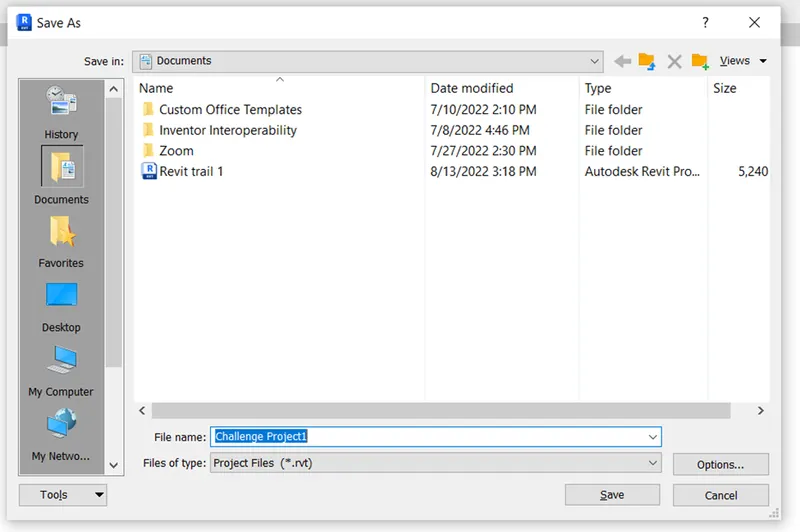
2.Close the software and open it again and click open
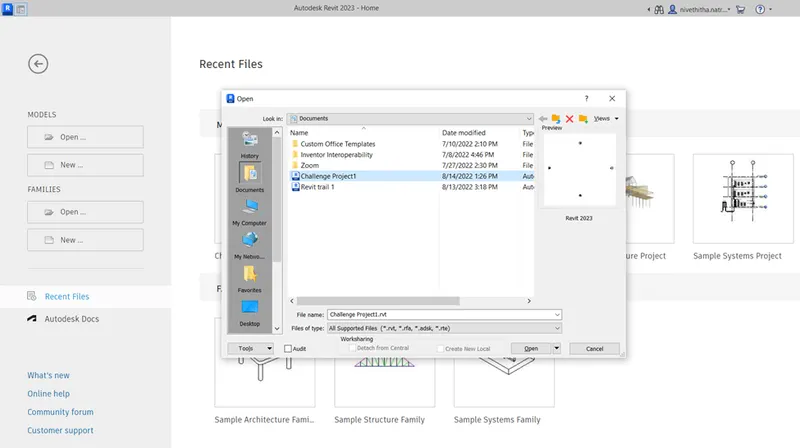
- Select the previously selected name “Challenge project 1” and click open
- From Architecture tab select wall in that select wall architecture.

- Select line command

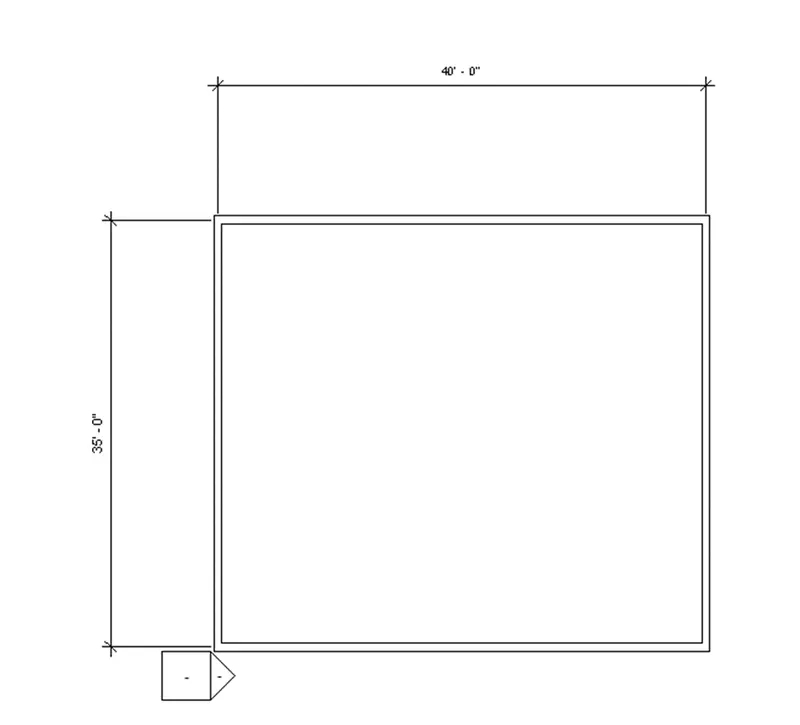
- Specify the first point and give length as 40’ and move the cursor down and enter 35’ and move the cursor to the left and enter 40’ and close the diagram
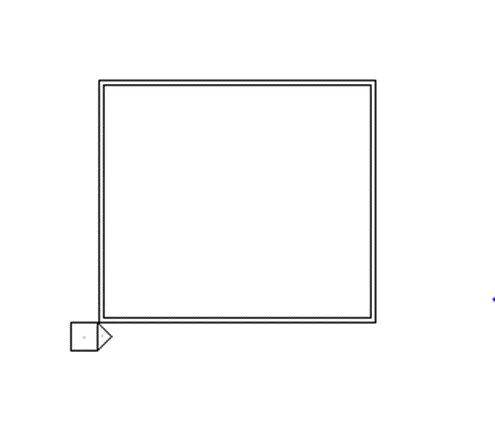
4.Go to annotate toolbar and select aligned dimension

- Select the parallel lines to give dimensions on both directions
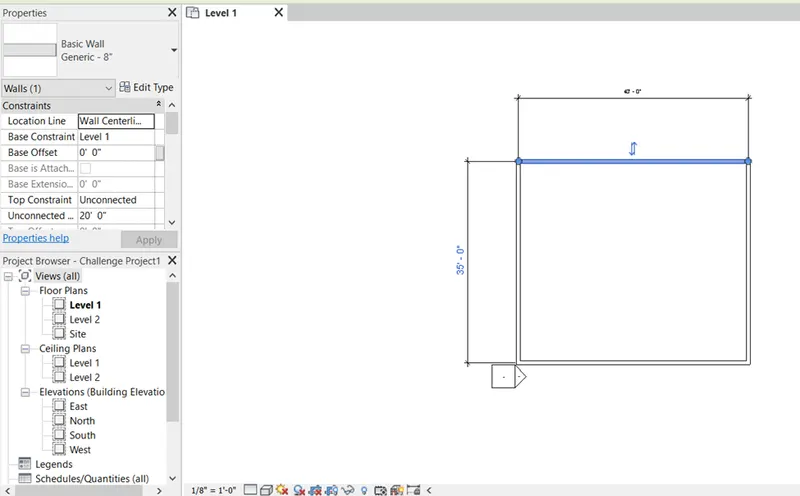
- To change the wall type click the wall and properties of that wall will be displayed in the property browser
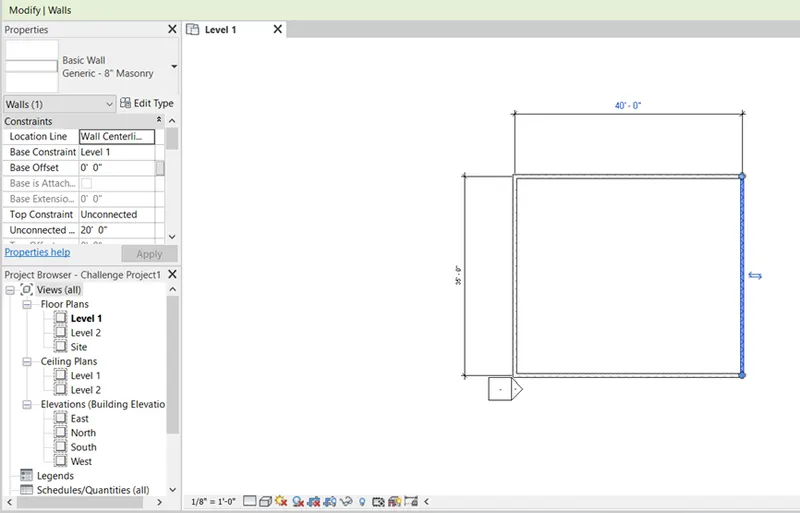
- Select any type. For example, here Generic 8” Masonry is selected
- For changing the view to 3D and save it by a name.
- Select Default 3D view on top which will display as shown below
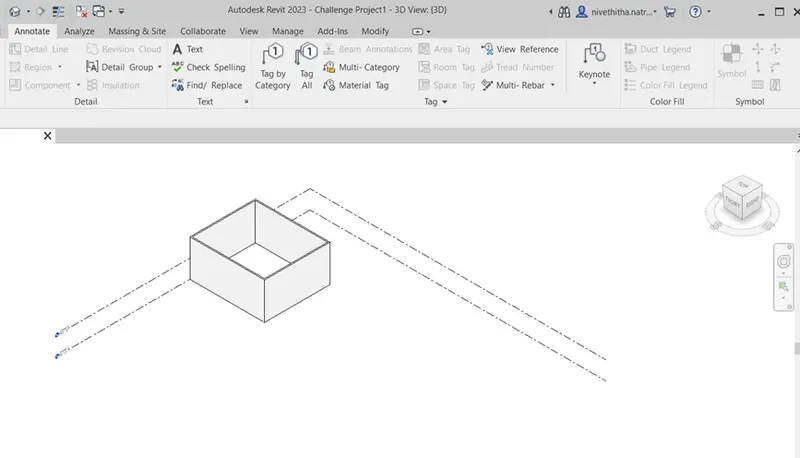
- Click the view on the right to change the view and right click and click save view and give name as view 1 and click ok
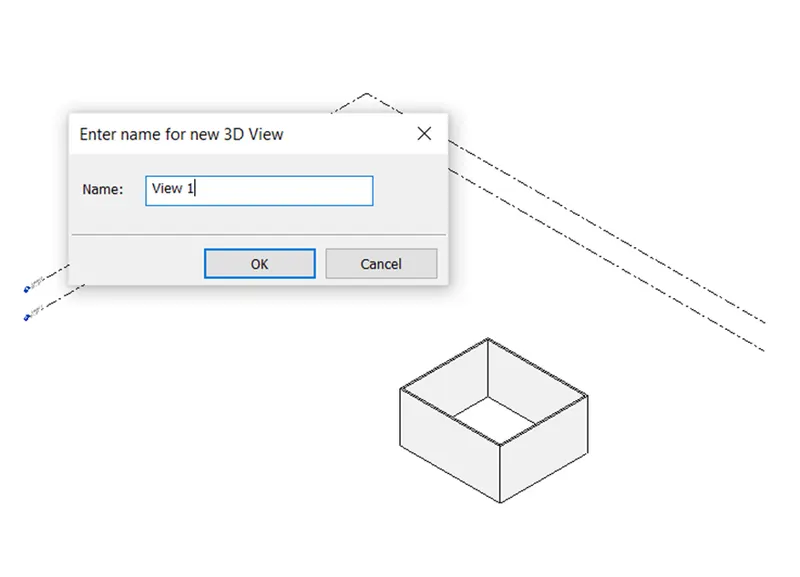
- 7.To use the navigation bar
- Go to view tab and select user interface drop down and select navigation bar if the navigation bar is not available on workspace.
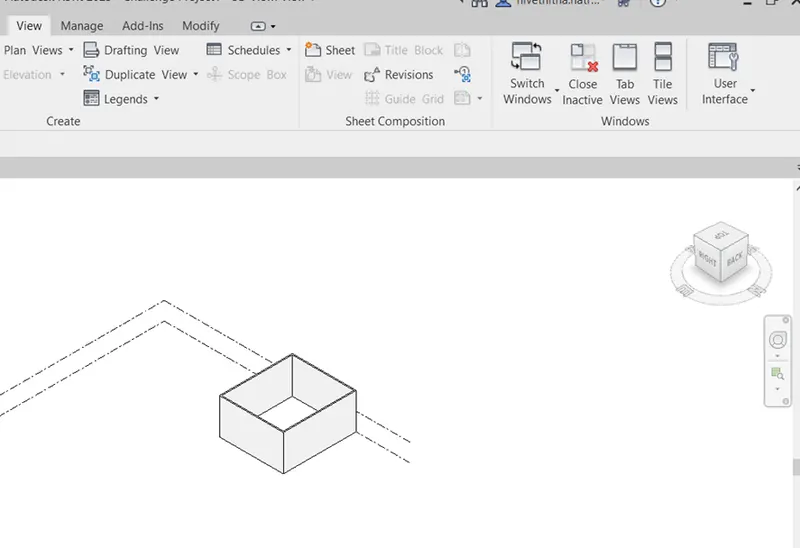
- This is the orbit bottom view
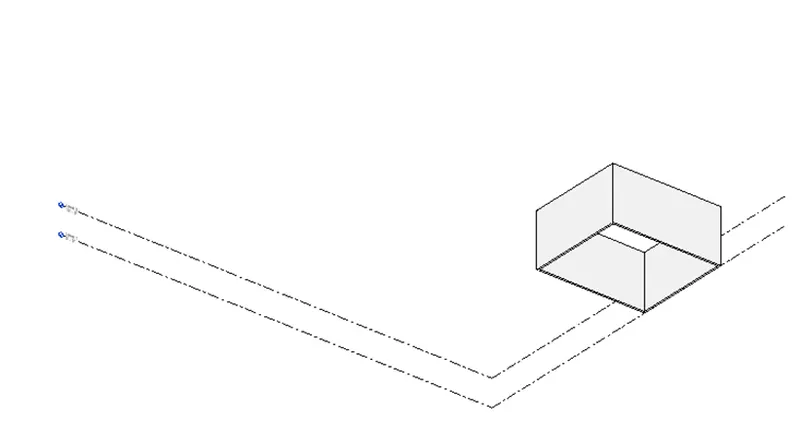
- To switch model to shaded, realistic, hidden lines options:
- Click visual style cube in the status bar and select realistic view
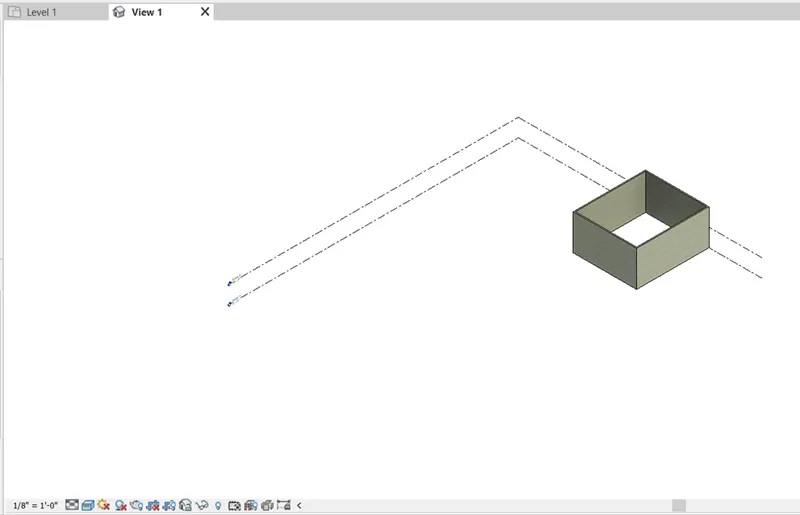
- Again, click visual style cube in the status bar and select shaded view
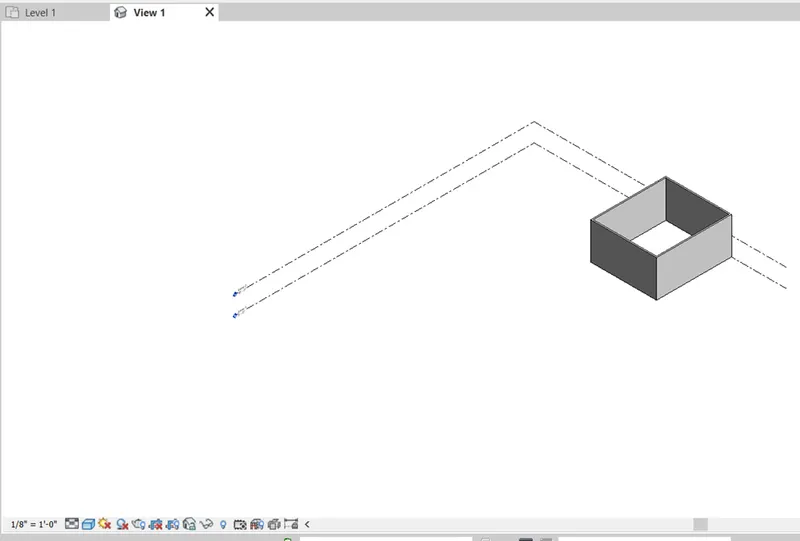
- Again, click visual style cube in the status bar and select hidden lines view
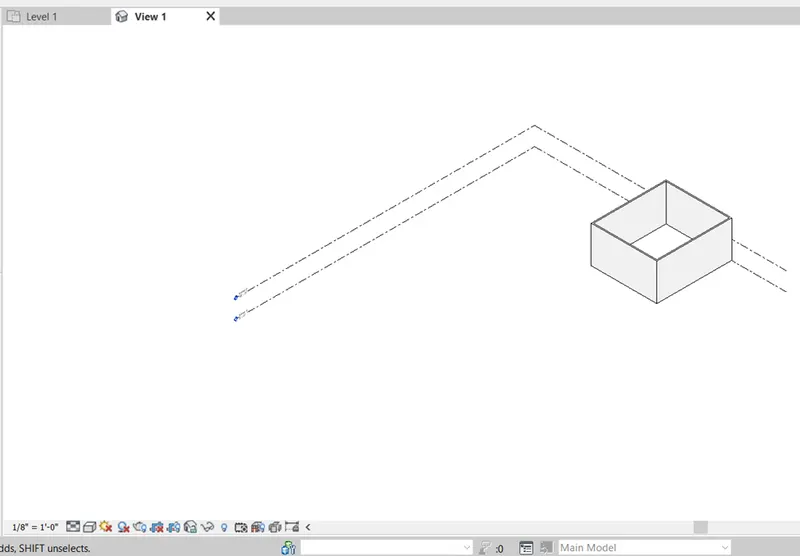
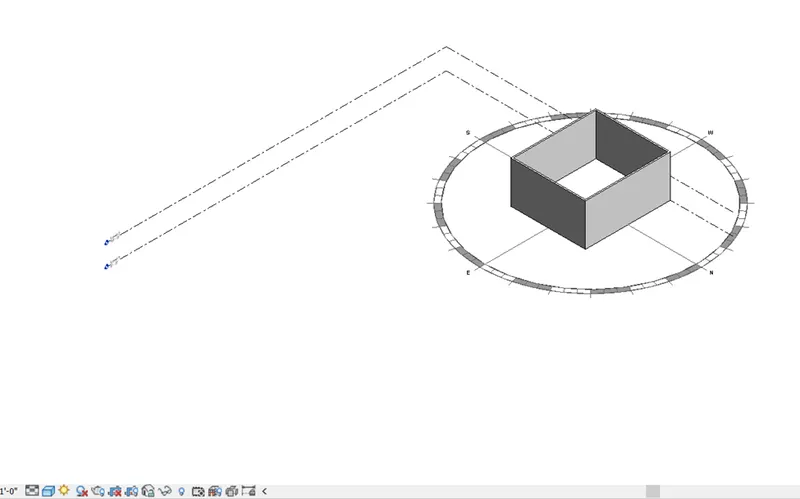
- To turn the sun path on and off to view shadings in the layout created select the sun path on and off symbol

- Click the sun setting to make the setting changes
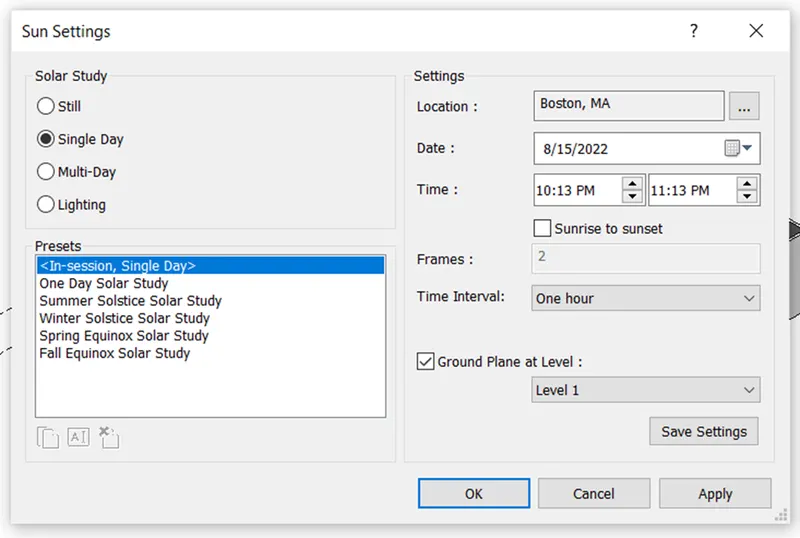
- The image of sun path on is shown below
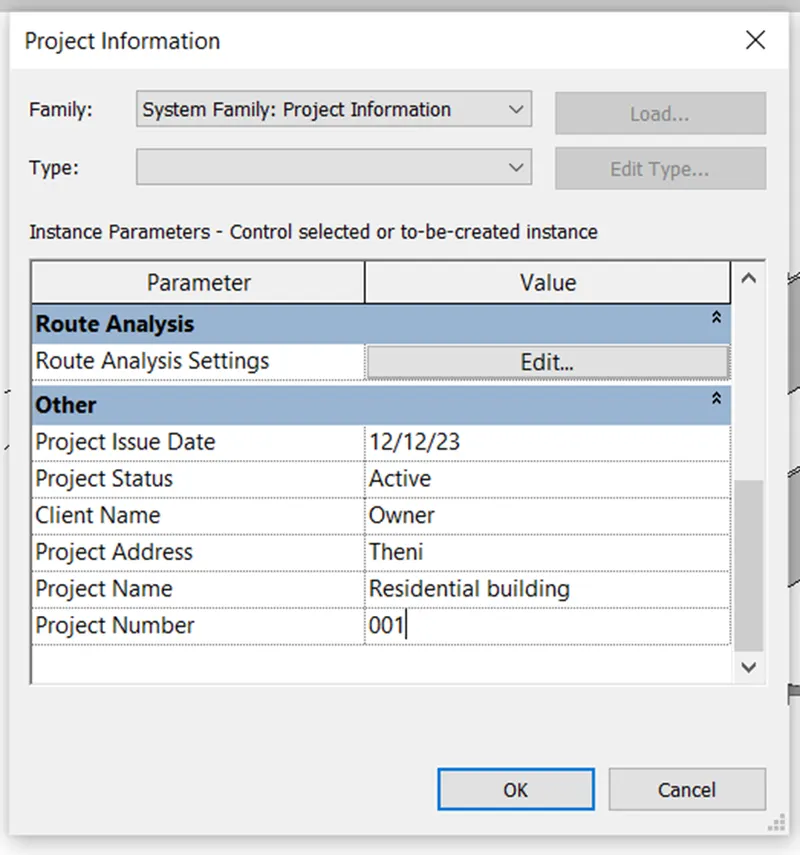
- To enter project settings, go to manage tab and select project information icon

- It will display project information dialog box. There enter the project details
- The Analyze toolbar is used to analyze on structural building with some of the following parameters
- Boundary condition
- Load
- Load cases
- Load combination, etc.
It is beneficial for design and modeling by giving analysis about
- Energy optimization
- Electrical analysis
- Structural analysis
- Structural analytical model
The analyze tab is shown below

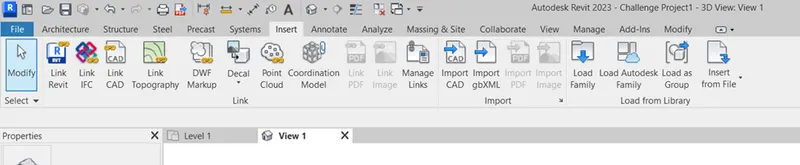
- The links that Revit supports to be linked to the model are shown below
- The Collaborate tab in Revit are mainly used for
- Work sharing by adding or editing multiple Revit models of a current project
- It helps different engineers to work together in a project at the same time
- Central model, which acts as the distribution for all the changes made to the model so all the owner can have their own copy.
- Cloud sharing
It supports modeling and its efficiency via
- Visual template
- Color fills
- It allows the users to define parameters as the design progresses for better efficiency.
- Collaborate tab is shown below

Results:
Hence the new project is created with the basic concept by the above steps.