Introduction to REVIT concepts
Q1.
AIM-
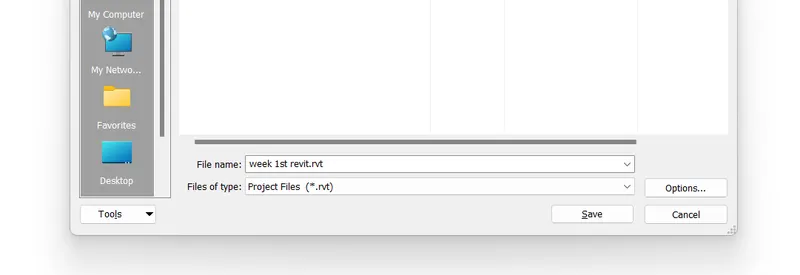
To create a new project from the file menu and give tham the name appropriately.
INTRODUCTION-
Its a file which is when we draw amy proct than we save that project in file with this name.its help to find that project when we need.
PROCEDURE-
STEP :1
First open the revit software and see the top left corner and press file option.
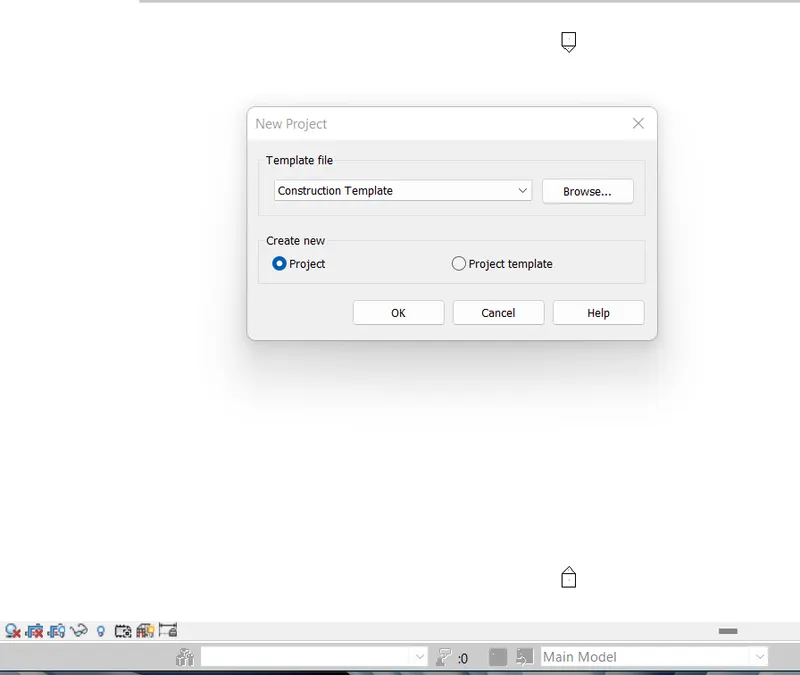
result
Q2
AIM
TO SAVE THE NEW PROJECT FILE AND NEED TO OPEN AND CLOSE USING ICONE FROM FILE TOOLBAR
INTRODUCTION-
its need to insure that if we are working on revit and after complite project we have to save.
PROCEDURE-
OPEN THE FILE TOOLBAR, CLICK ON THE SAVE OPTION , AND RENAMME THE PROJECT NAME OFTER THAT PRESS THE ICON OF SAVE.
NEXT. we we have to exite than agin open the fie tab and see the bottom and cliick the close icon.
RESULT
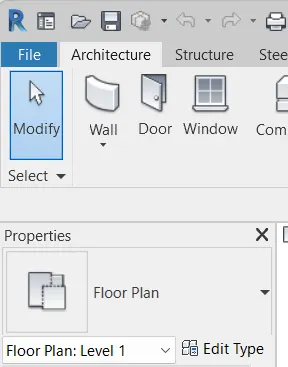
NEXT if we have to close.than
Q3
AIN-
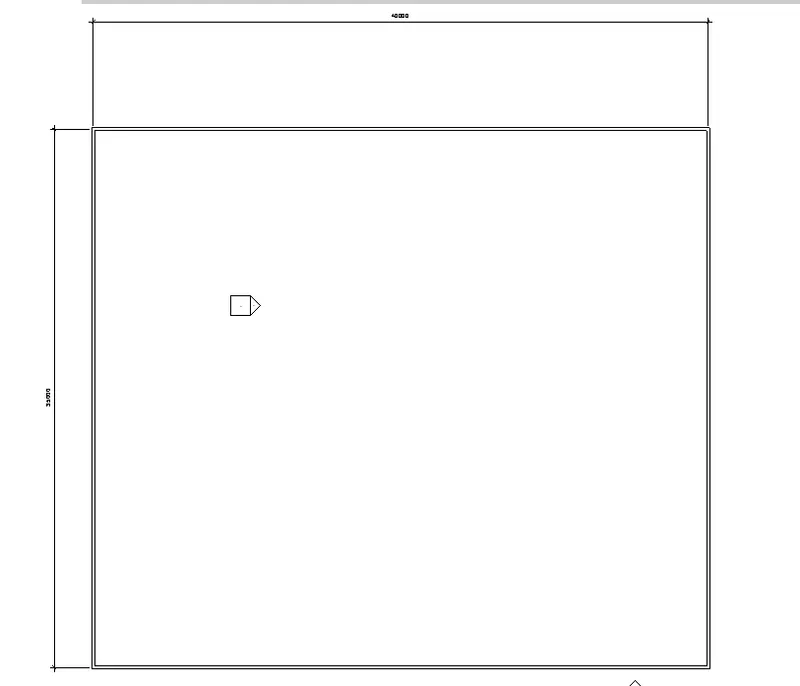
From architectural /structural toolbar draw a rectangular layouut of wall 40'x35'.
PROCEDURE-
First click on the architectural /structural toolbar after than click wall icone.
after that select type of wall and select thickness of wall
after . the moment you do that you can see modyficantion of wall tool bar open
and you can select as you need you take line option, rectengular option ect you can take
after that you can draw a wall as length you want or need.
RESULT.
Q4
AIM
SHOW THE DIMENTION OF WALL WHICH IS YOU DRAWN
PROCEDURE
GO ANOTATION BARE AND SELECT DIMENTION ICOn.
result.
Q5
AIM
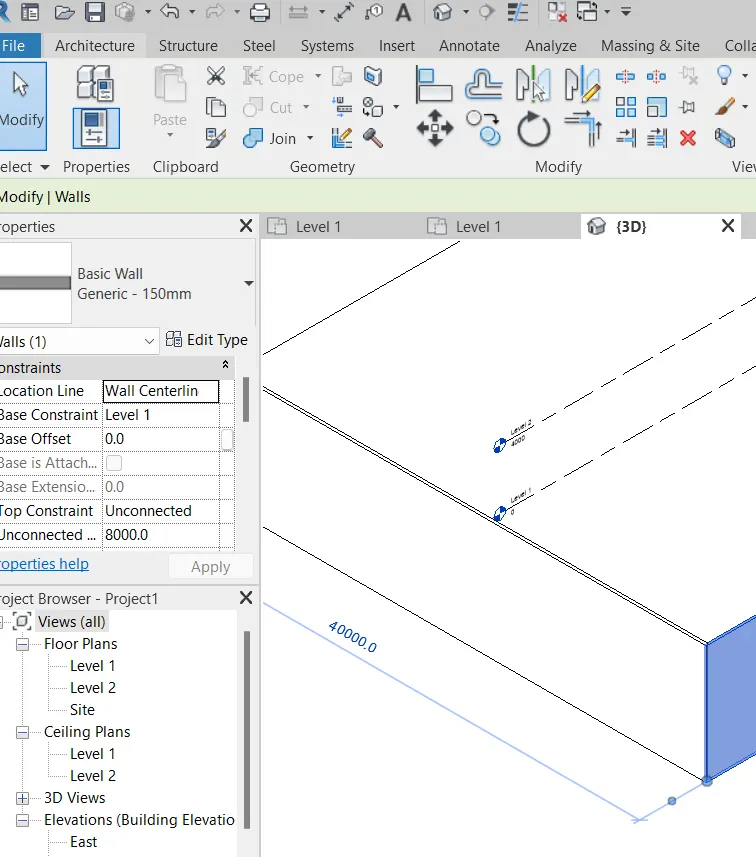
switch the defferent types of wall usingg properties browser.
introduction.
ist very usefule option to modify any think by select tham and use of propeerties brouser we can done
procedure .
just place the kurser on which wall or any think you want to modify and press tham after slect you can see propertis browser hilight and you can modyfy that.
result.
Q6.
aim
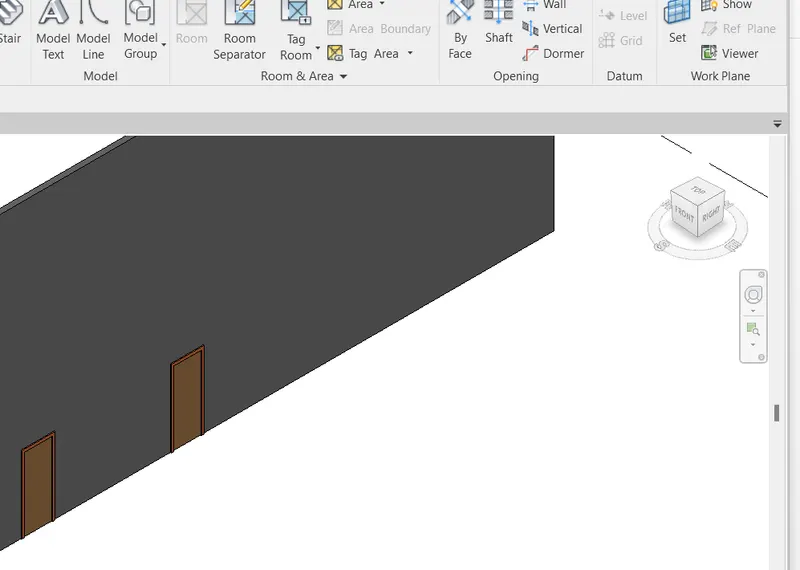
to create a 3d view.
procedure.
go to 3d view and set the workspac as you want and go to near by view cube and press the icone than go to save view and set the name as you want .
result.
Q7
aim
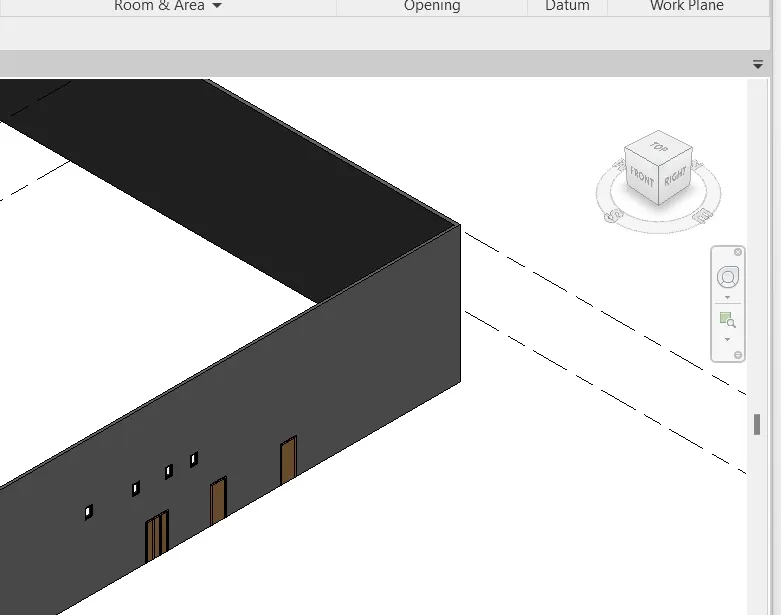
use view cube to navigate 3d project
procedure.
result
Q8
AIM
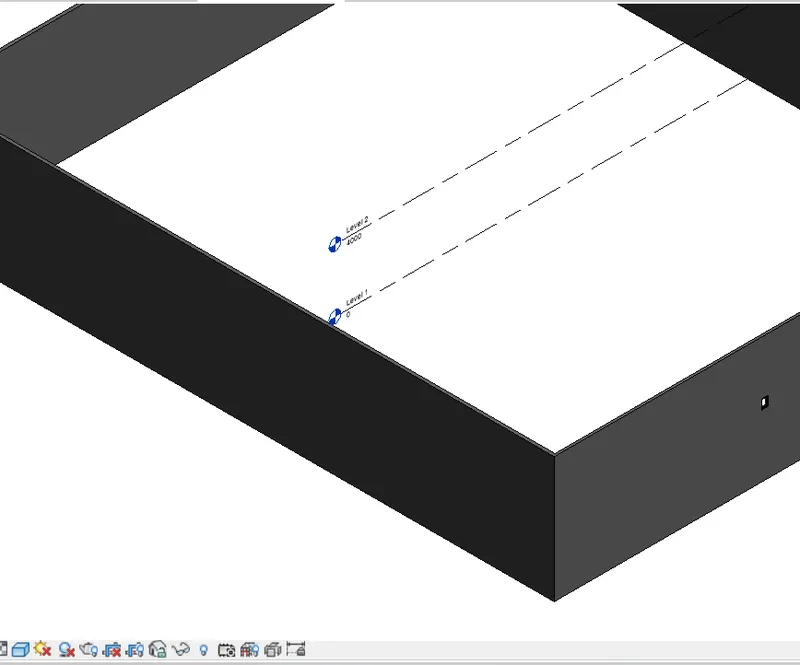
use the visibility setting option to switch model to shade, realistic, hidden etc,
procedure
result
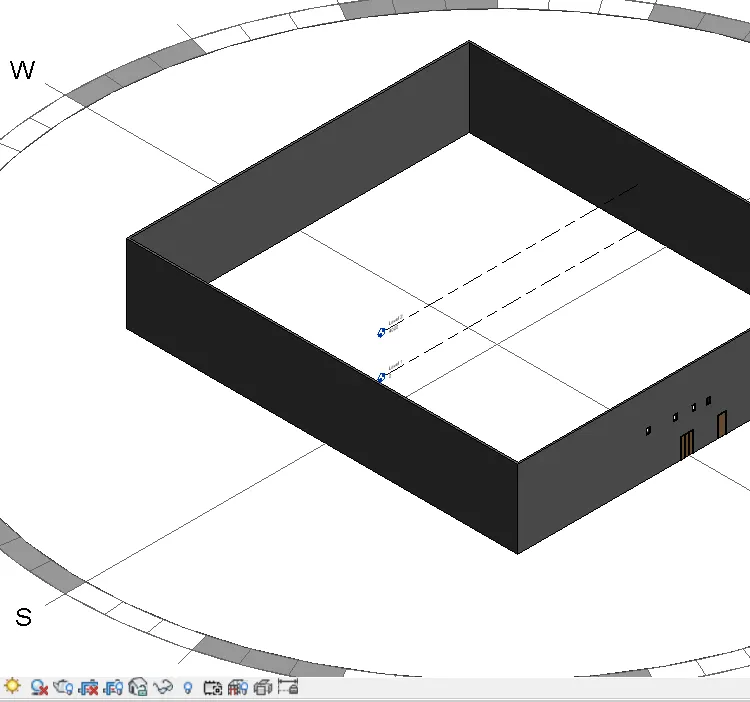
Q9
AIM
to turn the sun path and off to view shading in the layout.
result
Q10
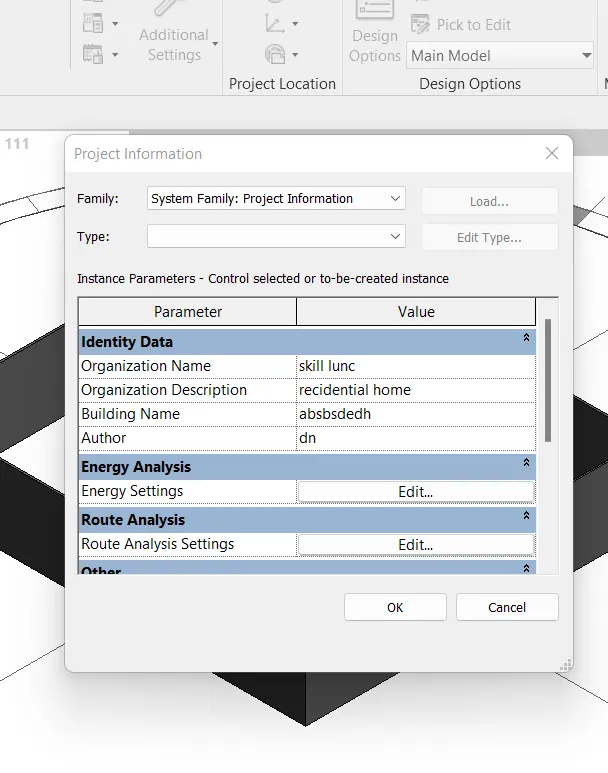
AIM
Use the manage tooolbar to enter project setting , project name and project issue date.
PROCEDURE
go to manage tab and click on the icon of project information.
RESULT.
Q11
ANALYZE TOOLBAR- Analyze toolbar help you to perform analysing on our structural building. the boundary condition enable you to define point line and i area boundary conditions in an analitical model
Q12 what are the links that revit support to be linked to the model.
The link that revit support to be linked to the model \
this allow to link anthore revit model to the current model, eg we can link model together to specify the relazam individual building on a campus.
Q13
why we need the collaboration tab in revit. how its support in modeling and its efficiency.
by collaboration tab you can link multipale revit model in revit , allow team member work in context. throught worksharing users on the same time by another location by using internet,