Introduction to REVIT concepts
1 First open the revit software and then open with architectural/structural template and then click the file tab to save the project
2 By using the revit open the software and then click weather architectural/structural and then save
3 By opening the revit software click the wall button in ribbon tool bar an then by clicking line option we have to create the rectangular layout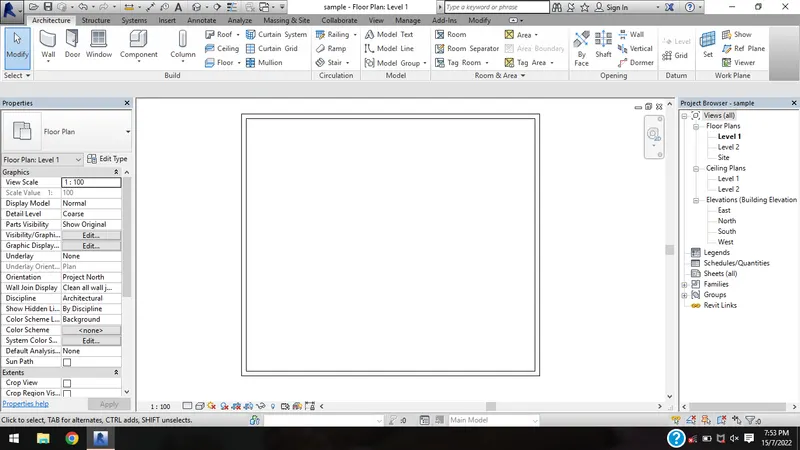
4 After crteating the rectangular layout we have to specify the dimensions by clicking annotate and then click the linear dimension and the select the exterior walls to apply the dimensions 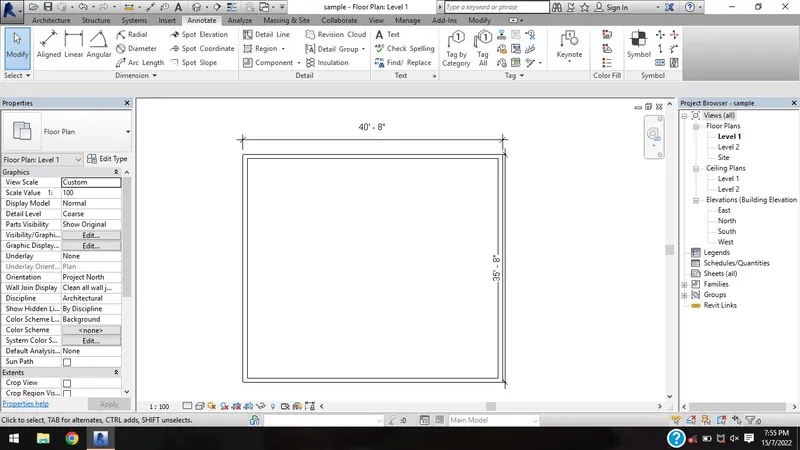
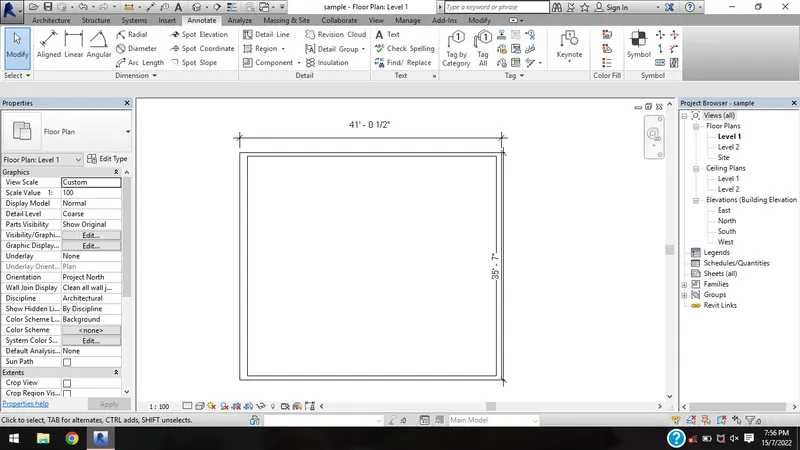
5 To draw the different type of walls at first draw the rectangular layout and by selecting the rectangular plot by one side in the property box change the wall type to different catagory
6 To create 3D view at first rectanguar section is to be drawed and then by clicking view in ribbon box and then select the 3D view by clicking this view it is changed to the 3D view 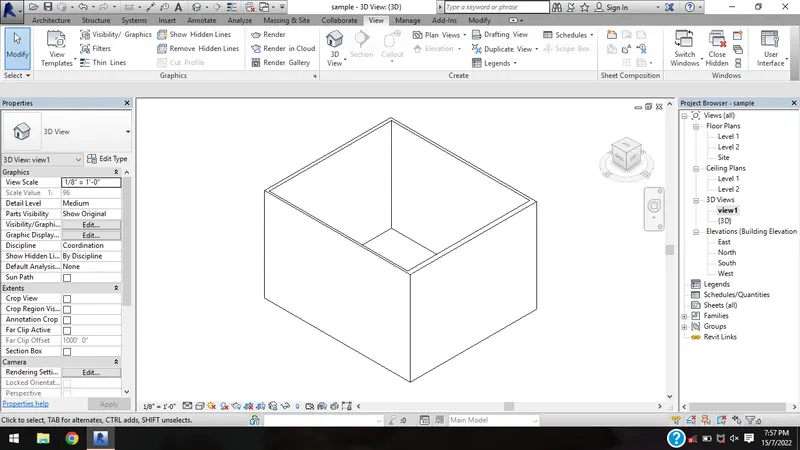
7 Navigation toolbar it is used to pan and zoom the 3D object by using the navigation toolbar I attached my file 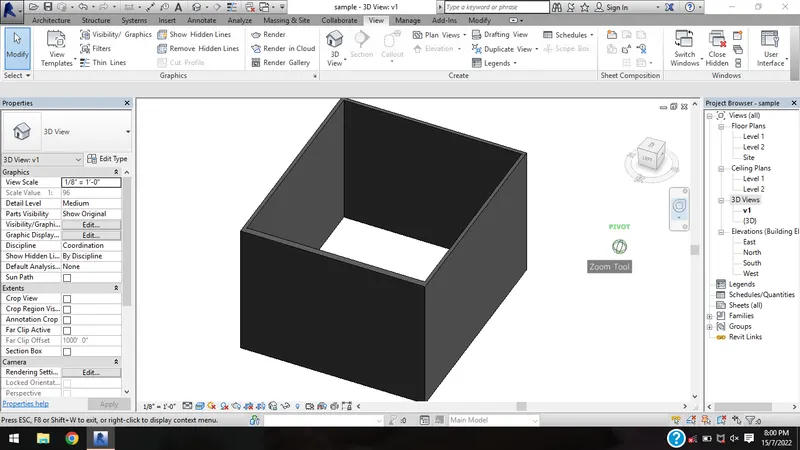
8 By creating the 3D view at the bottom of the revit software shaded,realistic, hidden and some other views are applicable at the bottom of the toolbar
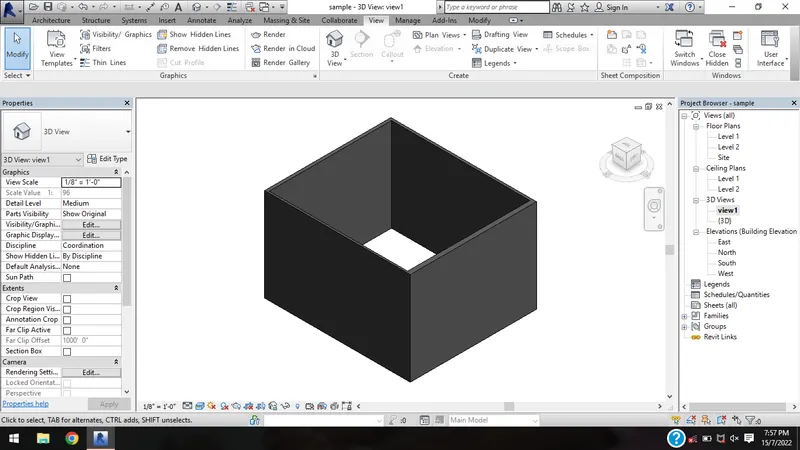
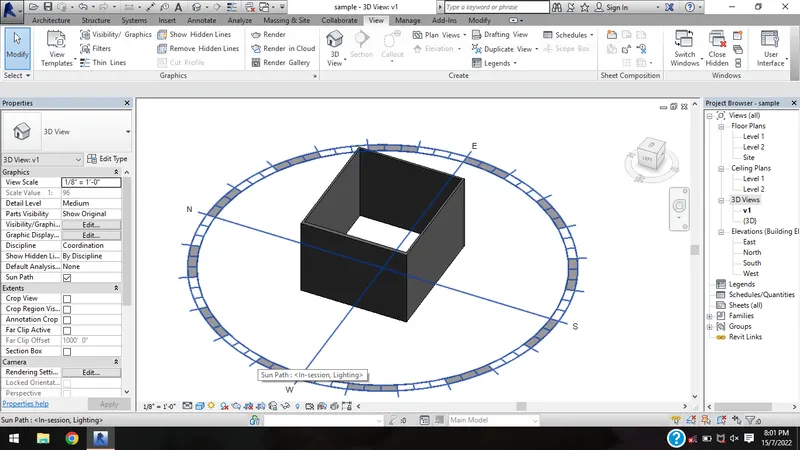
9 To create the sun path setting at the bottom of the toolbar the sunpath tool is availbale by clickinh that tool we create the sun payh view and also we have change the su path settings
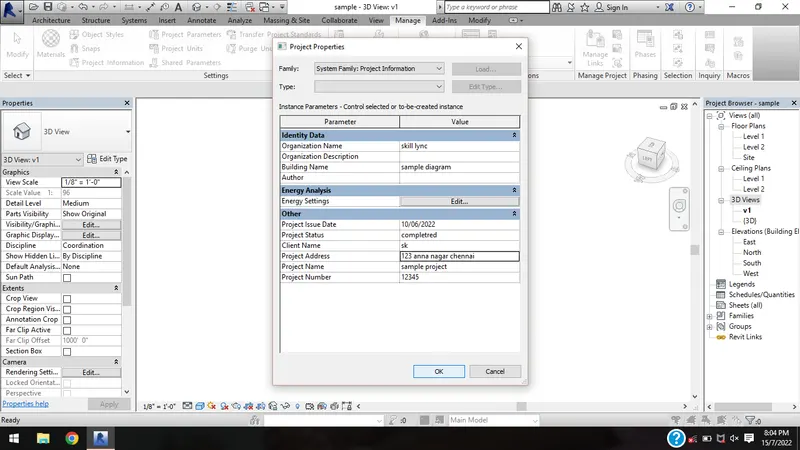
10 by using the manage toolbar we have write some information like project name,details,location etc
11 Analyse toolbar is applicable for the considering of load and it is used in structural analysis in that analyse toolbar boundary condition ,loads in that loads diffent types of loads are available
12 Linking models is primarily intended for the linking separate buildings such as those that compose a campus
13 Collabrate tab in revit supports modelling as
work togather
cloud sharing
work sharing
central model