Introduction to REVIT concepts
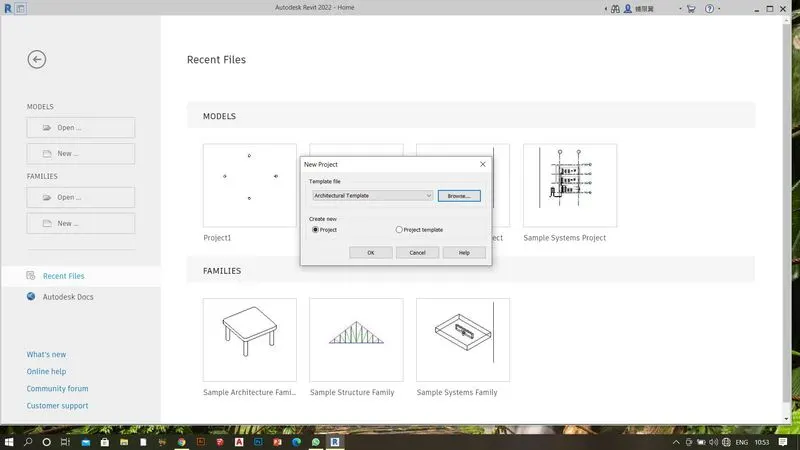
1) From the file menu, create a new project (Structural / Architectural / Construction template ) and name the project appropriately
Ans:
Aim: To create a new project file
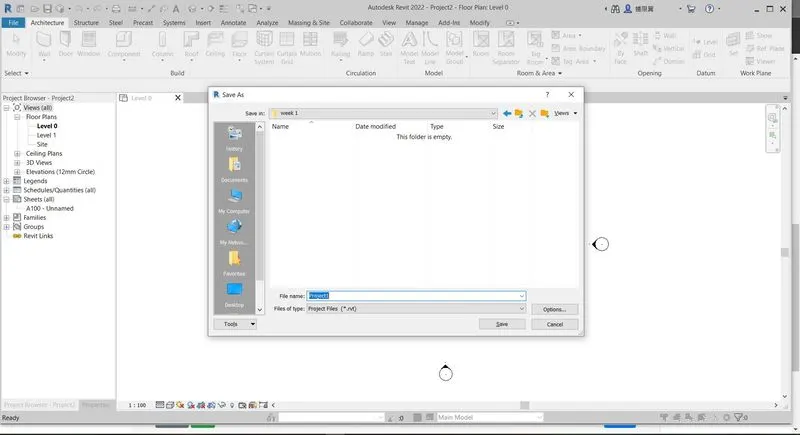
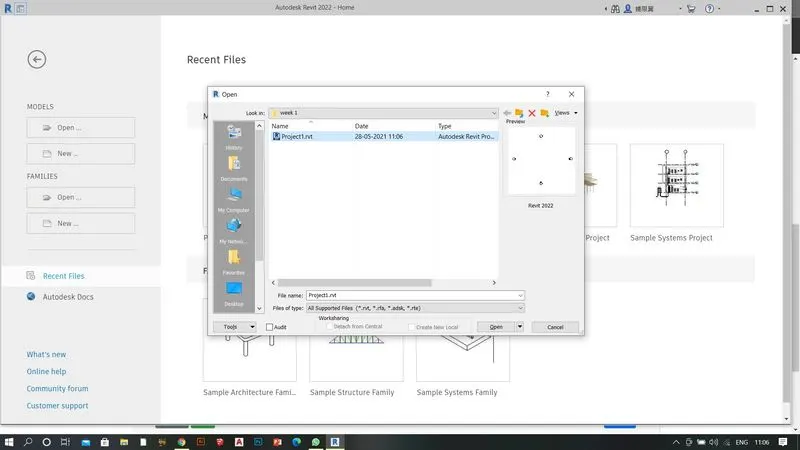
2) Save the new project file. Close and open using icons from the file toolbar
Ans:
Aim: to save the new project file
Aim: Close and open using the icon on the toolbar
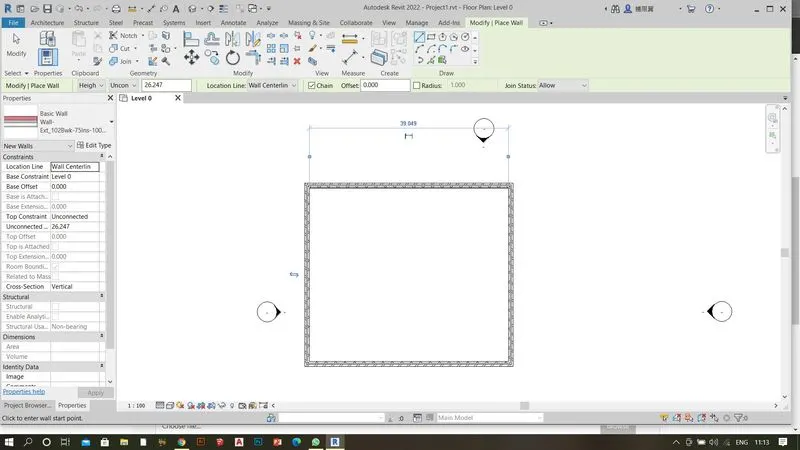
3) From the architecture/ structure toolbar familiarize yourself with options to draw a wall. Create a rectangular layout of walls of about 40’-0” X 35’-0”
Ans:
Aim: To create a walled rectangle about 40’-0” X 35’-0”
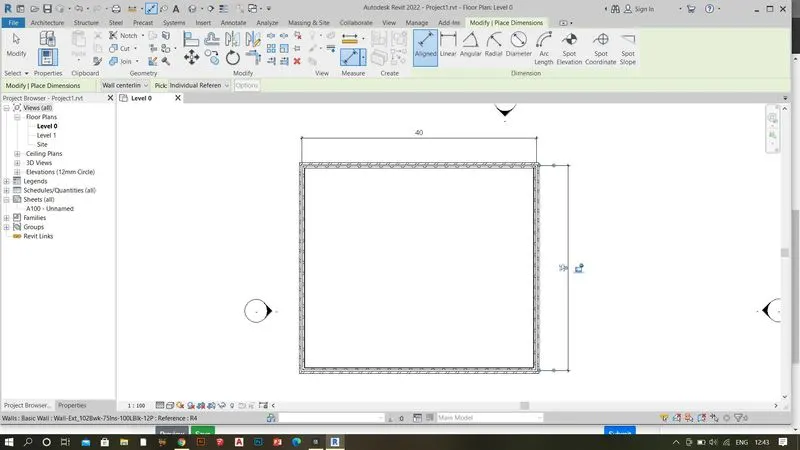
4) From the Annotate toolbar use the aligned option to add dimensions to the layout
Ans:
Aim: Add dimension to the drawing
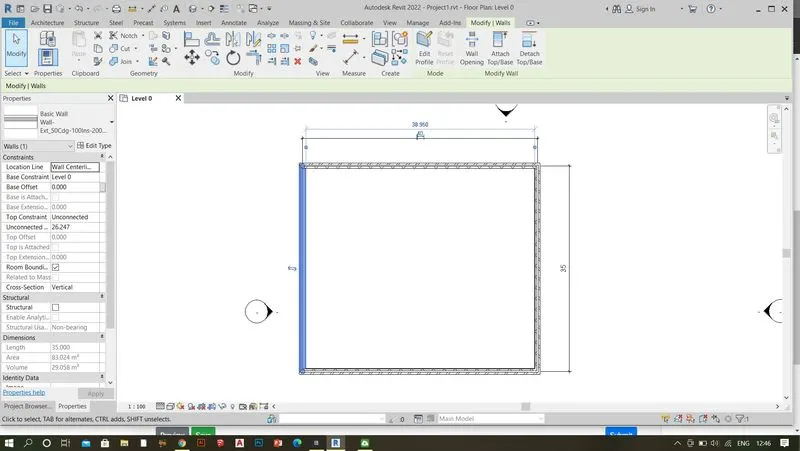
5) Use the properties browser to switch to different wall types
Ans:
Aim: Switching different wall types
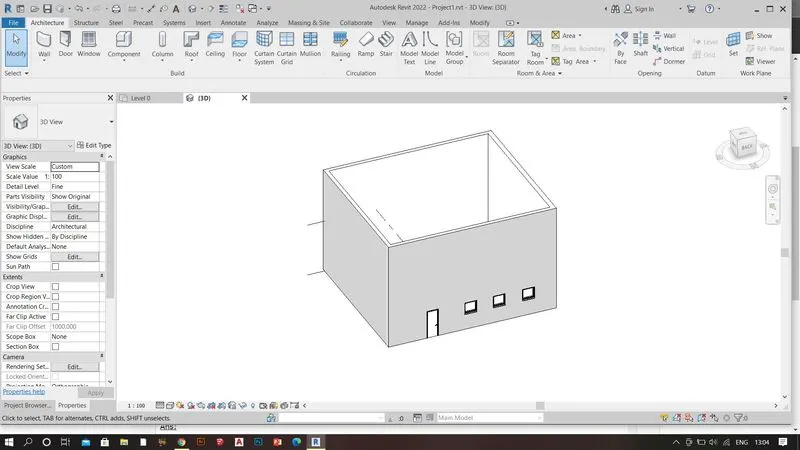
6) Create a 3D view from the view toolbar and save the view with the appropriate name
Ans:
Aim: Create and save a 3d view of the model
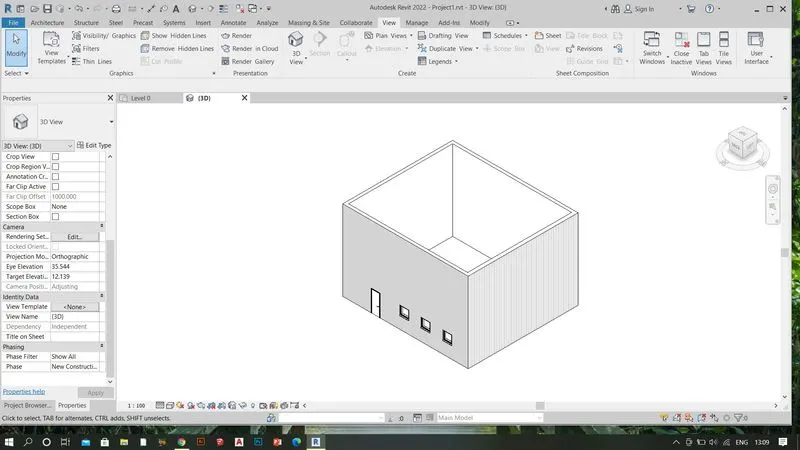
7) Navigate through the 3D model using the view cube. Orbit/pan through the model layout created
Ans:
Aim: To navigate through the 3d model
8) Use the visibility settings option below to switch model to shaded, realistic, hidden lines options
Ans:
Aim: To Switch model's visiblity
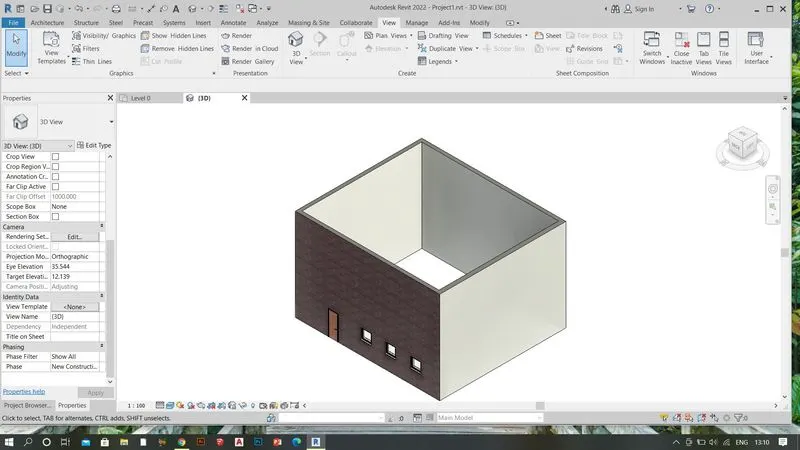
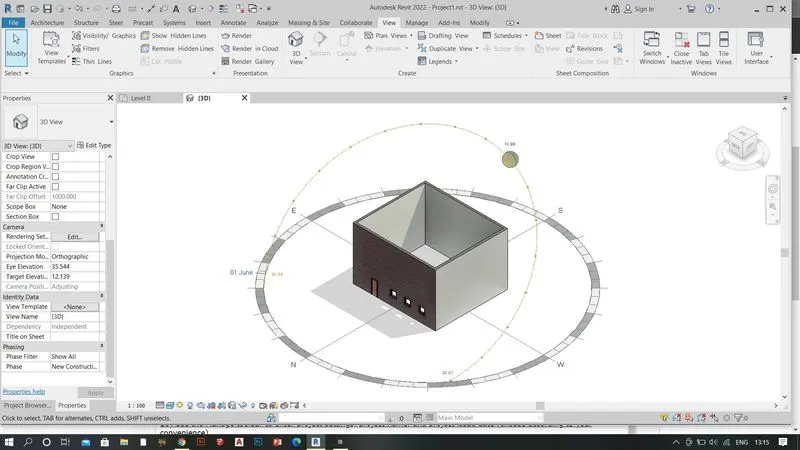
9) Turn the sun path on and off to view shadings in the layout created
Ans:
Aim: Turn on the sun path
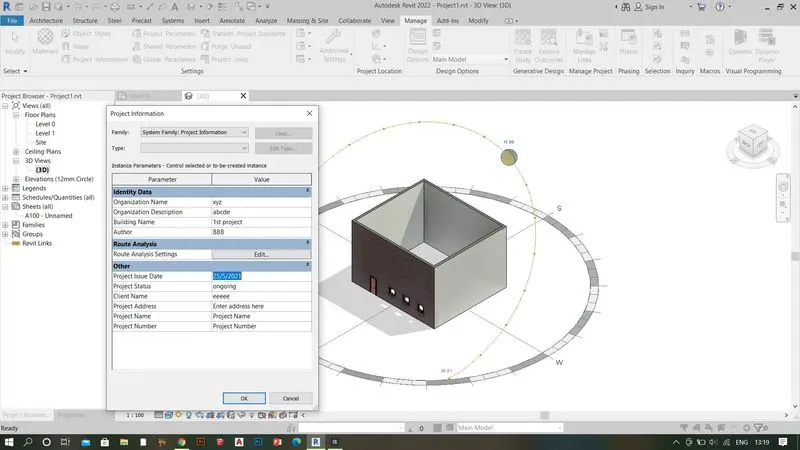
10) Use the Manage toolbar to enter project settings, project name, and project issue date (choose according to your convenience).
Ans:
Aim: Add project details
11) What is the Analyze toolbar used in Revit? How it is beneficial for design and modeling
Ans: this toolbar is used to add space specifications and tags to given spaces it also used to analyze the structural loads, to have data on thermal insulation and ducting systems, through this, we can specify the project location also, it helps to create and calculate the energy and other schedules.
12) What are the links that Revit supports to be linked to the model?
Ans: To another Revit model, To IFC files, To CAD files, To DWF Markup files, To Point cloud file, To NWD or NWC files as well as Pdfs and images
13) Why do you need the Collaborate tab in Revit? How it supports modeling and its efficiency
Ans: Because this tab helps to collaborate with other persons like MVP consultants or structure designers at the same time and on the same model, with this feature we can see the overall progress of the project and also collaborate with other consultants.