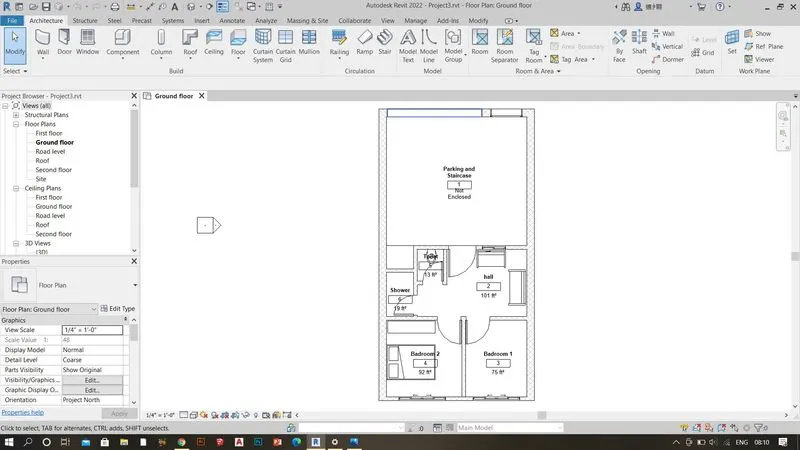
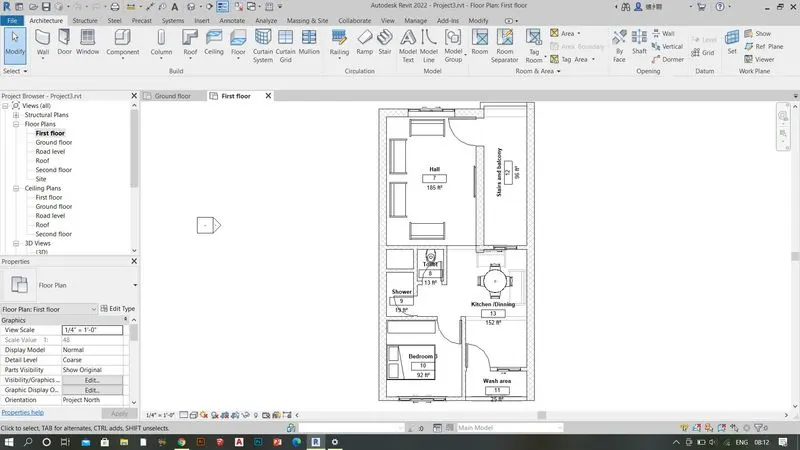
Creating Levels, Grids, Layout and model elements for a residential unit using REVIT
1) What is BIM? Summarize the features of BIM and the benefits of using BIM over 2D CAD tools.
ANS:
BIM stands for building information modeling as it says it's a process of convocating information like energy schedules, spreadsheets, Door window schedules, etc. it helps to create details in 3d modeling simultaneously with the 2d drawings. While in 2d cad tools like in Autocad we have to make 2d drawings and after that to have a visual appearance we have to move on to another 3d modeling tool. Also in 2d Cad tools, we have to make schedules and sheets manually, while BIM has all of them as well as structural and construction quantities in it.
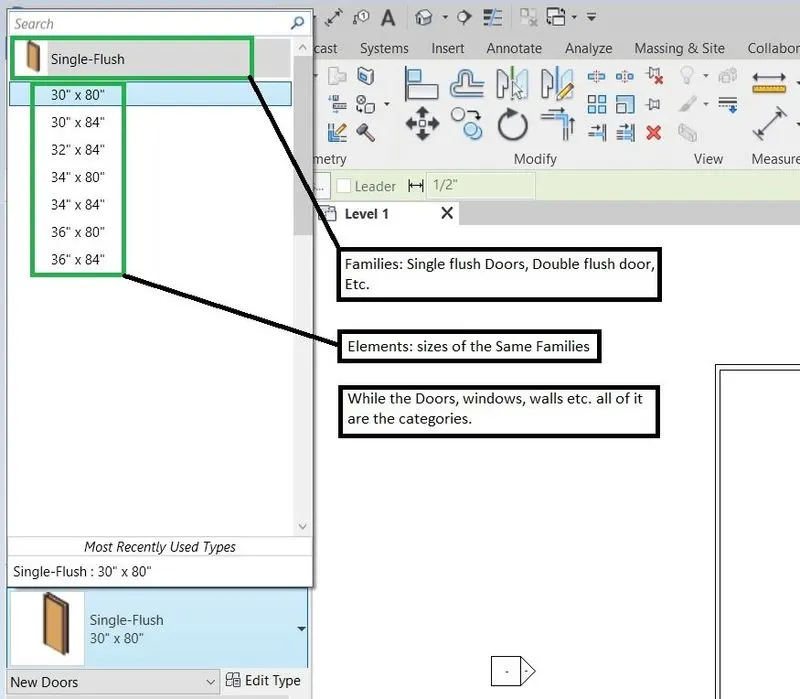
2) Understand the concept of Categories, Families, Elements, Instances in Revit. Go to Insert Tab, choose a category. Pick a family and element. Understand the instances and insert them into the Revit model
ANS:
AIM: To understand the Categories, Families, Elements, Instances in Revit.
3) Setting up a Project – Open a project file with an architectural template. Save the file with an appropriate name. Set up the project units to Imperial / Metric based on your convenience of modeling. Complete the project information under the Manage tab. Set up the maximum backups for project file to 3
ANS:
AIM: To Setting up a Project
1. creating file in architecture templet
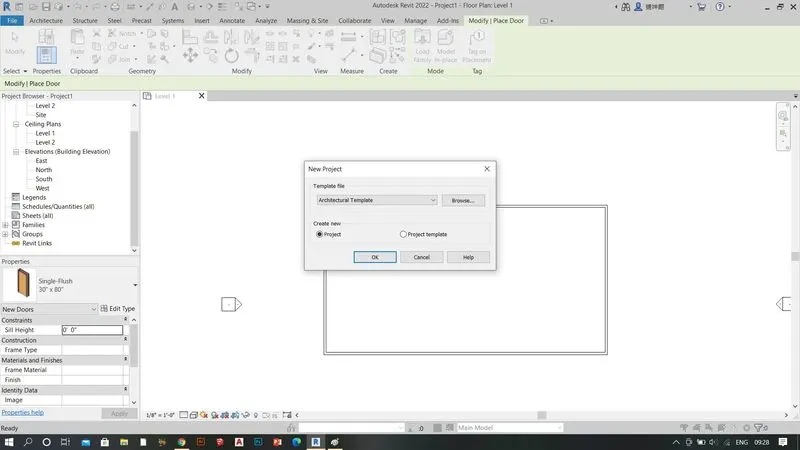
2. save with the appropriate name
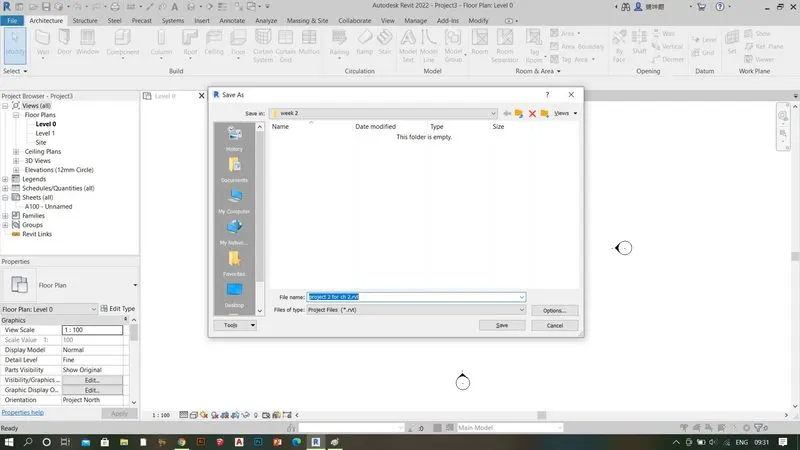
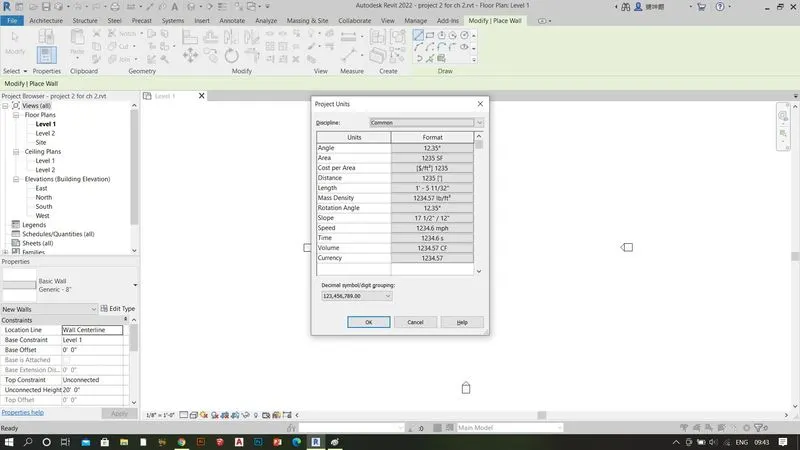
3. set the unit into imperial
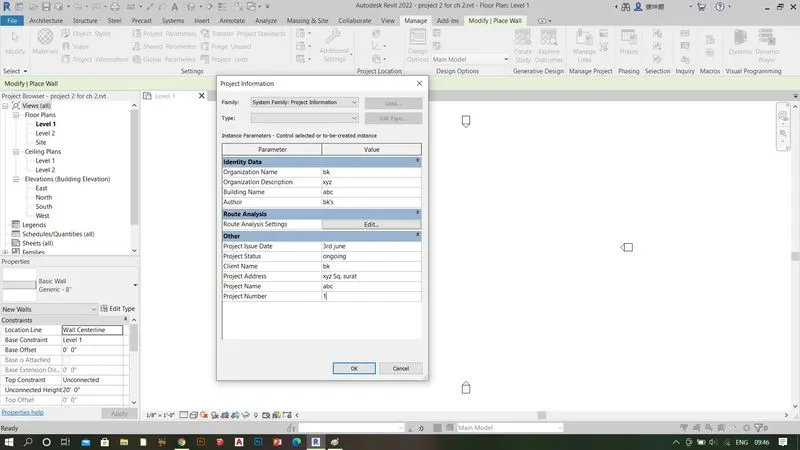
4. set project information
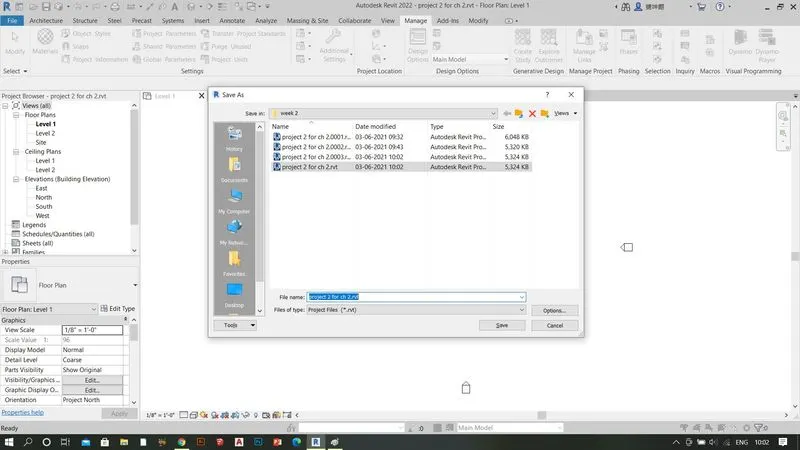
5. set backups for the project
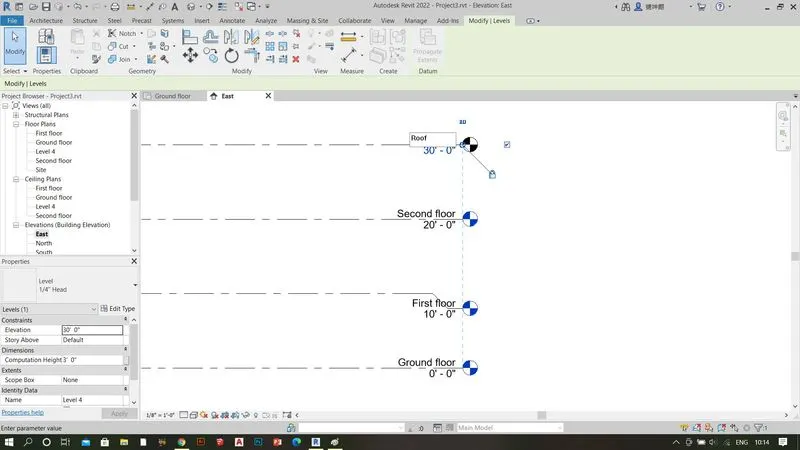
4) Understand the concept of Levels and Grids. Follow the naming and conventions. Create the following Levels: ( Convert to metric equivalents if the metric is your units)
Ground Floor @ 0’
First Floor @ 10’
Second Floor @ 20’
Roof @ 30’
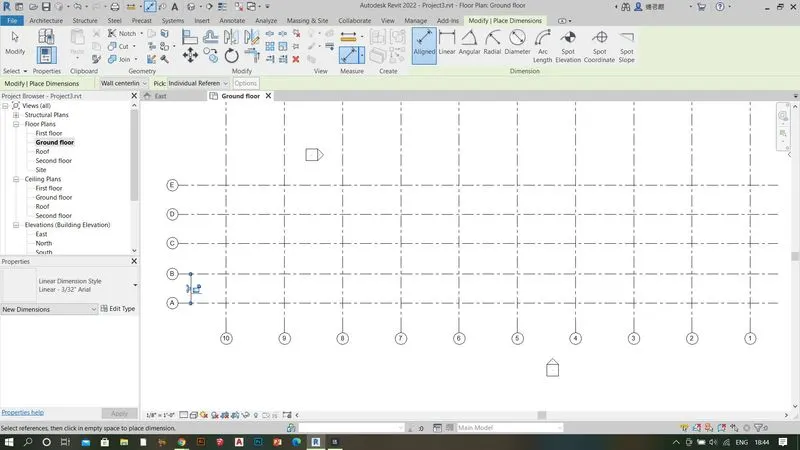
Grids Transverse Grids A, B, C, D, E @ 10’ spacing
Longitudinal Grids from 1 to 10 @ 20’ spacing
ANS:
AIM: To Understand the concept of Levels and Grids
1. Creating levels
2. Creating grids
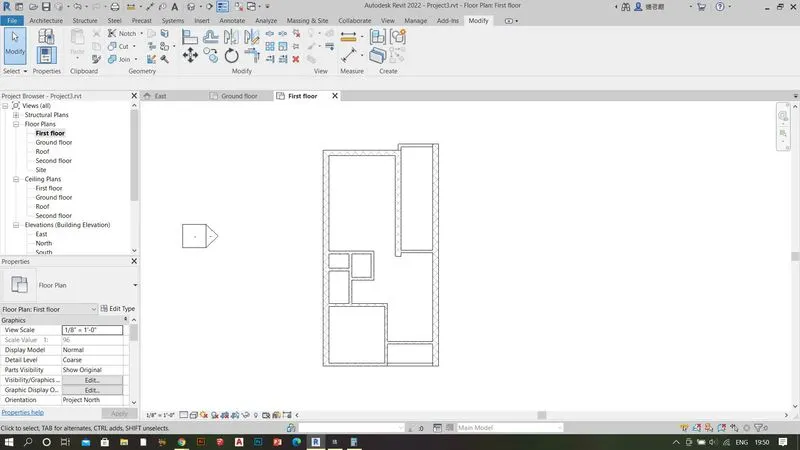
5) 3D modeling of the residential unit – From looking at your house / or a place you aspire. Create a conceptual layout of the residential unit. You can measure using a tape or
you can access your residential plan to create a similar layout.
ANS:
AIM: To make the conceptual layout of residential unit
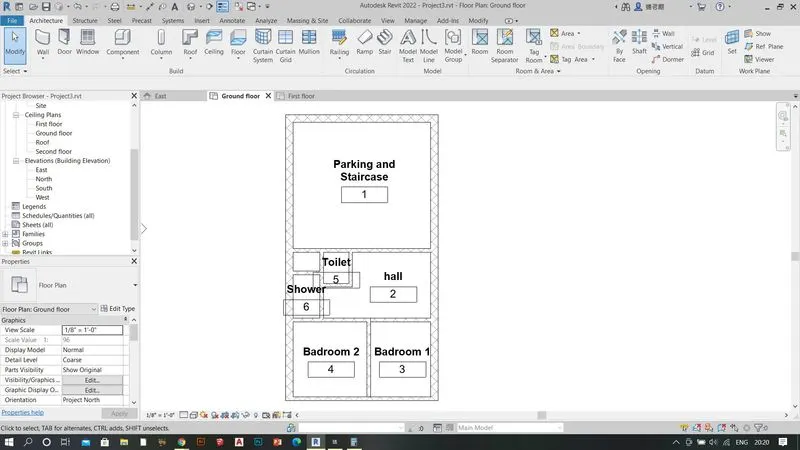
6) In the layout created draft the level of details you are planning to include – Dimensions of room, components you plan to add in the residential unit.
ANS:
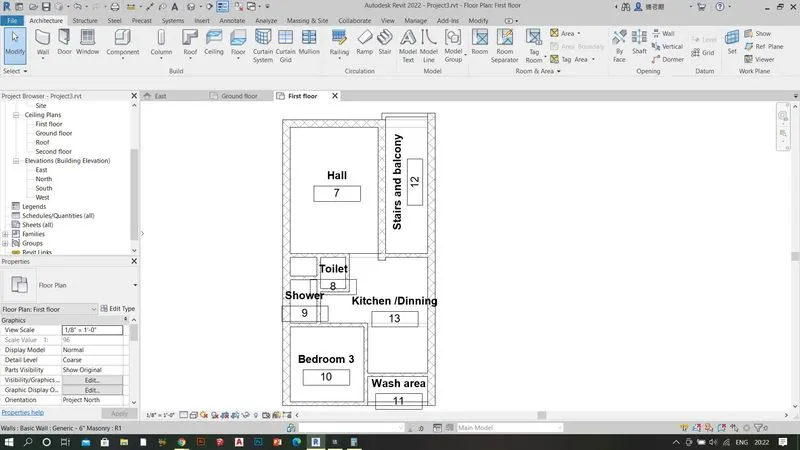
7) Identify the residential model elements such as Door, Windows, Tables, Chairs, Couch, Bed, Lamps from the library and insert them into the model. Save the project for use
for Assignment 3
ANS:
AIM: To Identify the residential model elements