Hood design-Week 2
Hood Design in UG NX
Objective
Design hood outer panel, inner panel and reinforcements with the given outer hood skin, master section and design parameters.
Introduction
The hood or bonnet is the hinged cover over the engine of motor vehicles. Hoods can open to allow access to the engine compartment (or trunk on rear-engine and some mid-engine vehicles) for maintenance and repair. In design perspective hood should meet some specific conditions like pedestrian safety, hood head zone for the lock striker, force distribution when subjected to frontal collision (occupant safety), manufacturability etc.
A typical hood assembly consist of hood outer panel, inner panel, latch and striker, hinge, hood stay. Hood stay is an apparatus for supporting the engine hood of a moto vehicle in its open position. The purpose of opening the engine hood is for inspecting engine room, replenishing cooling water and engine oil, changing parts and making repairs etc. Common types of hood stays are Support Rod and Gas Stay. Support rods are manually operated and they are cost effective and simple to design whereas gas stays require no man power but they are costly. Hood are typically made out of the same material as the rest of the bodywork. This may include steel and aluminium. Deep drawing, hemming, blanking and piercing are the common sheet metal operations that are used in manufacturing hoods in automotive industries.
Design parameters
Hood Thickness Information
Outer Panel Thickness = 0.75mm
Inner Panel Thickness = 0.75mm
Reinforcement Thickness = 1.5mm
Master Section
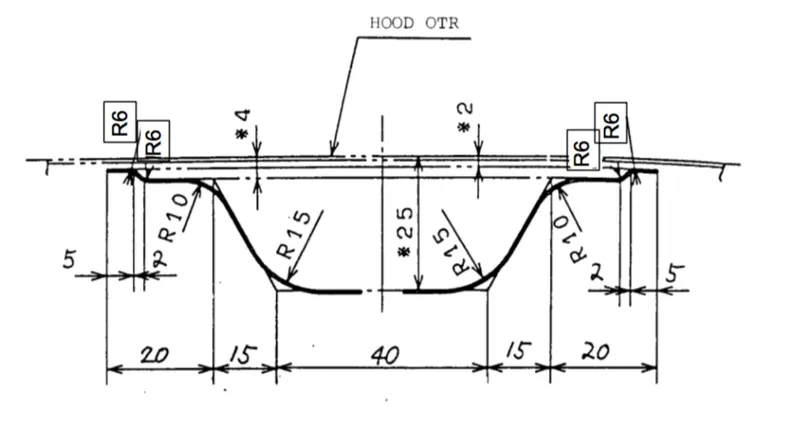
Important Features used in designing:
- Trim Body – It is used to trim one or more bodies using a face or plane. You can also specify the bodies to retain and the bodies to discard.
- Offset Surface – It allows you to offset one or more existing surfaces.
- Offset in Face – This command will allow you to offset particular edges or curves on selected faces.
- Trim Sheet – It is used to trim off a portion of a sheet body using curves, faces, edges or planes.
- Through Curves – It will allow you to create a body Through multiple sections, where it’s shape changes to pass through each section.
- Law Extension – This command extends a curve or edge to create a sheet body at desired angle length by changing the rules under angle law and length law.
- Trim and Extend – It helps you to trim and extend intersecting surfaces and make corner at their intersection.
- Face Blend – It creates fillets between faces.
- Edge Blend – It creates fillets on edges.
- Extend Sheet – It will allow you to extend an existing surface to required distance.
- Emboss – Emboss command creates an embossing by modifying a body with faces created by projecting a curve/section along a direction. You can modify the emboss using options like endcap location and draft angle.
- Projected Curve – It is used to project an existing curve/curves on a selected plane or surface by selecting a direction for projection.
- Mirror Geometry – As name suggests, it allows you to mirror geometries about selected plane or surface.
- Sew – It combines sheet bodies together by sewing their common edges. There shouldn’t be any gaps larger than specified tolerance.
- Thicken – It is used to convert a surface to solid body by providing thickness.
- Extrude – It helps you to create a feature from a sketch. You are also able to create thin feature using a sketch or curve under this command.
- Wave Geometry Linker – With this you can create, associative or linked copies of any entity of a part into other parts. It may be a surface, edge, curve, body, sketch etc. The changes made to the original entity will be reflected in the copy of that entity.
Hood and it’s components:
- Hood –
Car hood/bonnet is a hinged cover that rests over the engine in a front-engine car. A latch is provided under the hood in order to prevent accidental opening during driving. Purpose of hood is to provide access to the engine and battery for repair and maintenance. It also protects these parts from direct sunlight and dust.
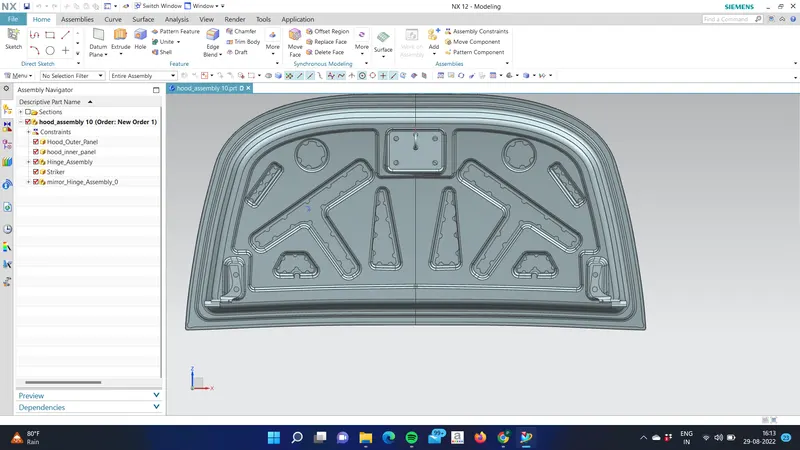
Hood Outer Panel
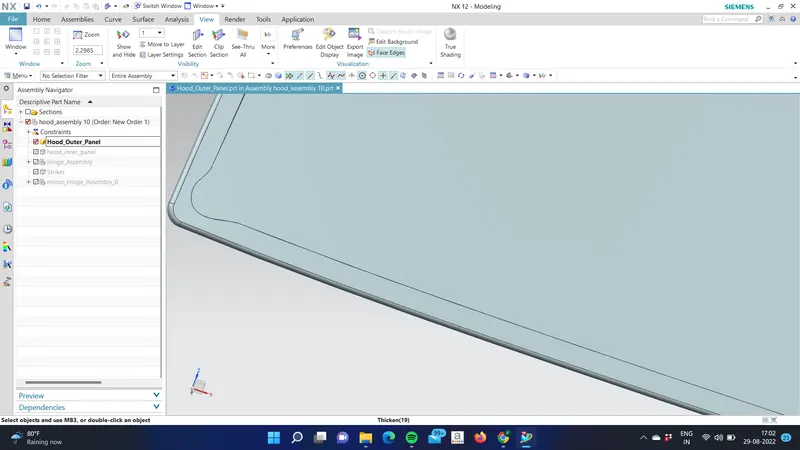
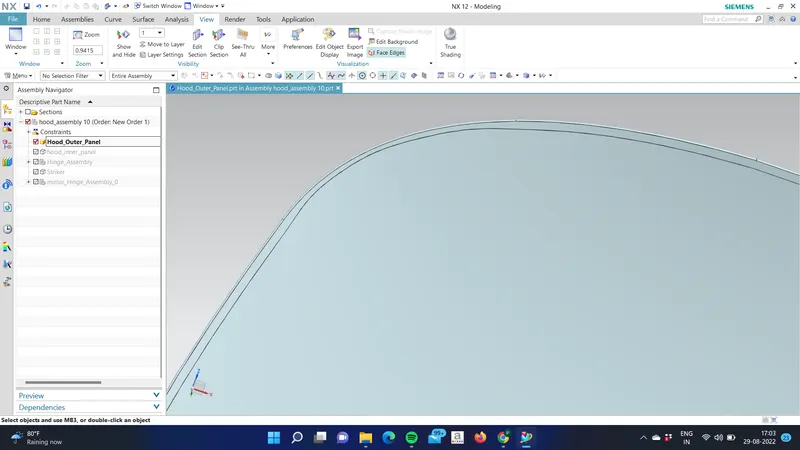
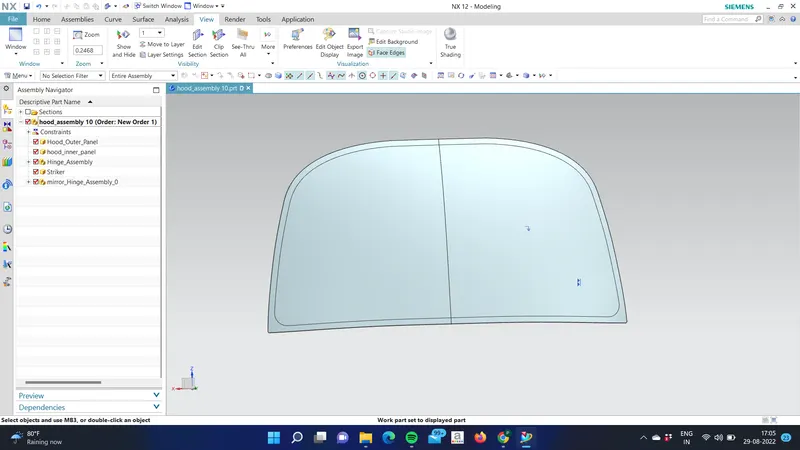
Outer panels are the aesthetic elements of a car. It is the styling team who provides the skin for the outer panel. The shape, position and size of the hood should satisfy the safety norms. So while designing the hood we should give more importance to pedestrian safety. The outer panel is attached to the inner panel by hemming. So, it is necessary to provide required hemming flange and reliefs for the hemming operation. We also provide mastic sealants between outer panel and inner panel to reduce vibration.
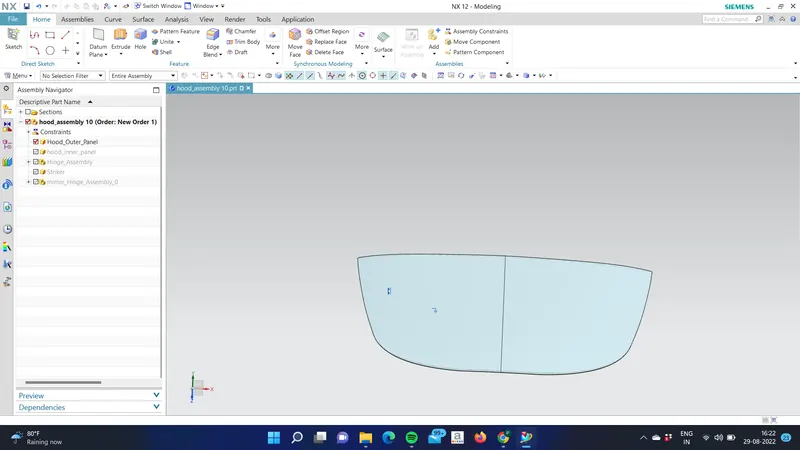
Hood inner panel
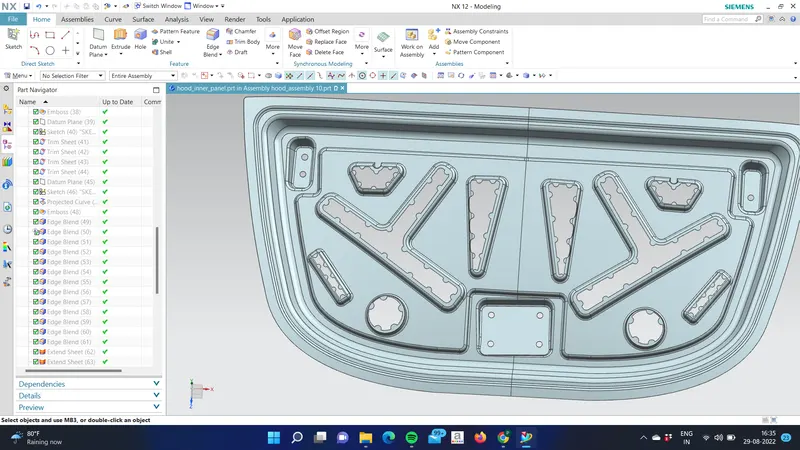
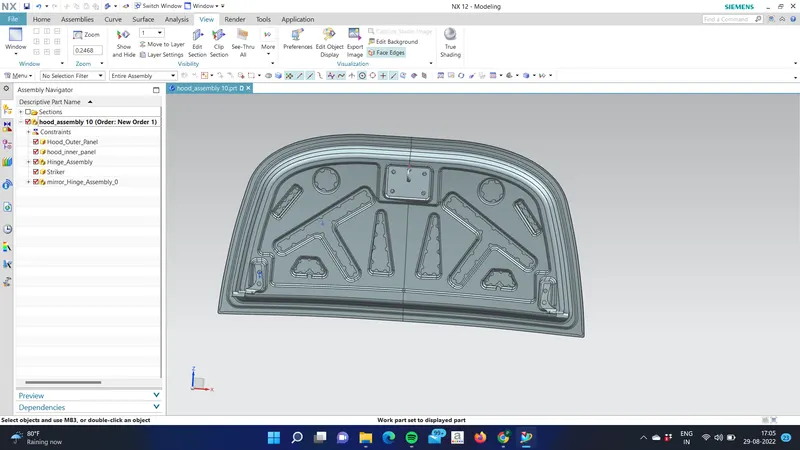
Inner panel is the part that gives strength and rigidity to the outer panel. The master section represents the initial emboss shape and size. Then we provide the emboss for the latch and hinge elements after fixing the location.
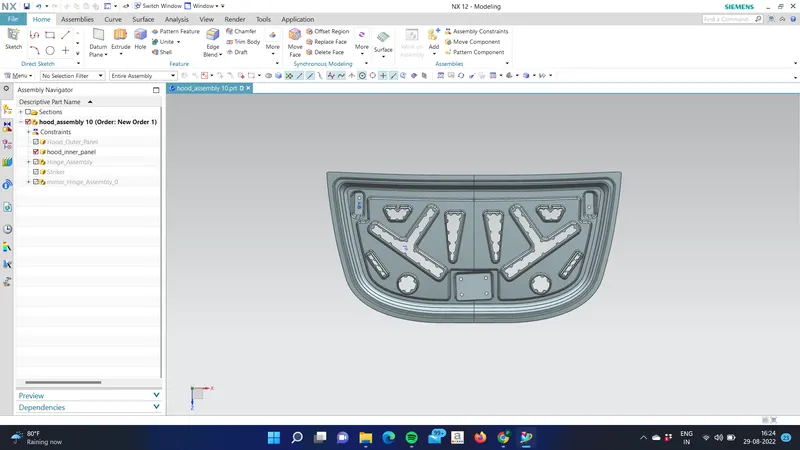
Hinges
Hinges allow the hood to rotate around a fixed axis for opening and closing movement. One part of the hinge is fixed with the engine compartment, while other part is connected to hood.
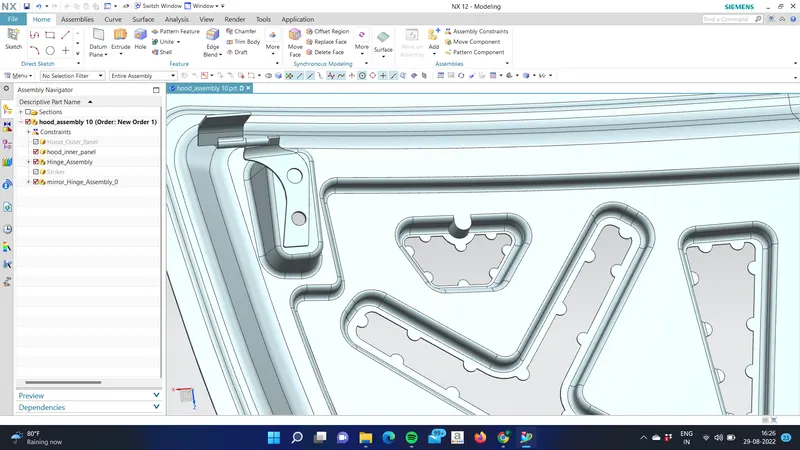
Latch and Striker
Latch and striker mechanism is provided to lock the hood, in order to prevent accidental opening of the hood during driving. The latch is present on the engine compartment while the striker is attached to inner part of hood.
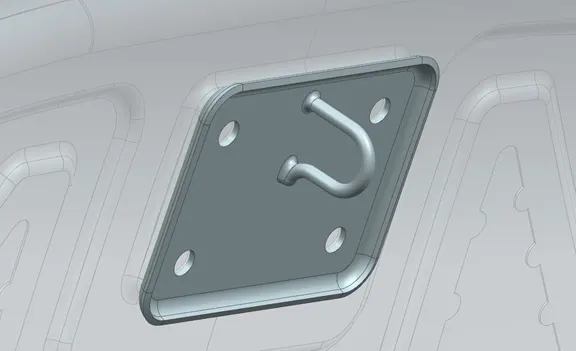
Reinforcements
The reinforcements are provided to add material to the inner panel to provide extra strength to the hood to compensate for loss of strength near component installation regions.
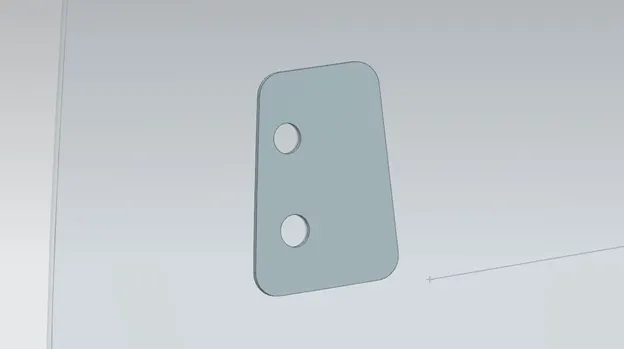
Latch Trajectory:
It is the path along which the hood rotates during opening and closing movement. The striker on the hood follows a particular path while opening or closing the hood, which is along circumference of a circle with center at the hinge axis. This path is nothing but latch trajectory. It is a very important aspect in hood design, in order to decide hinge, latch and striker installation points.
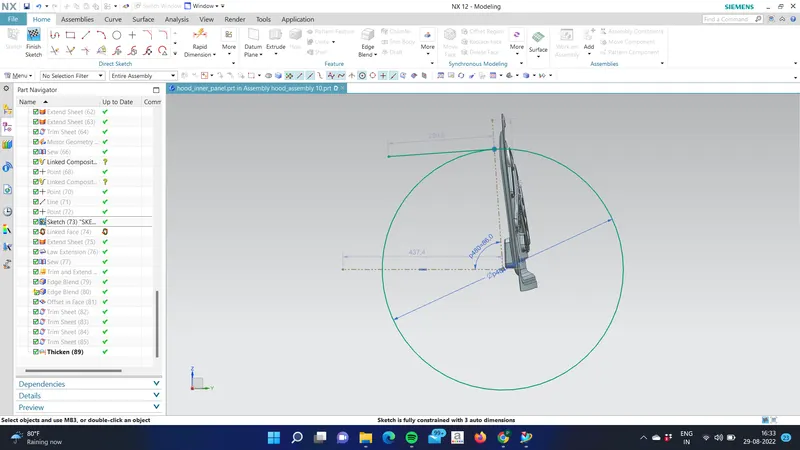
Mastic Sealant:
Mastic sealant helps to locally improve strength of the hood. It is generally a hard rubber part, which is introduced as a paste in between inner and outer panel of the hood, which will get hardened inside the furnace. Every mastic sealant point will have a tendency to improve the local strength in around 80 mm diameter. Considering this, the mastic points are positioned such that most of the hood region is covered.
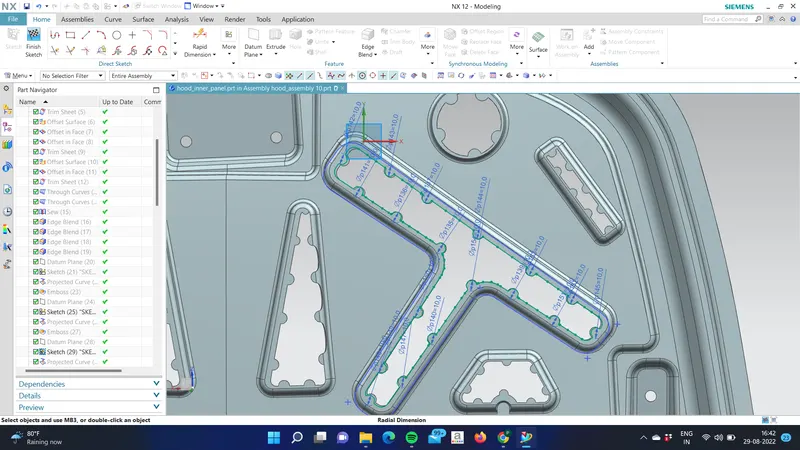
- Embossing in sheet metals
Sheet metal embossing is a stamping process for producing raised or sunken designs or relief in sheet metal. This process is carried out by means of matched male and female roller dies, or by passing the sheet or rolls of metal between rolls of desired pattern.
- Deep Drawing
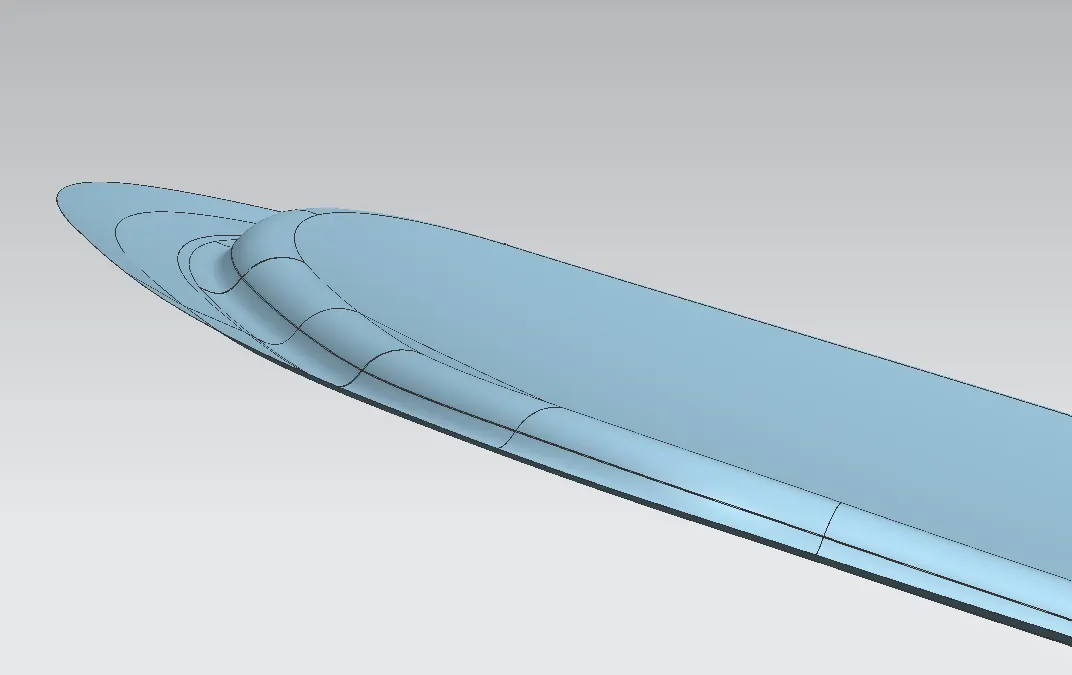
- Deep drawing is a manufacturing process that is used extensively in the forming of sheet metal into a cup or box-like structures. Pots and pans for cooking, containers, sinks, automobile parts, such as panels and gas tanks, are among a few of the items manufactured by sheet metal deep drawing.
-
A deep drawing of sheet metal is performed with a punch and die. The punch is the desired shape of the base of the part, once drawn. The die cavity matches the punch and is a little wider to allow for its passage, as well as clearance. For many calculations, the sheet metal thickness is assumed to remain constant. However, there are changes in thickness in certain areas, due to the forces involved.
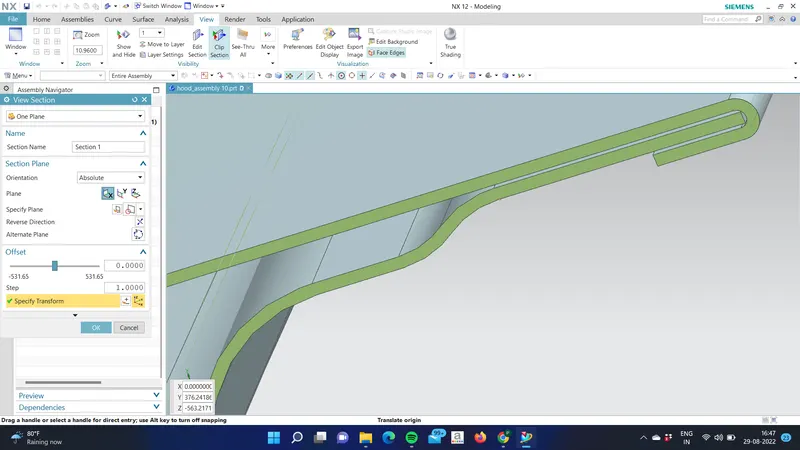
- Hemming in sheet metals
- Hemming is a sheet metal forming process in which sheets are joined by bending it usually to 180°. Automotive body panels and automotive parts such as deck-lids, trunk-lids, doors, hoods, and tailgates are formed by hemming processes.
-
Conventional die hemming is suitable for mass production. In die hemming, the flange is folded over the entire length with a hemming tool. Normally the actual hemming is a result of a forming operation in which the flange is formed with a hemming tool after the drawing and trimming operations have been completed
- Roll hemming is carried out incrementally with a hemming roller. An industrial robot guides the hemming roller and forms the flange. Roll hemming operation can also be divided into several pre-hemming and final hemming process steps.
- If weld or bolts were used to join the hood panels then the design and the aerodynamic features would get damaged so hemming is more significant to use.
Final Assembly
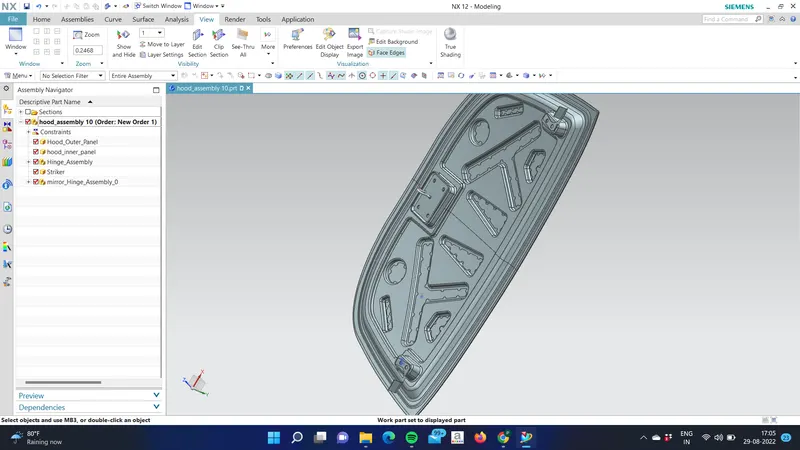

- Conclusion
Therefore, we have designed a hood that falls under the rules and regulations of the manufacturer's standards.