Hood design-Week 2
CAR HOOD/CAR BONNET
HOOD DESIGN NX
OBJECTIVES
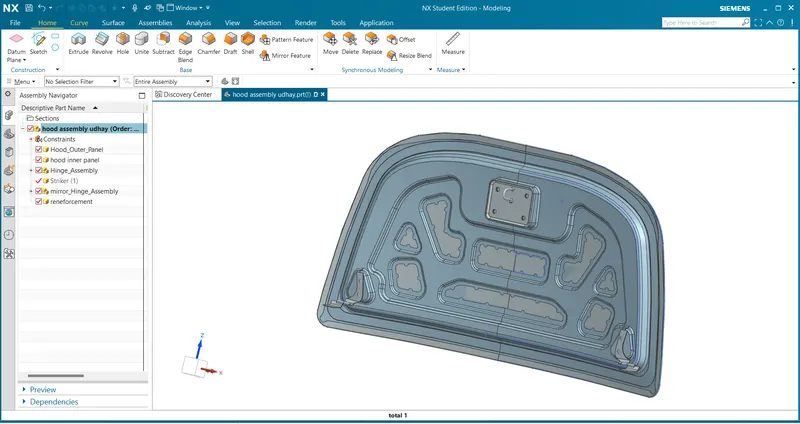
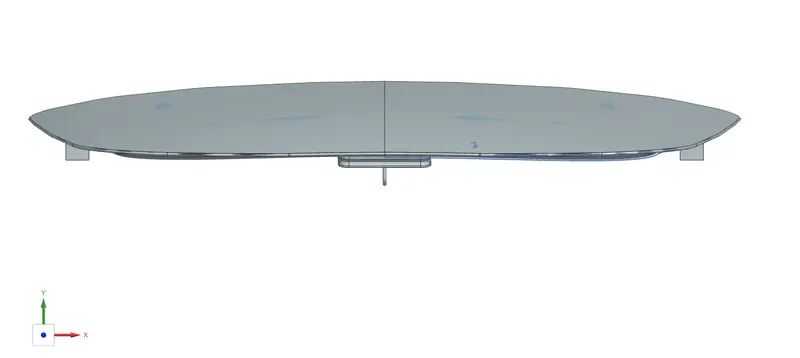
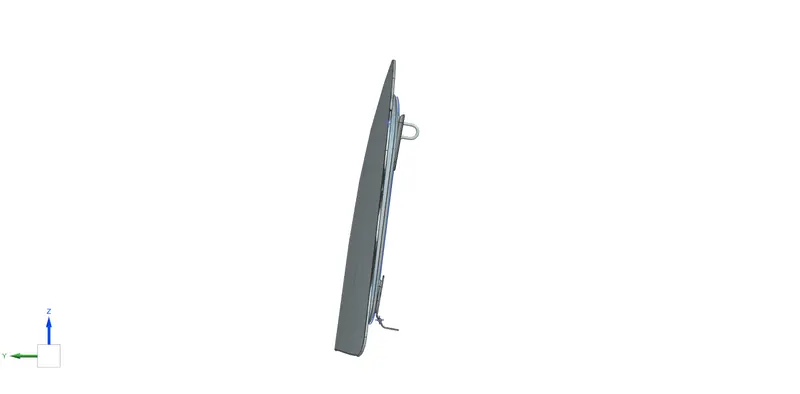
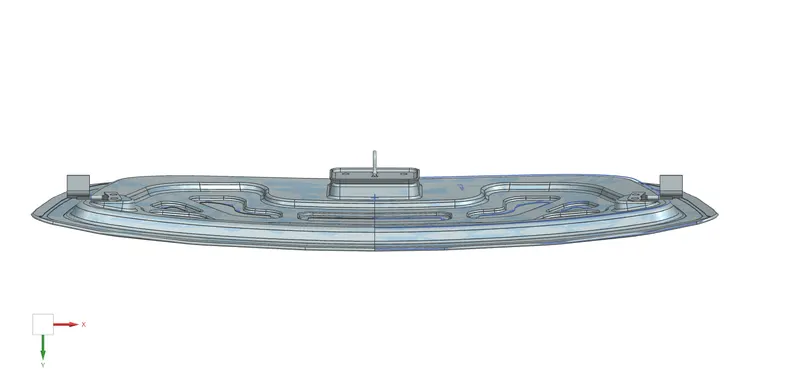
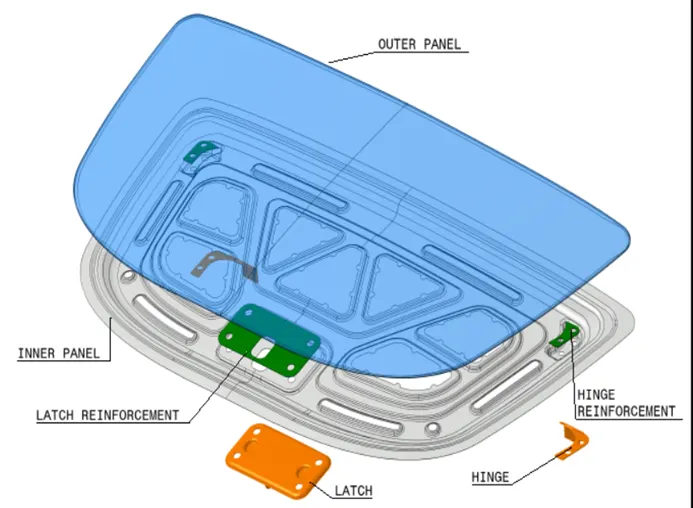
Design hood outer panel, inner panel, latch and striker and reinforcement with the given outer hood skin data, master section and design parameters.
INTRODUCTION
A car hood, also referred to as a bonnet in some other countries, is the hinged cover that rests over the engine of a front-engine vehicle. Its purpose is to provide access to the engine for repair and maintenance.
The resemblance to an actual HOODor BONNET is clear when open and viewed head-on; in modern vehicles it continues to serve the same purpose but no longer resembles a head covering.
Hoods can open to allow access to the engine compartment, or trunk on rear-engine and some mid-engine vehicles for maintenance and repair.Hoods are typically made out of the same material as the rest of the body work. This may include steel, aluminum, fiberglass or carbon fiber. However, some aftermarket companies produce replacements for steel hoods in fiberglass or carbon fiber to make the vehicle lighter.
DESIGN APPROACH
TOP DOWN APPROACH:
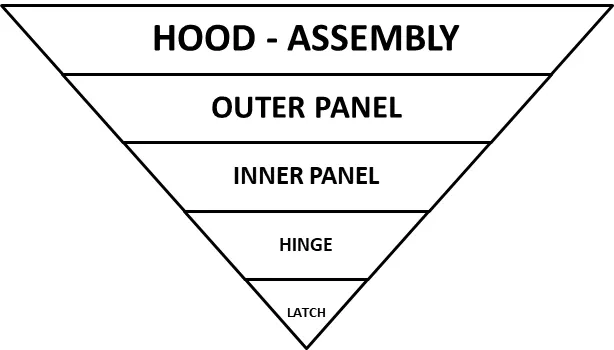
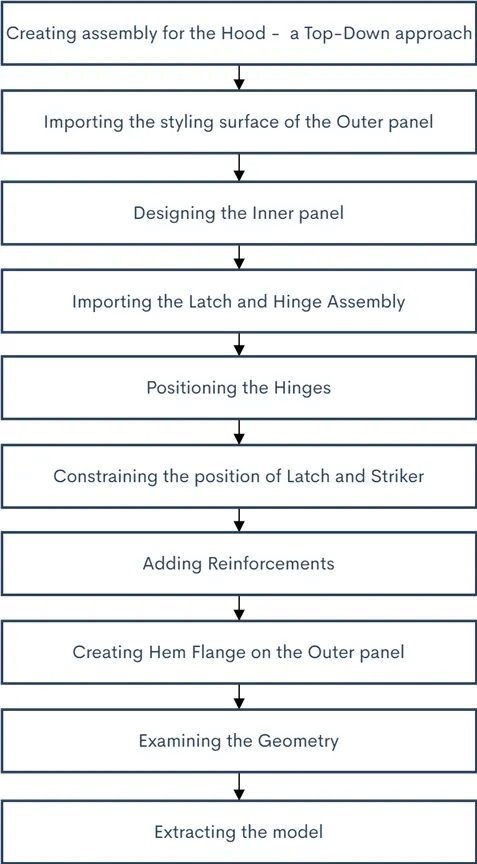
In this project the top down approach was used because the styling surface and reinforcements were already designed. Hence by creating the assembly then the hood inner panel was designed and the embosses for positioning the hinge assembly, latch and striker were created.
PEDESTRIAN PROTECTION TEST :
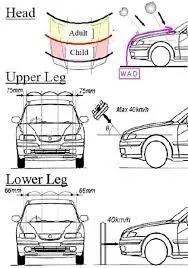
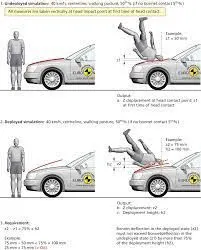
A specially-designed pedestrian target is used which has articulated limbs to replicate the walking motion of a human. Cars that perform well in these tests can be expected to have a significantly reduced risk of pedestrian accidents in real-world driving. In some cases, AEB Pedestrian technology may not be able to completely avoid the collision. For this reason, Euro NCAP only rewards the technology if the pedestrian impact tests show that the car has a forgiving front-end design.
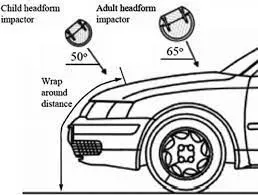
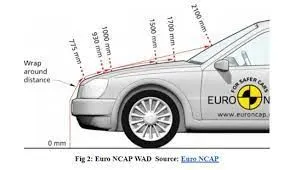
WRAP AROUND DISTANCE
The shortest line of the lines that connects the reference plane with any point on the vehicle, which passes through the vehicle's front and front's upper-surface within the vertical plane that includes the vehicle's fore-aft axis.
DESIGN PARAMETERS
Hood Thickness Information
Outer Panael Thickness = 0.75
Inner Panel Thickness = 0.75
Reinforcement Thickness = 1.5
COMPONENTS
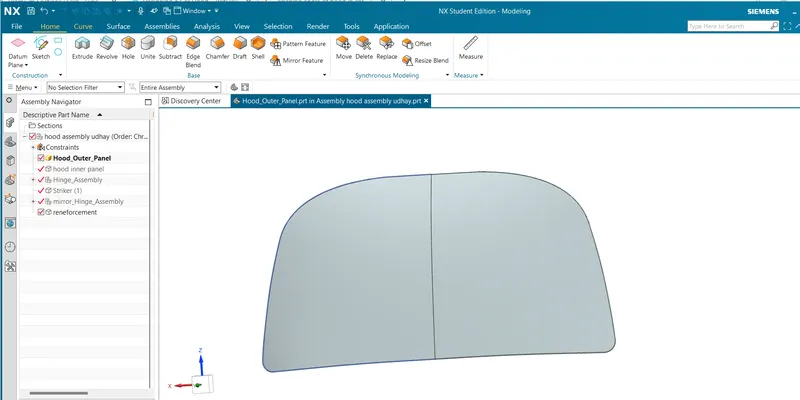
1. HOOD OUTER PANEL
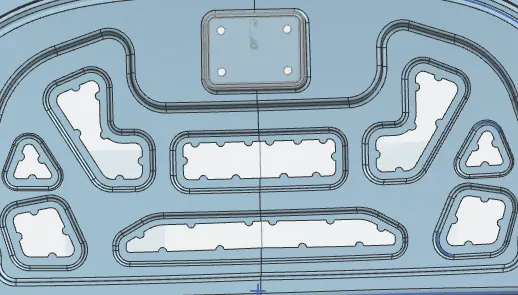
2. INNER PANEL
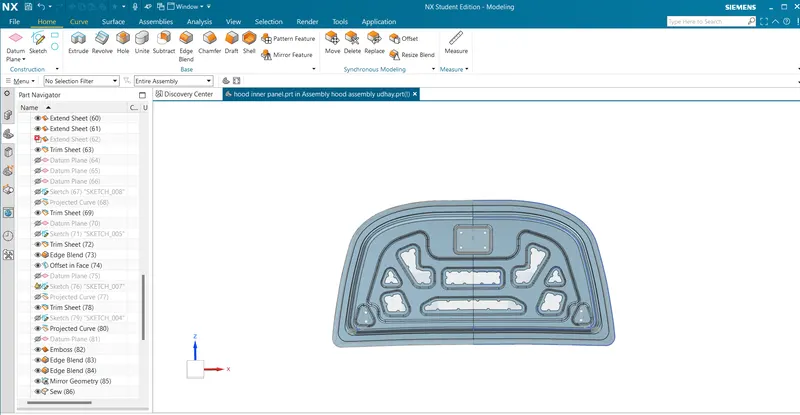
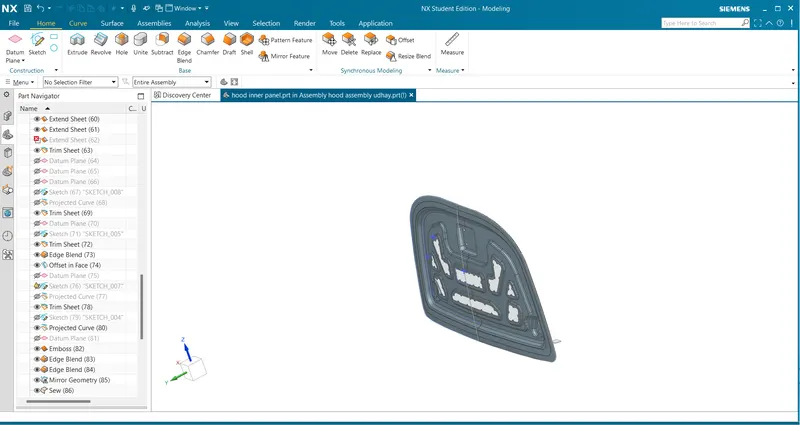
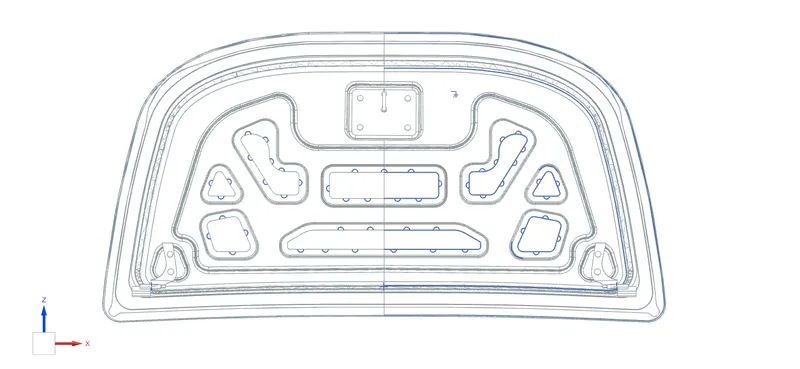
- By using the wave geometry linker the styling surface will be extracted as a linked body.
- The styling surface was trimmed into half using the trim surface along x co-ordinate.
- Then two surfaces at the offset of 0mm were generated and one feature grouped as parent file and the other one was used as the working surface.
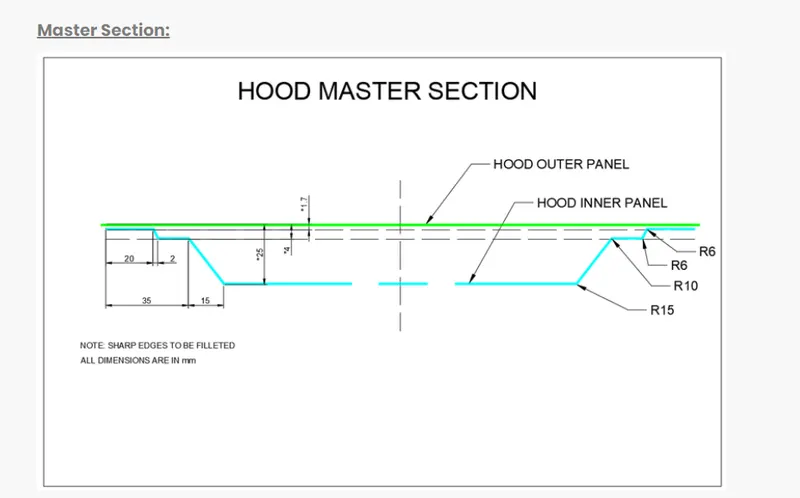
- By using the master sketch three surfaces were off-set at a distance of 2mm, 4mm and 25mm downwards.
- For creating the 5mm flange the corner of the tangent curve will be offset inwards at the distance of 20mm with a 30mm filleted corner and the remaining portion was trimmed.
- Then for creating the next flange the second offset surface was trimmed at a distance of 40mm.
- Then the third surface was trimmed and used to create the flange at the distance of 55mm..
- Then by using the edge blend and face blend all the sharp corners were blended and smoothened out as per manufacture requirements.
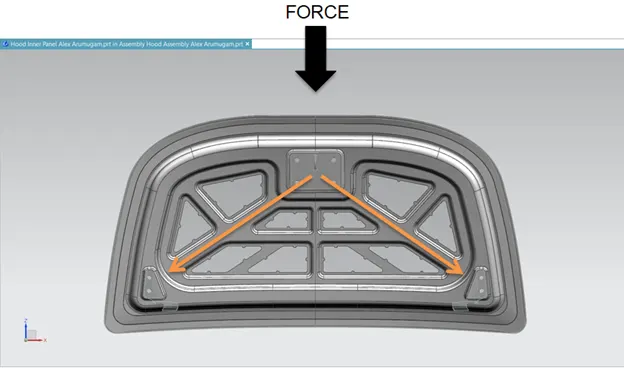
Below diagram represents the ideology of the design, the orange line represents the direction of force dissipation when the hood attempts an unexpected crash.
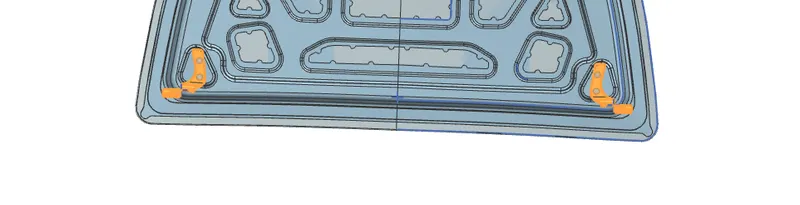
- For fixing the hinge assembly a flat surfaced embosses were created which is exactly parallel to the x coordinate.
- Then to avoid the intersections while mirroring the intersecting curve was extended and trimmed exactly then the other half was mirrored and sewed together.
- Now the latch emboss was created using the linked surface of the latch and for creating the emboss trim and extend were used following the Law extension.
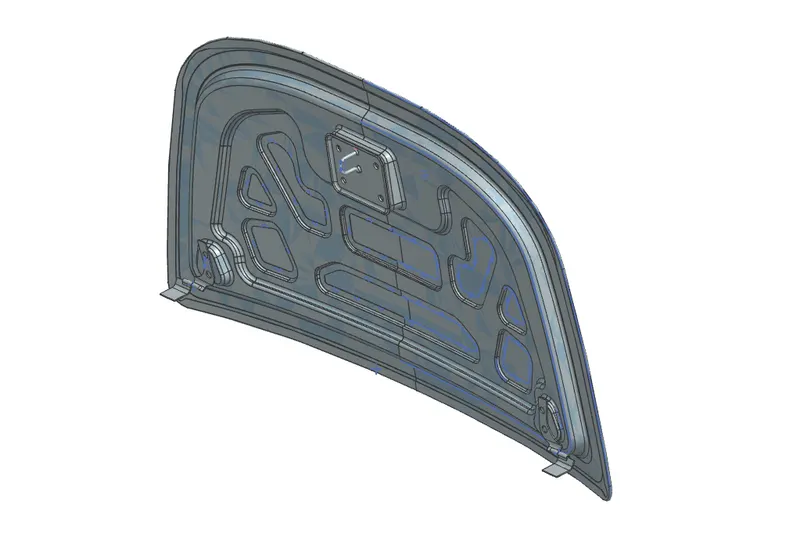
- Finally the inner panel was created successfully by thickening it to 0.75 mm.
3. HEMMING
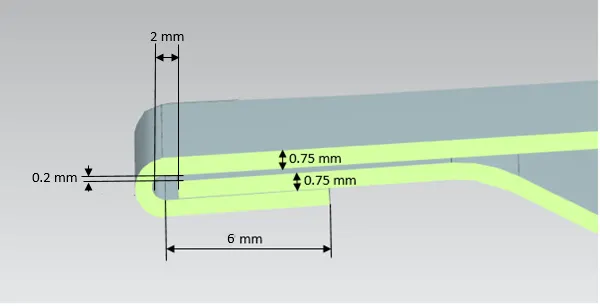
Hemming is the process of joining both the outer and inner panels together. The hemming process roles and wraps the hood outer panel around the inner panel and holds it tightly together. The following are the dimensions followed for hemming.
4. FRONT RELIEF
5. REAR RELIEF
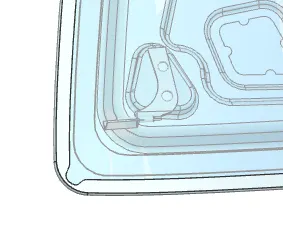
5. MASTIC SEAL
6. LATCH AND STRIKER POSITION
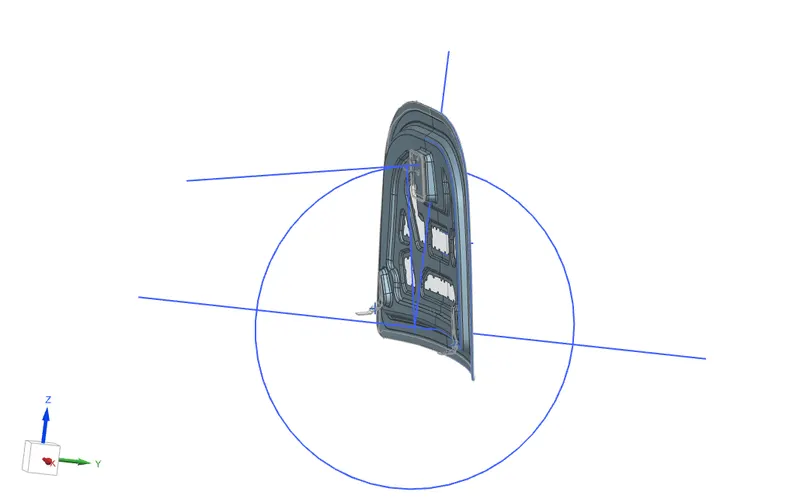
- First the latch was positioned roughly using the constraints and by exporting the back surface of the latch using wave geometry linker.
- Then by using the linked surface the emboss for the latch was created but before doing that the linked surface must be extended all around for creating a clearance for the edge blends.
- Now the required circle from the center point of the hinge axis was created and a line tangent to the circle and a line vertical to the striker point from the latch were created.
- Now both the lines were aligned together and then the latch will have its perfect position for striking with the engine compartment.
7. HINGE ASSEMBLY
CONCLUSION
The hood's final assembly is made of a white body which has been designed for manufacturing purpose in compliance with safety regulations.