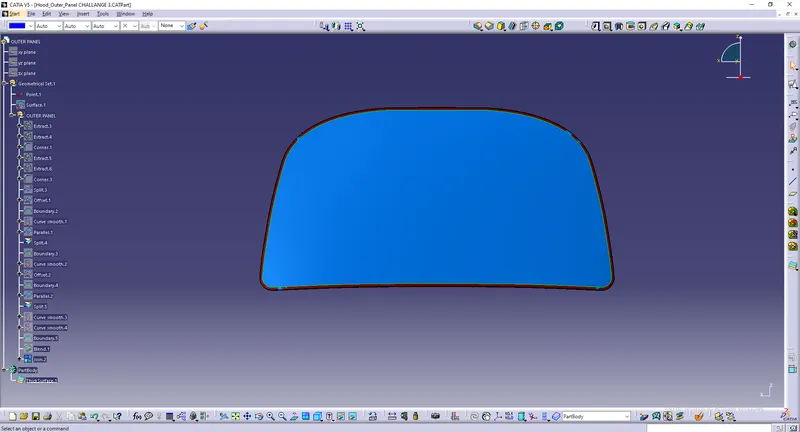
Hood design-Week 2
INNER PANEL:
Open the cat.part & name it as Inner panel.
Inner Panel:
- Intially Outer panel cat.part will be given from where we have to create Inner Panel.
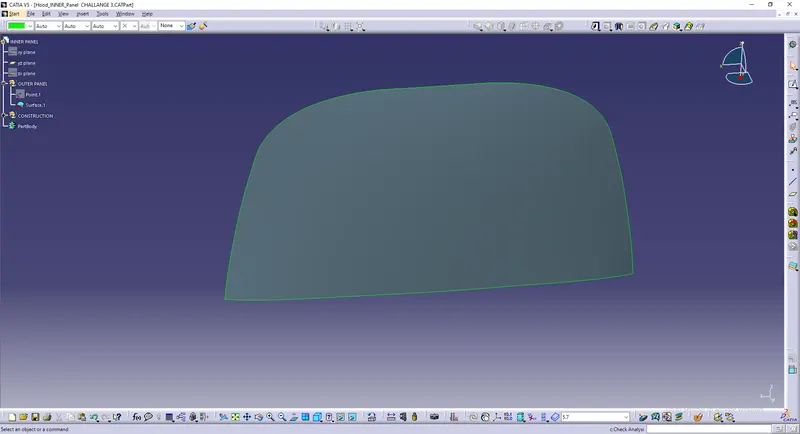
Steps to be followed:
- Insert a geomnetrical set & name it as Construction.
- Inside construction copy the outer panel & name it as inner panel.
- Split the surface.
- We have to take 4 offsets
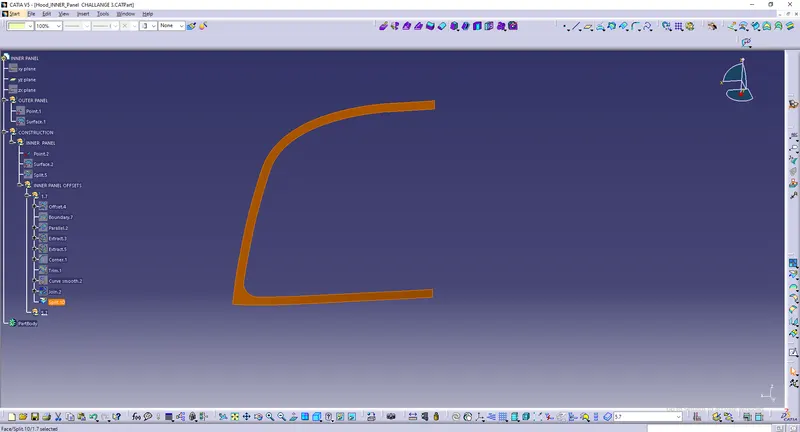
- First offset is1.7mm
- Insert a geometical set & name it as Inner Panel offsets.
- Insert another geometrical set inside the Inner Panel offsets & name it as 1.7mm.
- Intially Offset the splitted surface & create a boundary.
- Parallel curve the surface.
- Insert a corner & trim it & curve smooth it.
- Join the trim & corner.
- Split Offset with the join.
- Insert a geometrical set & name it as 5.7mm inside the Inner panel offsets.
- Follow the same procedures followed in 1.7mm in 5.7mm offset.
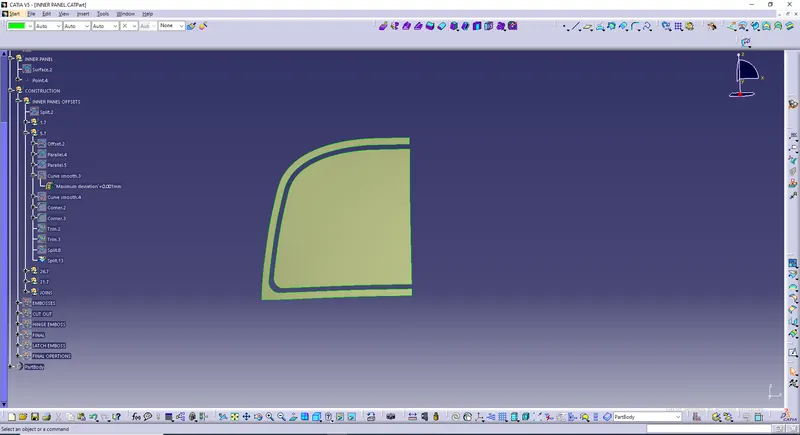
- Insert a geometrical set inside the inner panel offsets & name it as 26.7
- Same procedures followed in both the previous offsets.
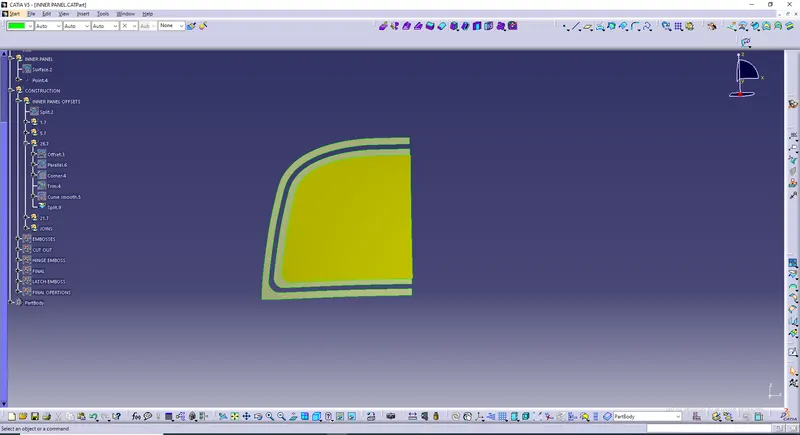
- Insert a geometrical set inside the inner panel offsets & name it as 21.7.
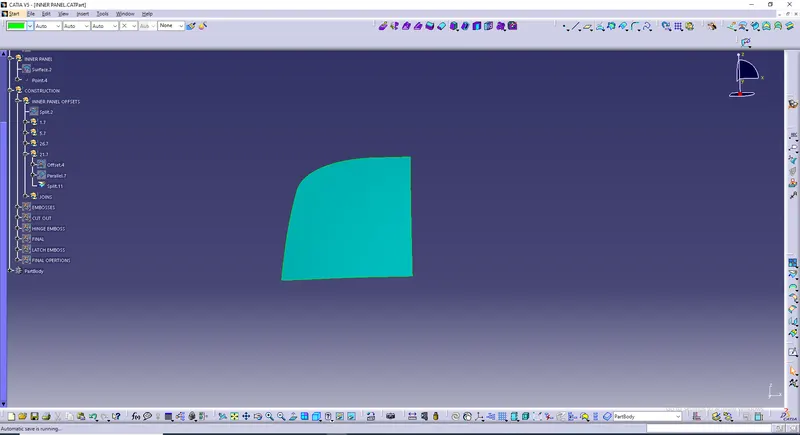
- Offset it, insert a parallel curve & split it.
- Insert a geometrical set inside the inner panel offset & it as Join.
- Insert 2 multi section surface & also fillet 4 surfaces.
- Draw a sketch.
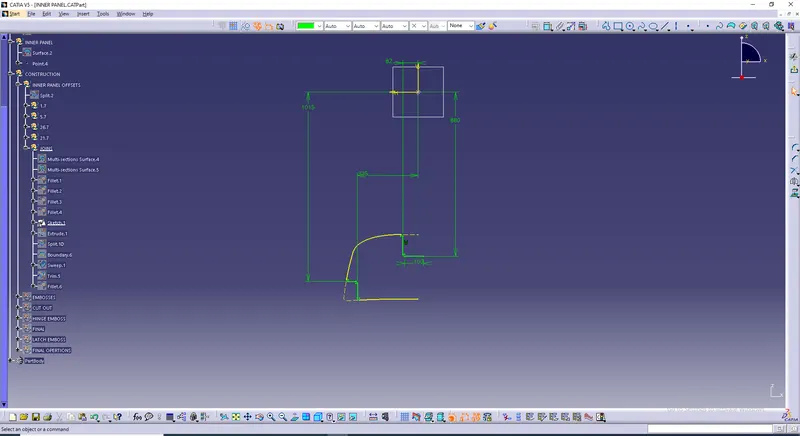
- Extrude the sketch.
- Split it & insert a boundary.
- Sweep it & trim the extra surface.
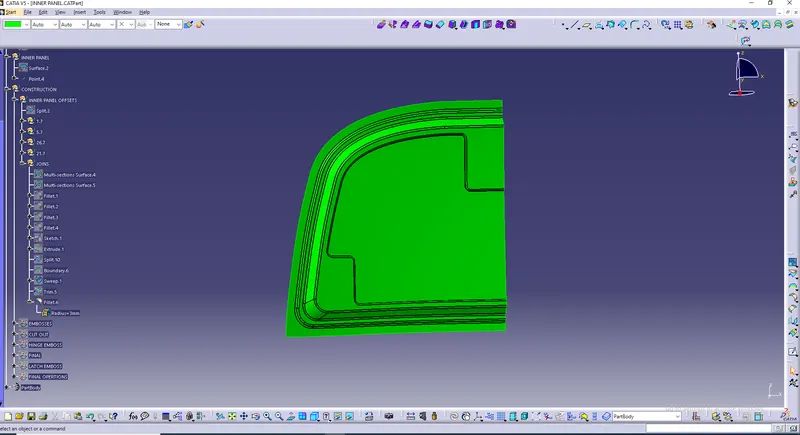
- Finally to obtain the Inner panel select bi tangent fillet & select trim & split as support 1 & support 2 respectively for aradius of 3mm.
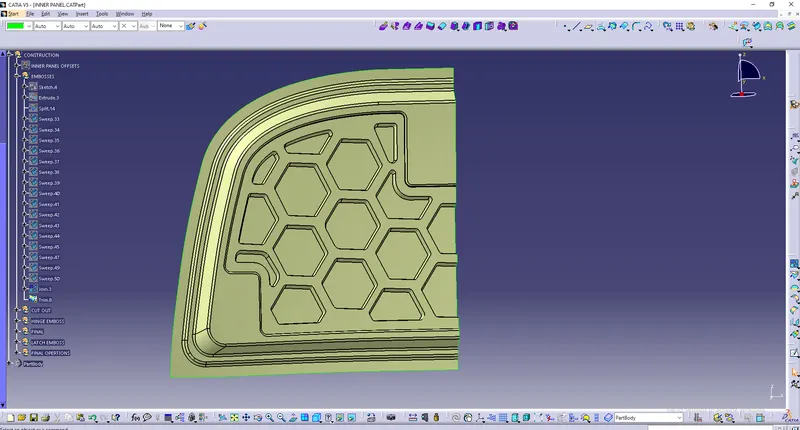
- Next process is to create Embosses.
- Insert a geometrical set inside conatruction & name it as Embosses.
- For that create a sketch.
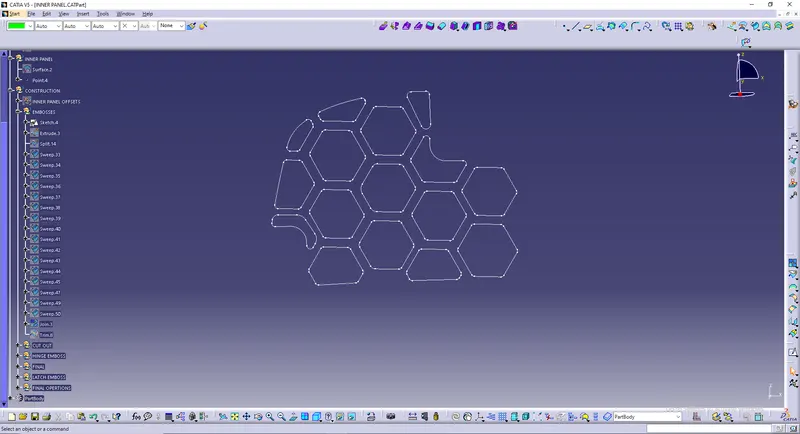
- Extrude the sketch & split it.
- Sweep all the extruded surface.
- Join the sweeped surface with splitted surface.
- Finally trim it.
HINGE:
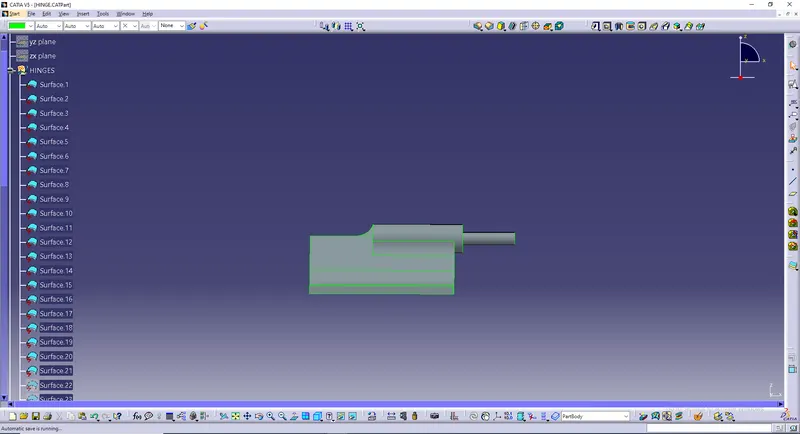
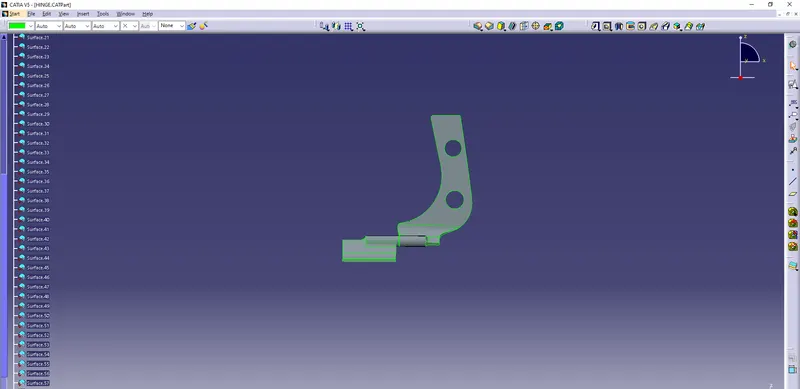
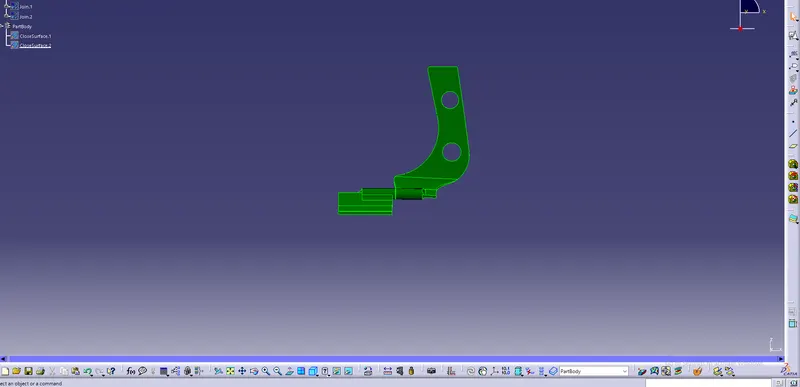
- Select the Hinges .CAT part
- Insert a geometrical set Join 1 & Join 2 inside Hinges.
- Join 1, join 1 to 21 surfaces & Join 2, join 22 to 57 surfaces.
Hinges are created & it should be converted as part body i.e closed surface.
LATCH:
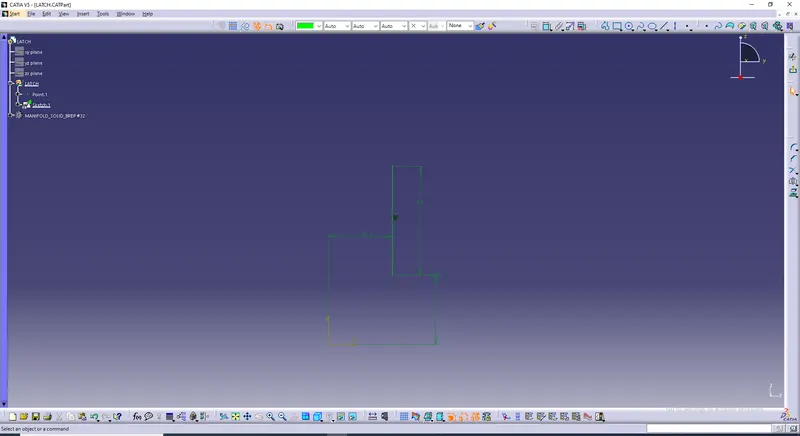
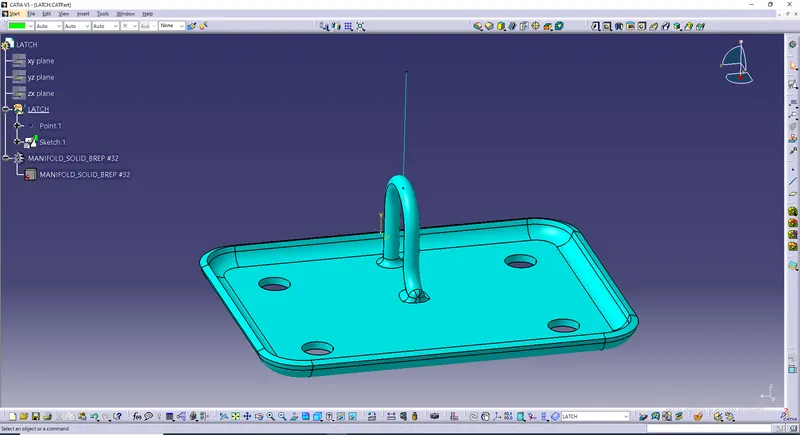
- Next Create a Latch.
- For creating a latch intially we have create a sketch.
ASSEMBLY:
- Now assemble the Hinge in the inner panel.
- In hinge assemble whave to follow the procedures.
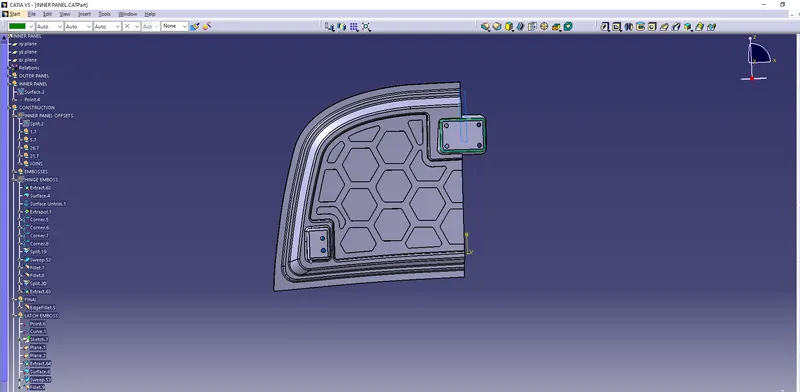
- Create a geometrical set inside the construction & name it has Hinge Embosses.
- Extract the hinge, Untrim & Extrapolate the hinge.
- Insert 4 corners & split the remaining surface.
- Sweep it for 10deg.
- Insert 2 fillets & split it.
- Then follow the final operations.
- Insert the edge fillet for 3mm.
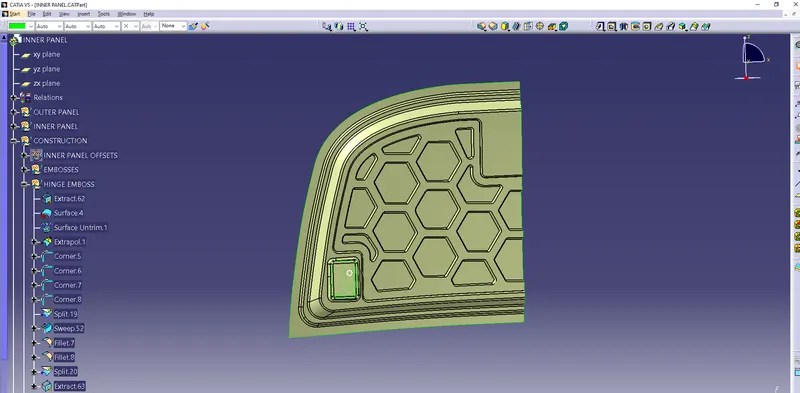
- Next assemble the Latch in the inner panel.
- Insert a Geometrical set & name it as Latch Embosses.
- In latch embosses we have to create a point intially & draw a curve
- Draw a sketch & draw 2 planes.
- Extract the latch.
- sweep it for 10deg.
- Finally insert fillets.
CLOSED SURFACE:
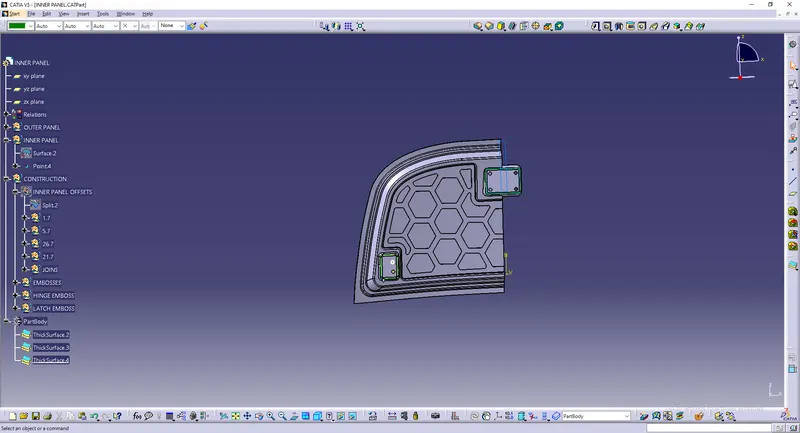
Finally thicken all the surfaces & make it a closed body.
OUTER PANEL:
- Extract the surface 1/edge 3.
- Extract the surface1/edge4.
- Insert a corner fo 35mm.
- Split & offset it.
- Insert a boundary.
- Curve smooth the boundary & Insert a parallel curve & split it.
- Insert another boundary & curve smooth it.
- Offset the curve smoothed surface.
- Insert a boudary.
- Insert parallel curve & split it.
- curve smooth the splitted surface.
- Insert a final boundary.
- Blend it.
- Join the blend,split 3 & split 5.
- Thicken the surface & make it as aclosed body.
- Finally outer panel is obtained.