Hood design-Week 2
CHALLENGE #3
REPORT : DESIGN OF HOOD
INTRODUCTION -
In this report we are going to study about Hood Outer Panel, Hood Inner Panel, Hinges , Striker in NX-12. Using the CAD we are going to design and develop the model with in safety conisderation.
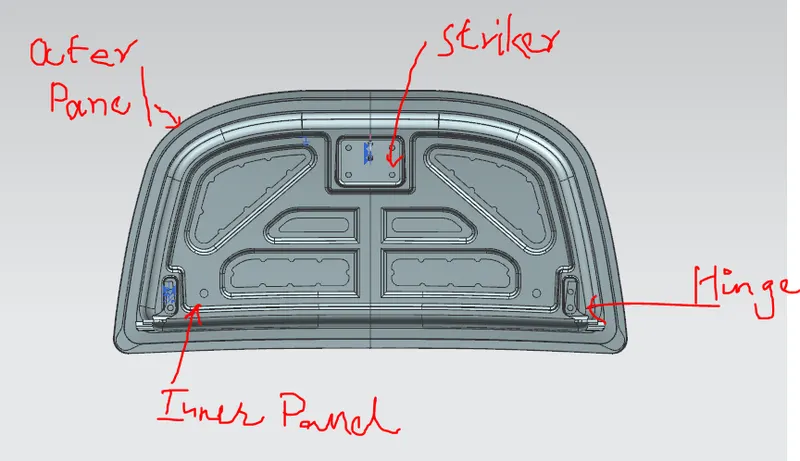
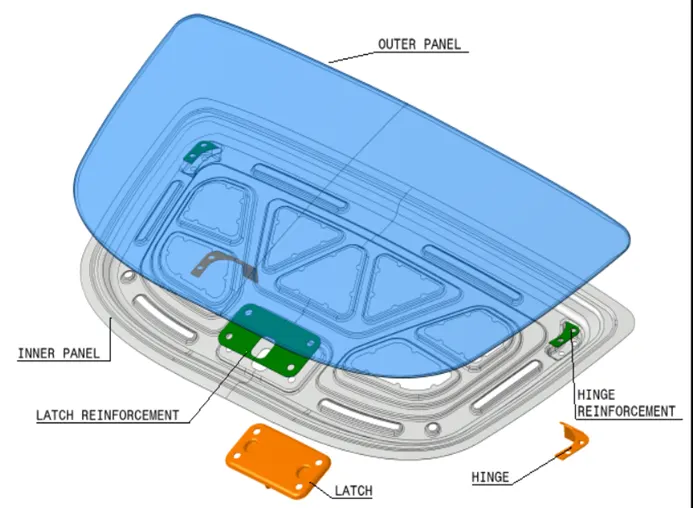
HOOD -
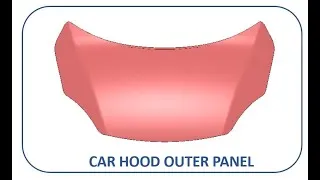
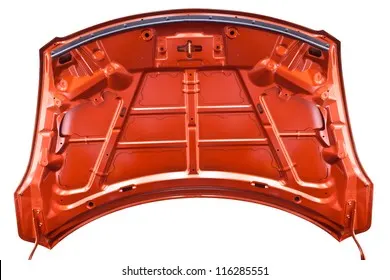
The hood or bonnet is the hinged cover over the engine of motor vehicles. Hoods can open to allow access to the engine compartment, or trunk (boot ) on rear-engine and some mid-engine vehicles) for maintenance and repair. It generally covers the engine and other essential accessories of the car. The Hood consists of Hood Outer Panel and Hood Inner Panel. The Inner panel provides the strength and support and the Outer Panel provides the aesthetic look. while designing the Hood a Design enginner needs to make sure that the following design parameters are followeed.
- Pedestrian Safety
- Occupant Safety
- Styling
- Manufacturibility
Points to be consider while designing the hood:
- Opening angle of Hood
- N CAP crash Test
- Wrap Around Distance (WAD)
- NVH (Noise, Vibration, Harshness)
SHEET METAL OPERATIONS
1. Blanking & Piercing -
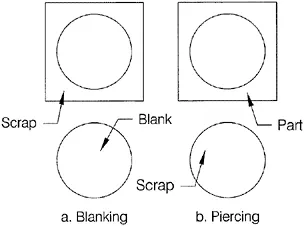
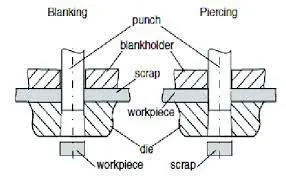
Blanking and piercing are shearing processes in which a punch and die are used to produce parts from coil or sheet stock. Blanking produces the outside features of the component, while piercing produces internal holes or shapes. The web is created after multiple components have been produced and is considered scrap material. In blanking, the piece is cut off from the sheet, and it becomes a finished part. In piercing, the cutout portion is scrap which gets disposed off while the product part travels on through the remainder of the die. The terminology is different here, though both processes are basically the same and therefore belong to the same category, which is the process of metal cutting.
2. Deep Drawing -
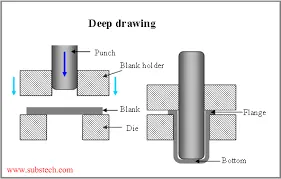
Deep drawing is a sheet metal forming process in which a sheet metal blank is radially drawn into a forming die by the mechanical action of a punch. It is thus a shape transformation process with material retention. The process is considered "deep" drawing when the depth of the drawn part exceeds its diameter. Deep drawing is a sheet metal forming process in which a sheet metal blank is radially drawn into a forming die by the mechanical action of a punch. It is thus a shape transformation process with material retention. The process is considered "deep" drawing when the depth of the drawn part exceeds its diameter.
3. Embossing -
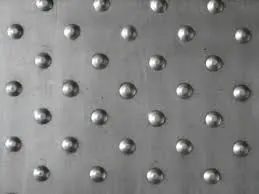
Sheet metal embossing is a stamping process for producing raised or sunken designs or relief in sheet metal. This process can be made by means of matched male and female roller dies, or by passing sheet or a strip of metal between rolls of the desired pattern. The metal sheet embossing operation is commonly accomplished with a combination of heat and pressure on the sheet metal, depending on what type of embossing is required. Theoretically, with any of these procedures, the metal thickness is changed in its composition.
4. Hemming -
Hemming and seaming are two similar metalworking processes in which a sheet metal edge is rolled over onto itself. Hemming is the process in which the edge is rolled flush to itself, while a seam joins the edges of two materials. Hems are commonly used to reinforce an edge, hide burrs and rough edges, and improve appearance. Hemming is a sheet metal forming process in which sheets are joined by bending it to 180°. Automotive body panels and automotive parts such as deck-lids, trunk-lids, doors, hoods and tailgates are formed by hemming process. In this process, usually a sheet is bent with the help of inner sheet in three different stages.
5. Mastics Point -
Mastic adhesive was developed specifically to bond exterior automotive panels to the vehicle’s inner panel structure, such as on roofs, doors, and hoods. This one‐component synthetic rubber sealer remains elastic after curing to reduce panel flapping and to prevent panel distortion.
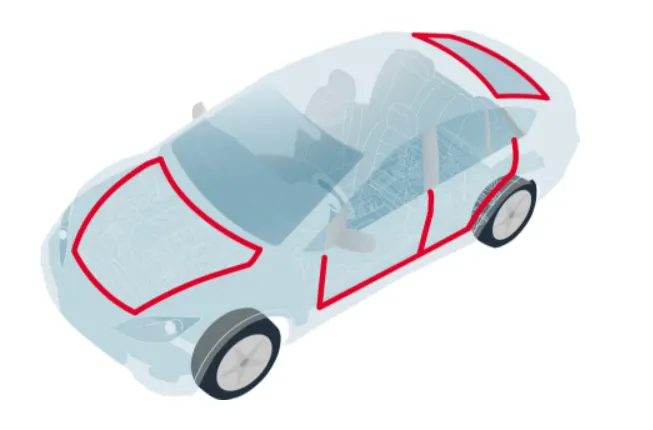
The Hood Assembly consists of -
1. Hood Outer Panel
2. Hood Inner Panel
3. Hinge Assembly
4. Latch & Striker
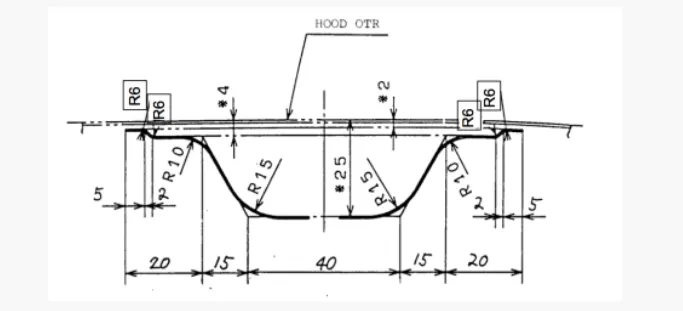
MASTER SKETCH :
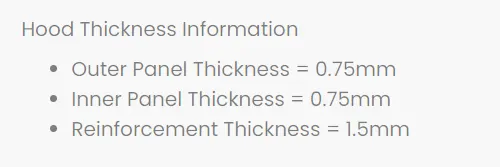
DATA USED :
HOOD OUTER PANEL DESIGN -
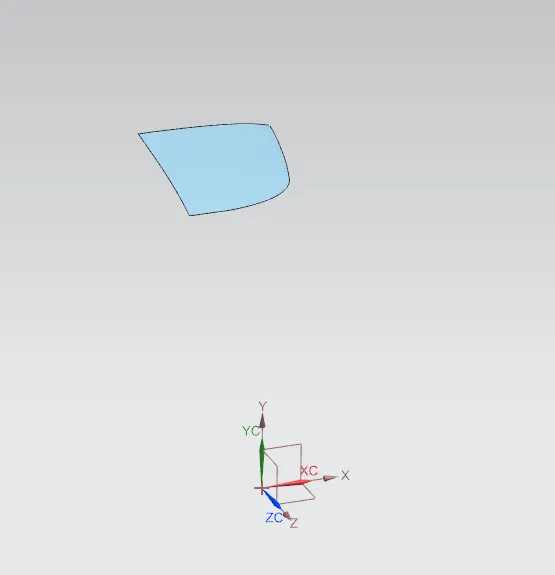
As input got class A surface. Draw Tooling direction and check for Draft Analysis. when class A is clearing in Draft Analysis then proceeded with the Outer panel creation.
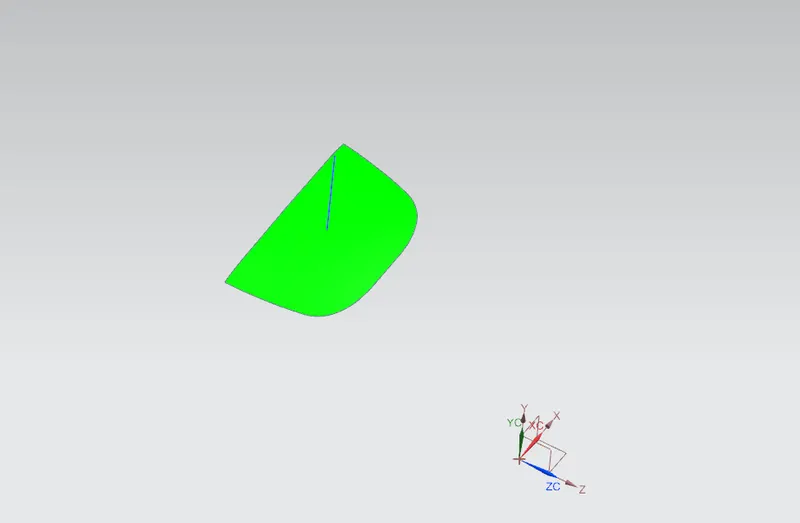
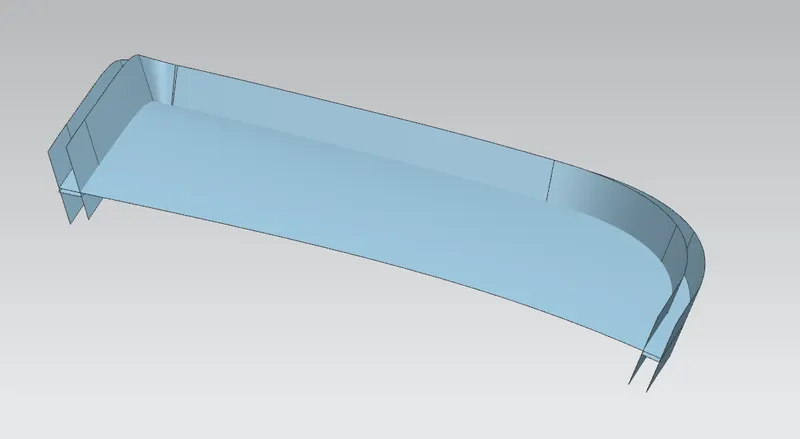
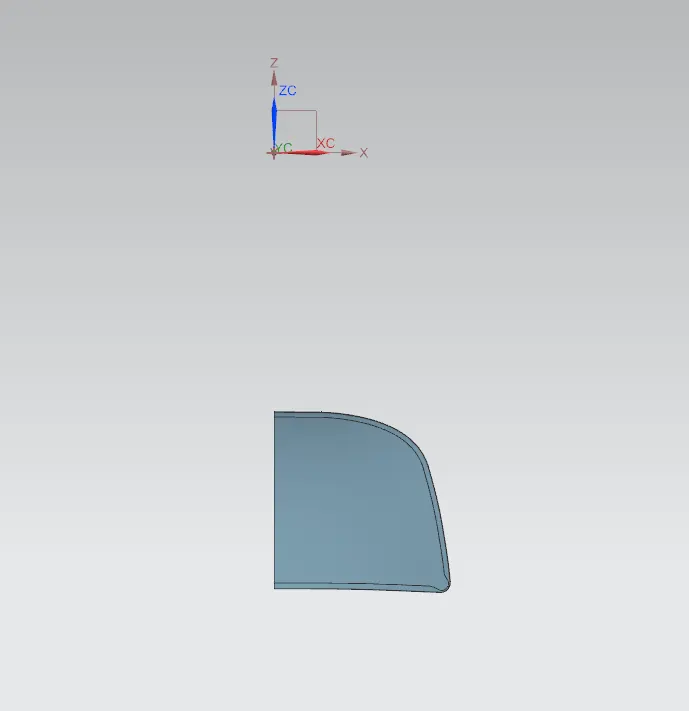
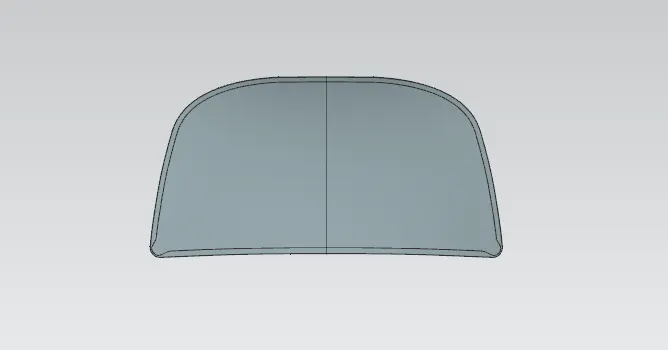
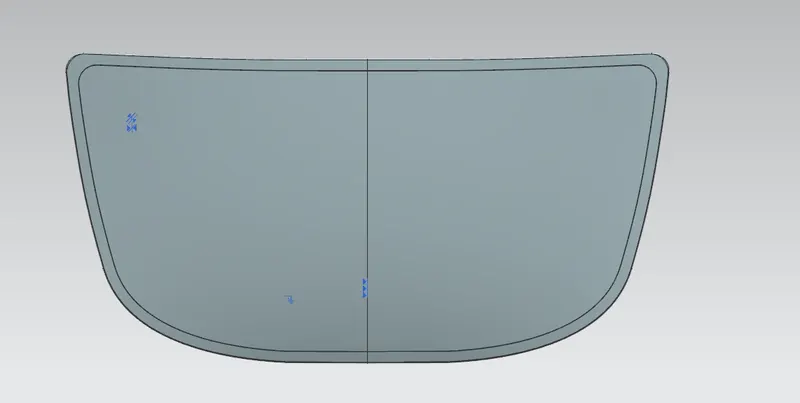
Firstly, we cut the class A in two symmetrical halves with the Y-Z plane. Then we took the offset and turn all the sharp corner into the round. After that we have created that surfaces through offset and draw the hemming flange through log extension. At last we use face blend command to create the outer panel and then we mirror geometry to form a thick body.
HOOD INNER PANEL DESIGN -
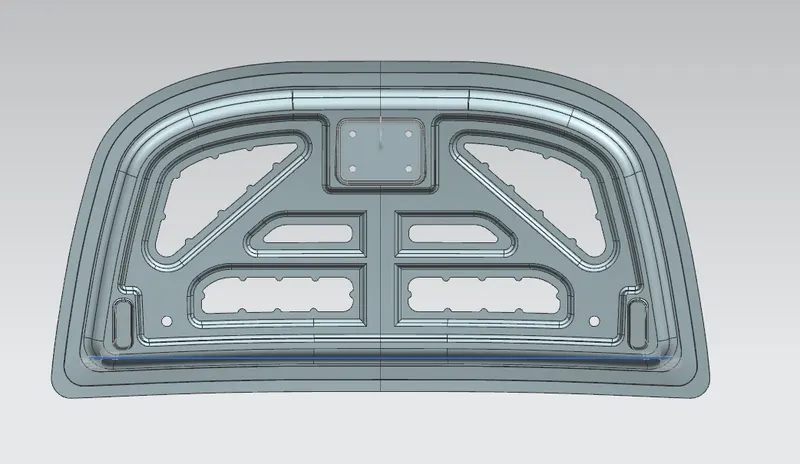
As input we receive the offset data of Hood Outer Panel. We offset the outer edge and made all the sharp corner to the round one then, trim the geometry to syemmetry by Y-Z plane. we offset all the necessary surfaces which is mention in the sketch and trim it. After creating the required surface we created the firts emboss then, second emboss and remove all the material. Now we linked the Hinge Assembly created emboss for the Hinge.
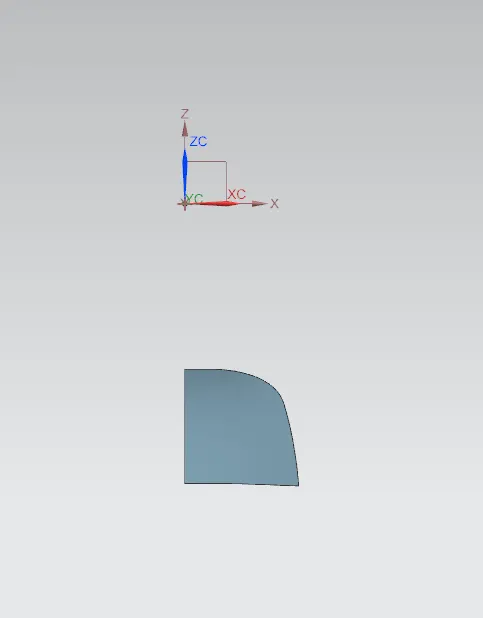
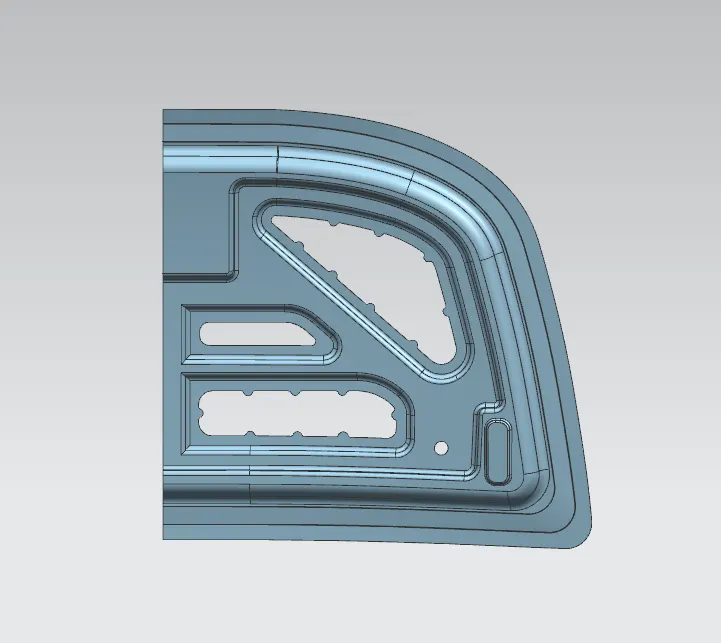
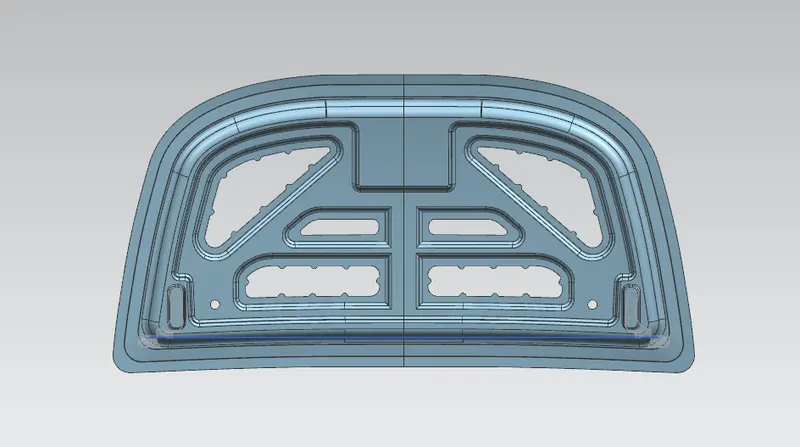
Now we created the Latch Trajectory Circle for openeing and closing of Hood.
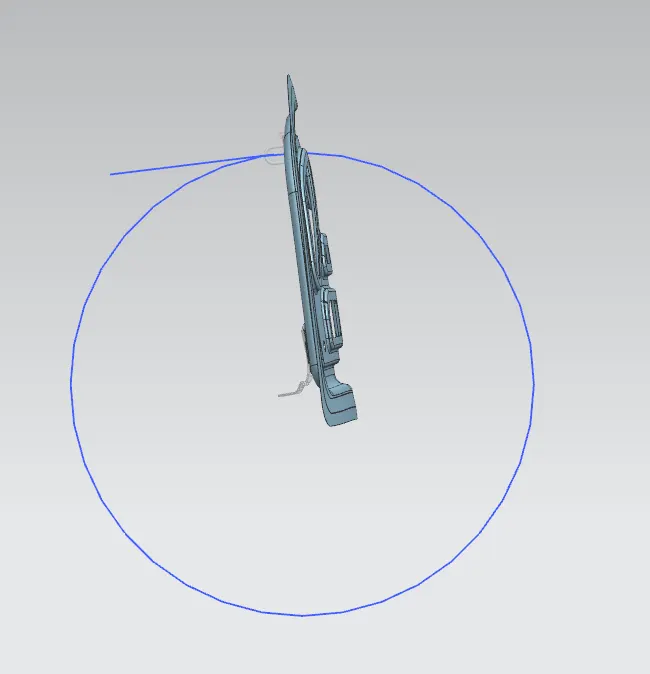
At last we have created emboss on the striker using Log extension and then thickend it.
THE FINAL ASSEMBLY -
CONCLUSION -
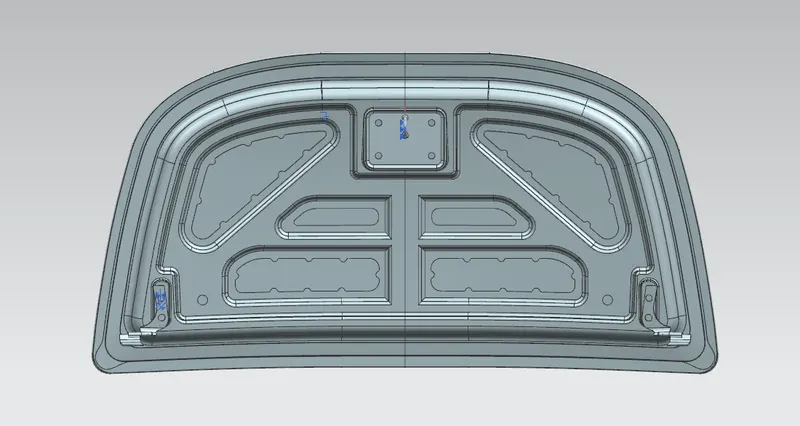
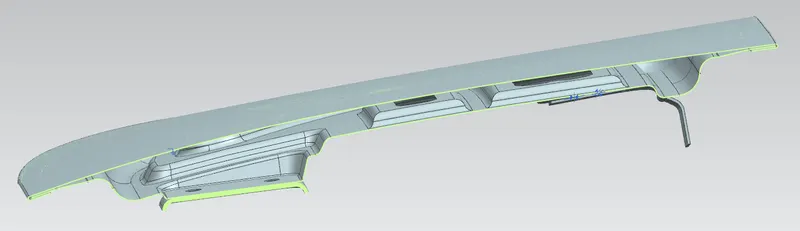
In this challenge Hood is created successfully in Top-Down Assembly approach with Hood Outer Panel, Hood Inner panel, Hinge Assembly amd Striker with the given sketch and all the design considerations.