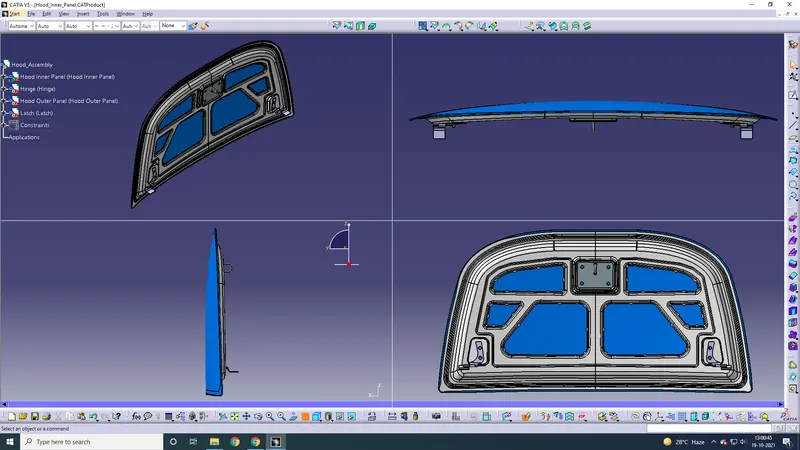
Hood design-Week 2
What is a Hood/Bonnet?
The hood or bonnet is the hinged cover over the engine of motor vehicles. Hoods can open to allow access to the engine compartment for maintenance and repair.
On front-engined cars, the hood may be hinged at either the front or the rear edge, or in earlier models, it may be split into two sections, one on each side, each hinged along the centre line. A further variant combines the bonnet and wheel arches into one section and allows the entire front bodywork to tilt forwards around a pivot near the front of the vehicle.
Saab Sonett
Both the above hoods are flip-front hoods
A rear-hinged clamshell hood on a Saab 9-5
Hoods are typically made out of the same material as the rest of the bodywork. This may include steel, aluminium, fibreglass or carbon fibre. However, some aftermarket companies produce replacements for steel hoods in fibreglass or carbon fibre to make the vehicle lighter.
The hood release system is common on most vehicles and usually consists of an interior hood latch handle, hood release cable and hood latch assembly. The hood latch handle is usually located below the steering wheel, beside the driver's seat or set into the door frame. On race cars or cars with aftermarket hoods, the hood may be held down by hood pins. Some aftermarket hoods that have a latch system are still equipped with hood pins to hold the hood buttoned-down if the latch fails.
The car’s hood consists of an inner and an outer panel. The inner panel provides strength, while the outer panel is just a metal cover. The underside of the hood is often covered with a sound-absorbing material. Some high-performance cars have ‘hood scoops’ which channel outside air directly to the air filter, which gives improved performance and efficiency.

Hood Scoop
Manufacturing Processes
Deep Drawing
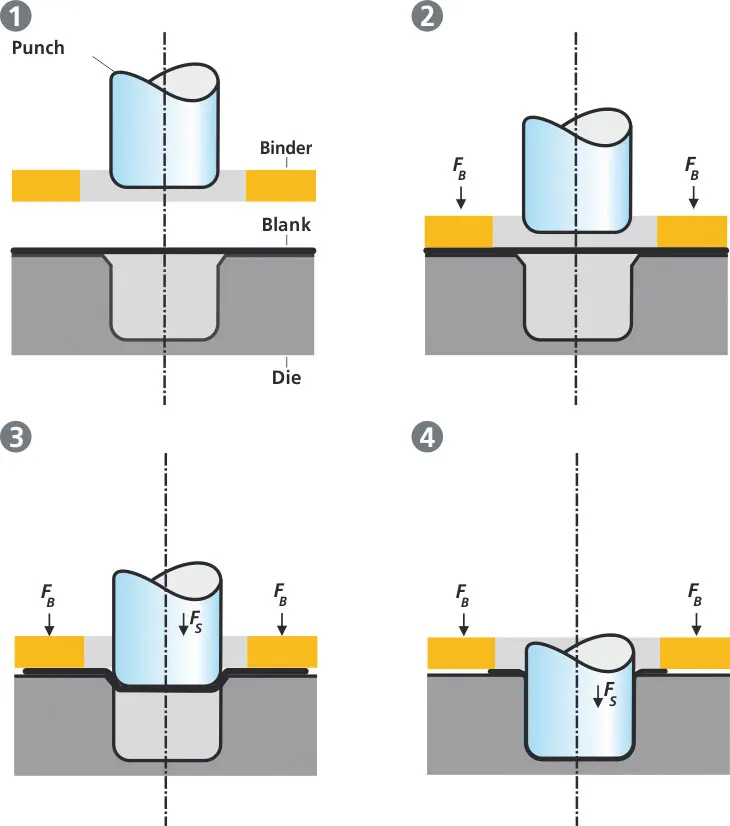
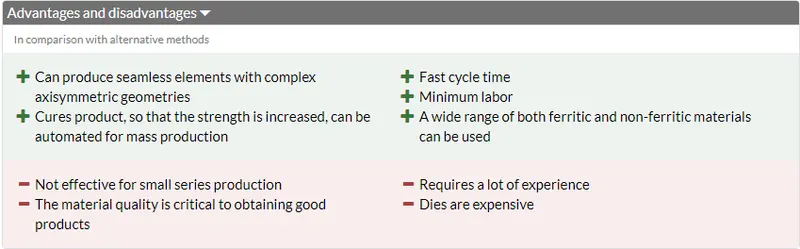
Deep drawing is a form of metal forming, where rigid tools such as punch, die and blank holder is used. The blank is placed between the die and the holder and then deformed by the punch pushing the sheet into the die and the blank finally assumes the shape of the die.
Hemming Process
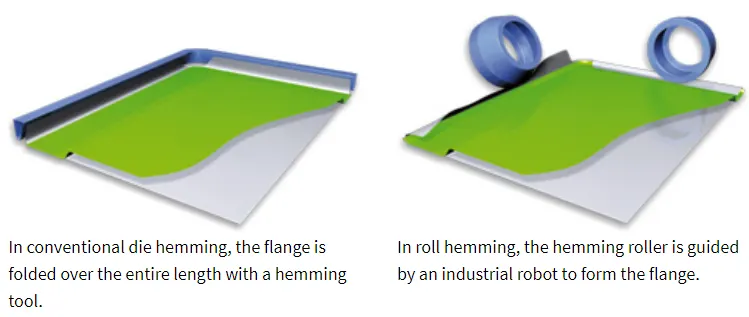
Hemming is a forming operation in which the edges of the sheet are folded or folded over another part in order to achieve a tight fit. Normally hemming operations are used to connect parts together, to improve the appearance of a part and to reinforce part edges.
In car part production, hemming is used in assembly as a secondary operation after deep drawing, trimming and flanging operations to join two sheet metal parts (outer and inner) together. Typical parts for this type of assembly are hoods, doors, trunk lids and fenders.
Embossing
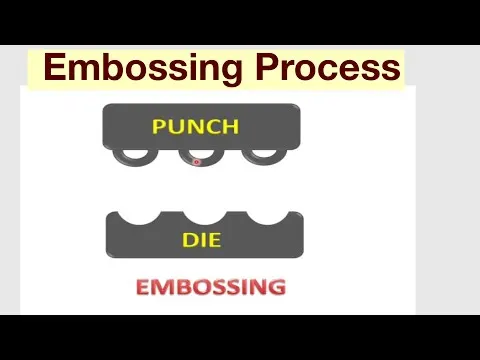
Embossing is a metal forming process for producing raised or sunken designs or relief in sheet material by means of matched male and female roller dies, theoretically with no change in metal thickness, or by passing sheet or a strip of metal between rolls of the desired pattern.
The metal sheet is drawn through the male and female roller dies producing a pattern or design on the metal sheet. Depending on the roller dies used, different patterns can be produced on the metal sheet.
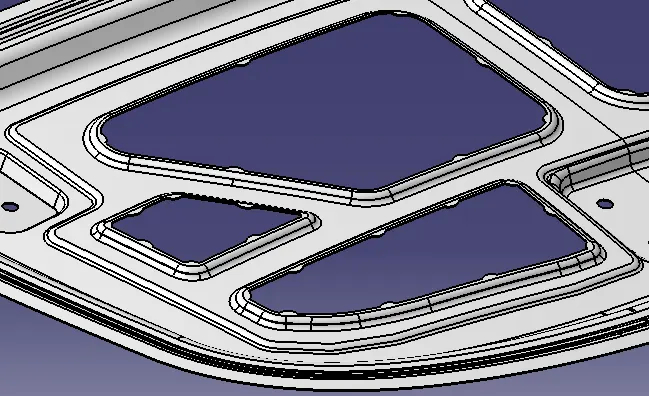
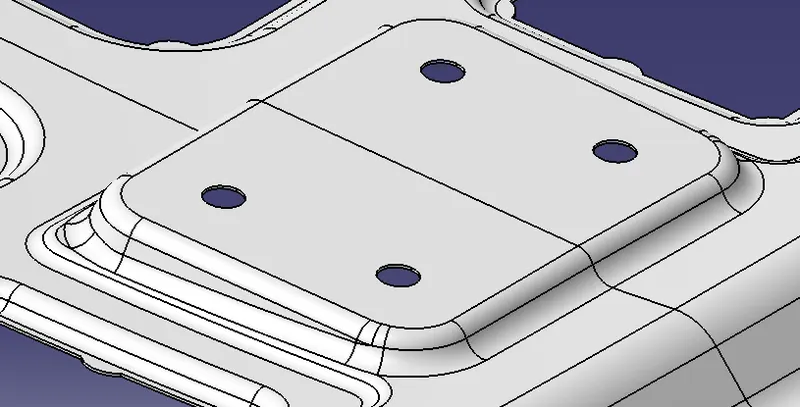
Examples for Embossings
Mastic Points
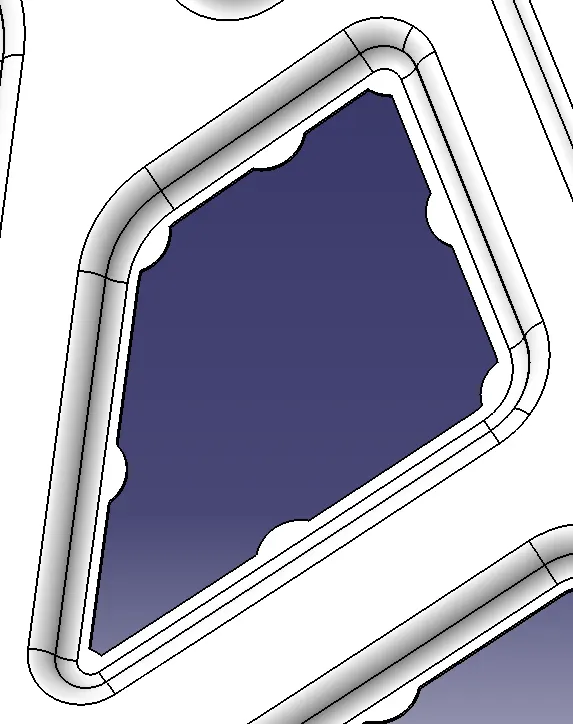
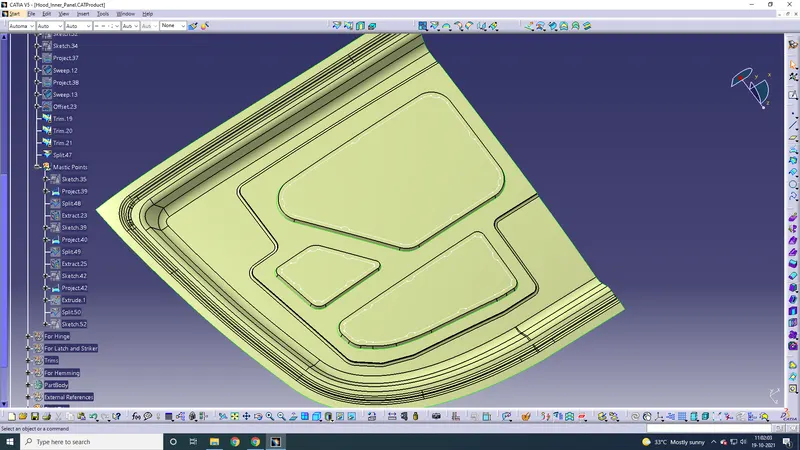
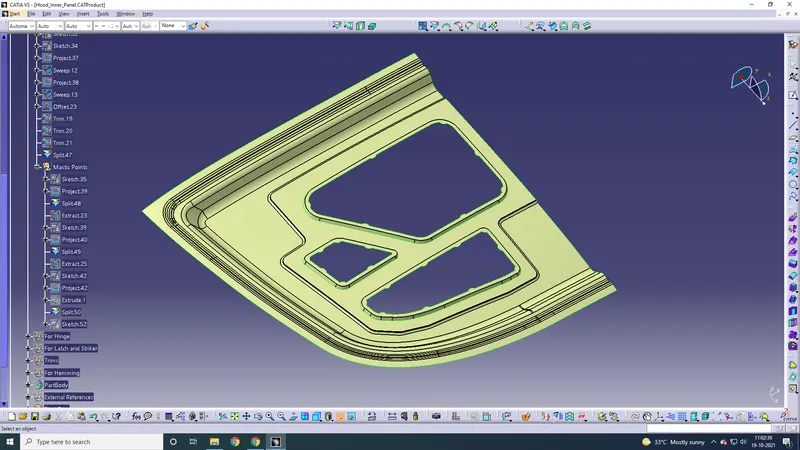
Mastic points are the points where the inner panel and outer panel are stuck together. Some projections are made along the embossing where glue will be applied to make the inner and outer panel fix together.
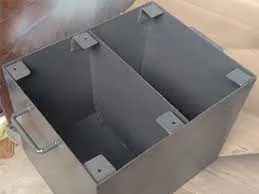
The small rectangular things are called mastic points.
Pedestrian Safety
Regulations have come into effect that places a limit on the severity of pedestrian head injury when struck by a motor vehicle. This is leading to more advanced hood designs, as evidenced by multi cone hood inner panel designs. Other changes are being made to use the hood as an active structure and push its surface several centimetres away from the hard motor components during a pedestrian crash.
With advancements in vehicle technology, safety is in the limelight across the world. Automakers have already managed to make the cars much safer for the occupants over time. This is clear from the fact that many of the recent vehicles have scored a perfect 5-star safety rating in Global NCAP tests. Now, cars are being required to protect others around them as well. A major chunk of this focuses on pedestrian safety.
Several countries, including the US and the UK, have already set up strict legal requirements as well as consumer protection tests for vehicles. The idea is to design the vehicles in such a manner that they do not harm - or at least reduce harm - to a pedestrian in case of a collision.
One of the recent innovations in hood design to ensure pedestrian safety is the "Active Hood". Such a hood is meant to raise its height automatically as soon as it detects an accident. With the hood height raised several inches, the pedestrian is much less likely to hit the hard part of the engine upon collision. This would in turn reduce the impact on the pedestrian as he/she hits the car.
For this, sensors are employed at the front of the vehicle which is linked to the airbag control unit. The unit in turn uses infrared technology to detect a crash with a pedestrian. When it does so in the event of an accident, it triggers the actuators in the vehicle to lift the engine hood by several inches, thus protecting the pedestrian from a potentially critical fall on the car.
Here is the link to watch the working of Hyundai's Active Hood Latch system. (https://youtu.be/FioKkJgff9w)
Many pedestrian crashes involve a forward-moving car. In such a crash, standing or walking pedestrian is struck and accelerated to the speed of the car and then continues forward as the car brakes to a halt. The pedestrian is impacted twice, first by the car and then by the ground, but most of the fatal injuries occur due to interaction with the car. Vehicle designers usually focus on understanding the car-pedestrian interaction, which is characterized by the following sequence of events: the vehicle bumper first contacts the lower limbs of the pedestrian, the leading edge of the hood hits the upper thigh or pelvis, and the head and upper torso are struck by the top surface of the hood and/or windshield.

Passenger Impact Test
The hood of most vehicles is usually fabricated from sheet metal, which is a compliant energy-absorbing structure that poses a comparatively small threat. Most serious head injuries occur when there is insufficient clearance between the hood and the stiff underlying engine components. A gap of approximately 10 cm is usually enough to allow the pedestrian’s head to have a controlled deceleration and a significantly reduced risk of death. Creating room under the hood is not always easy because usually there are other design constraints, such as aerodynamics and styling. In some regions of the hood, it can be impossible. These include along the edges on which the hood is mounted and the cowl, where the hood meets the windshield. Engineers have attempted to overcome this problem by using deformable mounts, and by developing more ambitious solutions such as airbags that are activated during the crash and cover the stiff regions of the hood.
Pedestrian Injury Patterns
How Pop-up Hood Feature Works
Challenge:
Given master section:
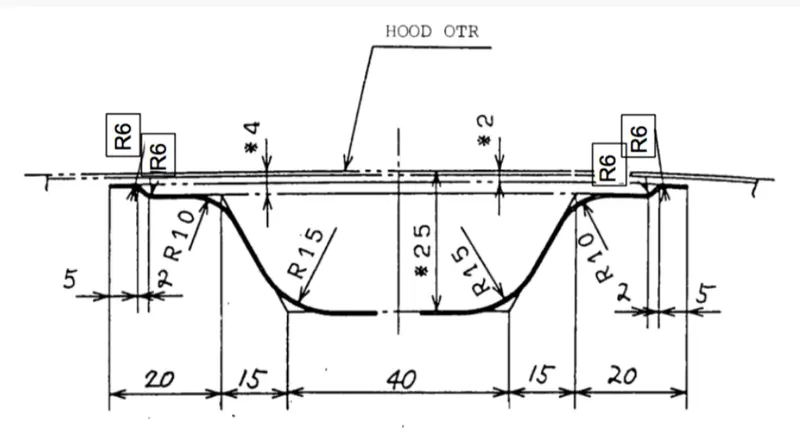
There is an offset of 0.2mm from the outer panel which is not given here in the master section. This offset surface is the one that will be surrounded by the hemming from the outer panel. (shown below)
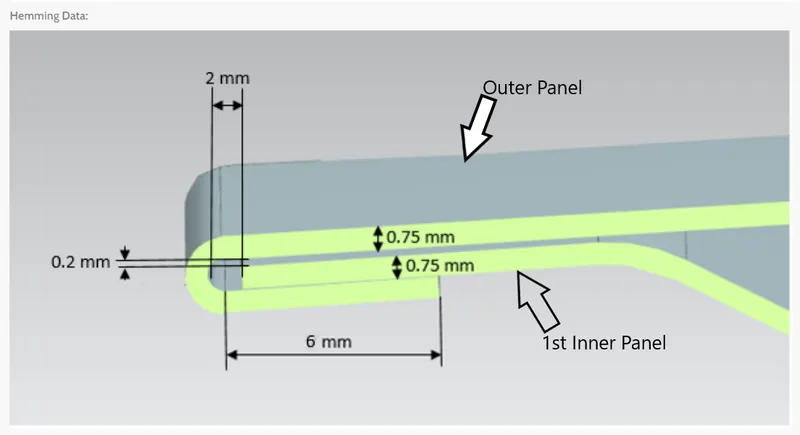
Note that the offset distance between the surfaces should be given offset distance + the thickness (0.75mm) of the solid bodies. So the first offset which is 0.2mm will not be just 0.2mm, but 0.2+0.75+075 = 1.7mm. This data is for the hemming which we will do at the end.
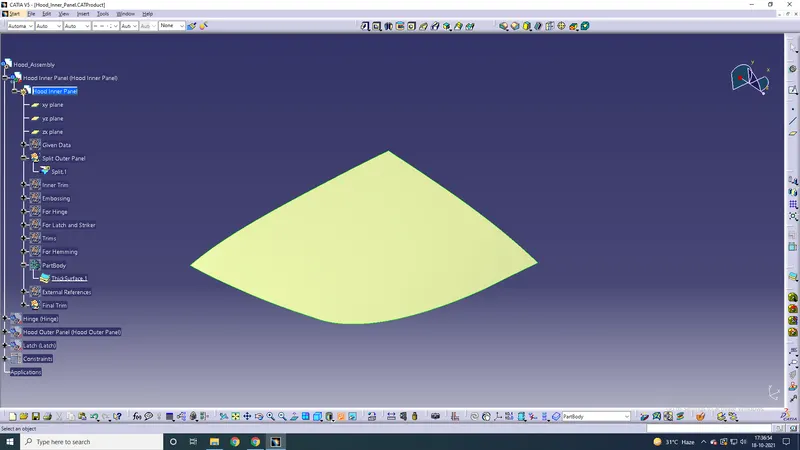
This is the given hood outer panel.
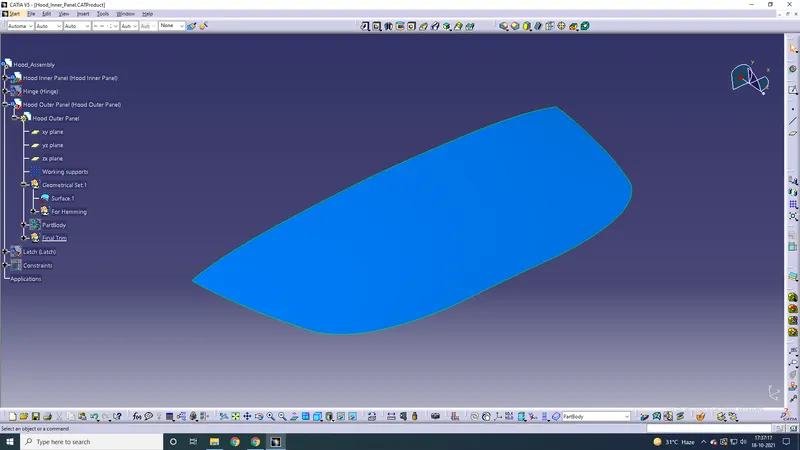
While working on it it will be simpler to split the outer panel by half and start working. the other side can be easily mirrored.
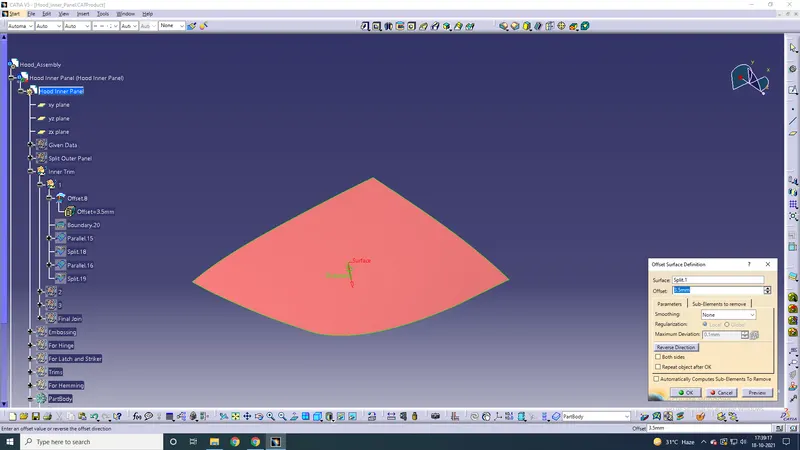
Creating first offset surface for the inner panel. From the master section, we can see that the first inner panel offset is at 2mm from the outer panel. But taking thickness also into consideration, the offset distance should be 0.75+2+0.75 = 3.5mm.
The length of the first offset should be 5mm. Before that, this surface should start at 15m after the outer panel surface. Then doing a boundary and parallel curve again for 5mm.
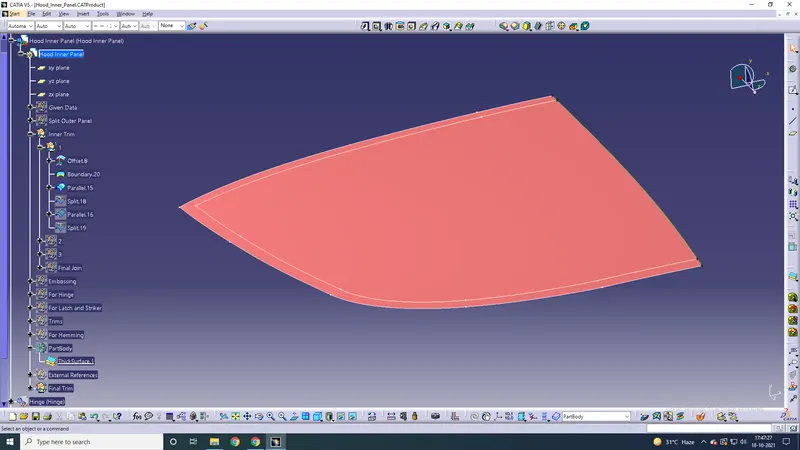
Thus we have got the first offset inner panel of 5mm distance.
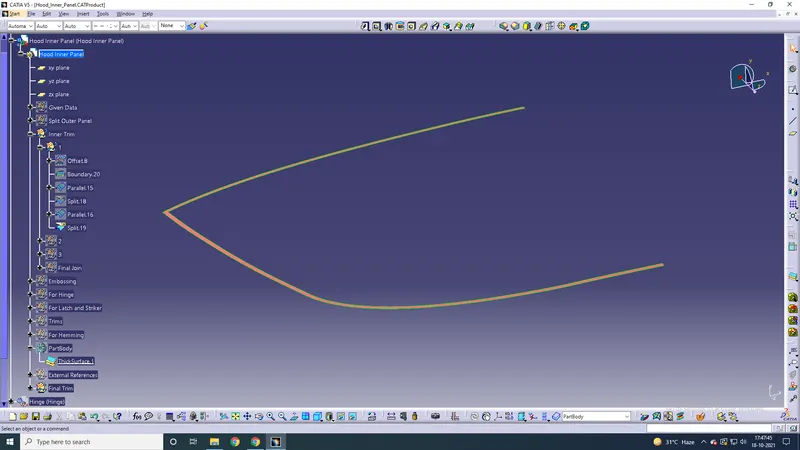
Similarly making offset surfaces below according to the master section, we get something like this.
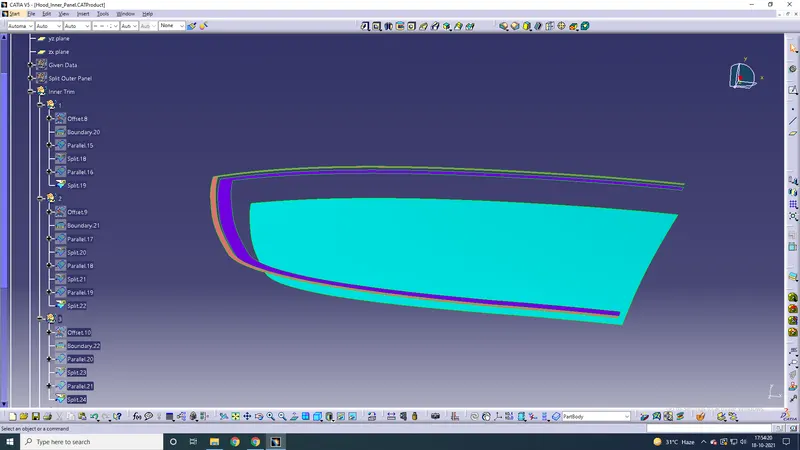
The next step is to connect these offset surfaces using "multi-sections surface" command.
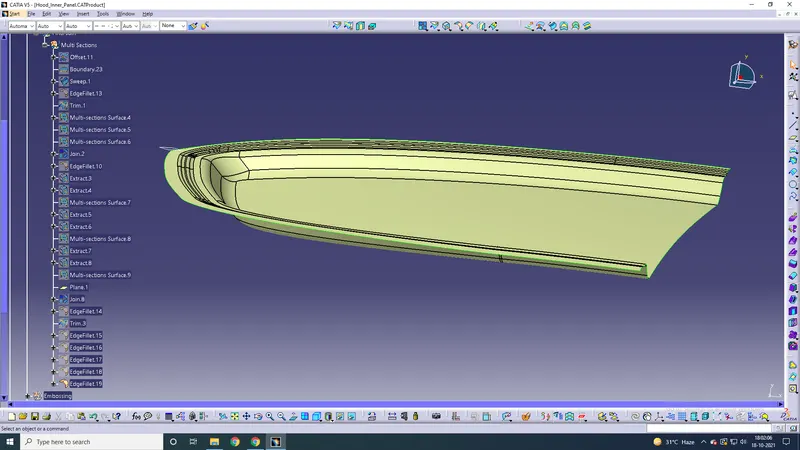
Fillets of 6, 6, 10, and 15mm have been given to the edges according to the master section.
Emboss Creations
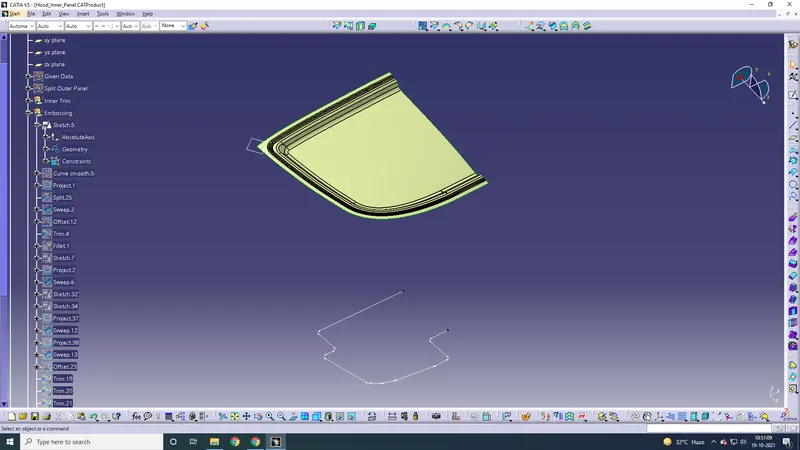
Projecting it to the surface
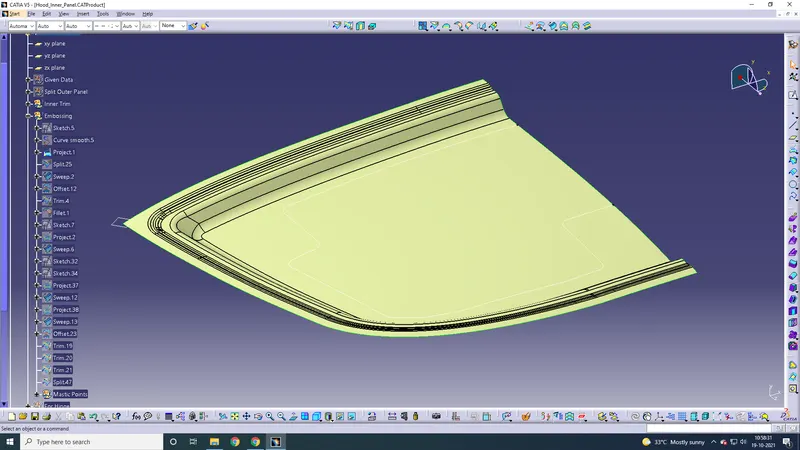
Splitting the projection with the main and doing a sweep
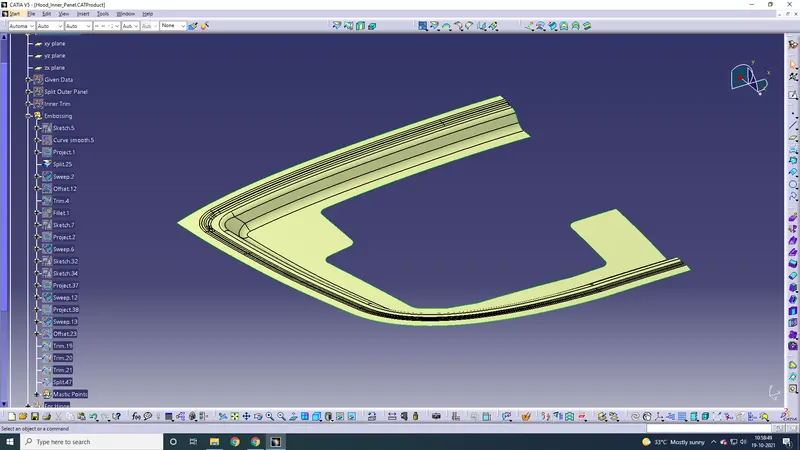
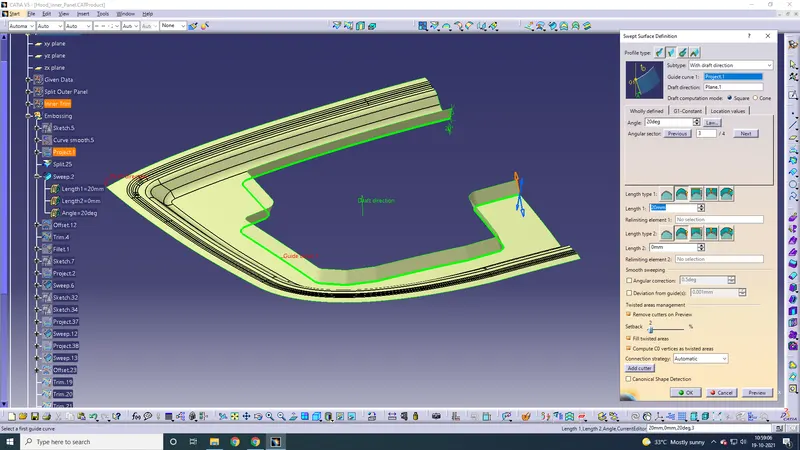
Taking an offset and trimming the sweep with it
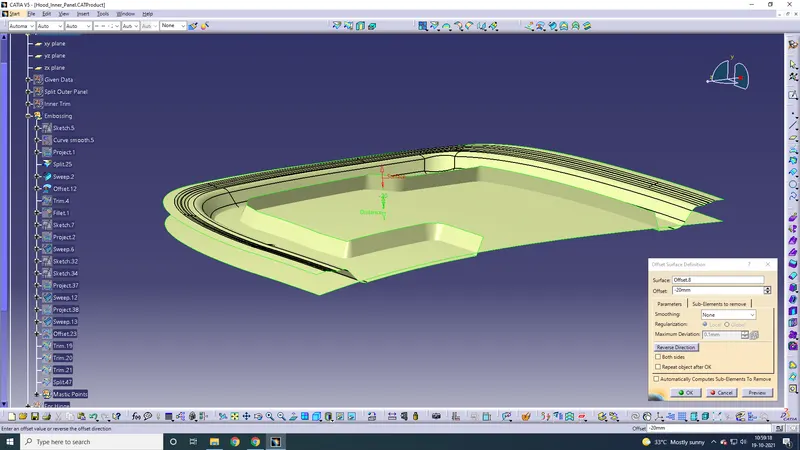
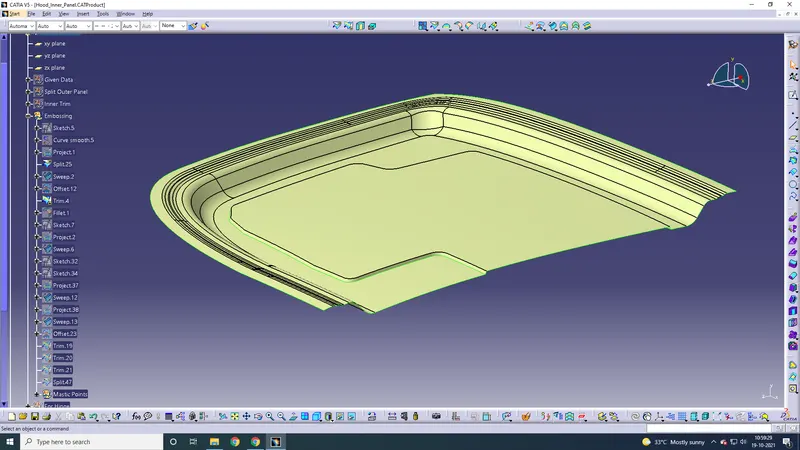
Similarly, making the inside embossings
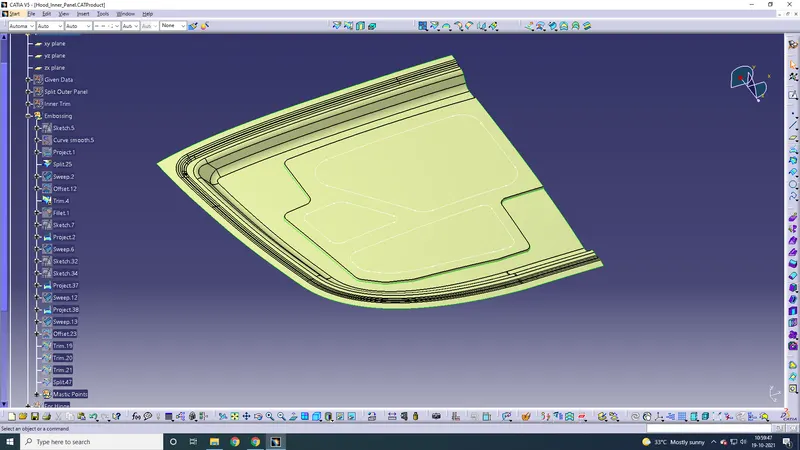
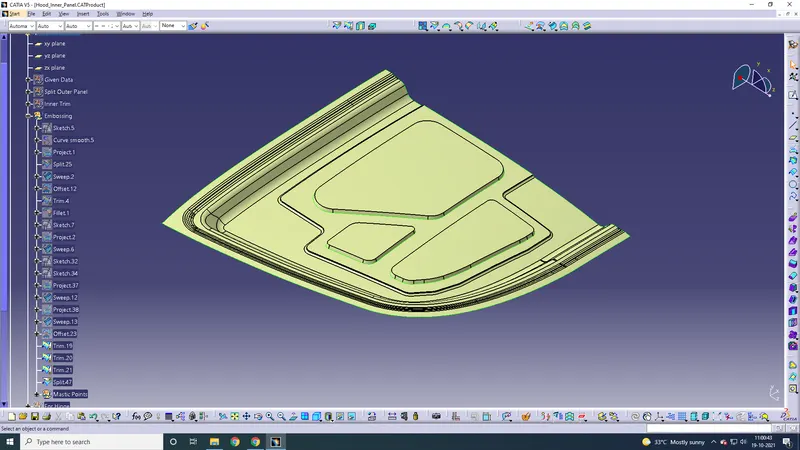
Splitting the underside from the main to get the depressions
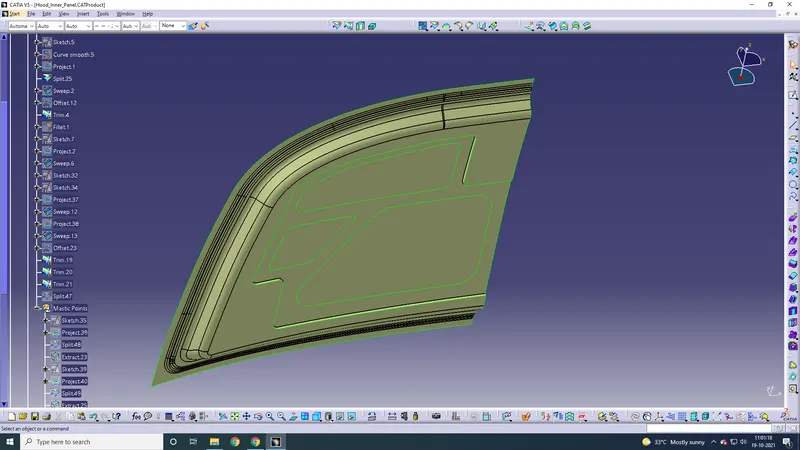
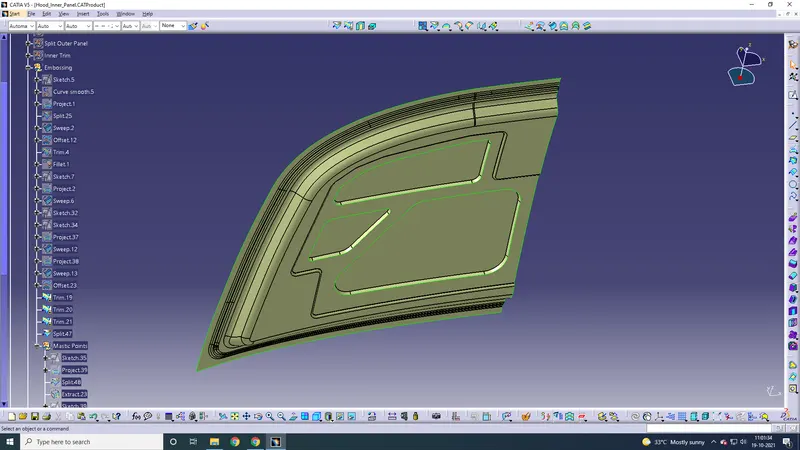
Mastic Points creation
The offsets of the surface were taken (5mm offset) and circles of 15mm dia. were given (mastic points), and finally the unnecessary portions were trimmed off using quick trim.
Placing the Hinge
Before placing the hinge, we have to create another emboss for it. This is because any object can only lie correctly on a perfectly flat surface. The surface of the hood is not perfectly straight. It is kind of splined. So we need to first make the embossing for the hinge, same for the latch too.
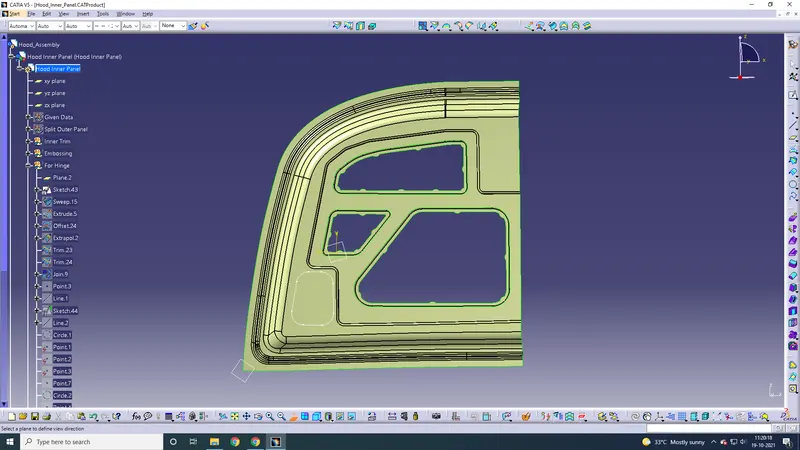
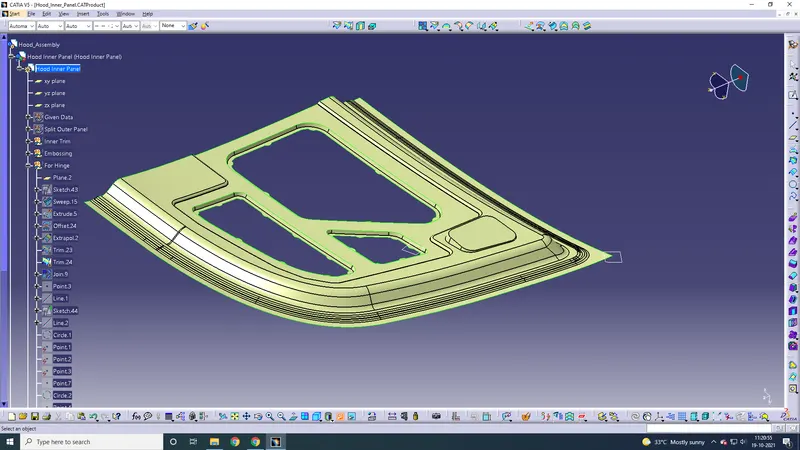
Now we need to bring the hinge using the assembly workbench.
The hinge has been successfully placed on top of the embossing using various constraints like point to point and line to line.
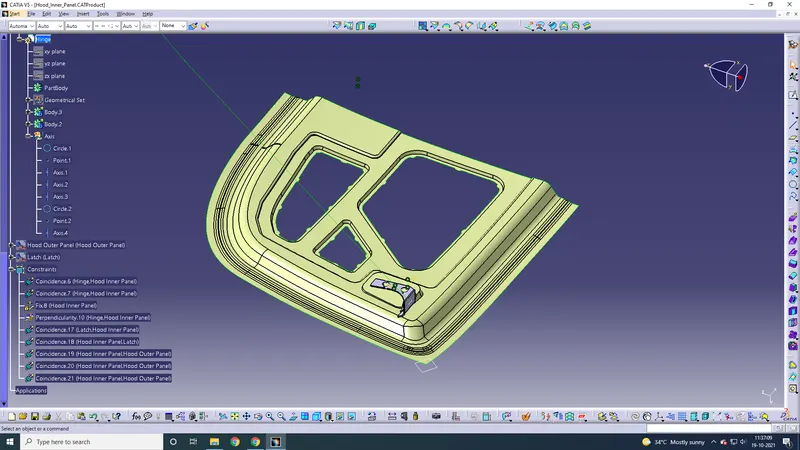
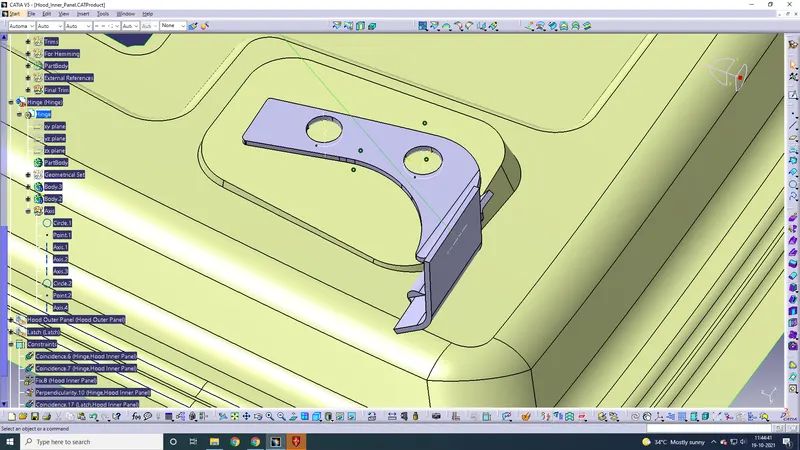
Now we can mirror this hinge to the other side.
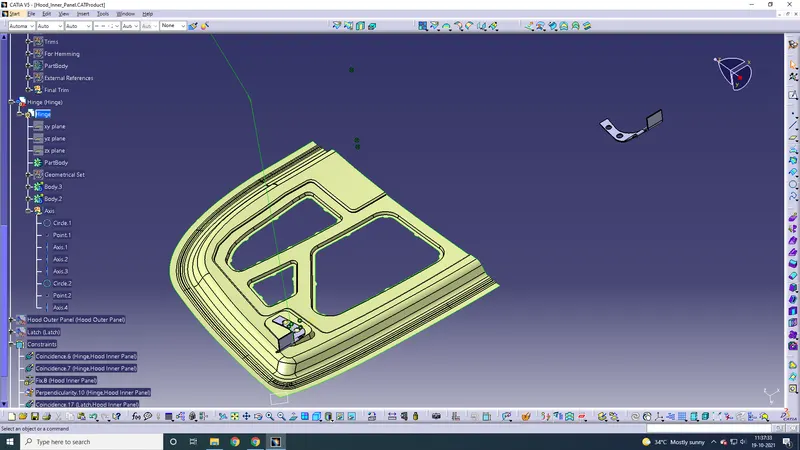
Next up, we need to place the latch and striker mechanism.
For that, there are some things to be done.
First of all, the latch has been brought into the file using assembly workbench.
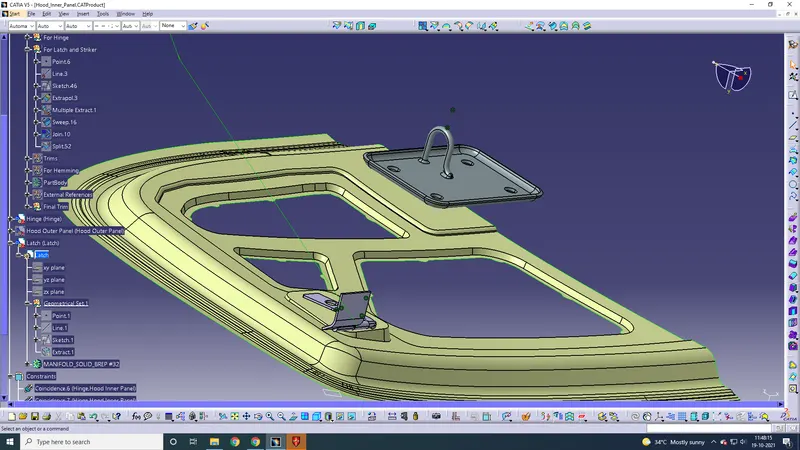
For making the embossing, the simple way is to take an extract of the underside of the latch, extrapolate it and make an embossing using sweep.
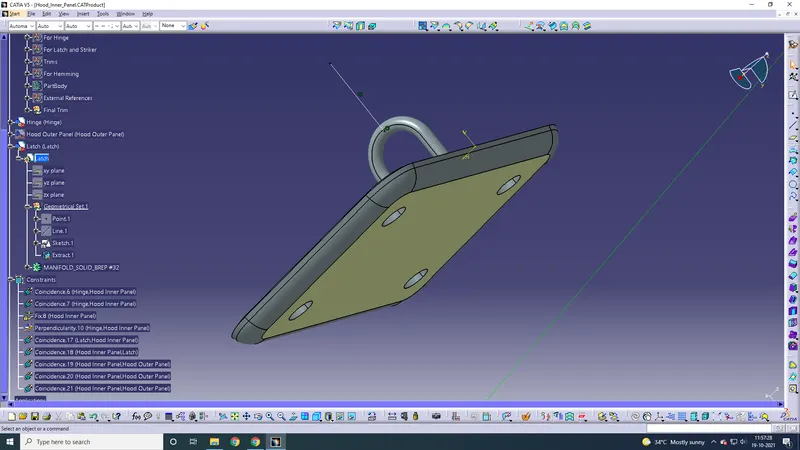
The line seen in the image is for constraining the latch onto the embossing.
Create a point on the hinge circular area and make a line through it. This line is the basis line through where the hood opens/closes.
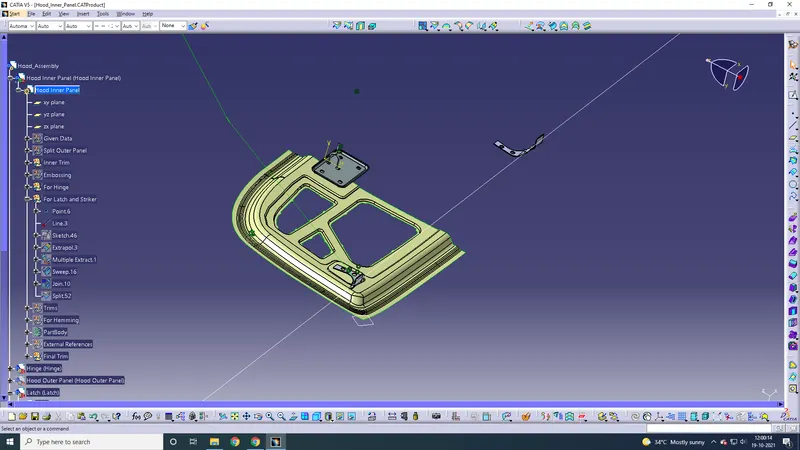
This circle determines the hood opening/closing function. Adjust the diameter of the circle to match it with the line created on the latch.
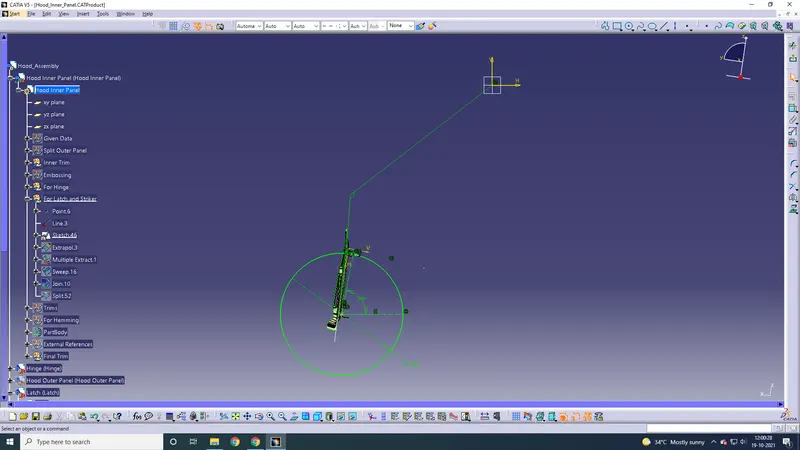
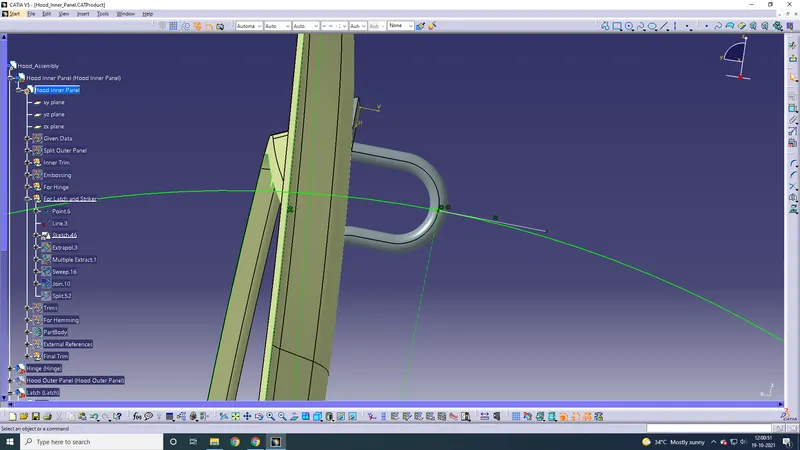
Embossing for the latch has also been created.
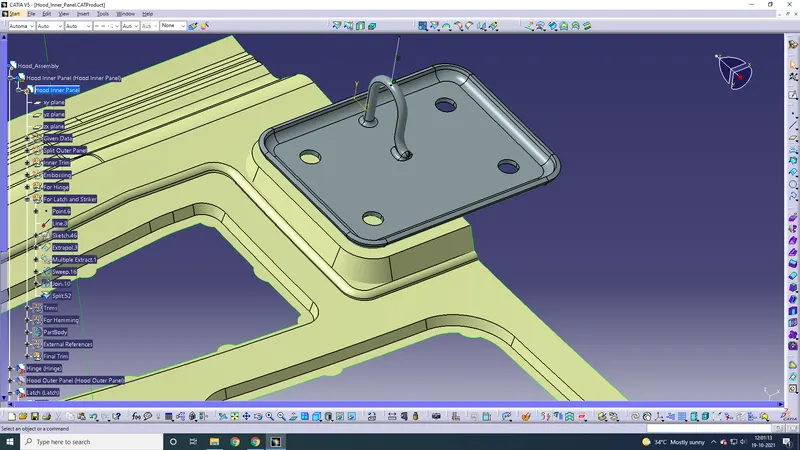
Making holes for the hinge
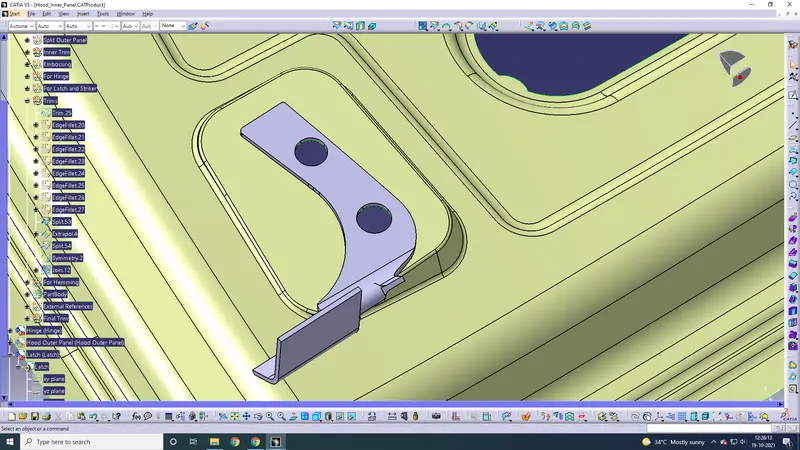
Making symmetry and joining the 2 to get the final surface
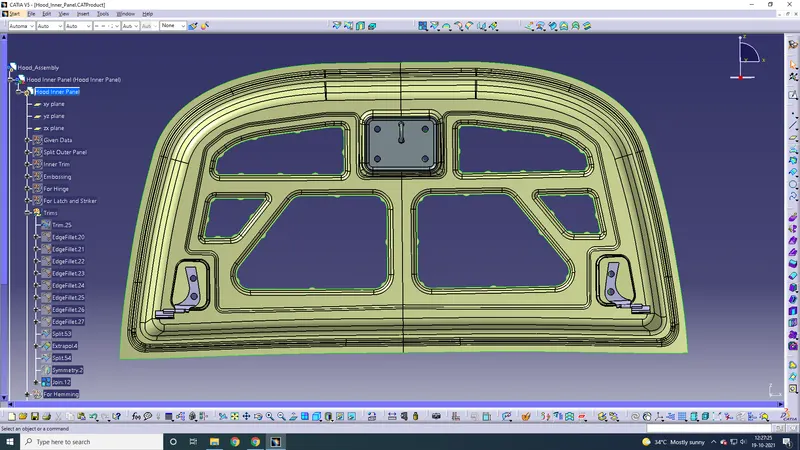
Visible area
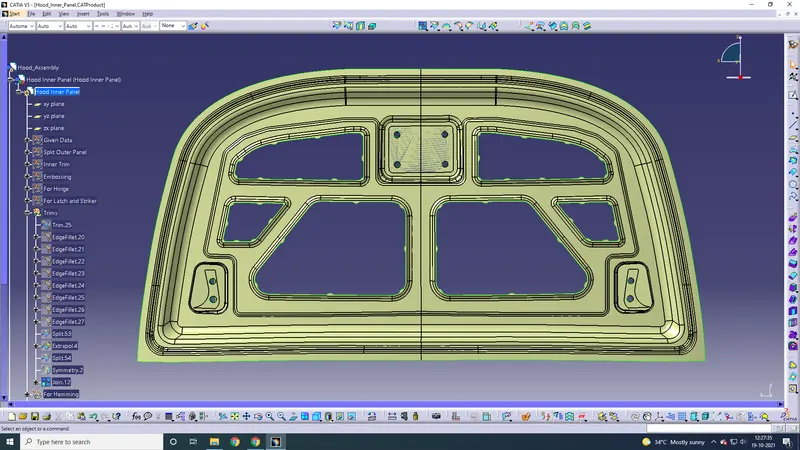
Hidden area
Making of Hemming
Extrapolating the outer panel to 3mm
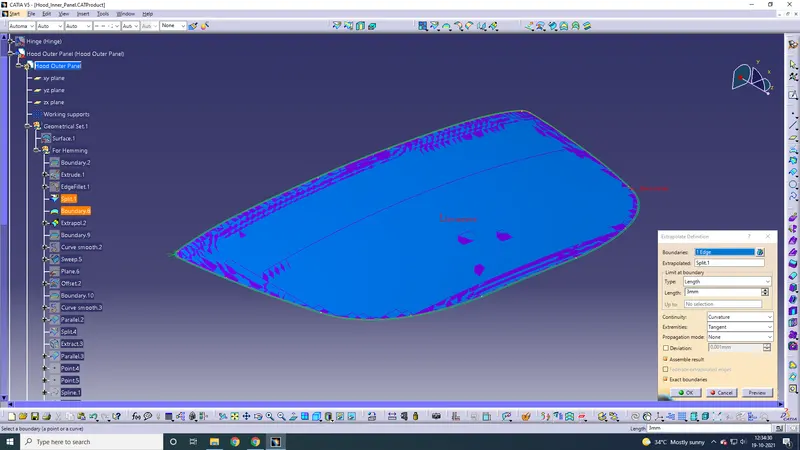
After this, a sweep should be made from the boundary of this extrapolated outer panel.
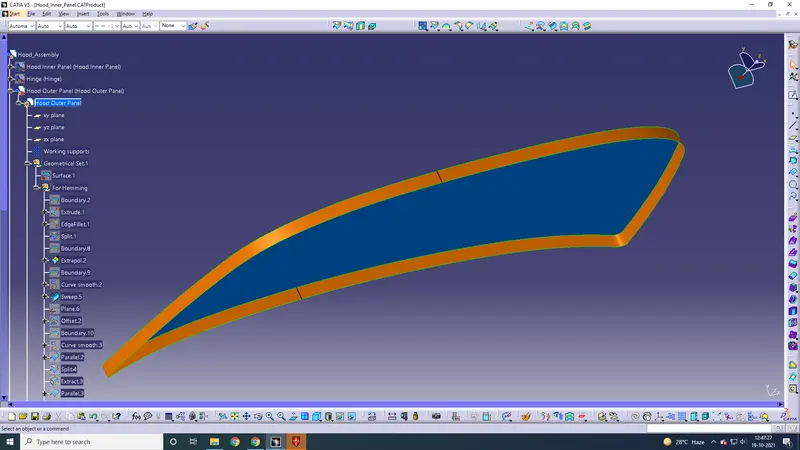
Offsetting the surface for hemming
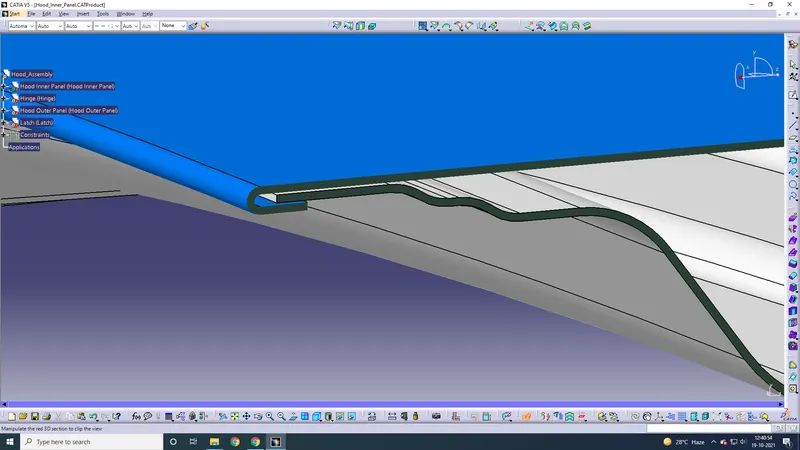
From the master section, we can see that the hemming surface offset should be given as 0.75+0.2+0.75+0.2+0.75 = 2.65mm
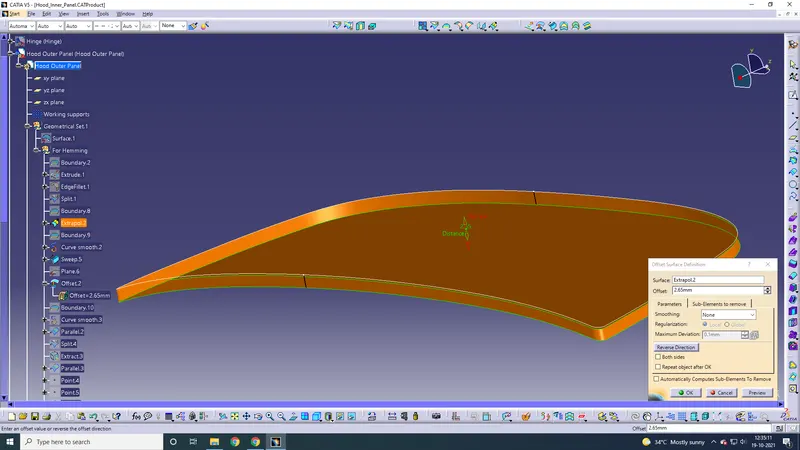
The hemming distance should be 6mm from the master section.
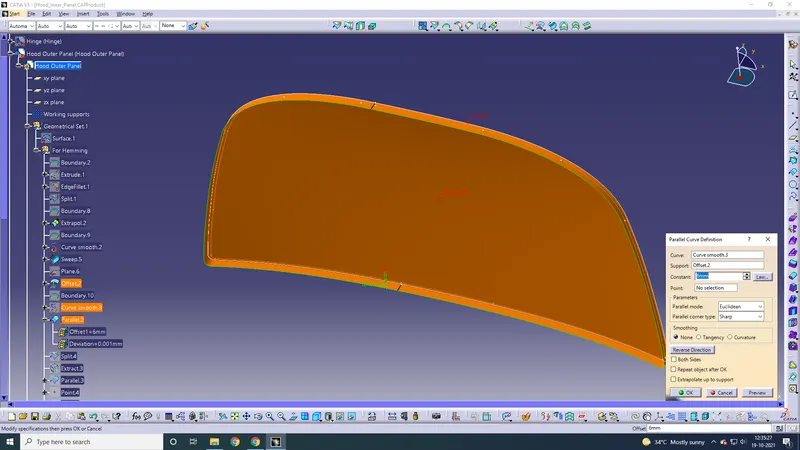
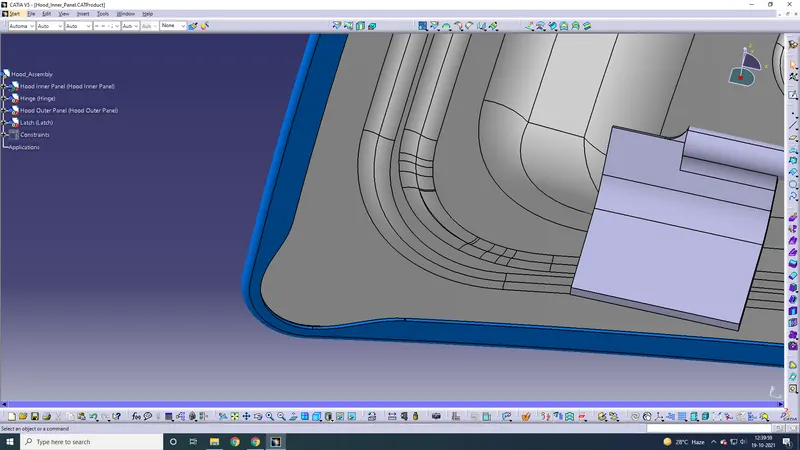
The final hemmed surface will look like this. Note that the relief section has been given according to the given data.
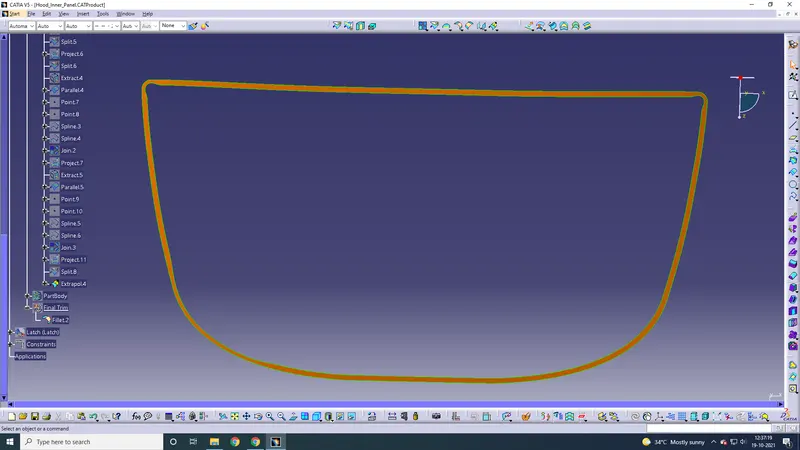
Now giving tri-tangent fillet command. Support 1 will be the outer panel (extrapolated), support 2 will be the hemming surface with relief (also extrapolated) and support to remove will be the sweep surface.
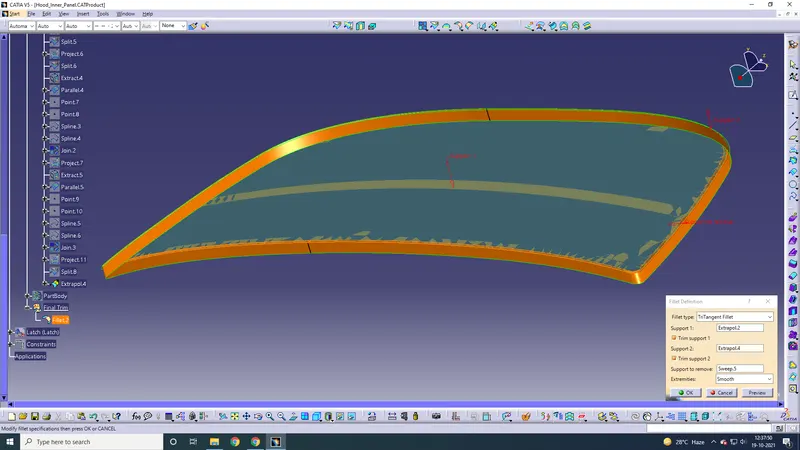
Finally, we will get something like this.
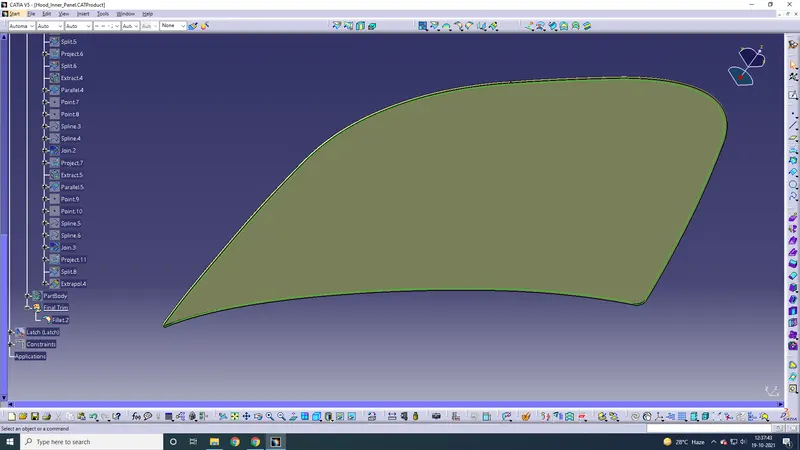
Making this a thickened body of 0.75mm in the downward direction (towards the inner panel)
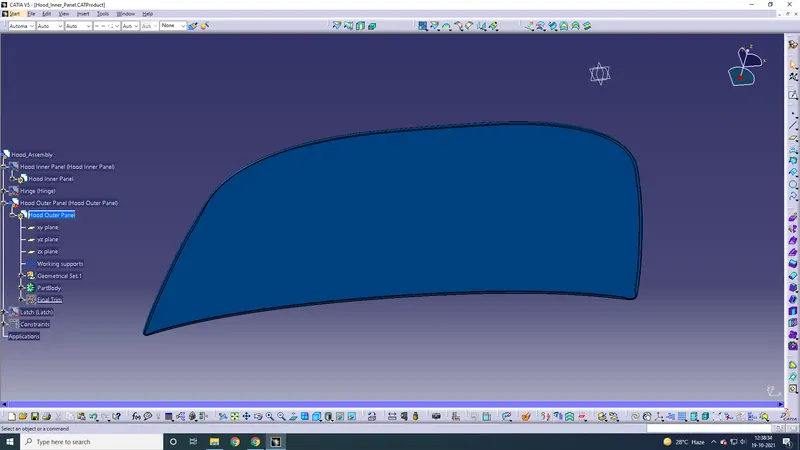
The outer panel is now fully done.
Thickening the inner panel too with 0.75mm (upward direction)
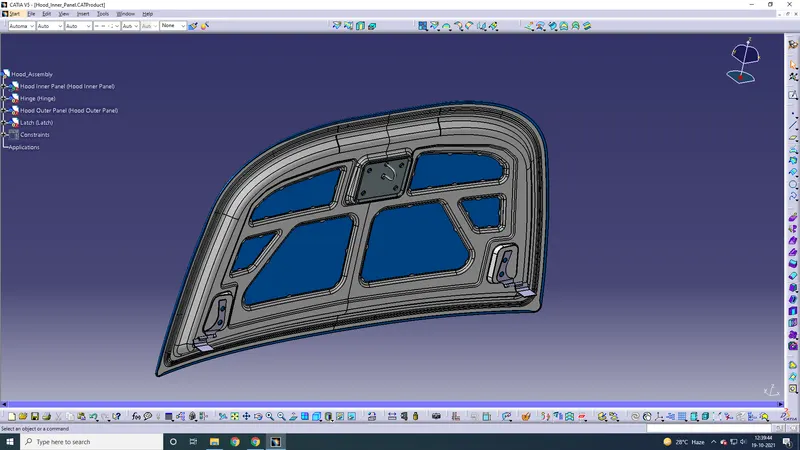
Finally, everything will look like this.
Relief section zoomed in
Cut-section
Final outcome