Hood design-Week 2
PROJECT: 1 : HOOD ASSEMBLY:
Aim:
Create the Hood Assembly with Nessary Components , Like : Outer Panel, Inner Panel,Latch trajectory Striker Assembly,Hinge Assembly , Reinforcement and Hemming Process including as per Mastic Date Dimensions.
1.Develop the Inner Panel with Mastic data dimensions.
2.Debelop the emboss.
3.Develop the Hinge Component Assembly.
4.Develop the Latch Trajectory Strike Assembly.
5.Deveop the Hemming process with relief section .
Software Using: SIEMENS UG NX12 CAD.
What is Hood?
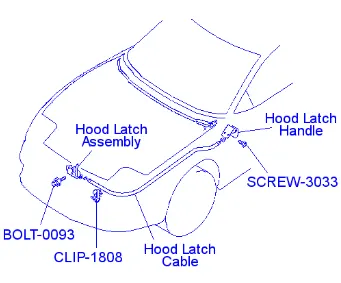
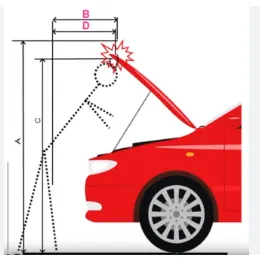
Hood is also know as bonnet.its is hinged cover to the rest over the engine of front engine vehicle.the hood can alow to asses repair or maintenance work on engine component.
The component of hood is hinge assembly Striker also.They are two supports are there ,
1.Gas Stay,
2.Connecting Rod
Mastic Data :
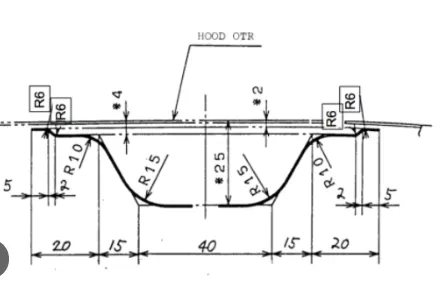
Mastic Data has given the data of dimension in hood assembly .
1.Outer panel thickness - 0.75mm
2.Inner Panel Thickenss - 0.75mm
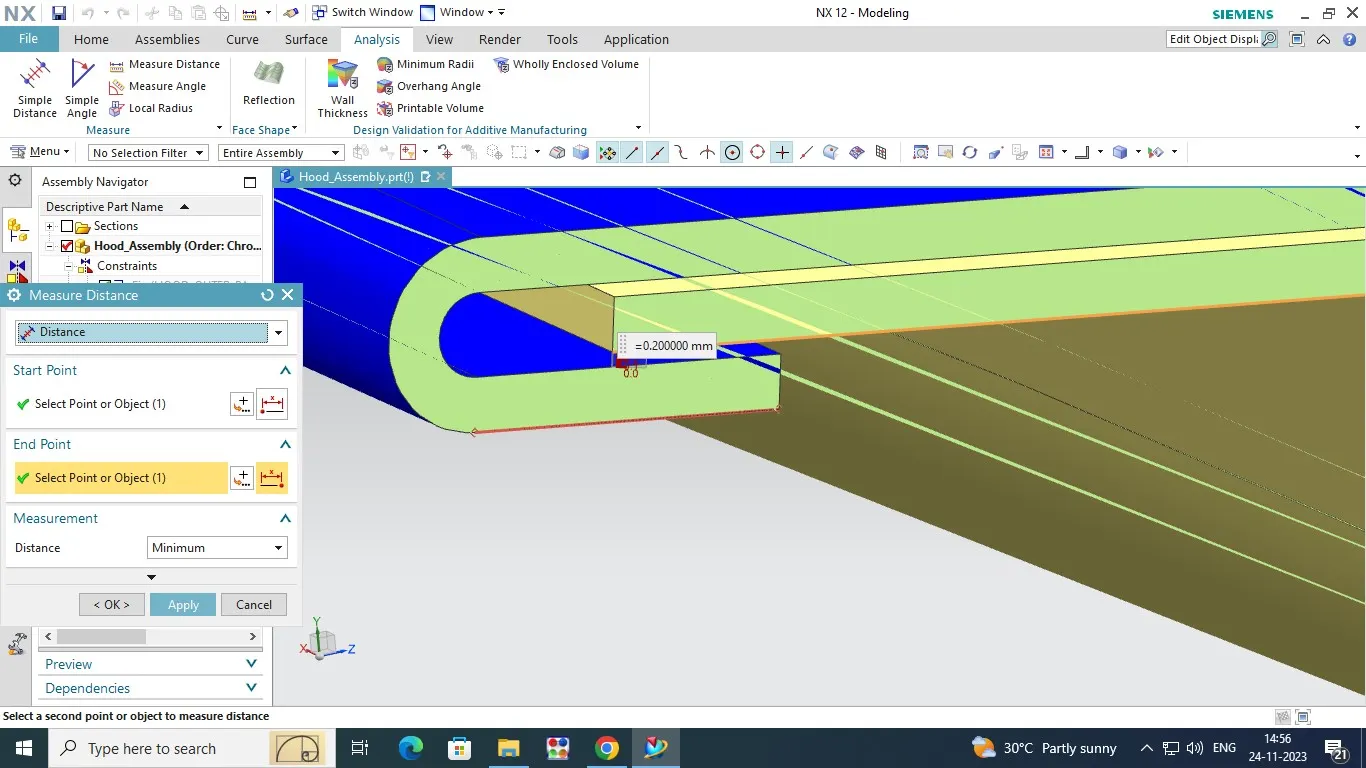
3.Gap of inner and outer panel - 0.2mm
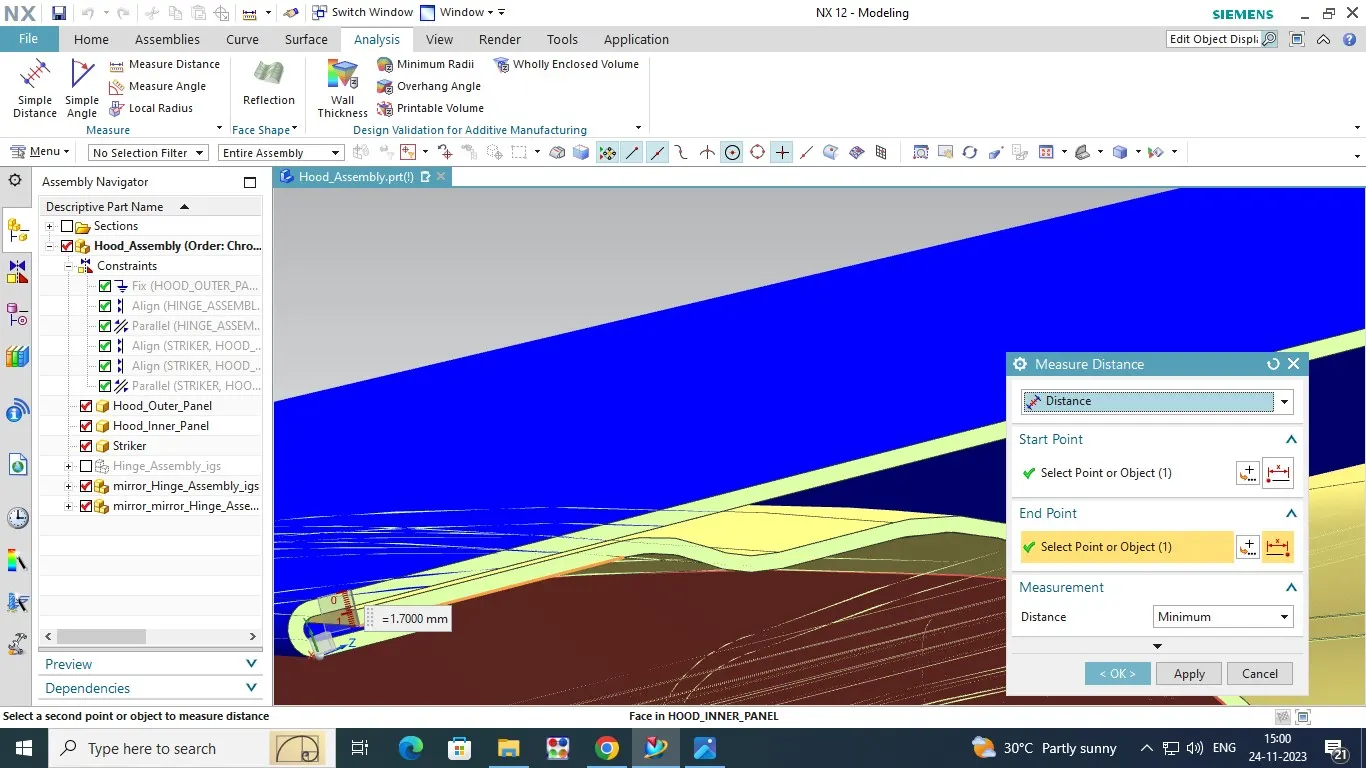
4.Gap of Outer panel to Innerpanel flange -1 - 1.7 mm
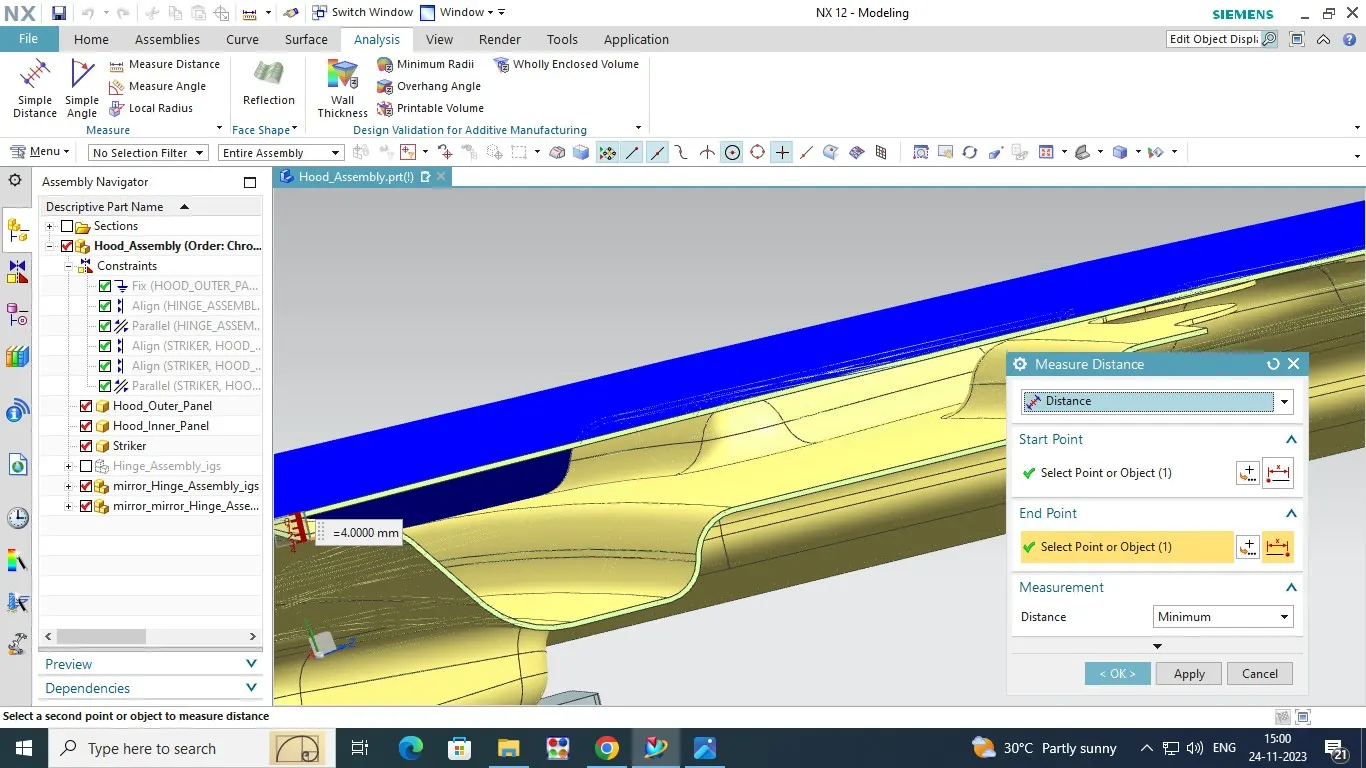
5.Gap of Outer panel to Innerpanel flange -2 - 4 mm
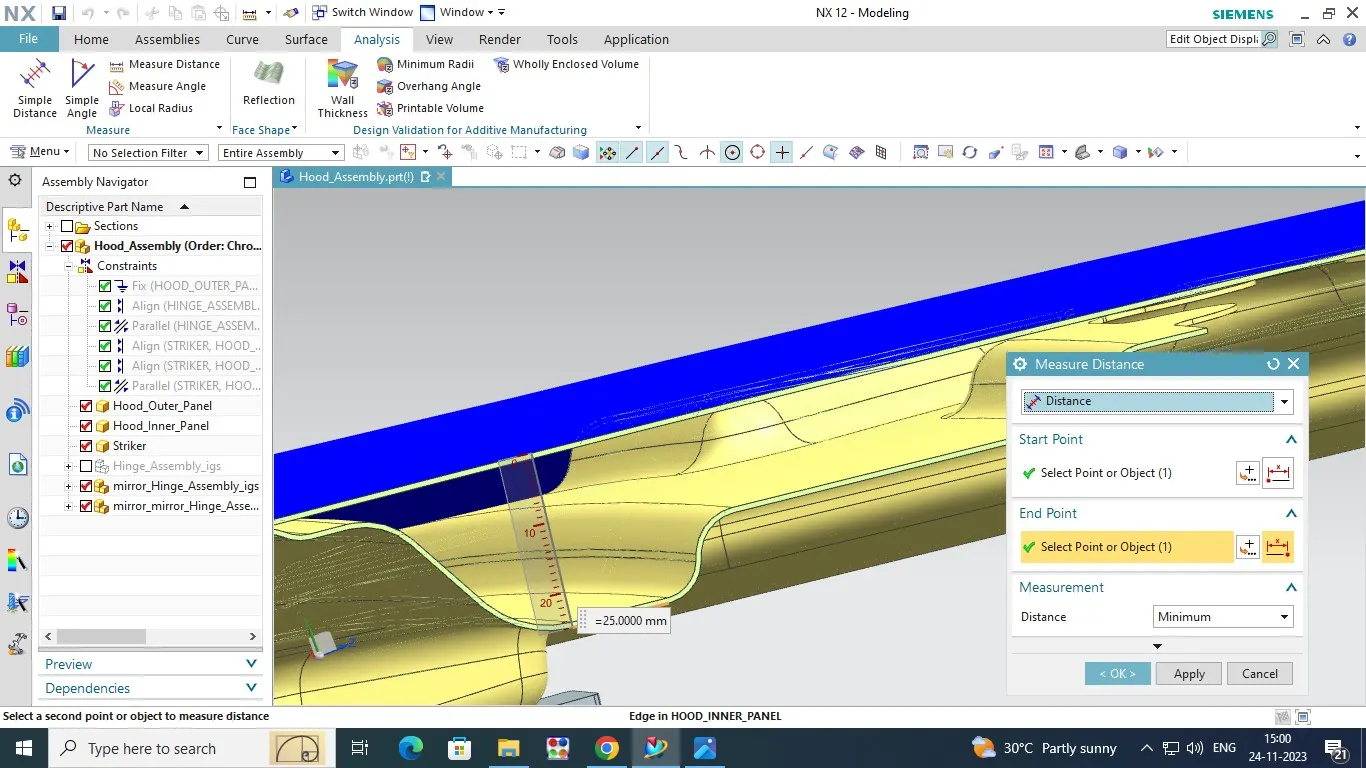
6.Gap of Outer panel to Innerpanel flange -3 - 25 mm
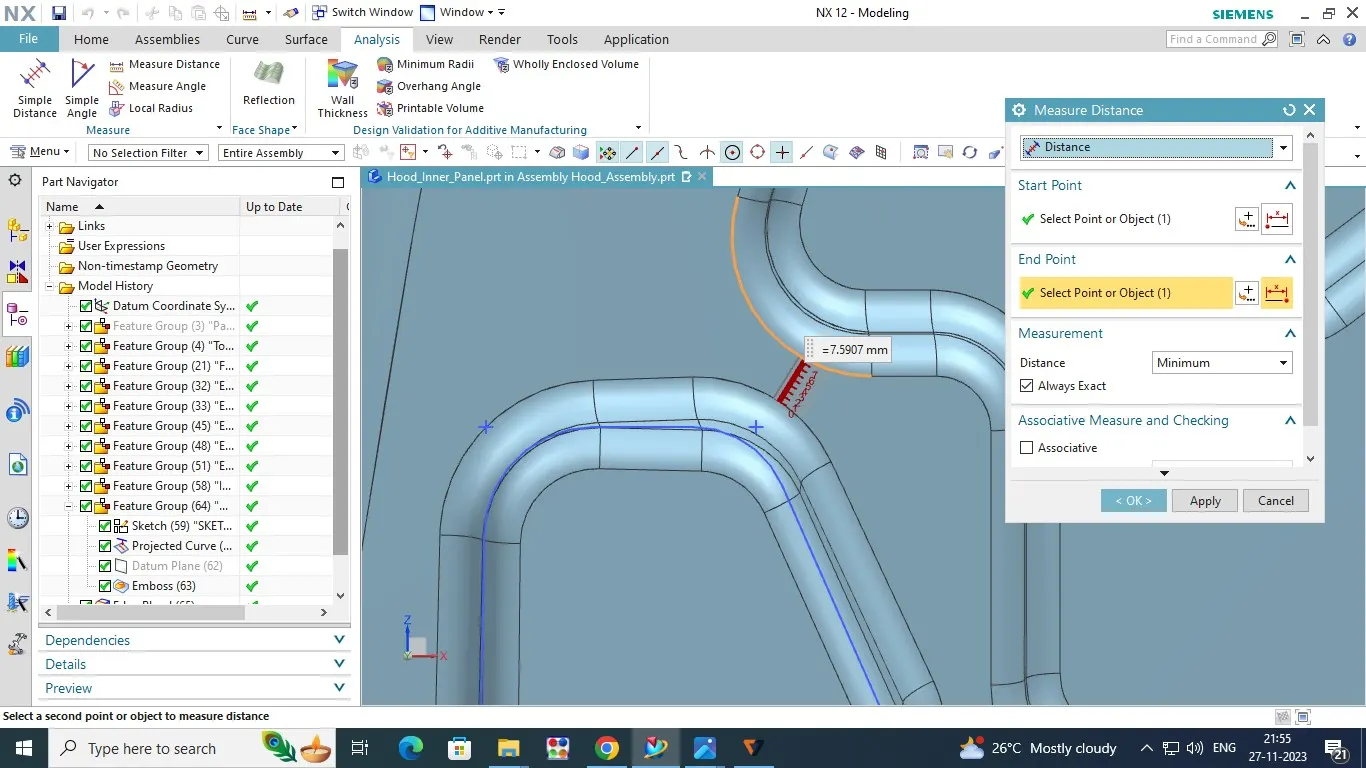
7.Blend Radius of inner panel flanges - 6mm,10mm,15mm
Hood Assembly File creation:
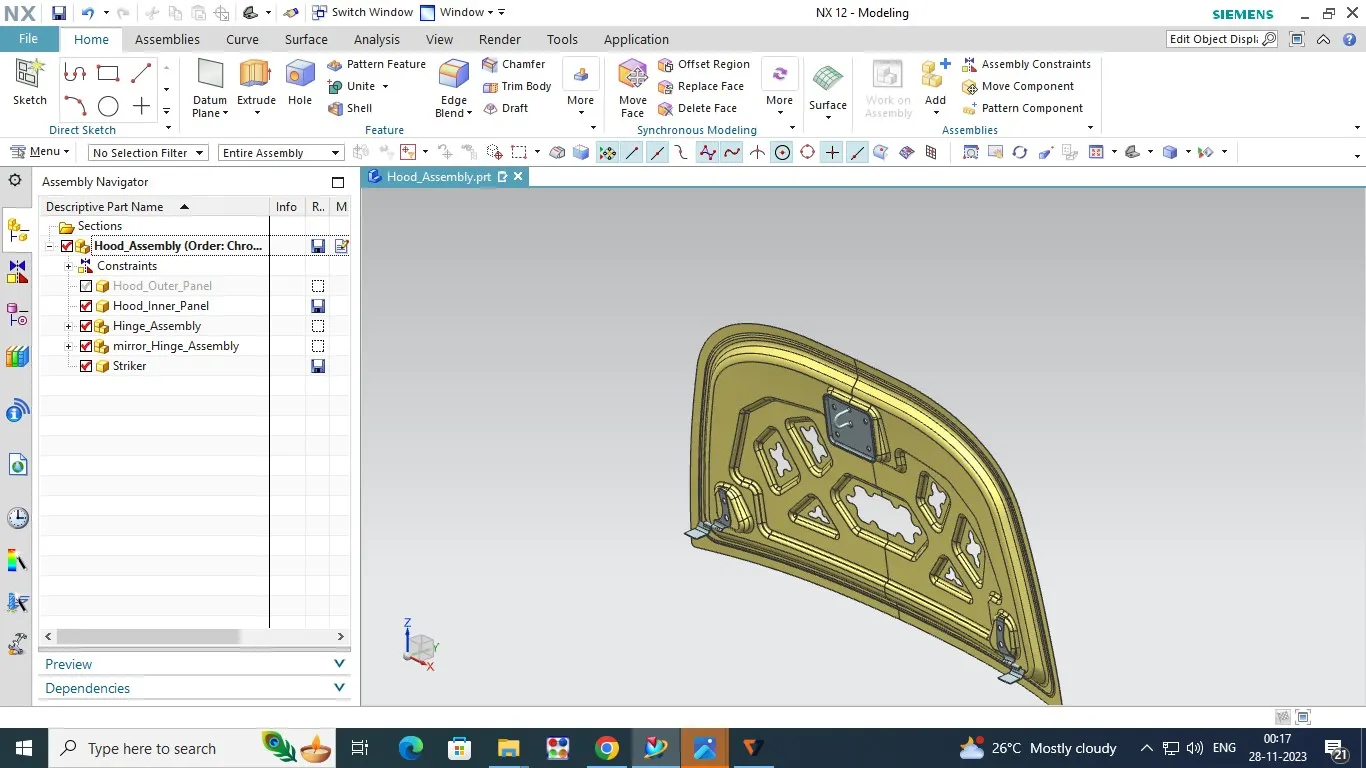
At start with we have create the new file (Assembly File ) and give the name of Hood assembly and select the location and say ok . after create the file we have Downlode the Outerpanel part .the part is already have so i would like to select the Assembly option and click the model command we have to select the outer panel part and open the Hood assembly file.
That same process are doing on Strike part and Hinge Assembly part also.At the same time ,If we don't have a part file we will create that part.Go to assembly command click on create new file option and do that.Ex: we don't have Inner panel part,so i would create the new File and create the Inner hood panel.
Inner and Outer Panel Creation:
Tooling Axis :
After this process we have to create the Inner panel by using wave geometry linker.Activated the inner panel Select the command click the face option and pick the face of outer panel and say ok.Now trim the outer panel in right side the inner panel also trimed.then activated the outer panel and delet the linked option and delect the trimed outer panel also.now outer panel only return back to the old position.inner panle is never come back.Because the associtave (linked)option are braked then only it can happend.
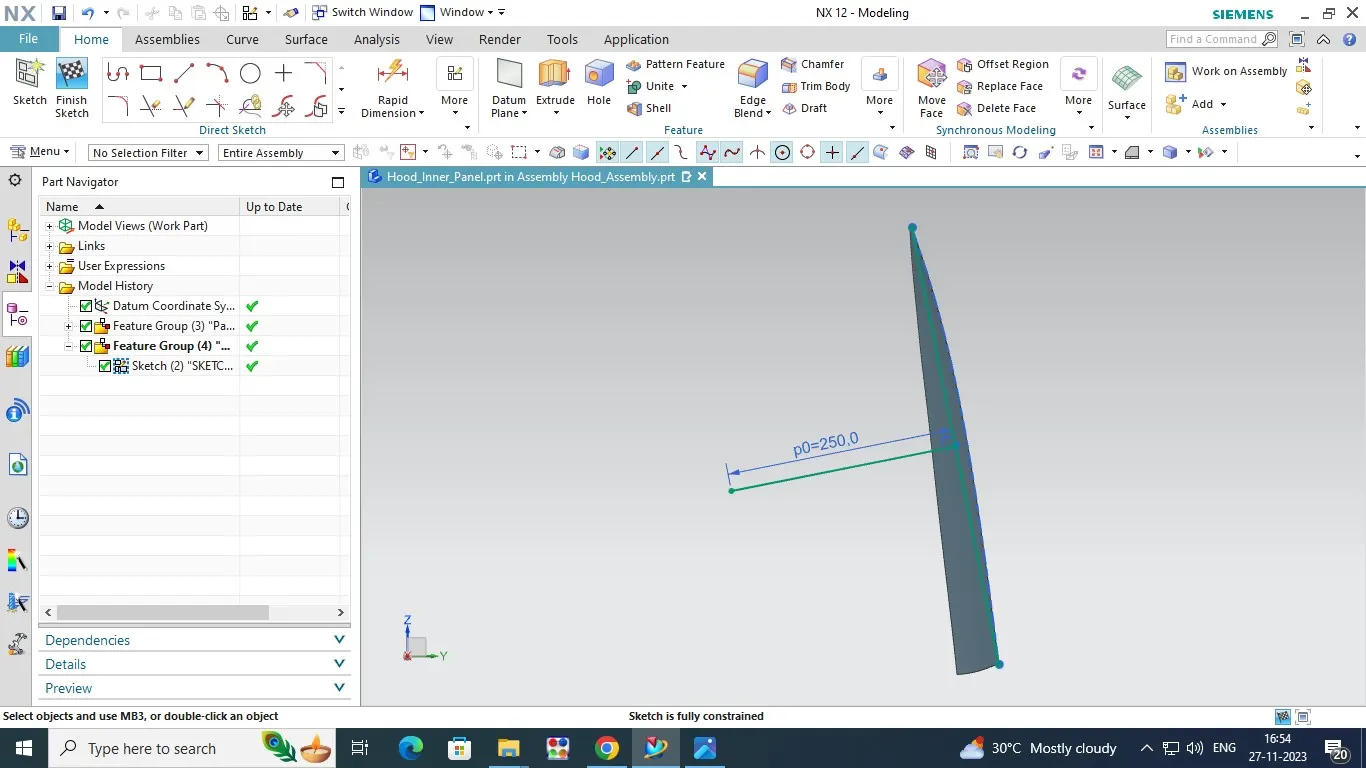
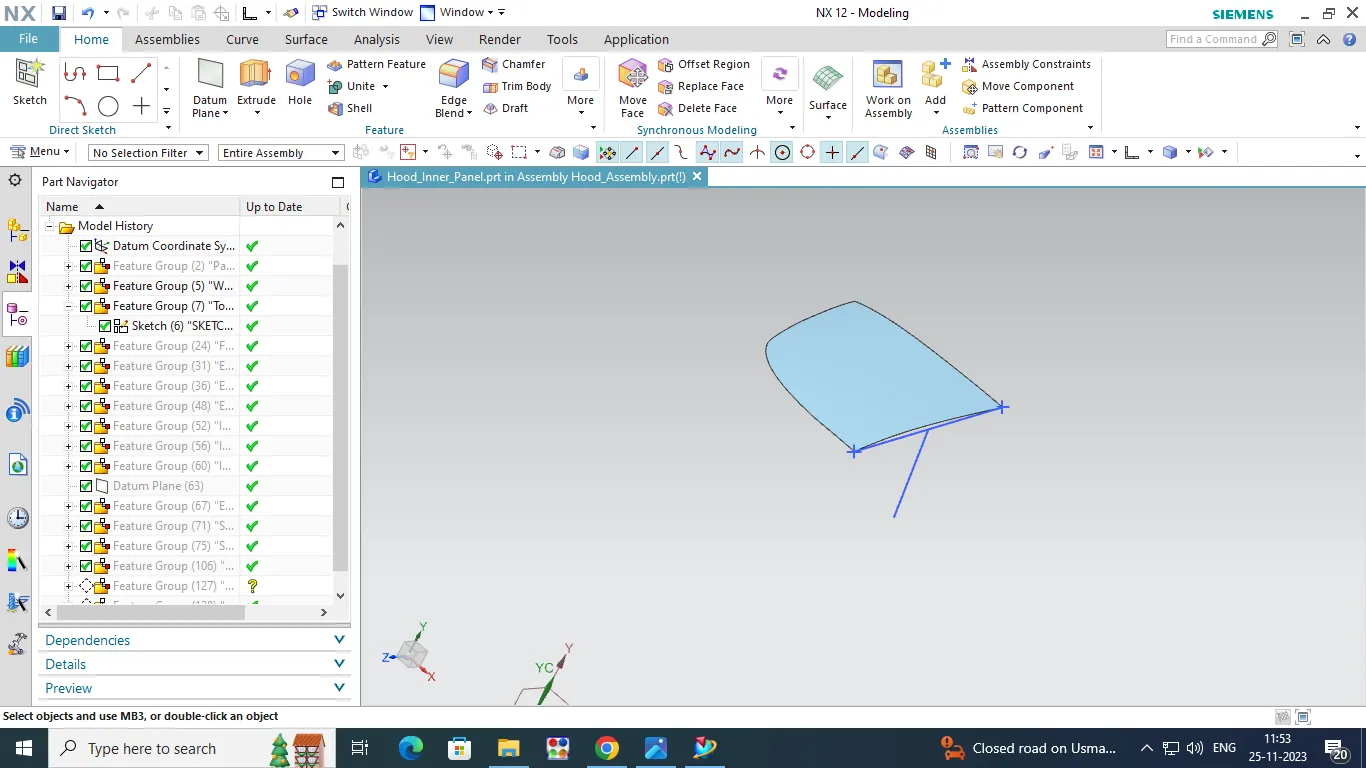
The sample panle is created now we have to draw the tooling axis in ZY Plane direction by using Point and Line Option.Now we create the Two Points in Panel Top and Bottom side then connecting two points by using the Line Also draw the horizandal line in 90 Deg Angle .That is Tooling Axis .
Tooling Axis Creation:
Flanges Creation:
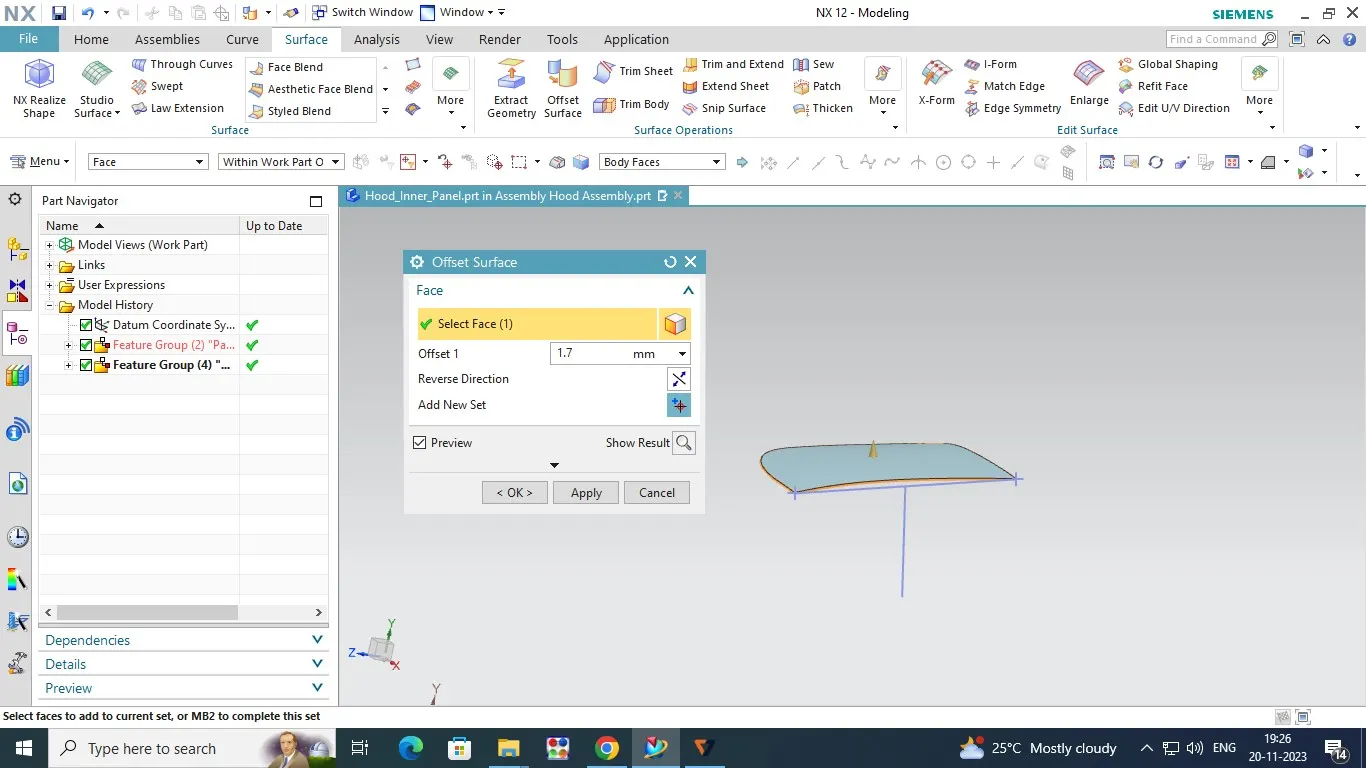
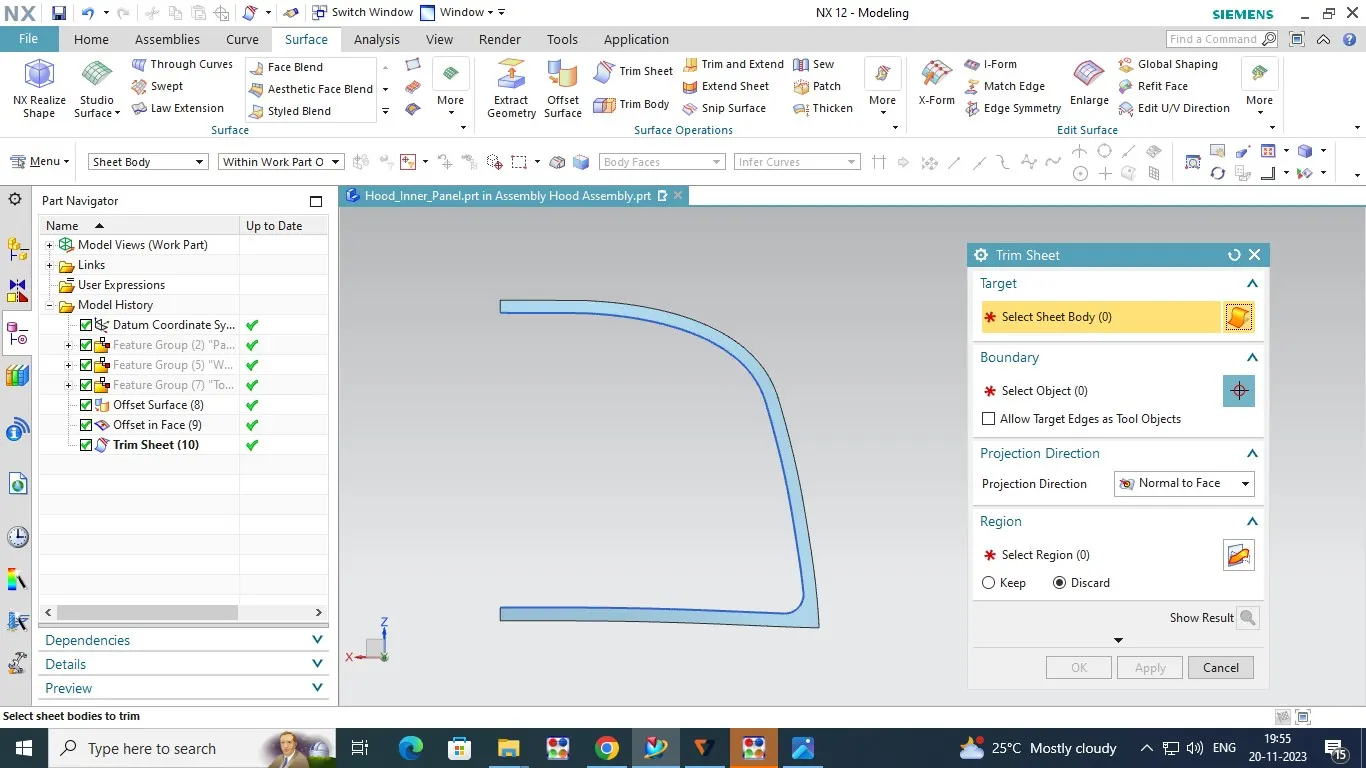
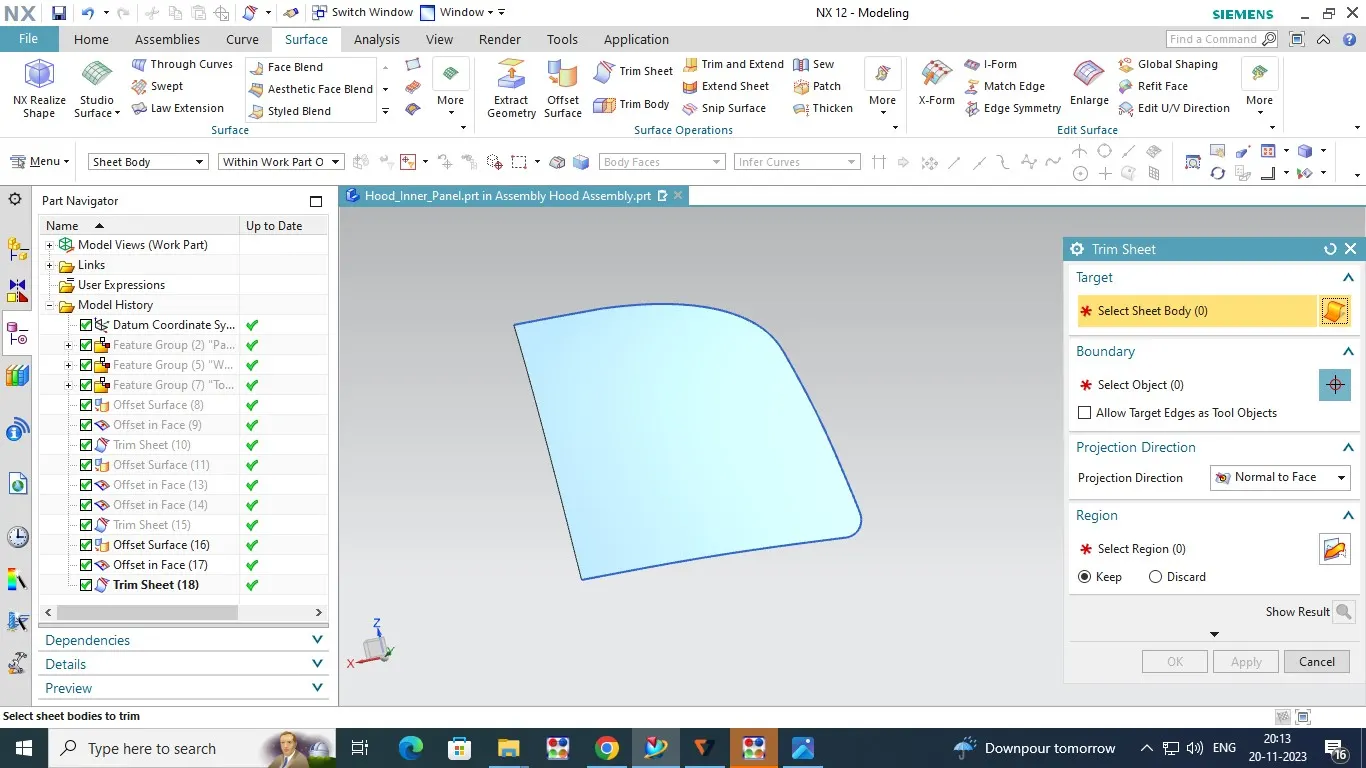
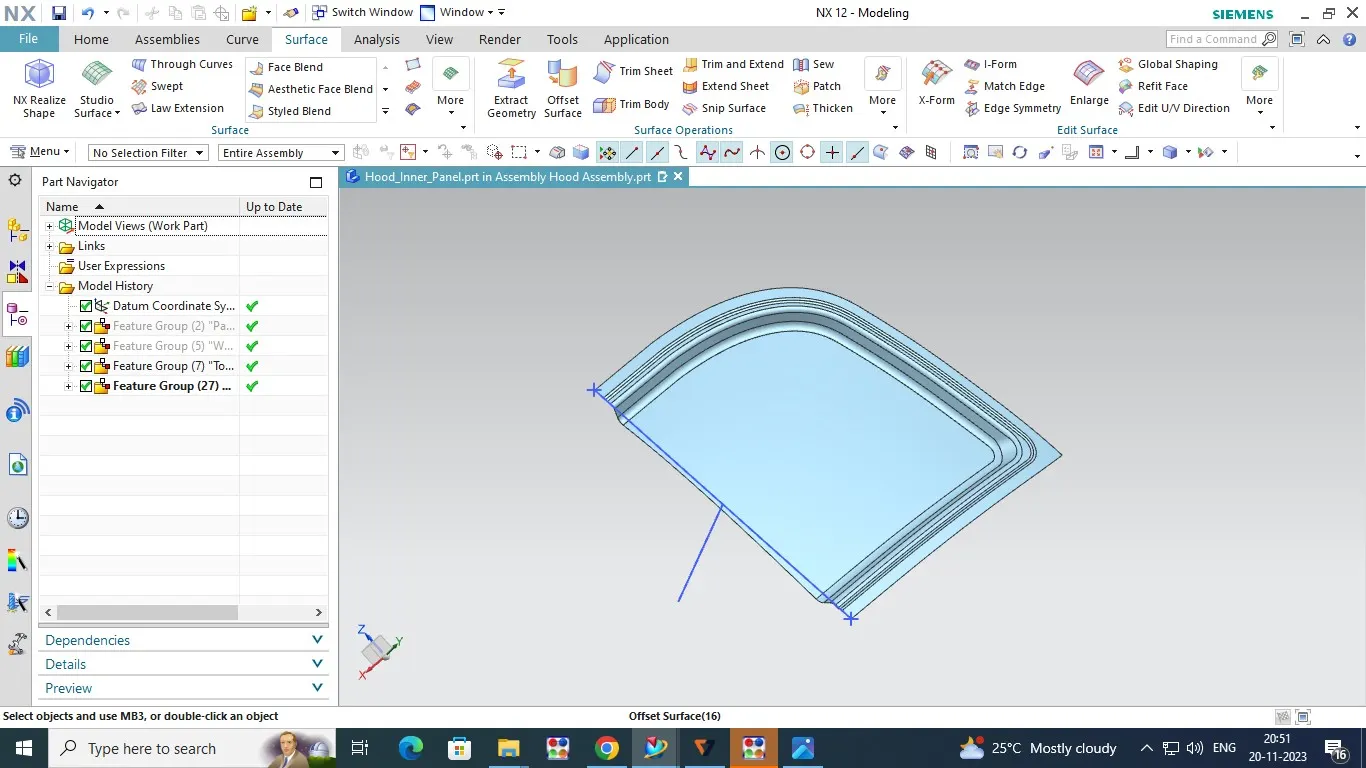
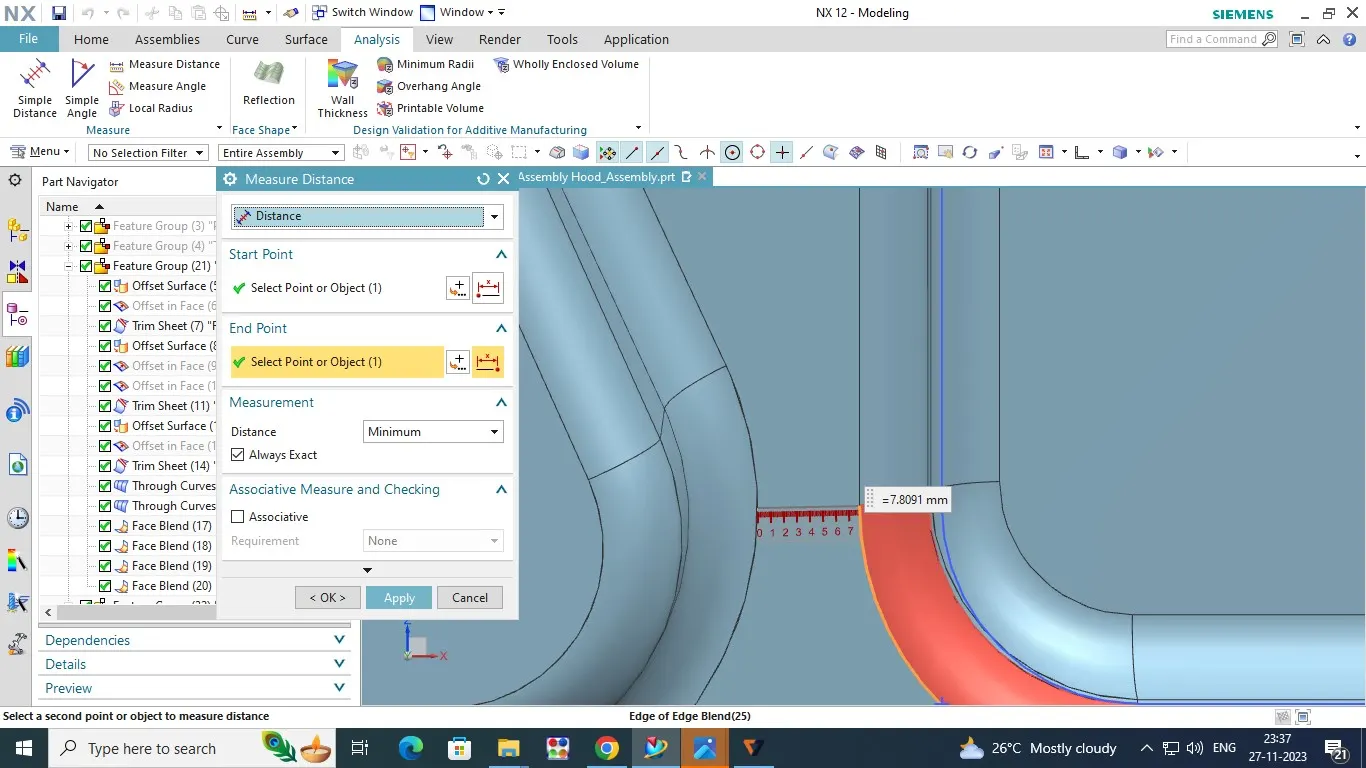
Now select the Sample Inner Panle Top Surface and offset the surface in 1.7mm and create offset curve in 20mm then trim the surface in unwanted area.That is flange No:1
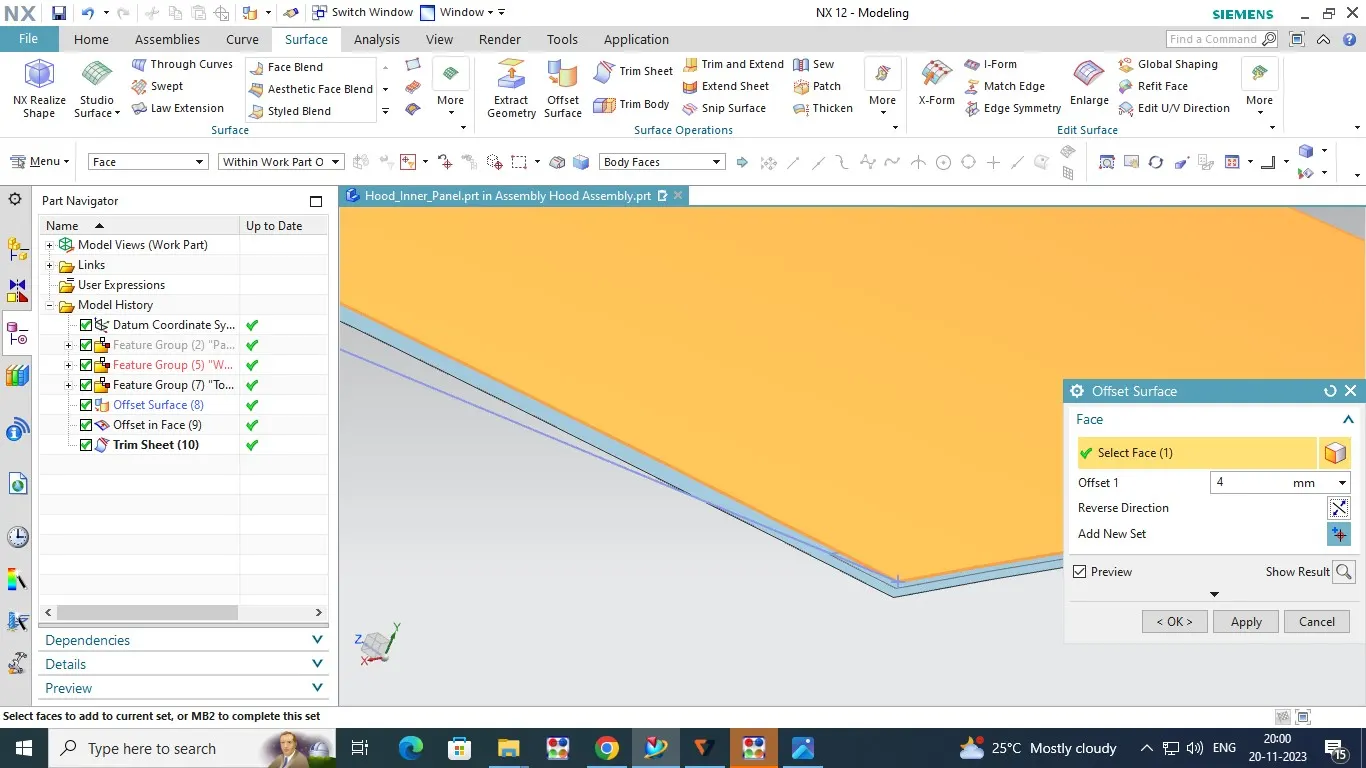
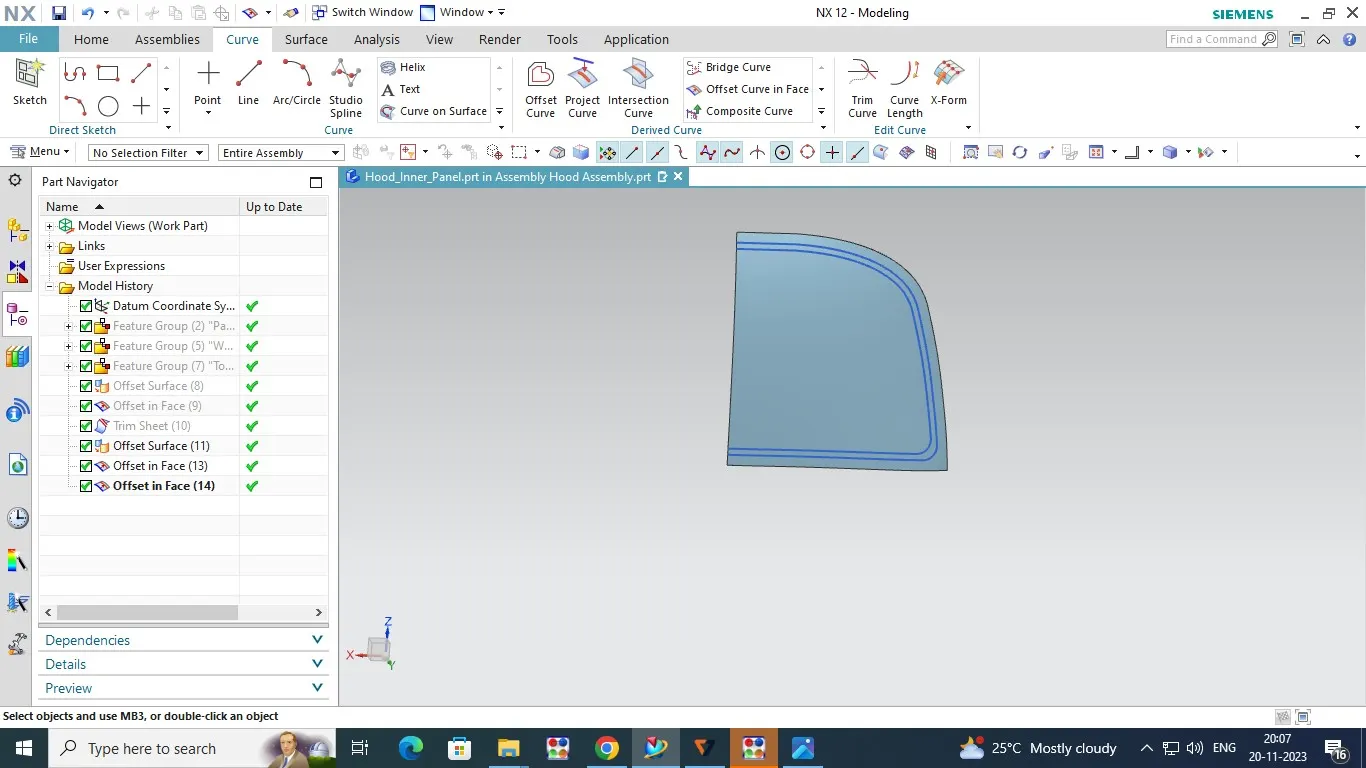
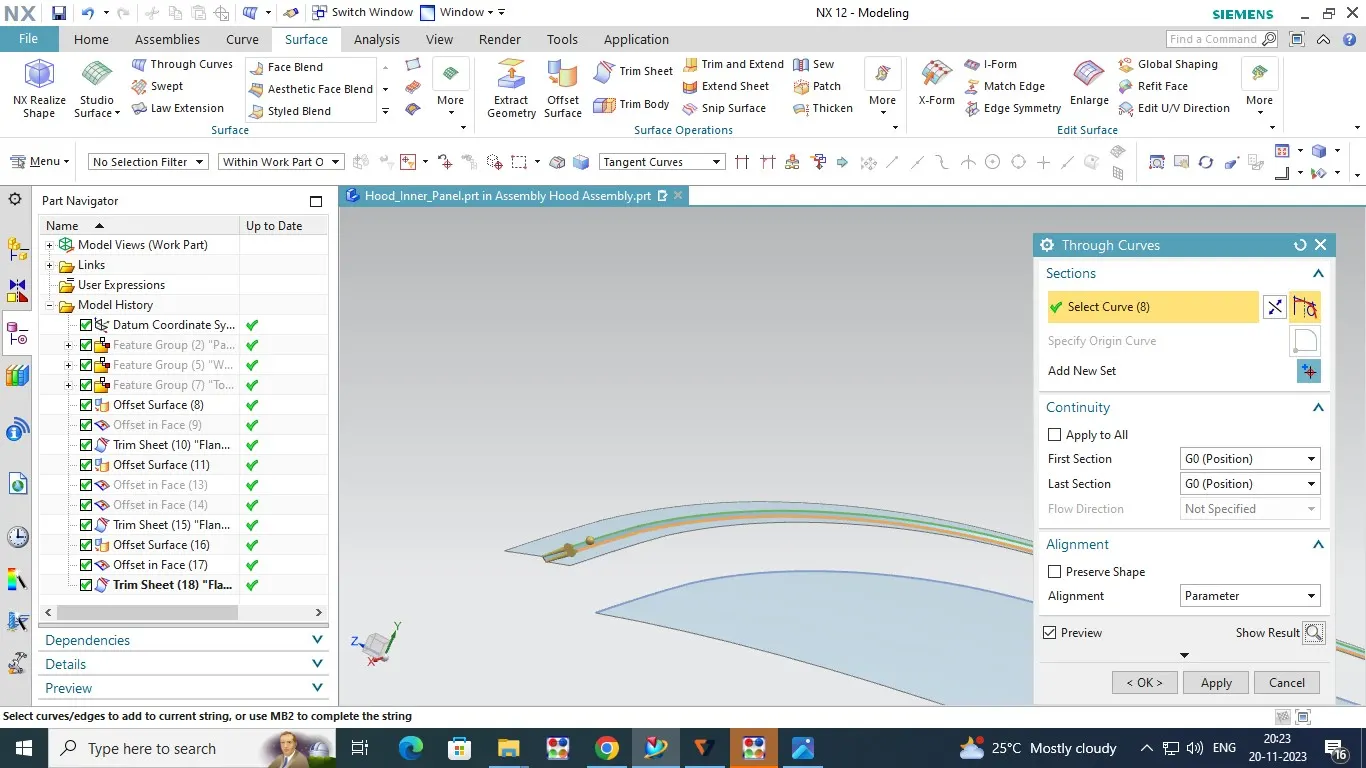
Again offset the surface in 4mm distance and two offset curve in 22mm and 35mm distance then trimed in wanted areas.That is flange No:2
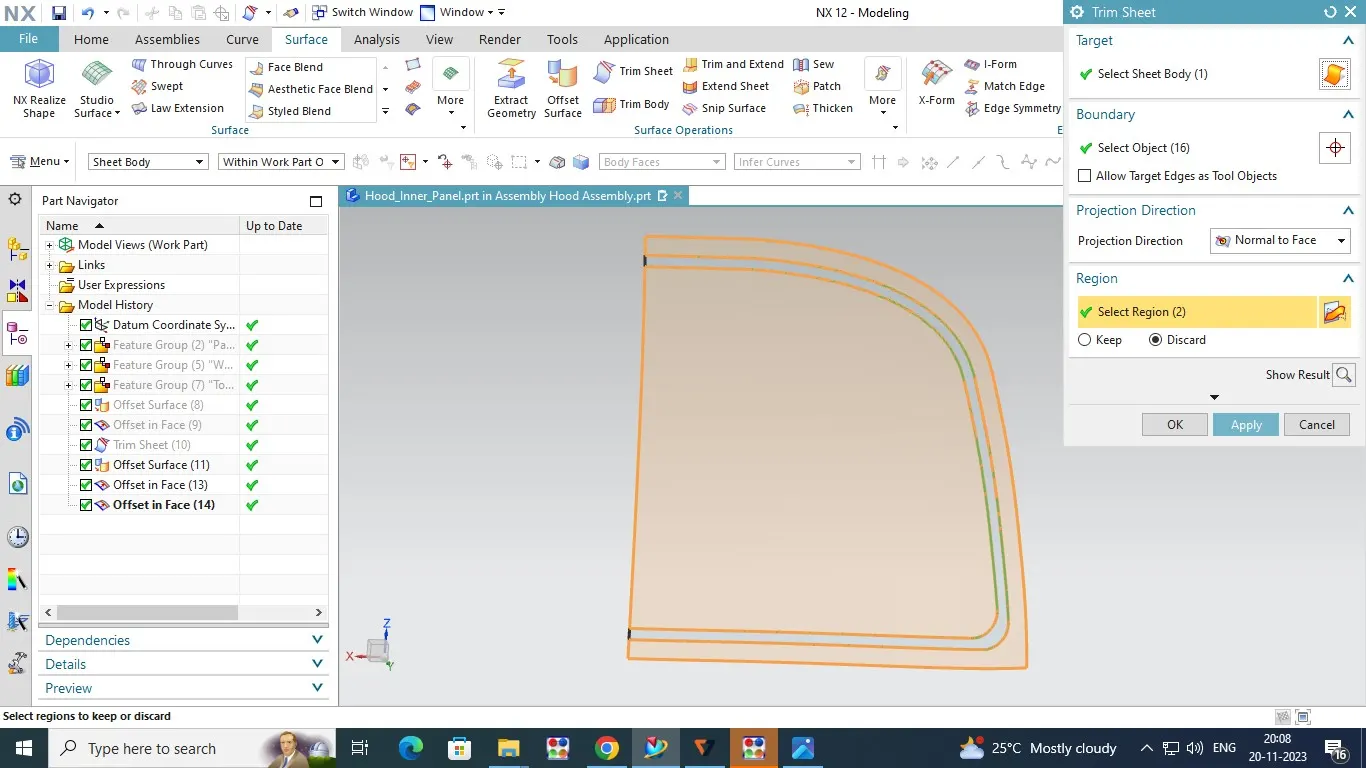
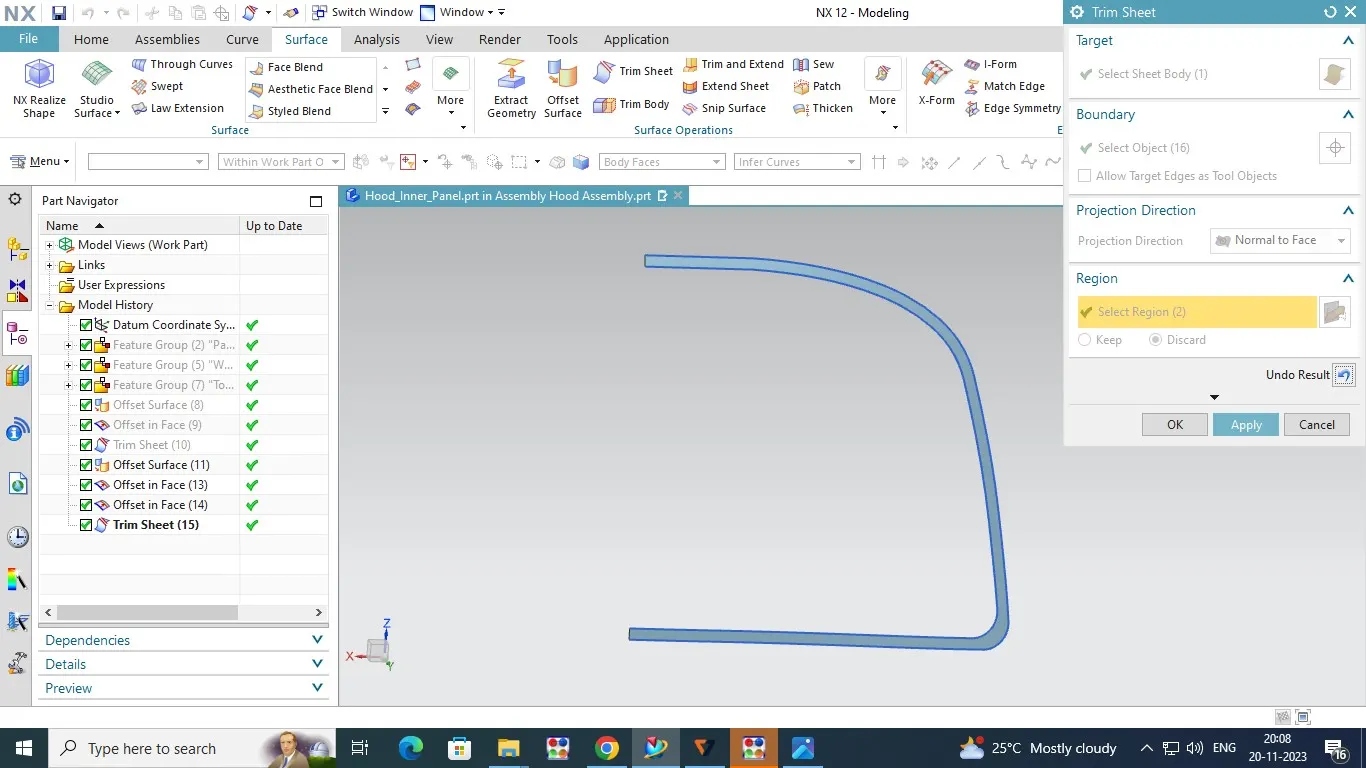
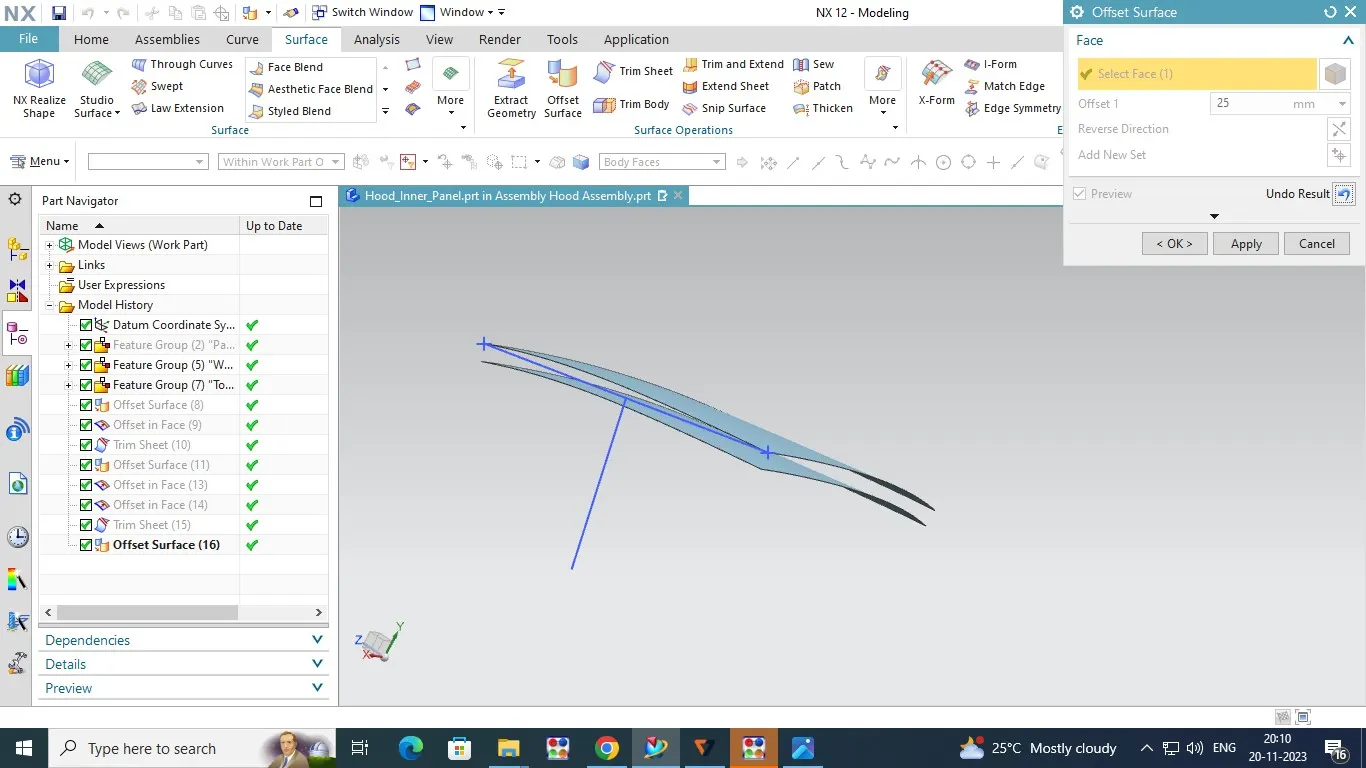
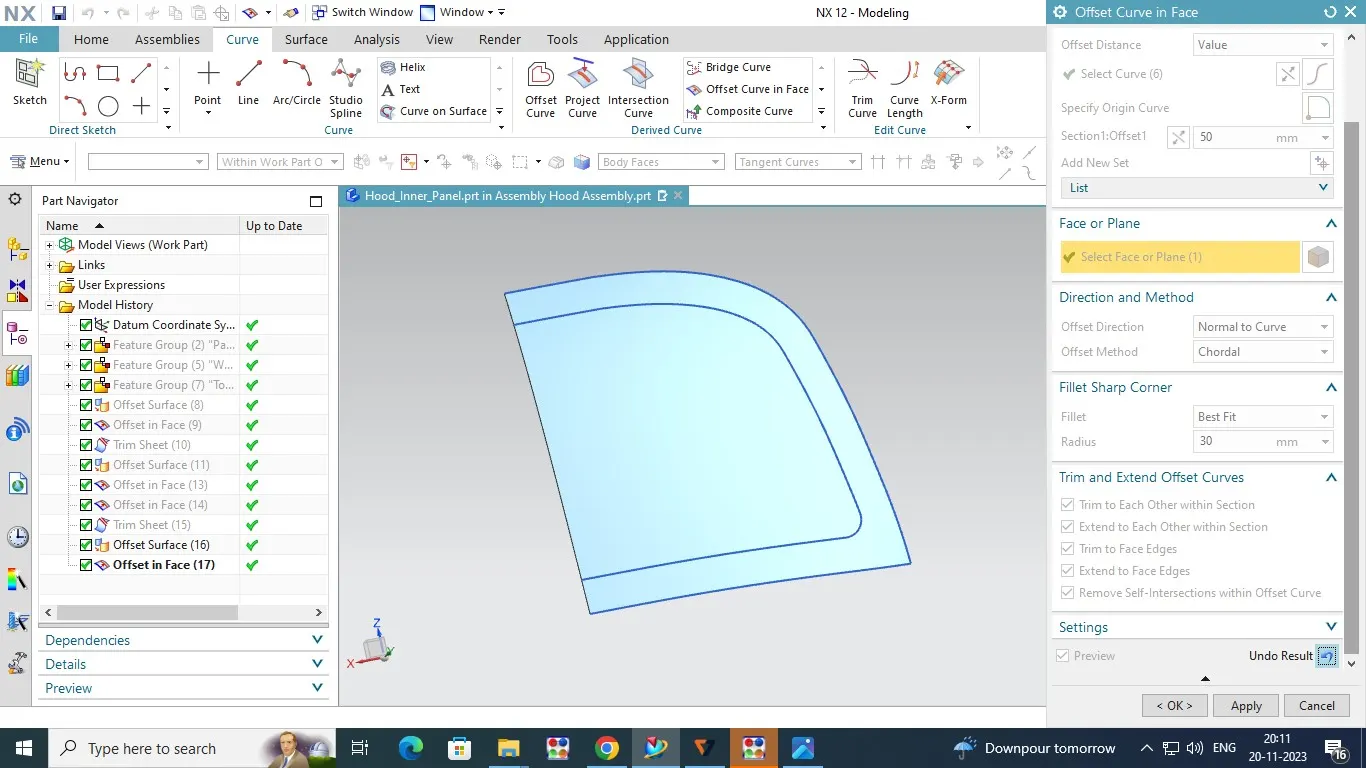
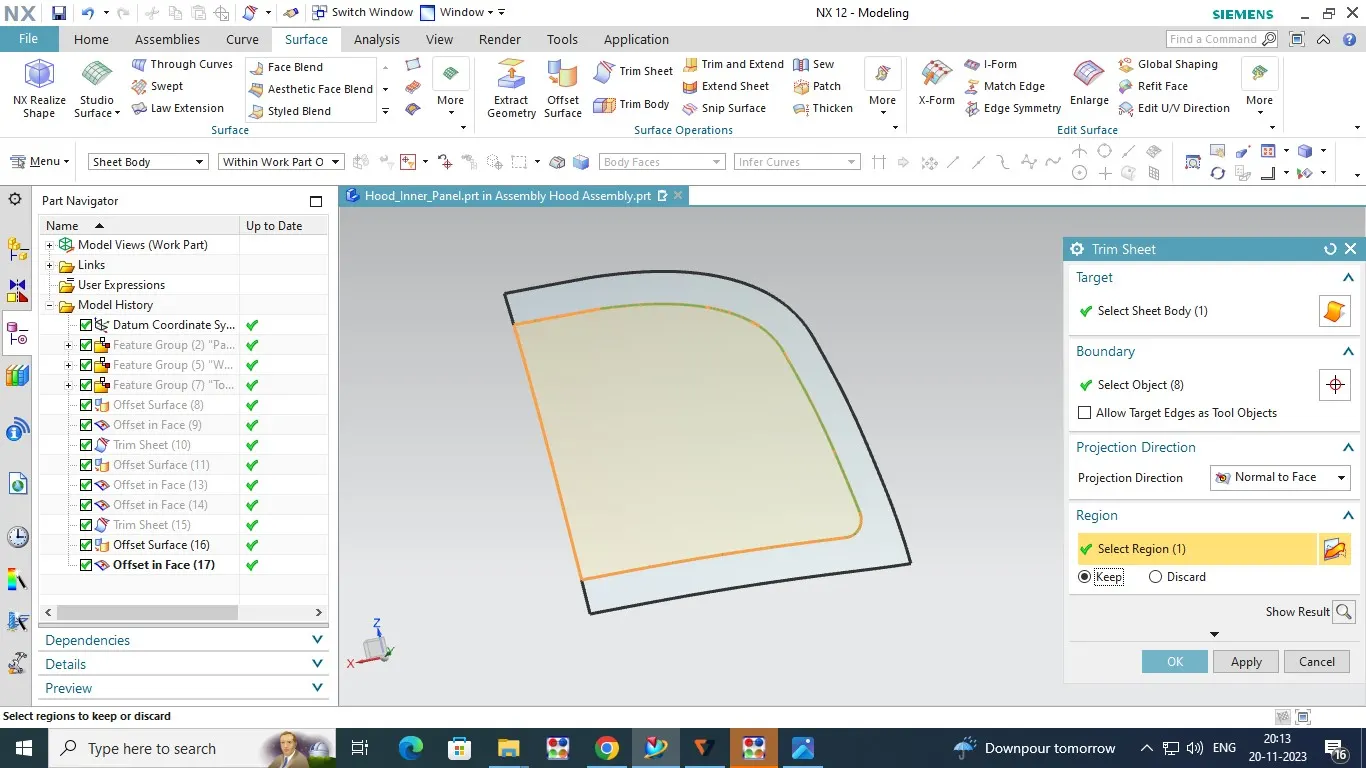
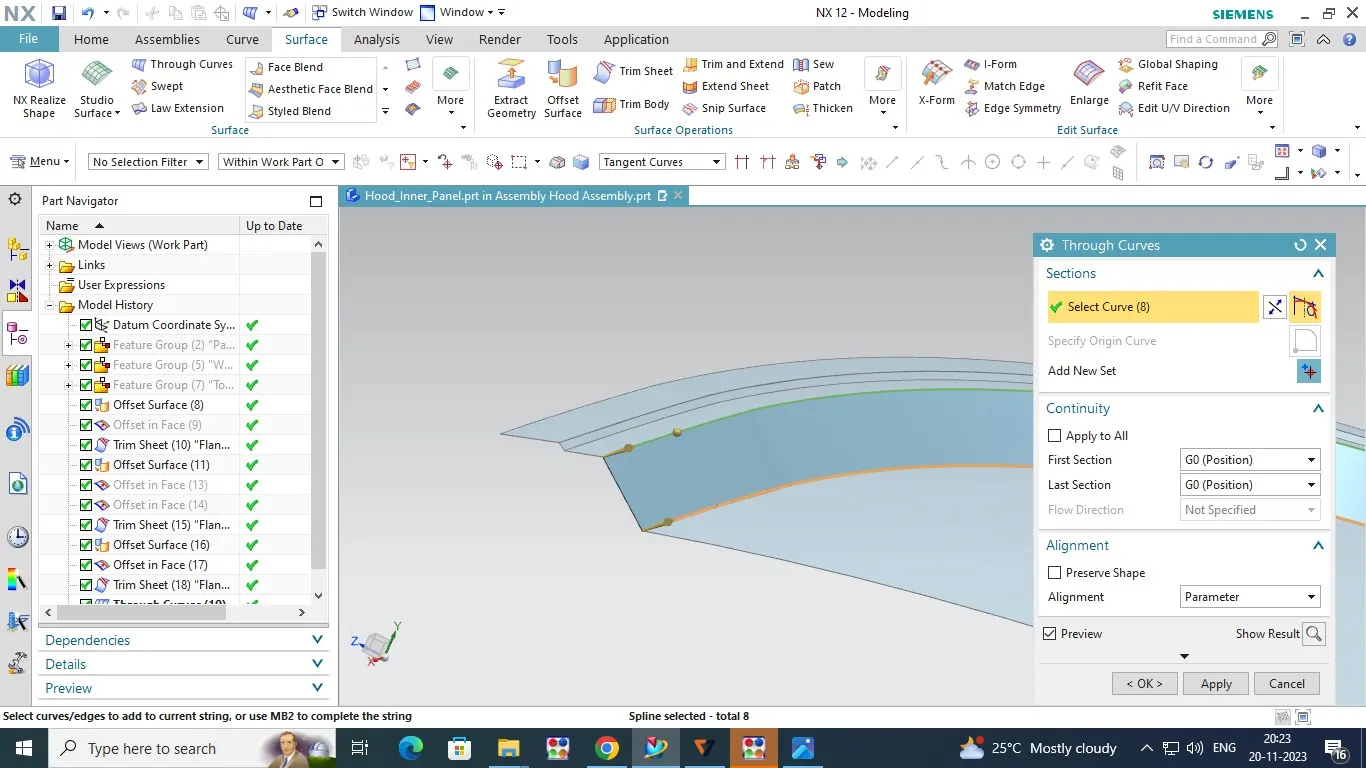
Again we will create for Third flange the same process are doing surface offset distance is 25mm and curve offset is 50mm finally trimed in unwaned areas.that also mean it flange No:3.
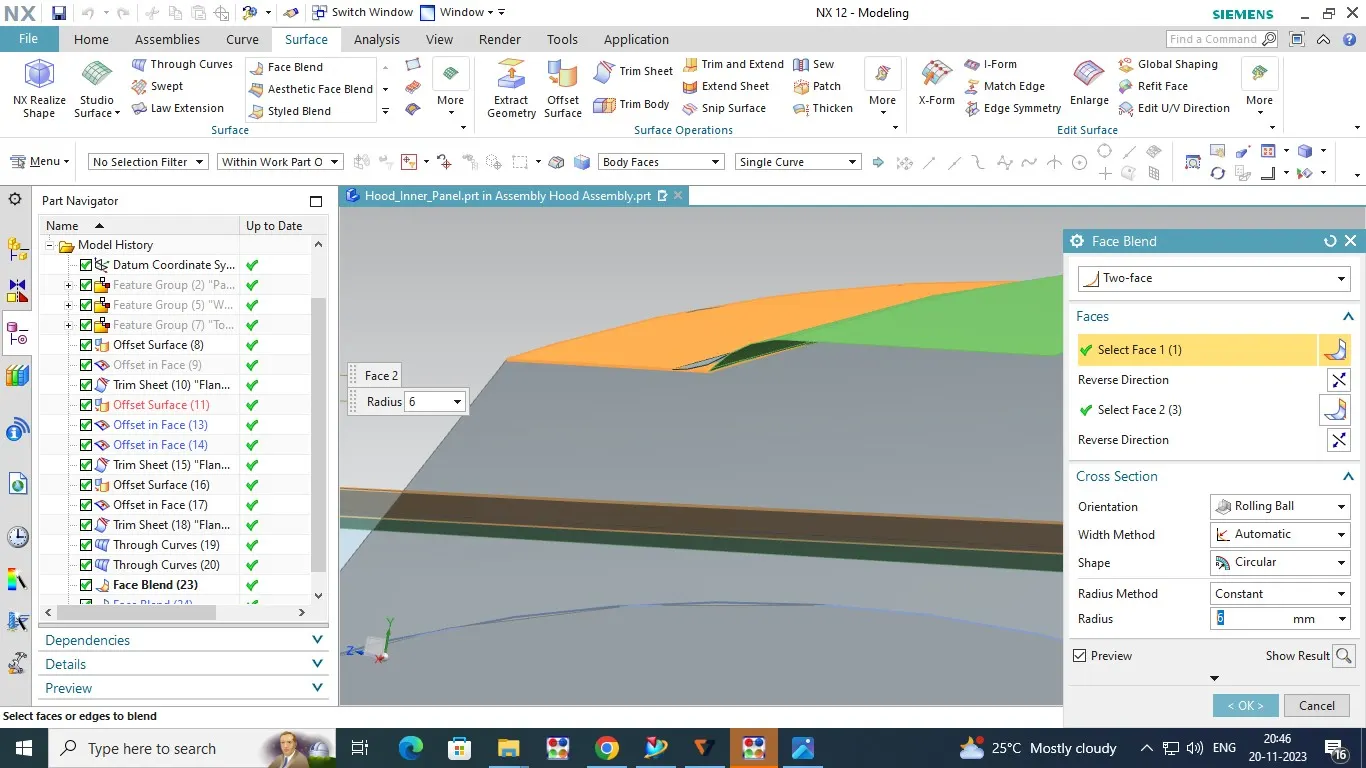
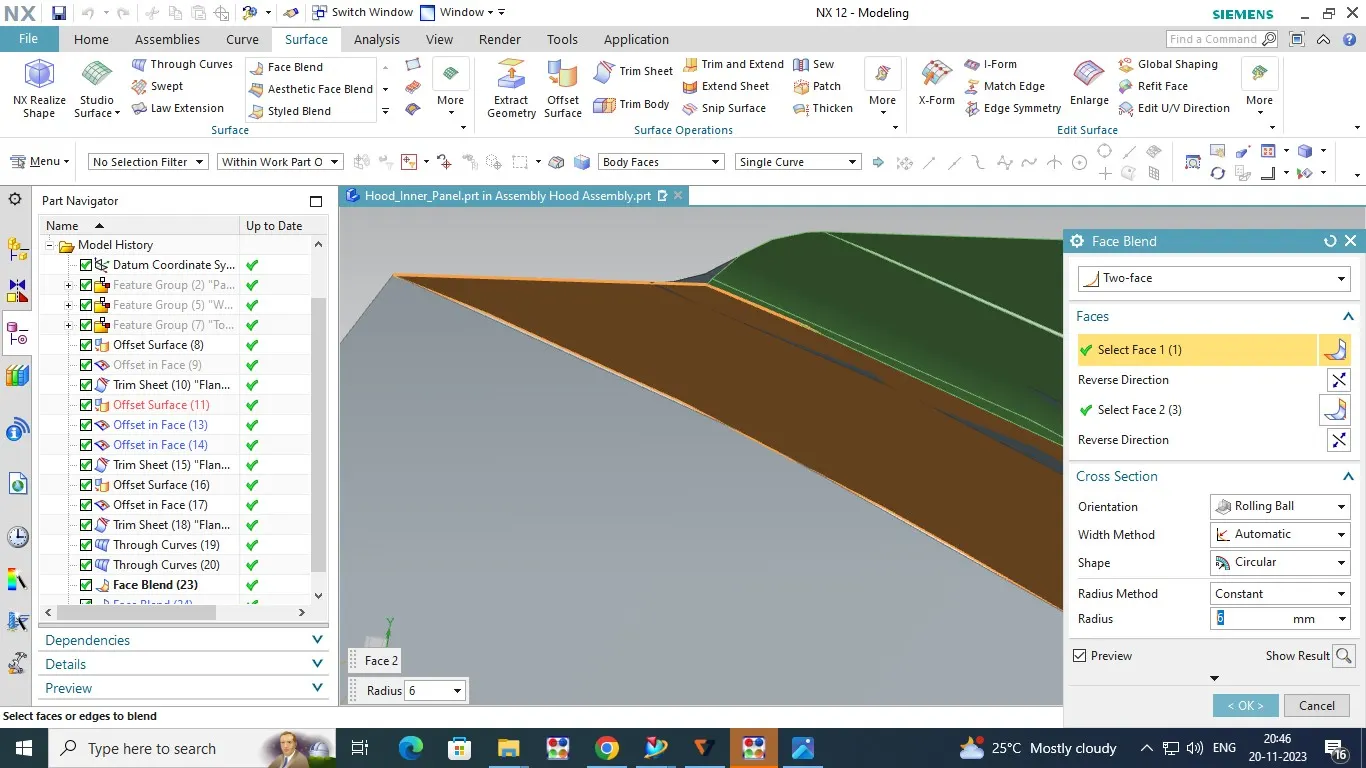
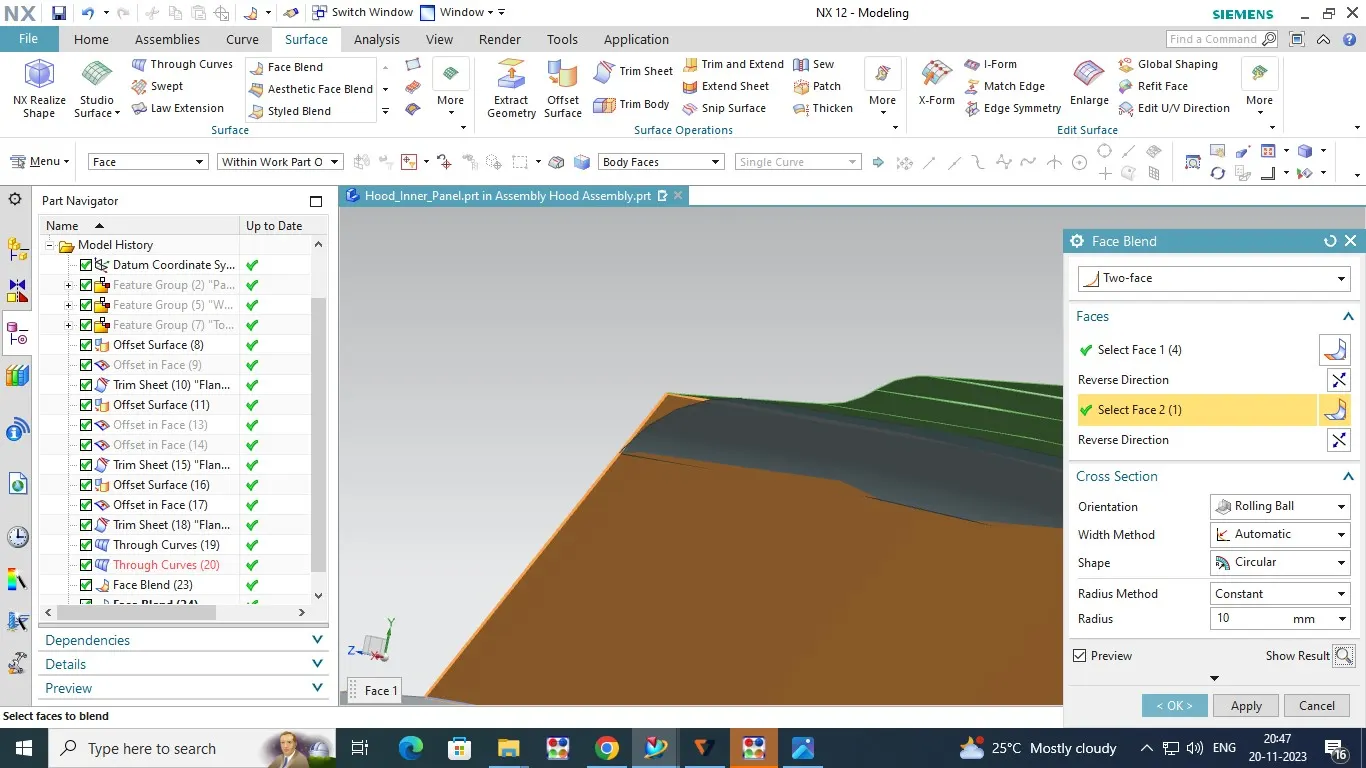
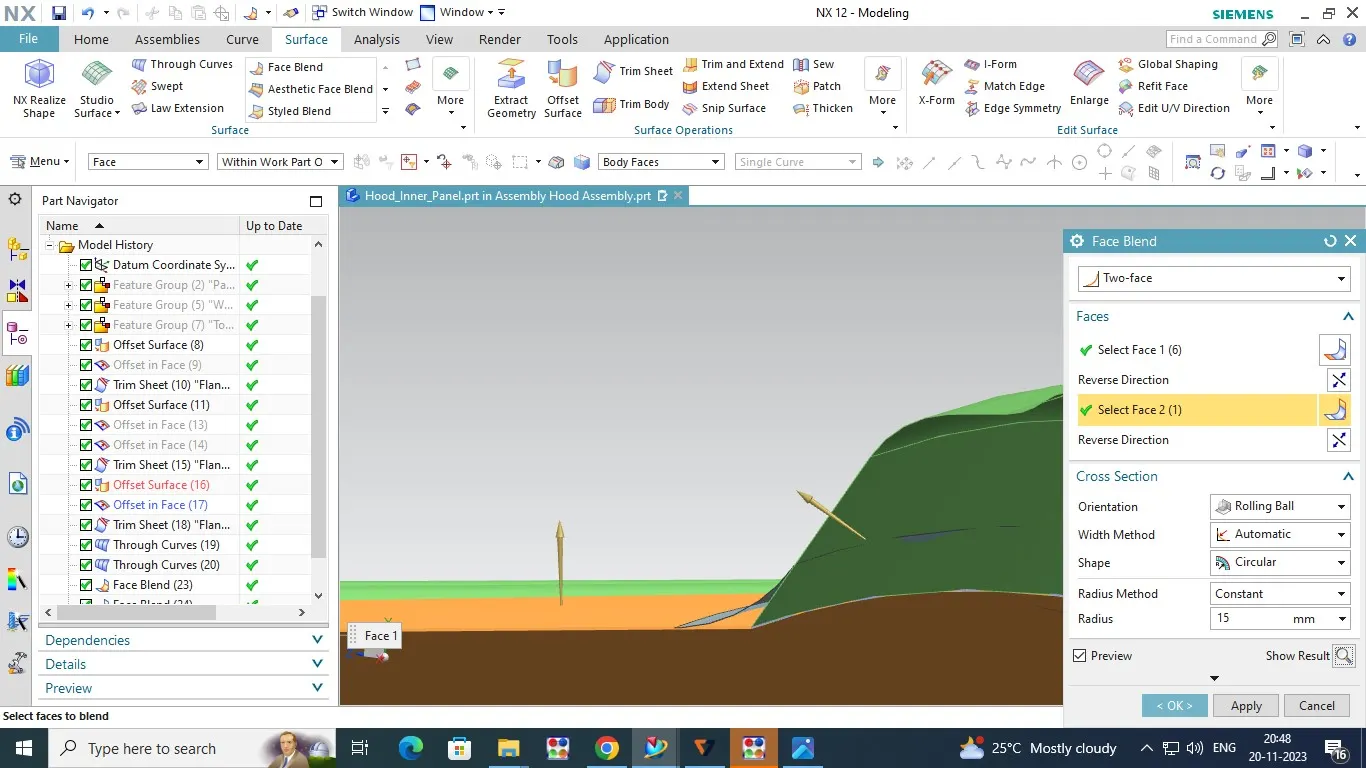
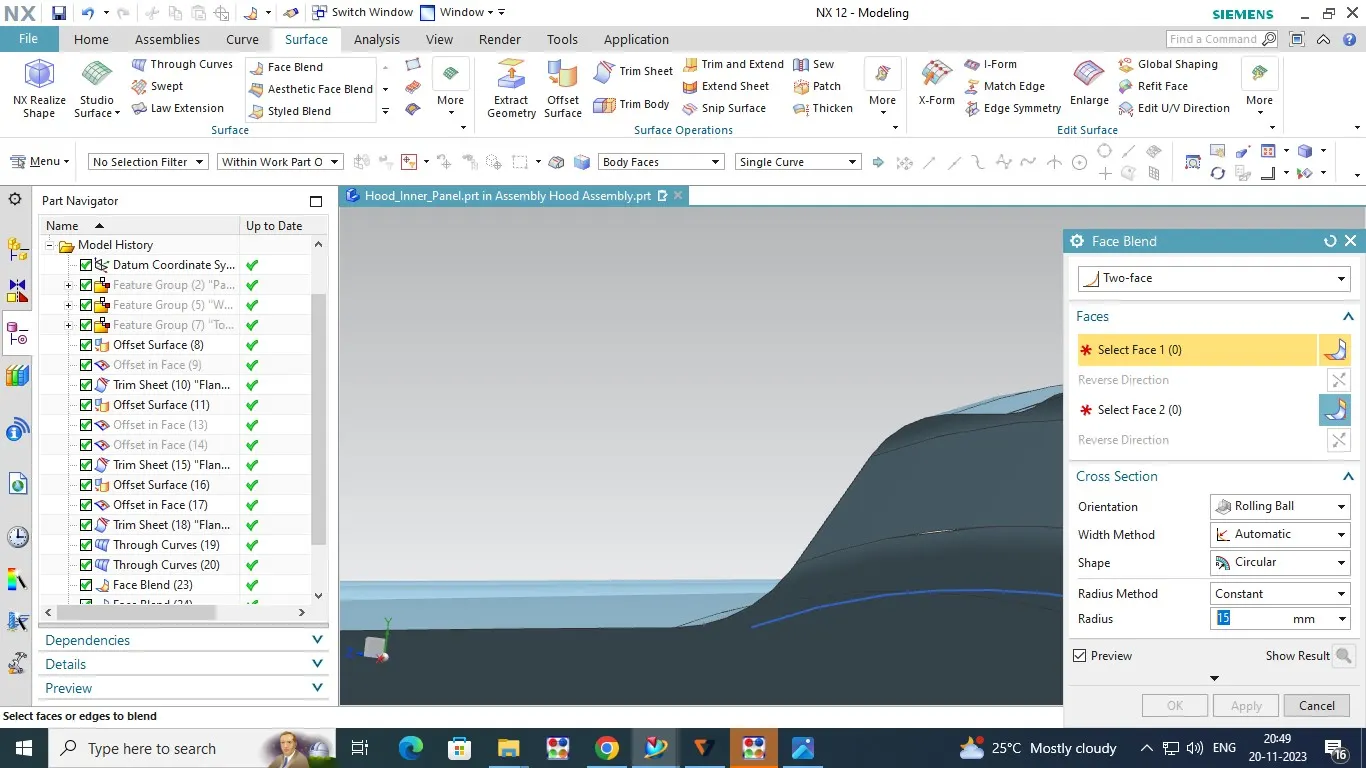
Because of we had create the three flange connect the those flanges by using through curves command.completing the process make bend in corner.but the flange corner are not a sharp corner.so we would like to pick the Face blend do that. The radius are 6mm is first two corner and 10mm ,15mm is an other two corners.
Flange : 1 :
Flange :2 :
Flange :3 :
Emboss:
What is Emboss:
Emboss is a stamping process its producing rised or sunking design or relifing in sheet metal.In this process are used in two male and female roller die ,moving on opposite direction and meet in perticular point to press the material. its like to stamping process.it is called Emboss.
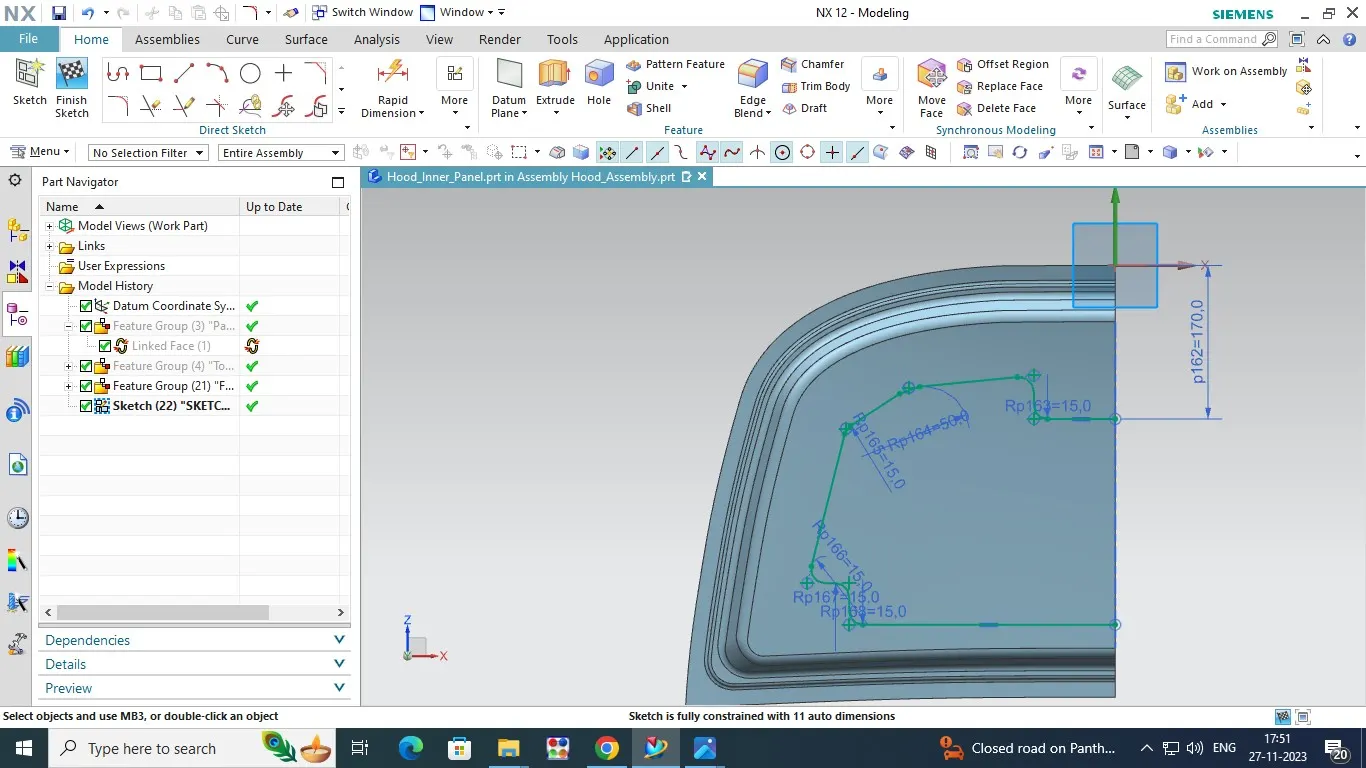
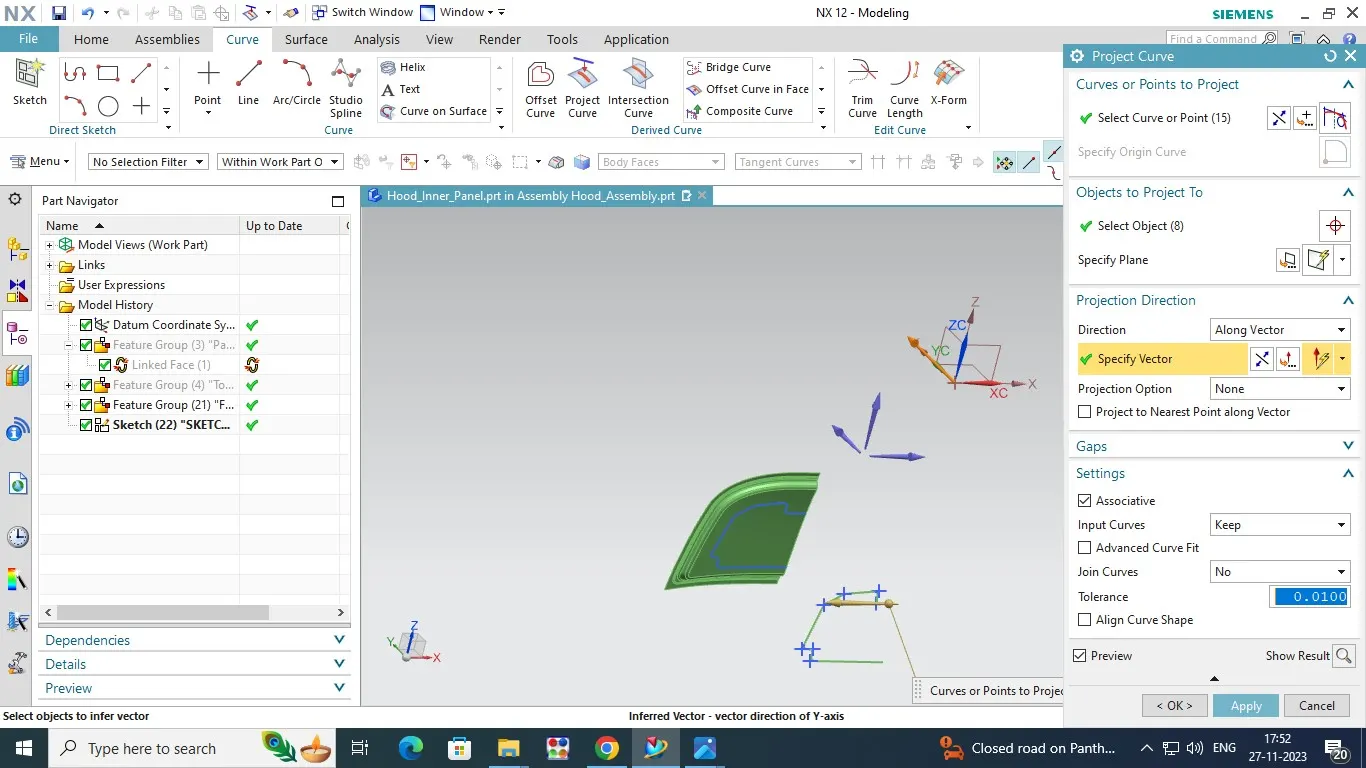
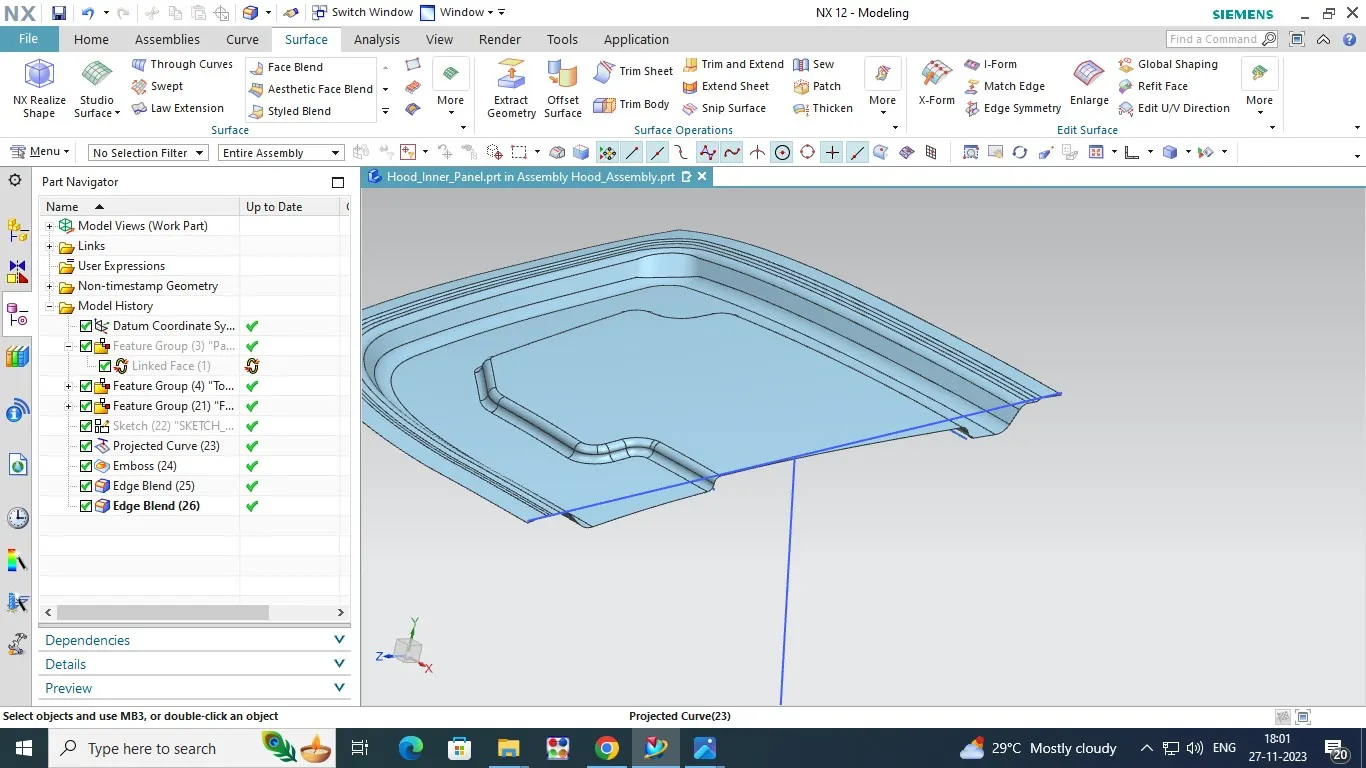
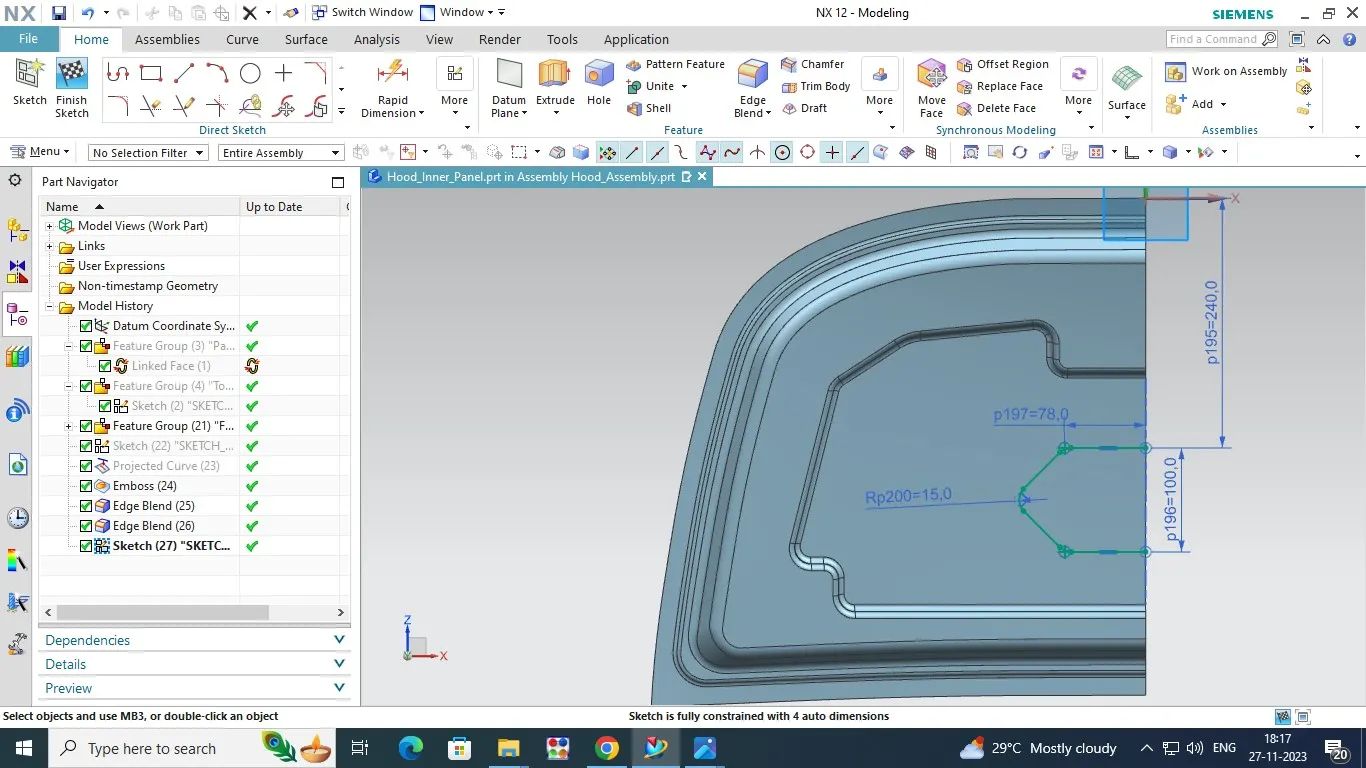
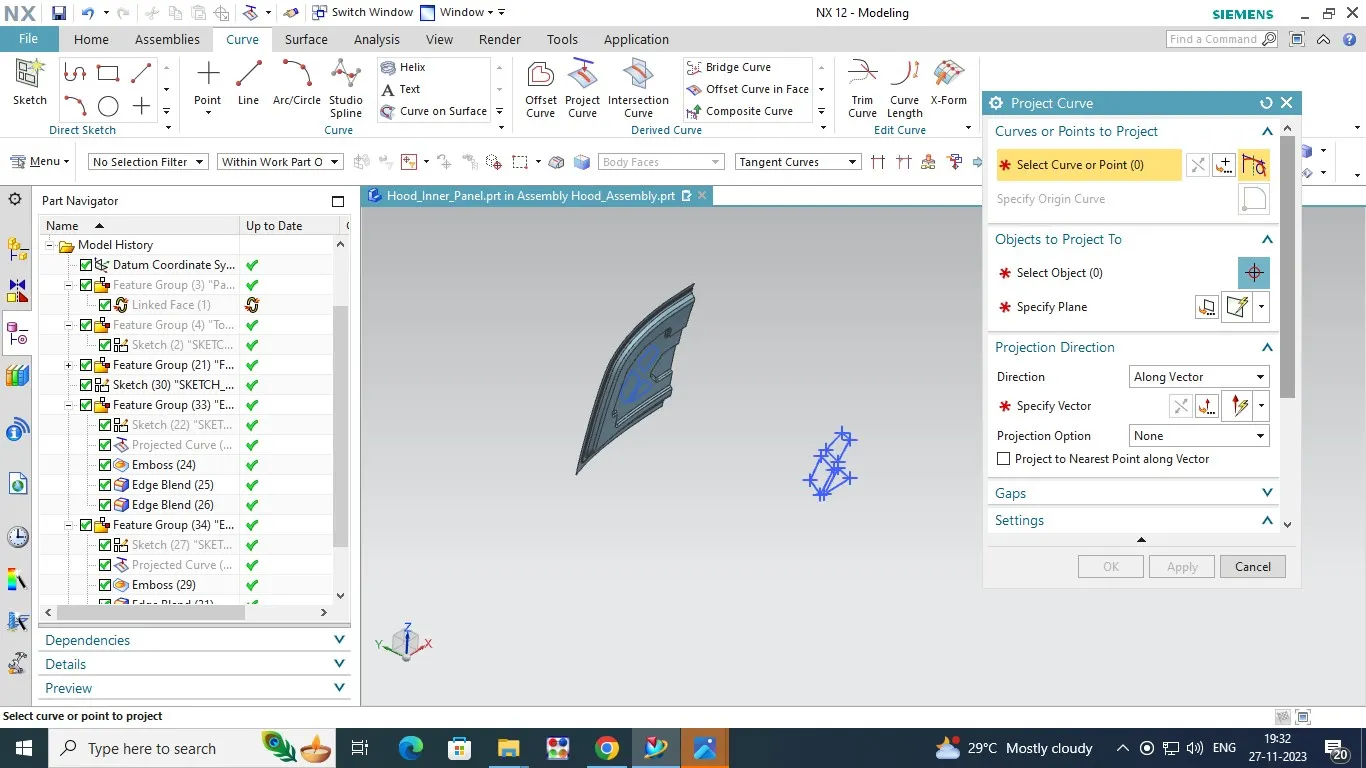
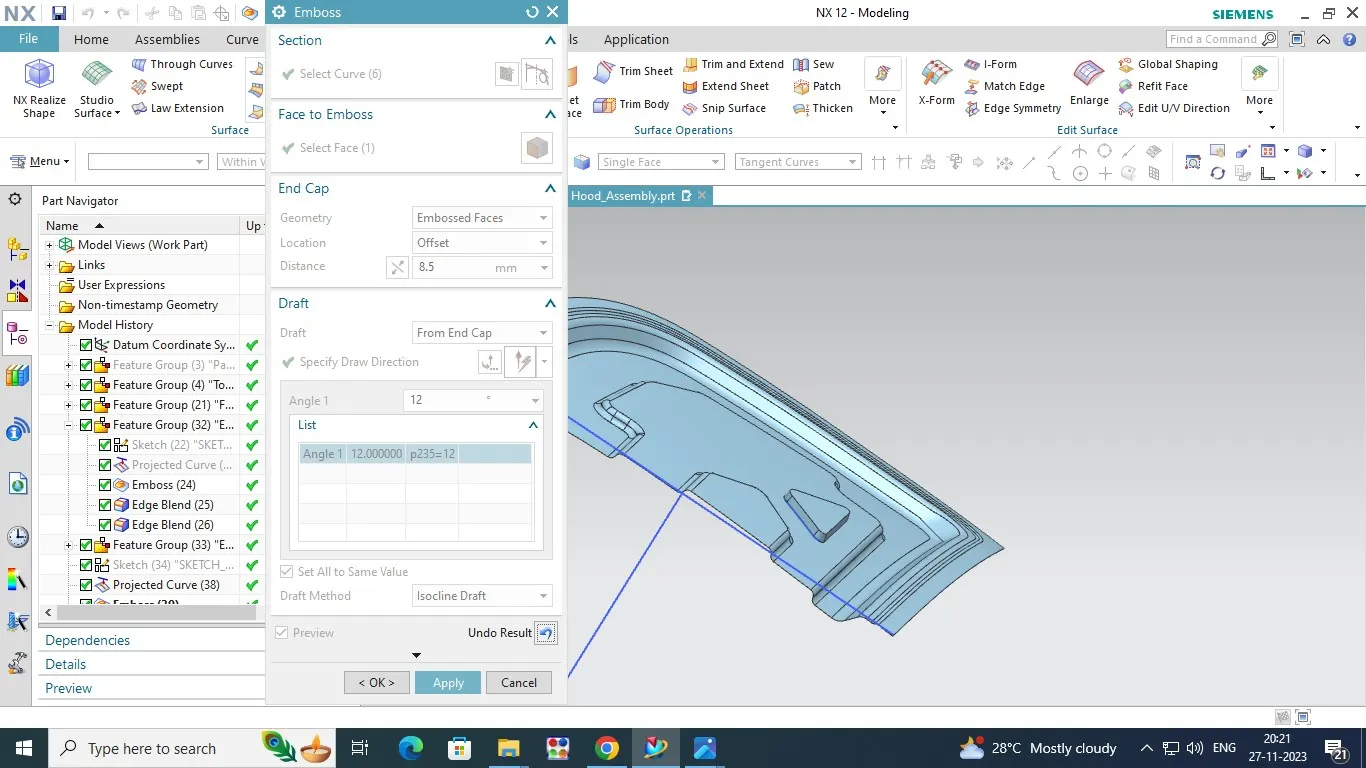
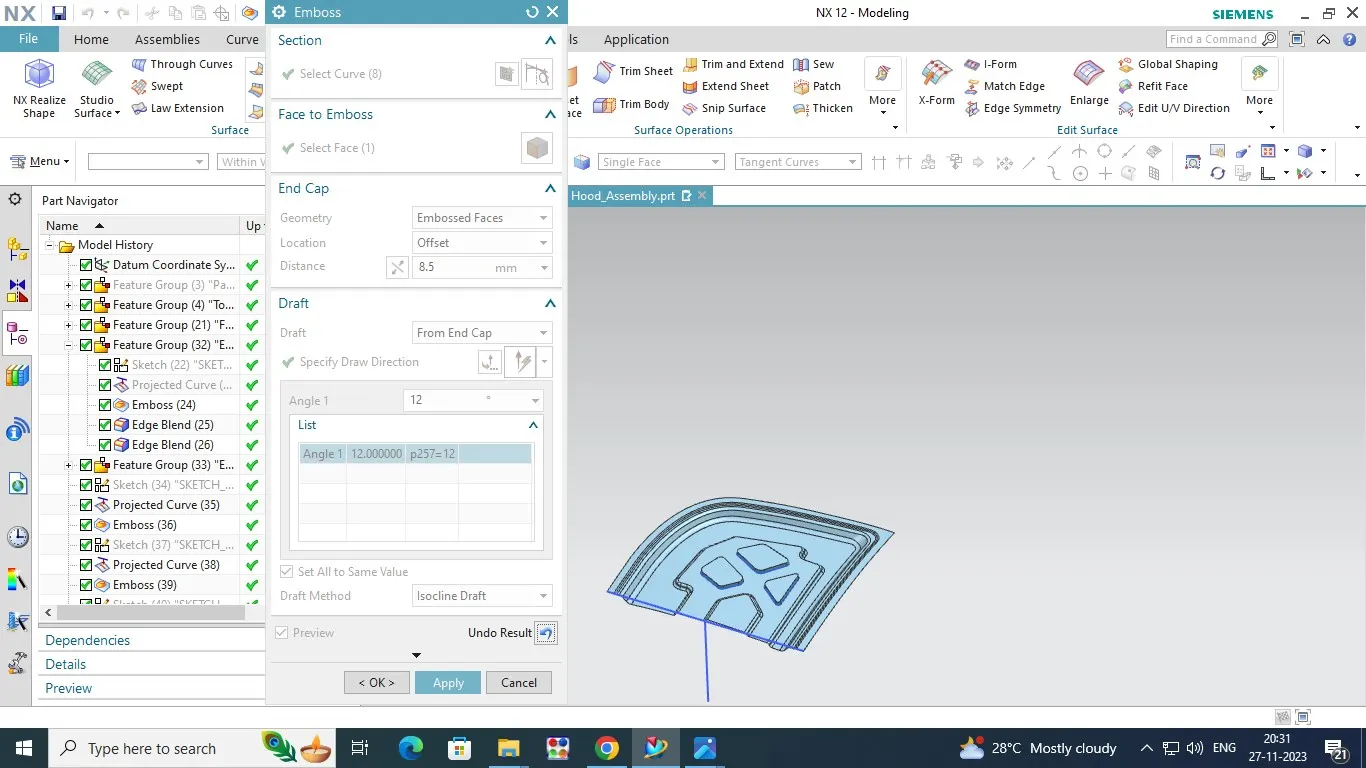
The same process are used in Sheet metal design Also ,select the Sketch in zx Direction and Select the Inner Panel flange . Now create the curve in top of the flange surface.After completing the curve creation to projected on the sheet metal by using projected curve option.
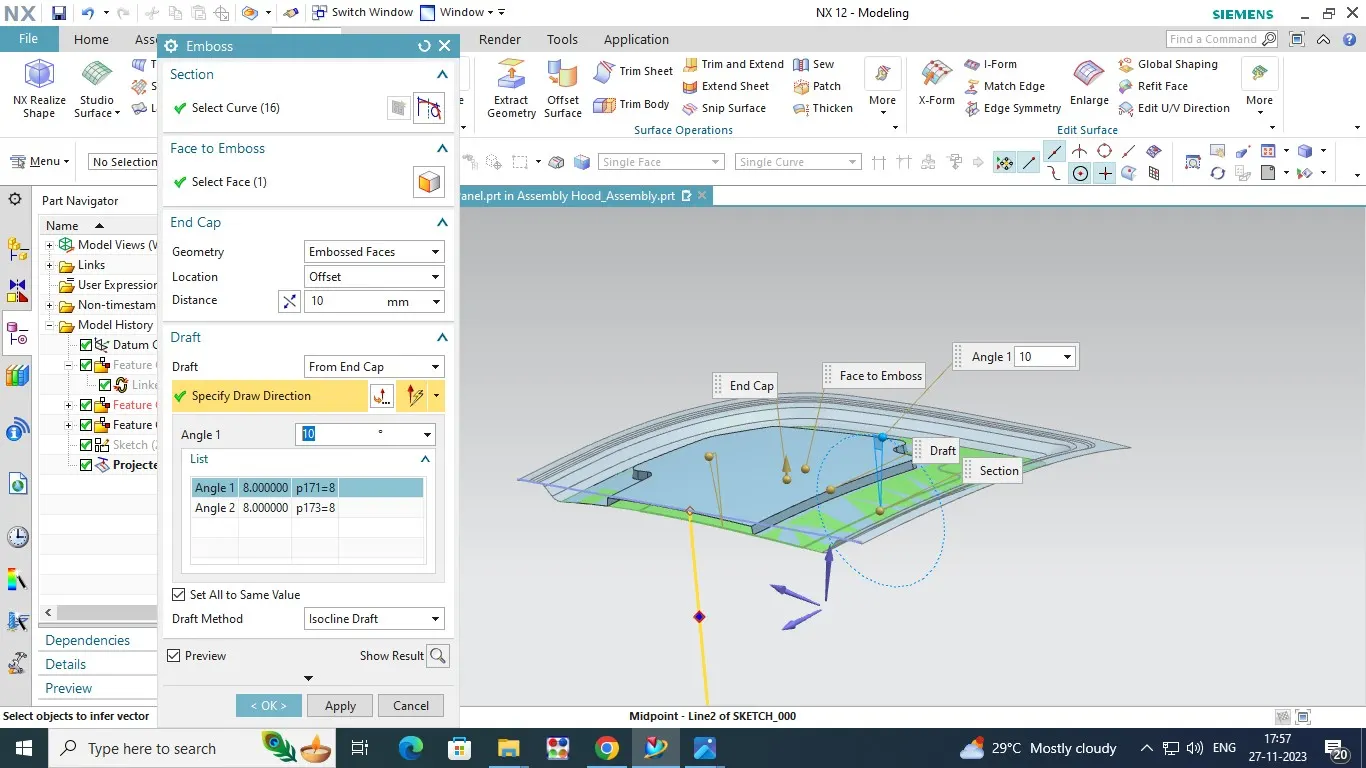
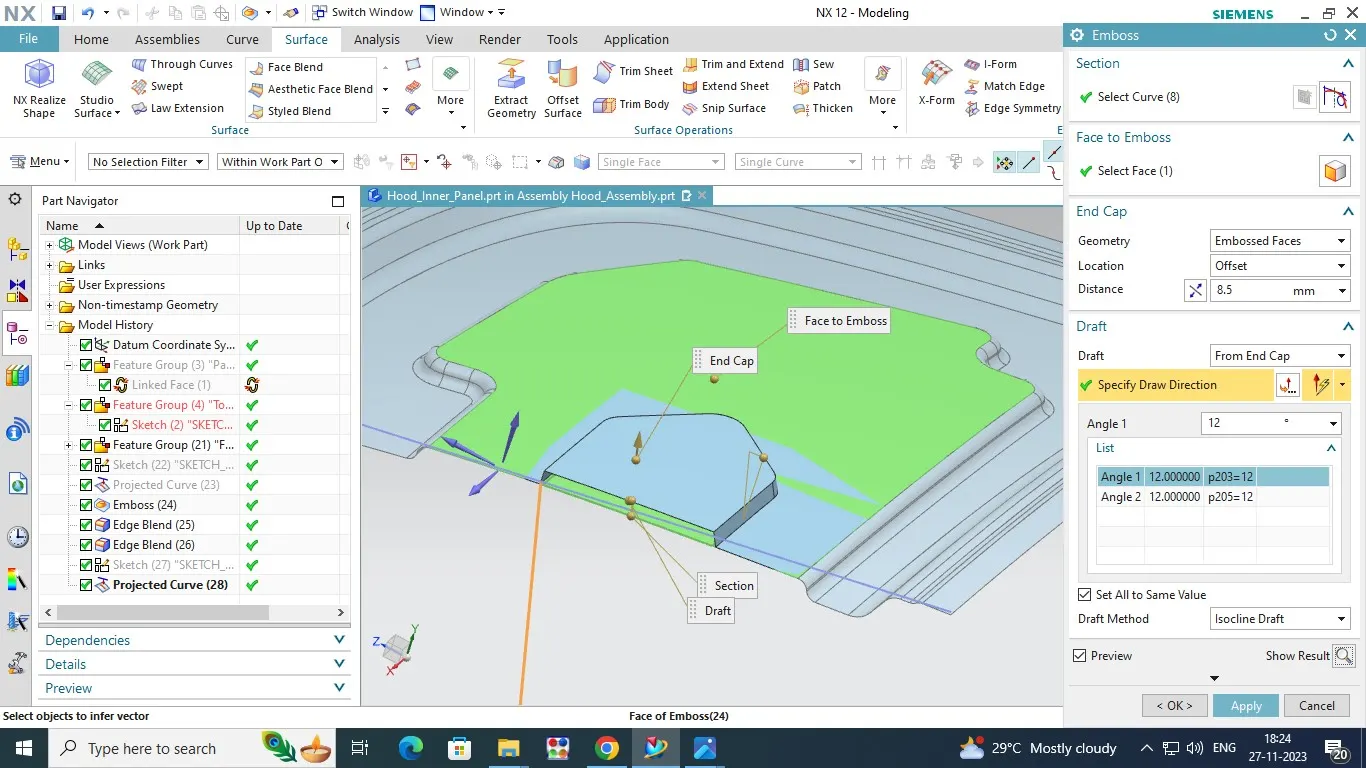
Then we have to click the Emboss option give values like lenghth - angle - vector Direction - Tooling Axis , and pick on.The emboss will be created.
The same process are doing on once again ,it will another emboss are created. The emboss are creating is sharp corner also, so we would create the blend in 6mm radius by using bridge blend command.
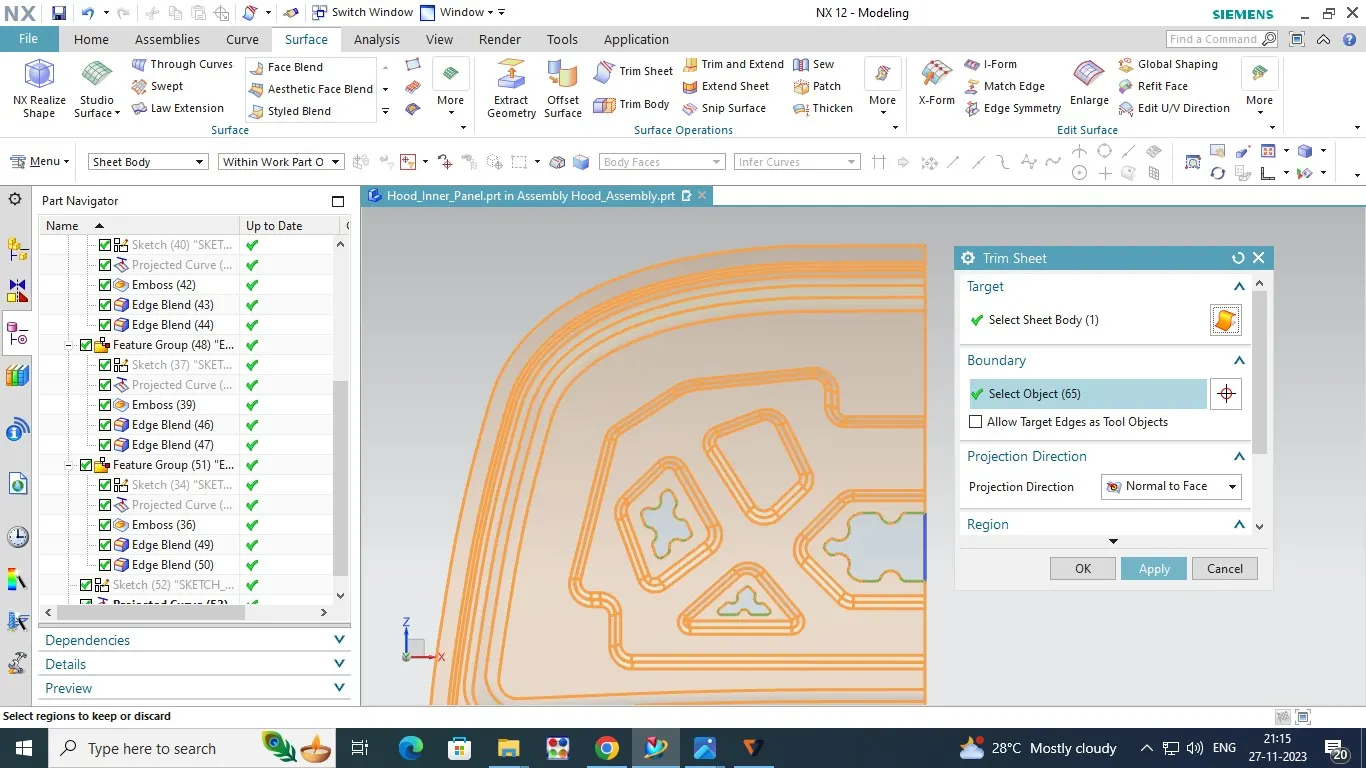
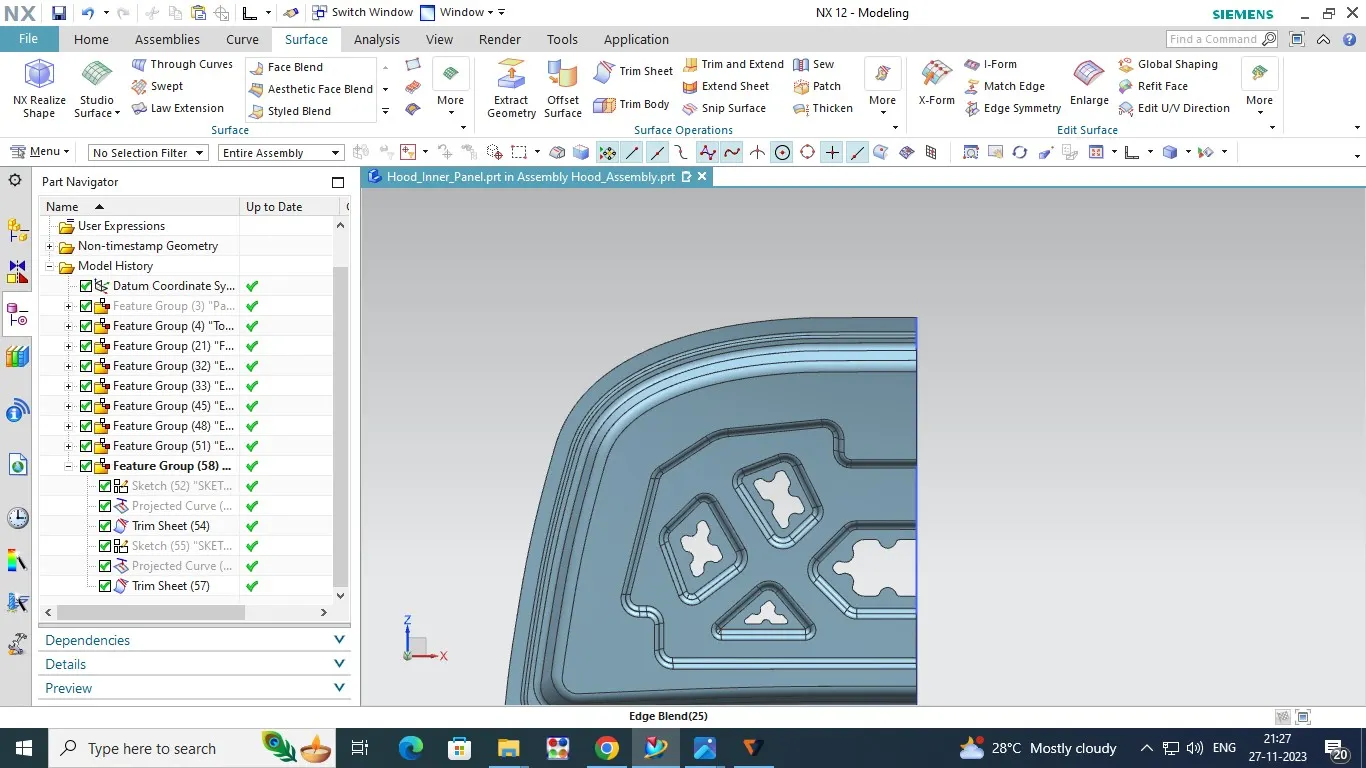
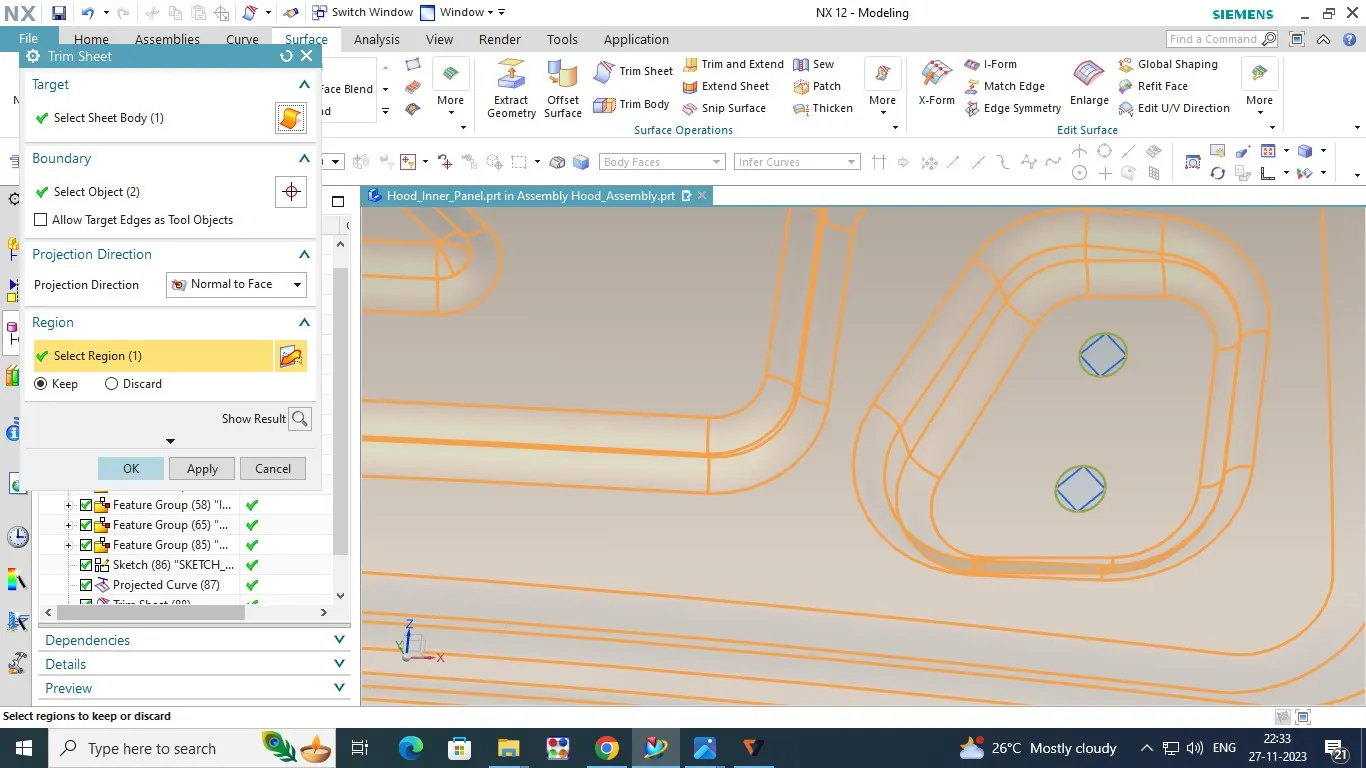
Now we have create the inner Hole in panel flange surface.so i have create the sketch in ZX direction make the required curve and projected in panel flange surface and trim the trim sheet option.
Hinge Mounting creation:
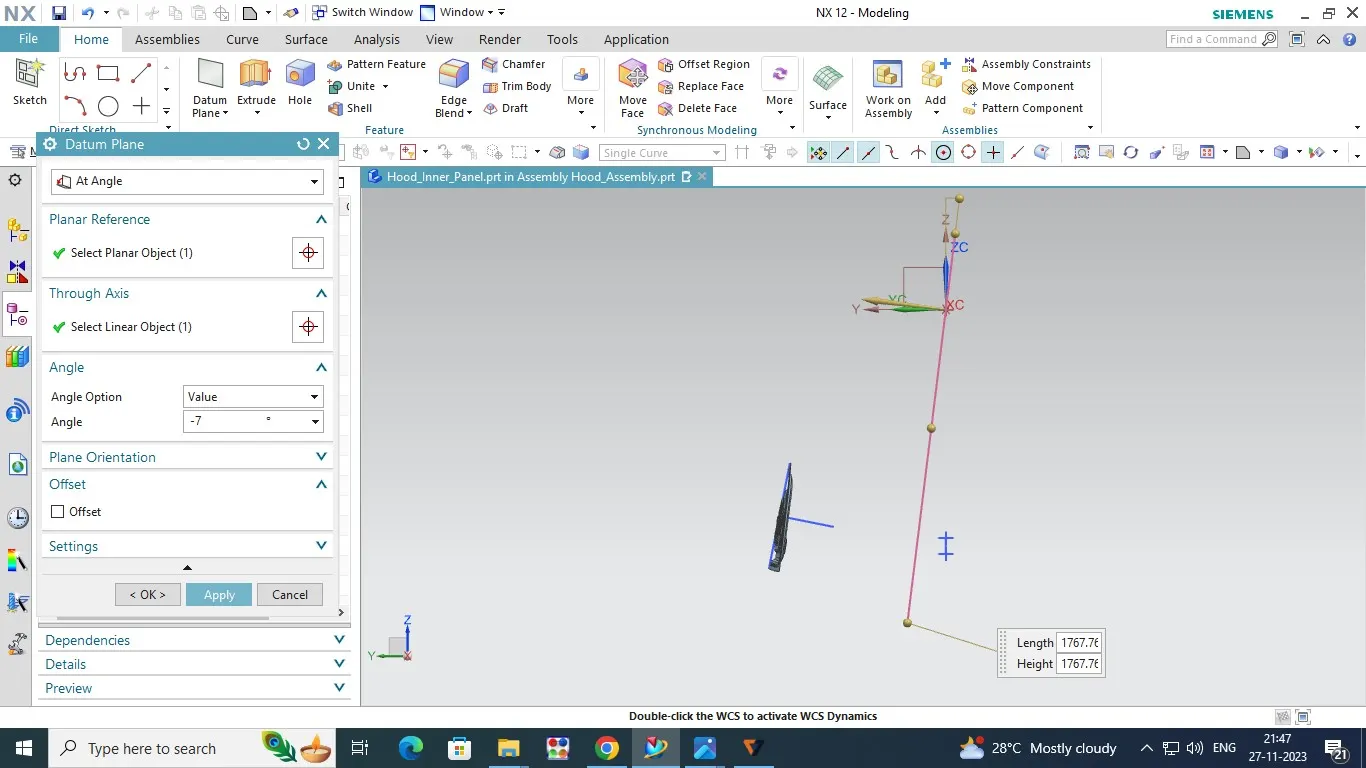
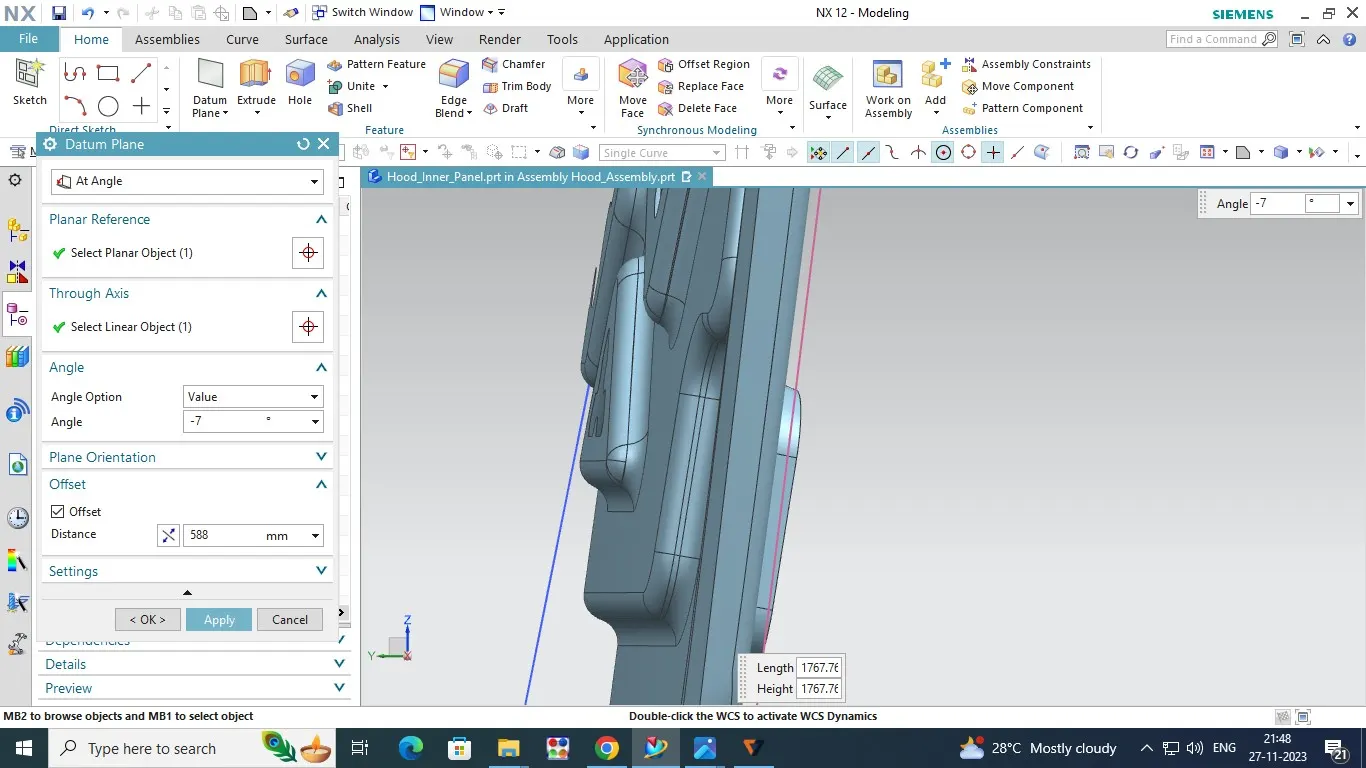
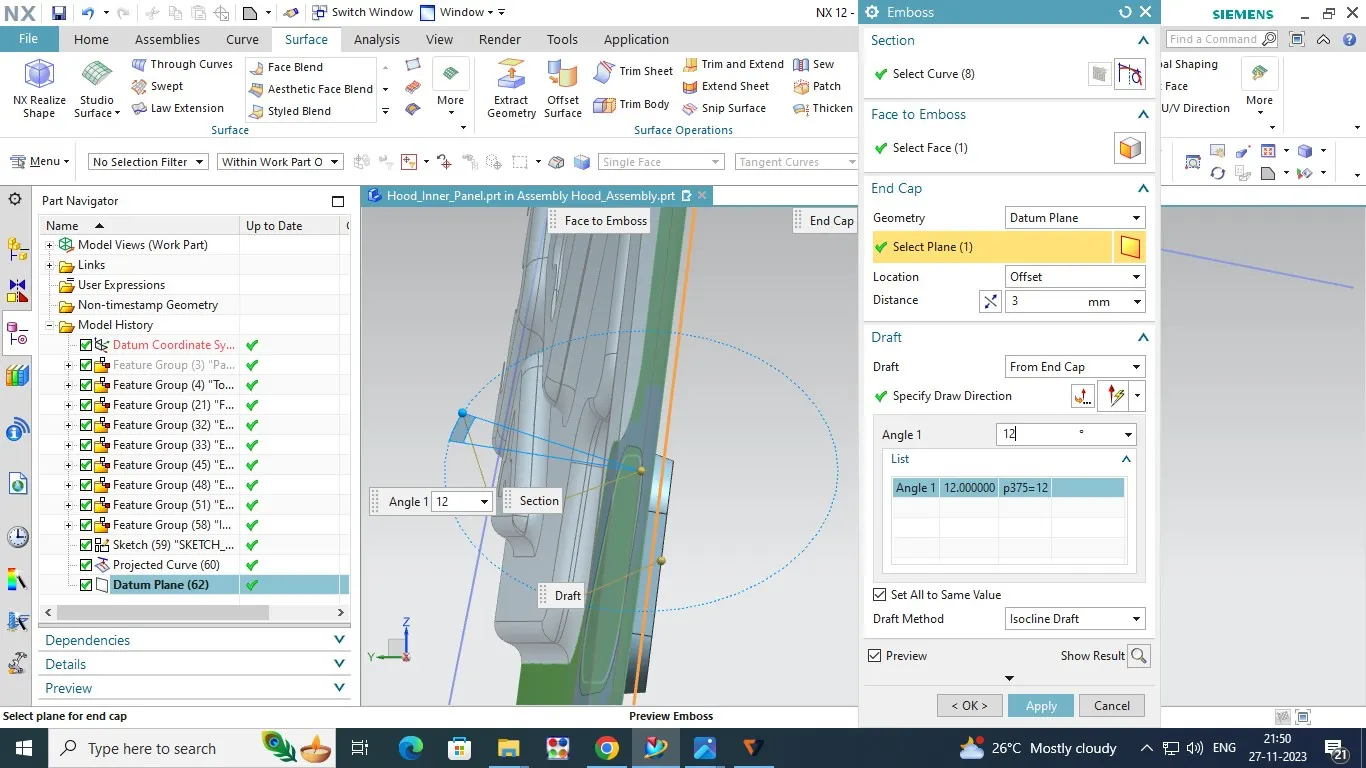
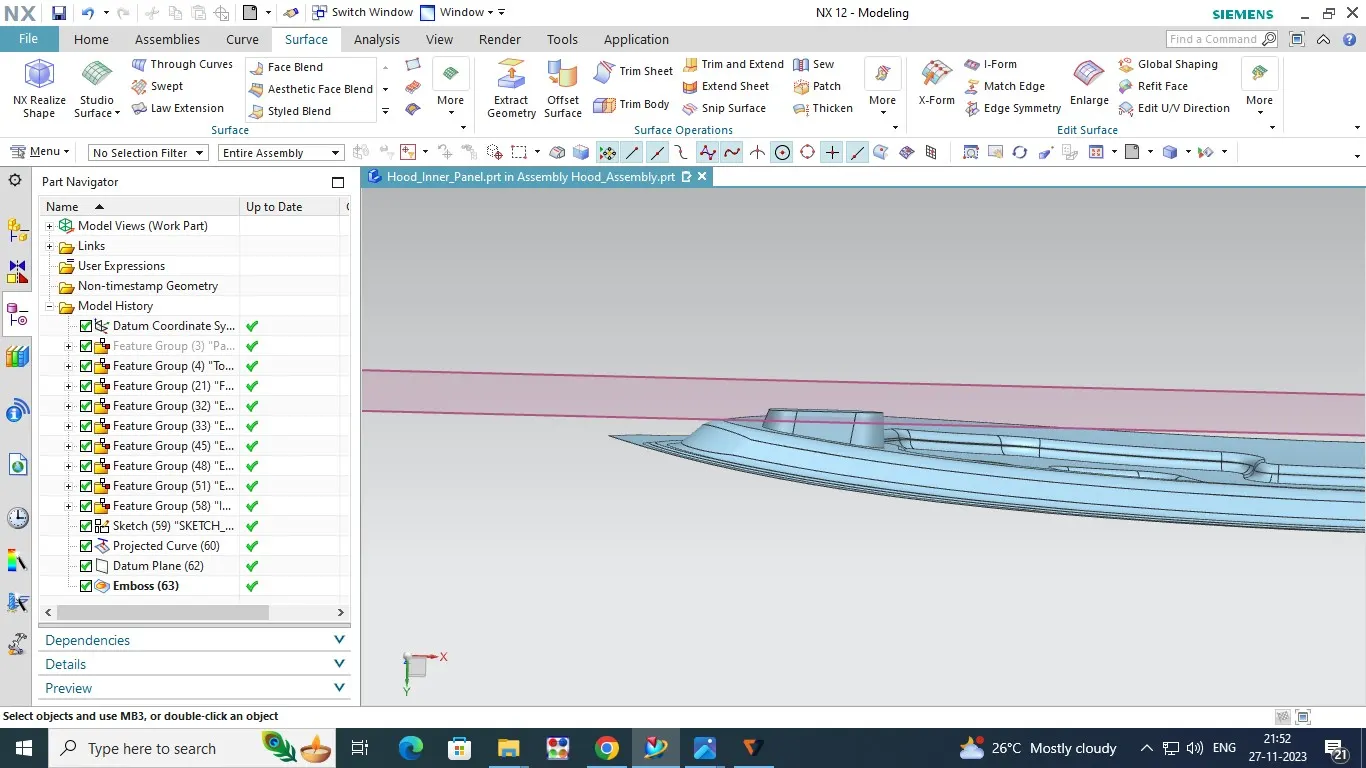
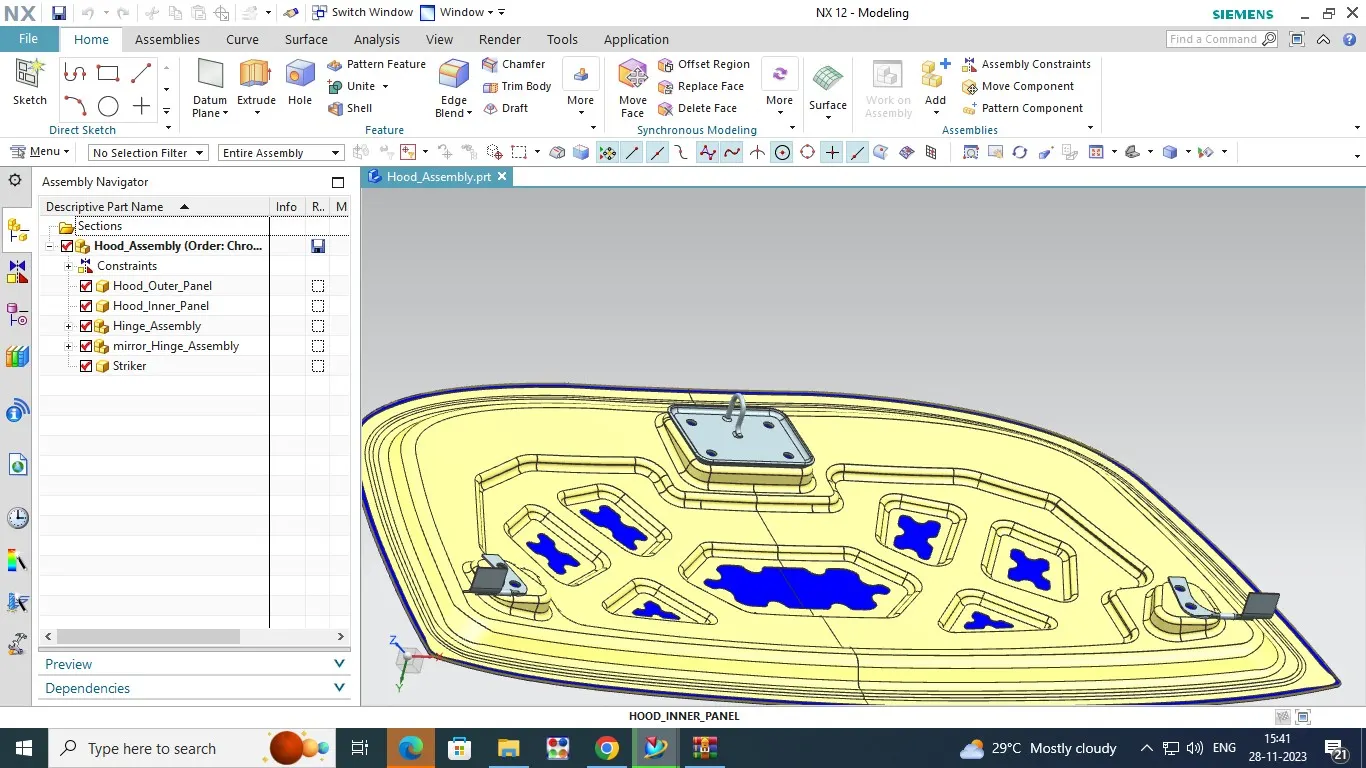
Hinge mount is used for placed to Hinge Assembly in correcet position in flate surface .So create the Sketch in ZX Plane Direction Left Bottom corner Side and create Curve in Required mount shape then projected the surface by using Projected Curve Option.Now we have to create the Emboss In as per curve in valve of Aporexmate Length is 10mm Angle is 8.5mm Beacuse the Mount shape is edit as per datum plane.The Datum Plane is used to identify the correct position of Hinge mounting.So create Sketch is ZY Direction Datum plane has ZX direction and angle of -7 Degree.after that move the datum plane by using offset to touch the Mounting Emboss .Now we have to edit the some valve of emboss option is OBJECT FACE is DATUM PLANE .so the emboss are created in hinge assembly position.Then finally created the blend is 6mm radius.
Assemble the Hinge on Mounting:
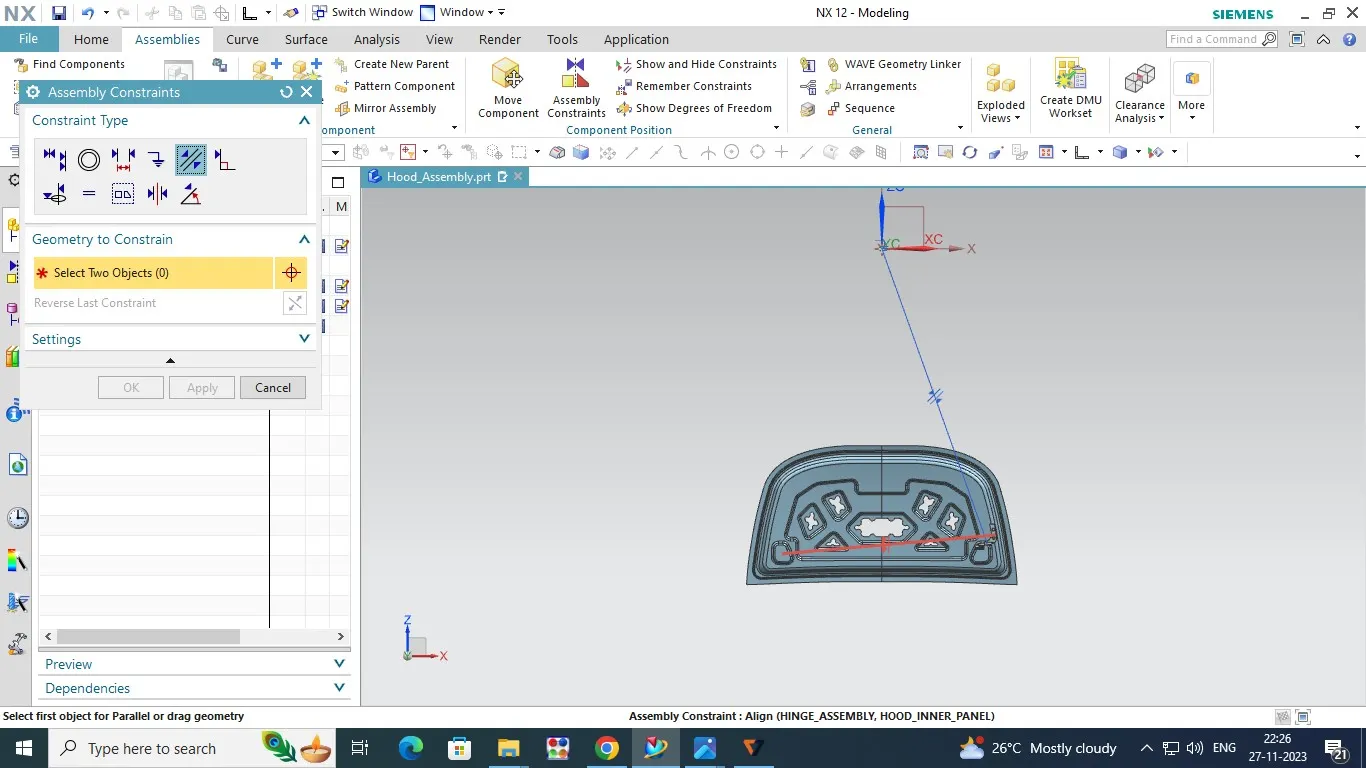
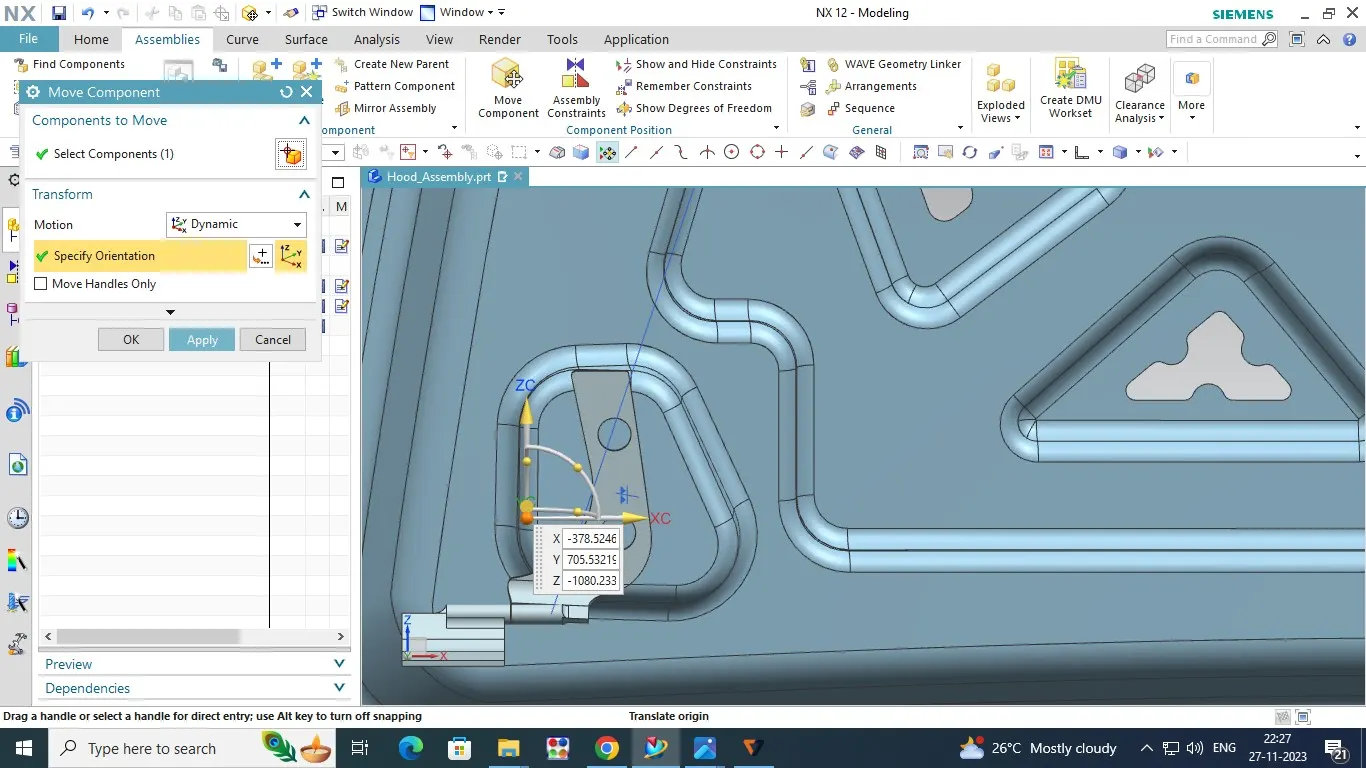
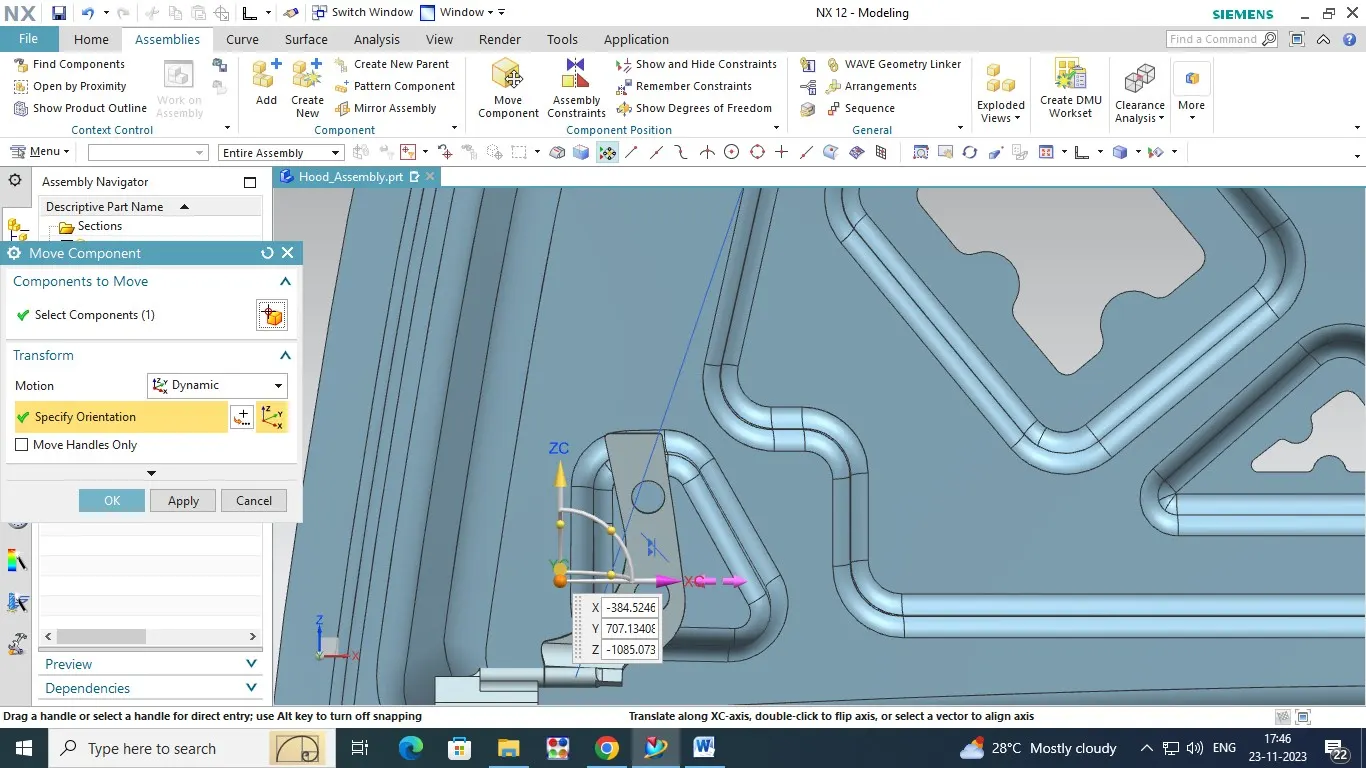
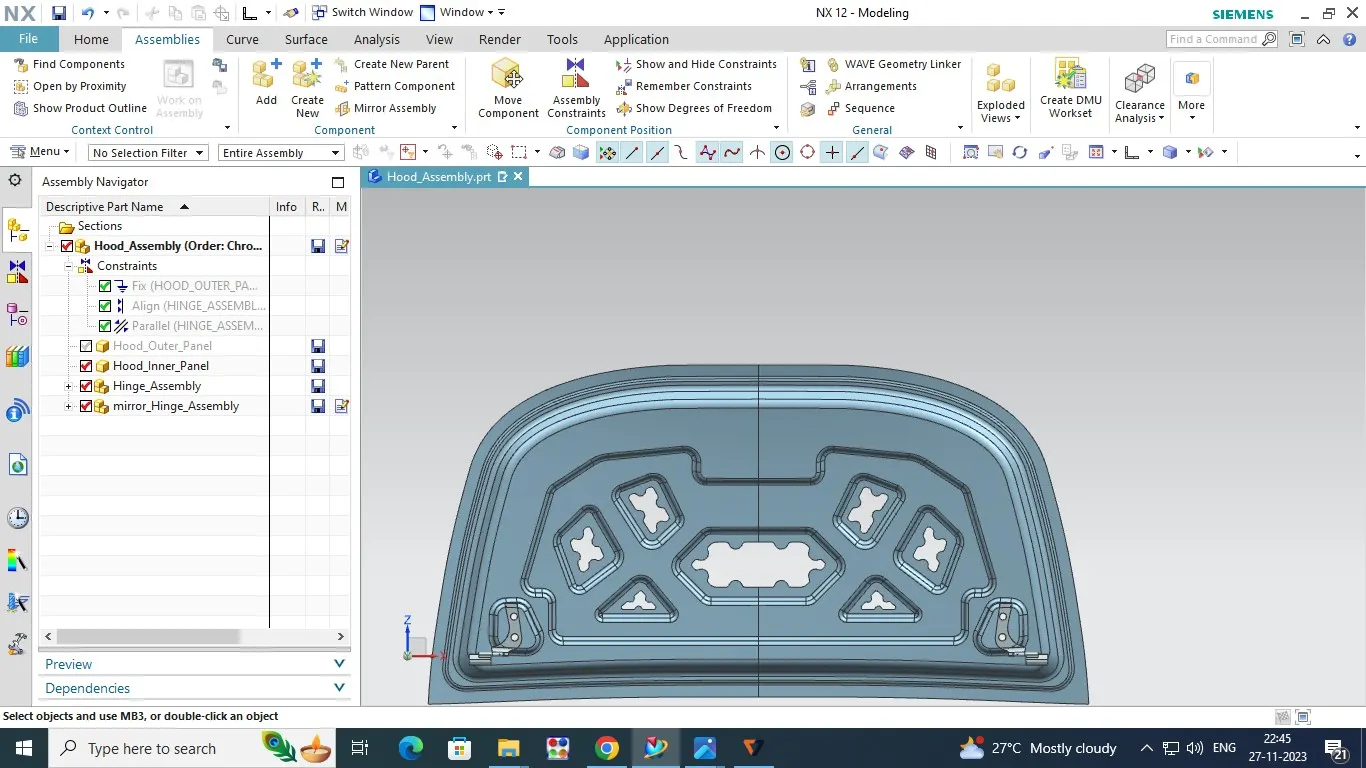
Select the Asslembly command ,click the touch option and pick the face on hinge back side and mounting area top side and apply.now change parlell command and select the hingle center axis and select the x axis on axis parameter.After that select the move option and pick the Hinge component then select the direction command on move option window.now axis ahs created on hinge component,pick the axis and slowly move to place and mounting on correct direction.
Then completed the Hinge mounting option mirror the inner panel by using mirror option.next we have placed on Strike component in correct position.
Assembly the strike component:
Latch trajectory:
Latch Trajectory is path of striker will follow when the hood is open and closed while povinting on hinge Axis .That is called Latch trajectory.The latch Trajectory is tacken as a circle with hinge axis as the center of the circle. The stricker is placed on 90deg such that it is tangent of circle.
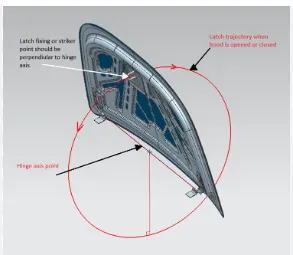
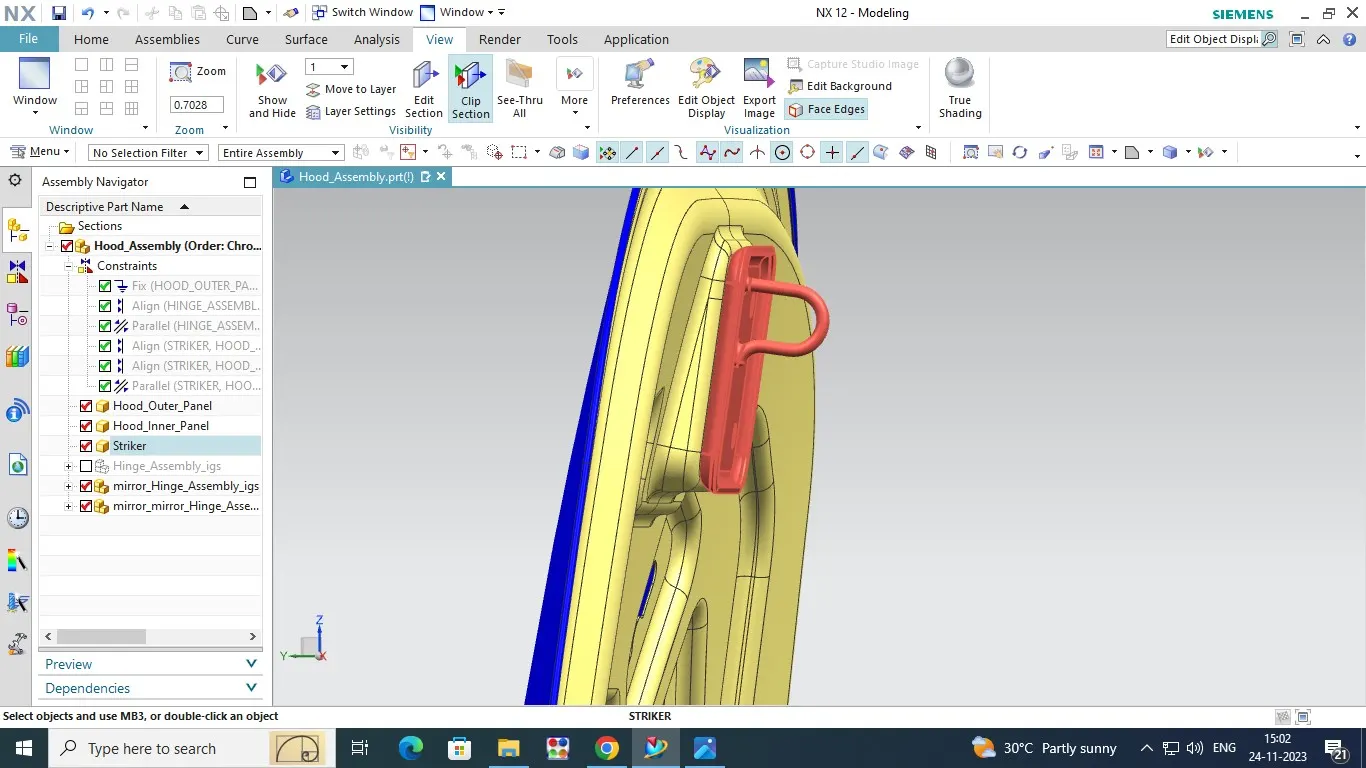
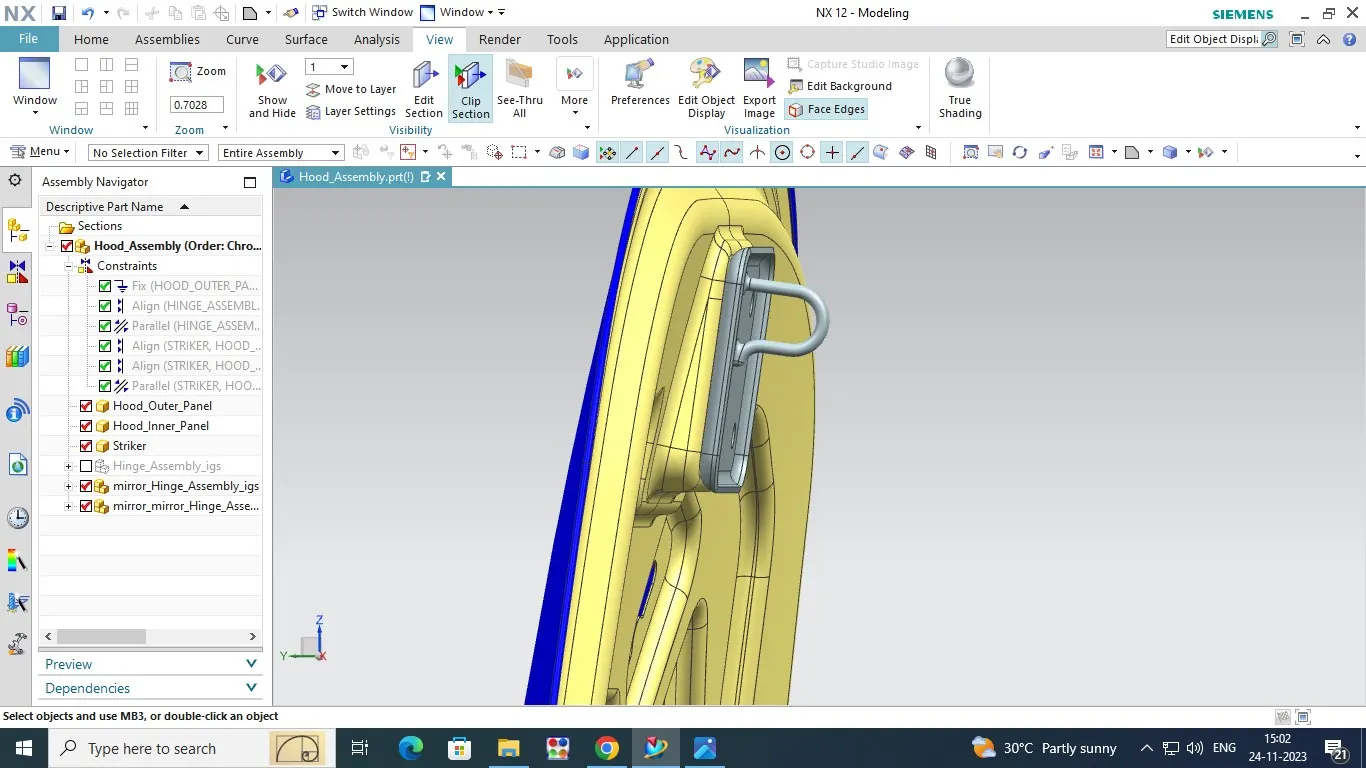
Completeing mirror We have trimed in bottom corner in 8mm fillet radius in two side .Now we have to placed the Strike as well as mounting also.So Select the wave geometry like option and select the circular curve in two hinge and create the point also.after that connect the point by using line option now we have create the DATUM PLANE in ZX direction but the sketch direction was ZY.The datum plane was createdin center of line .Next we would create the Circle in 660mm Diameter also create the Hoeizandal line , vertical line is 82 deg and intersect tangent line is 90 deg .
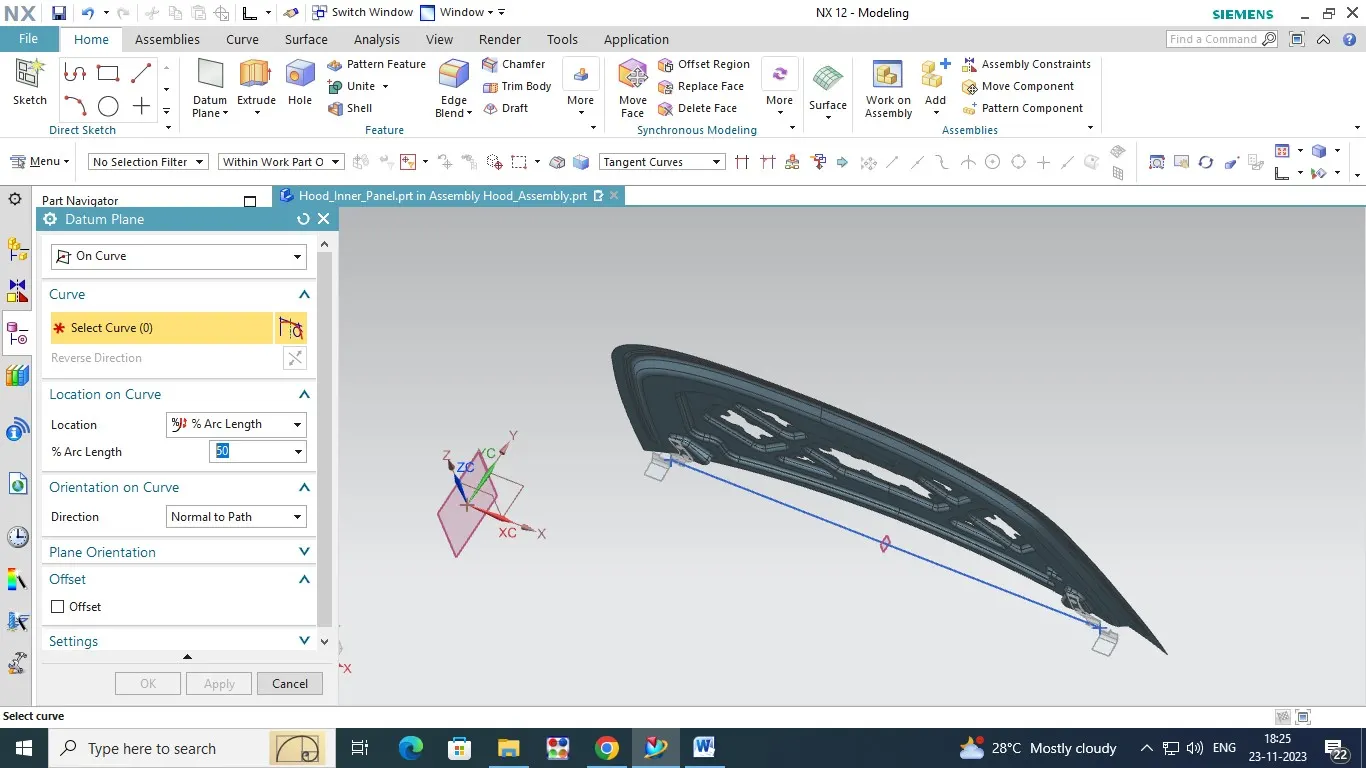
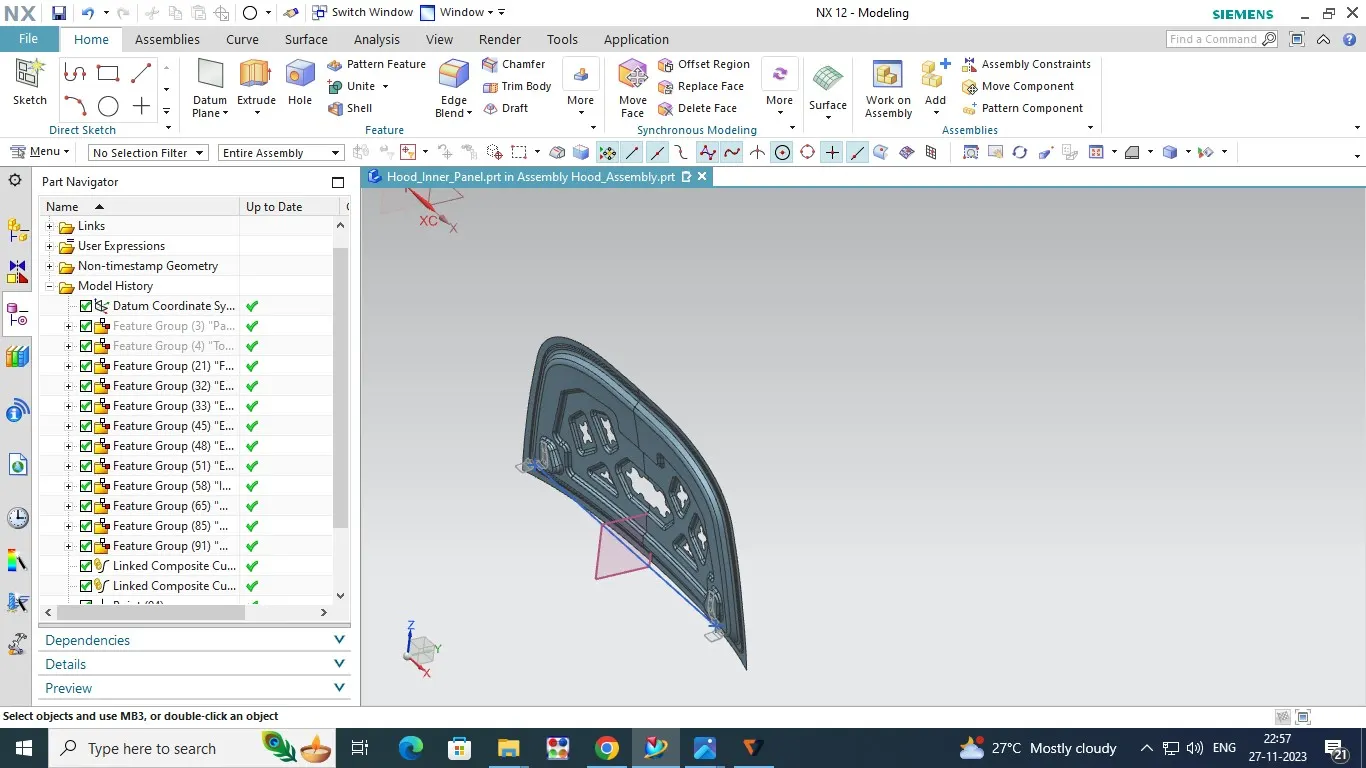
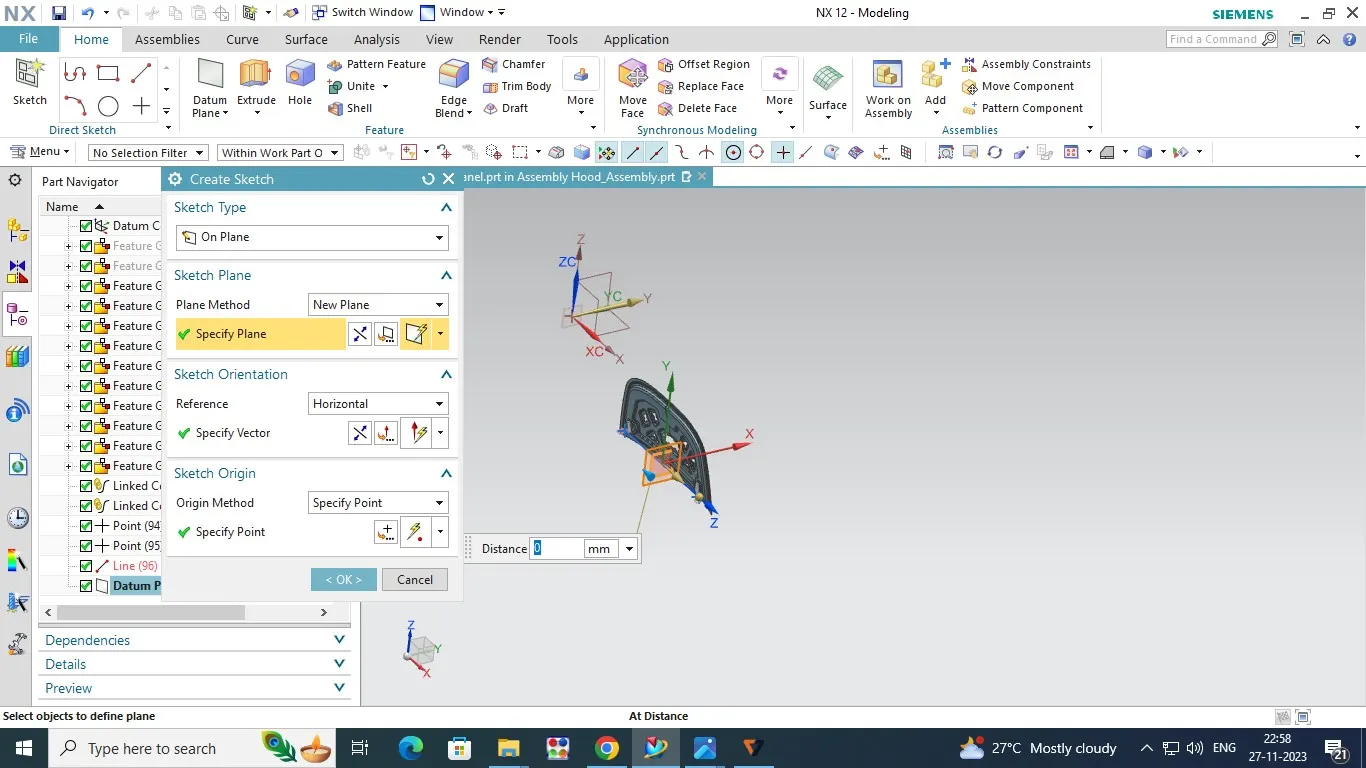
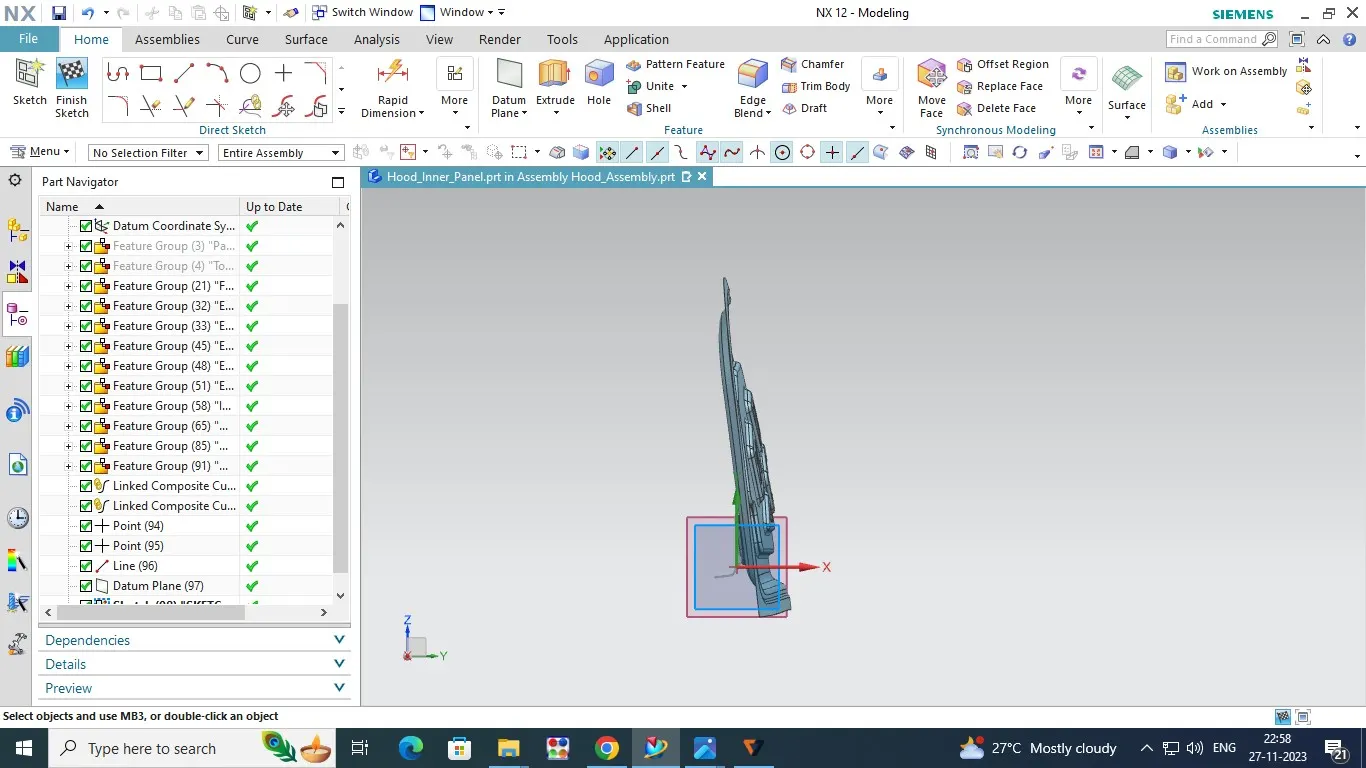
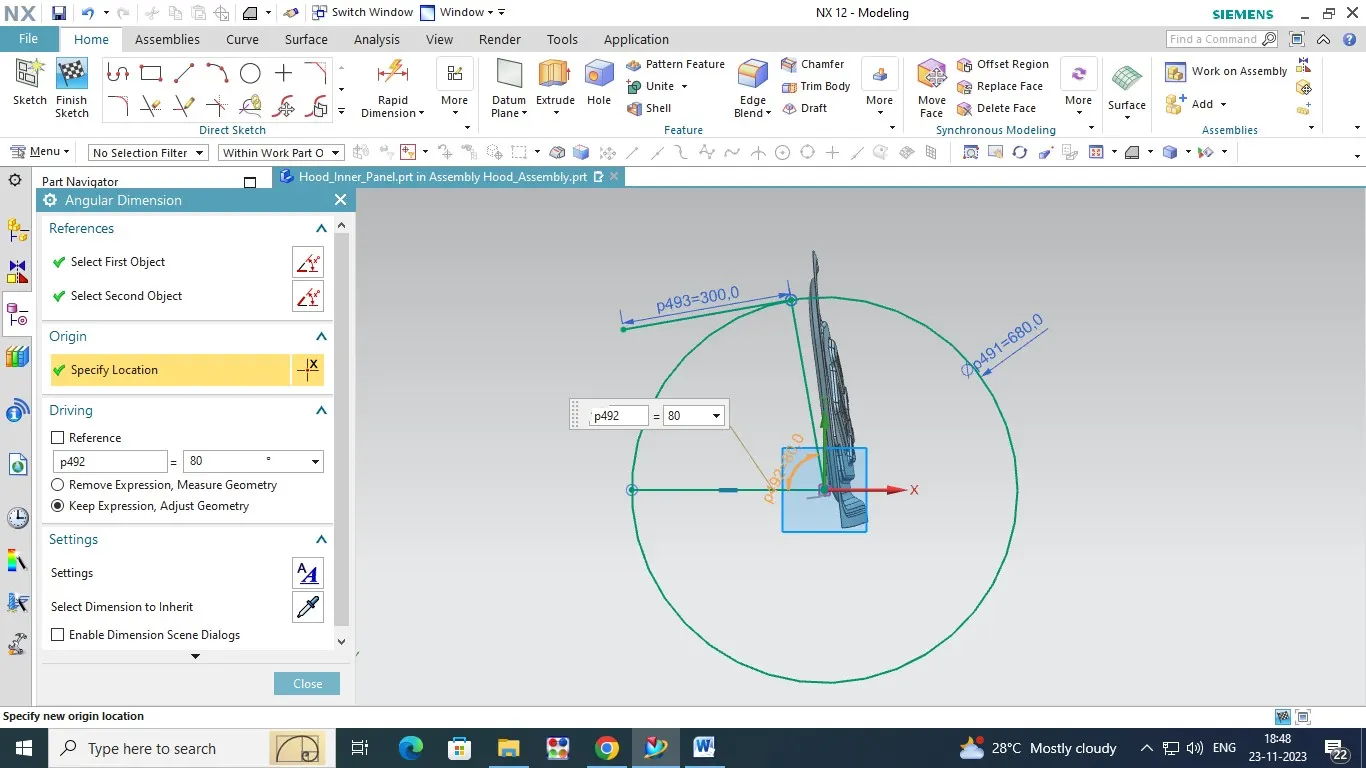
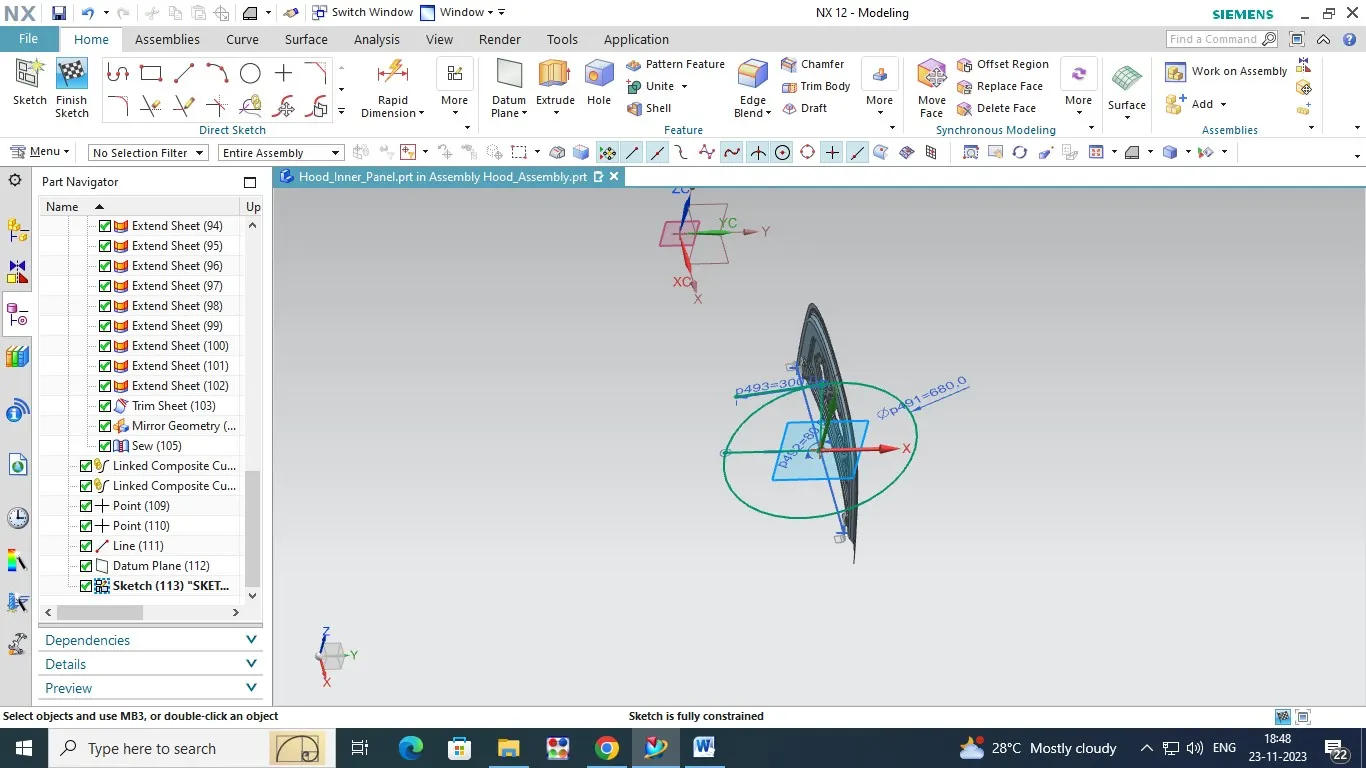
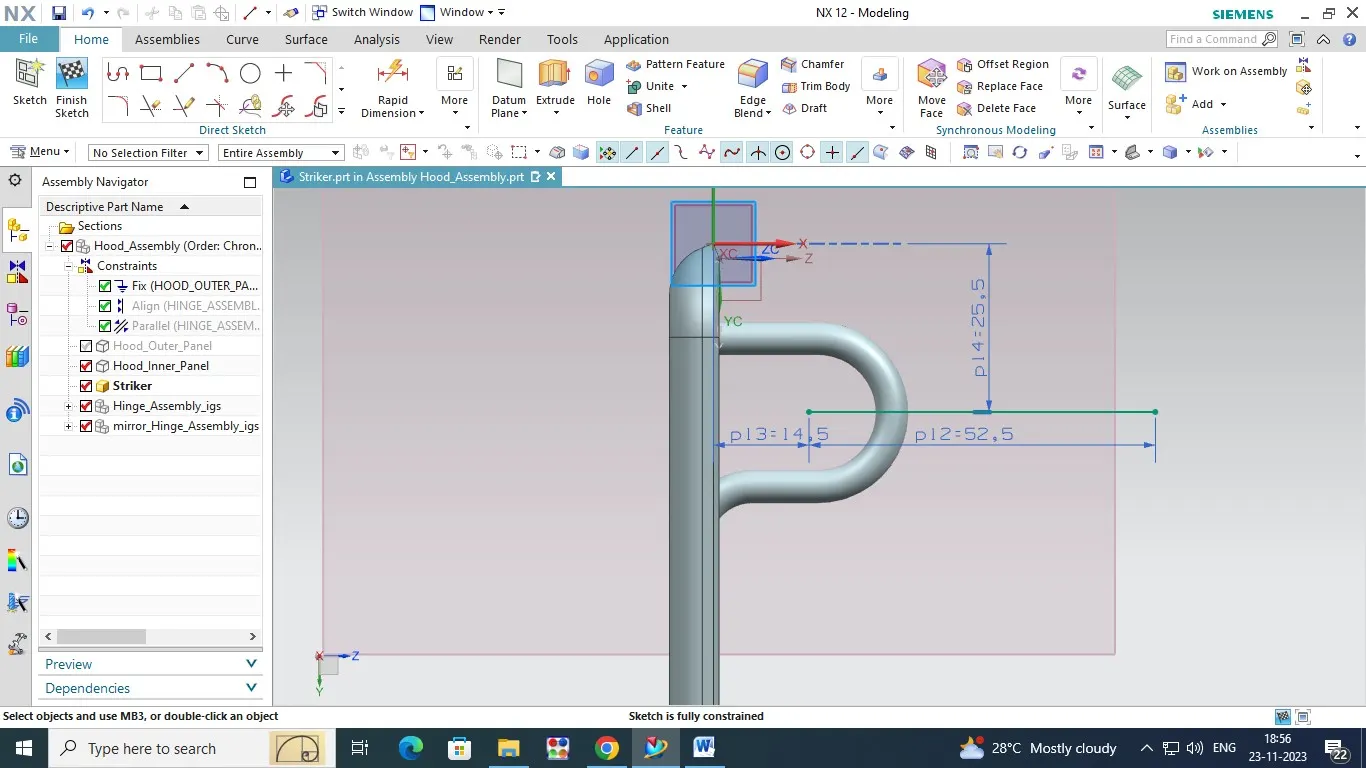
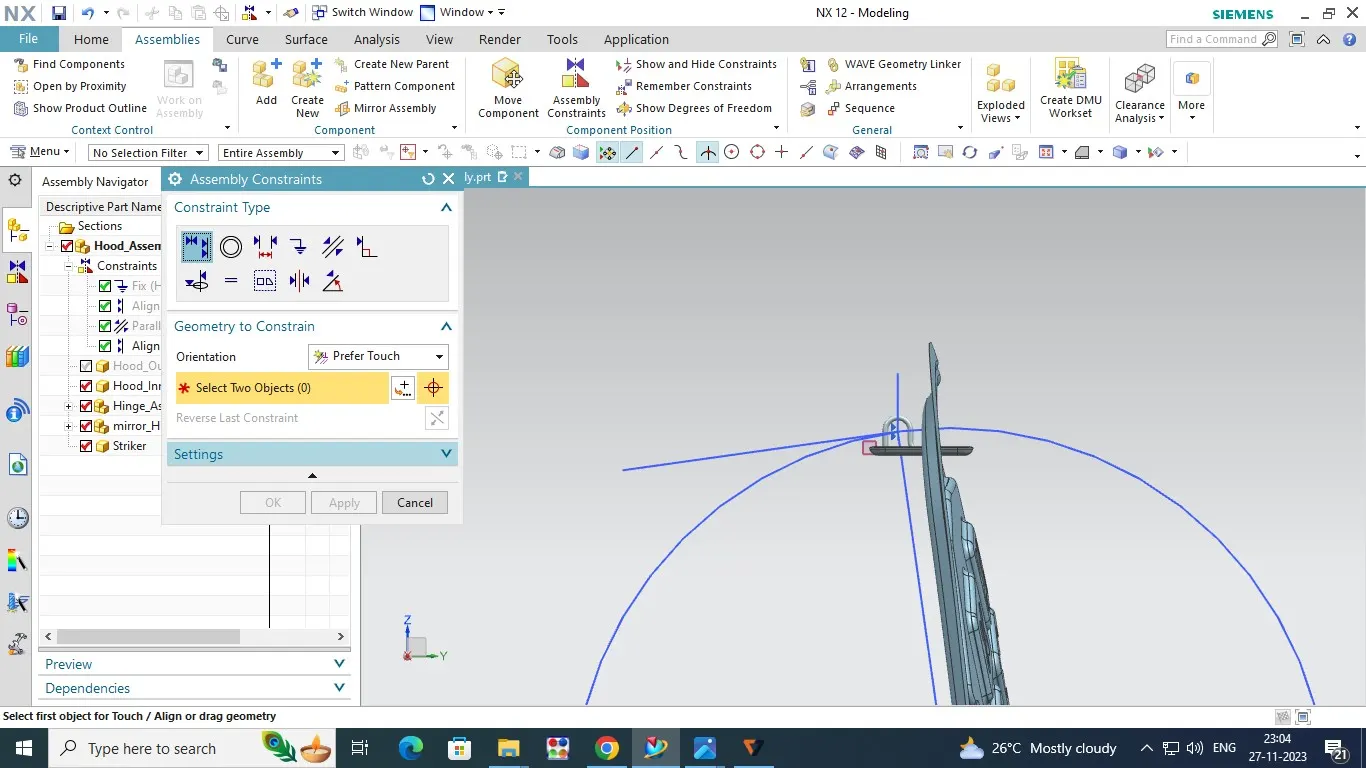
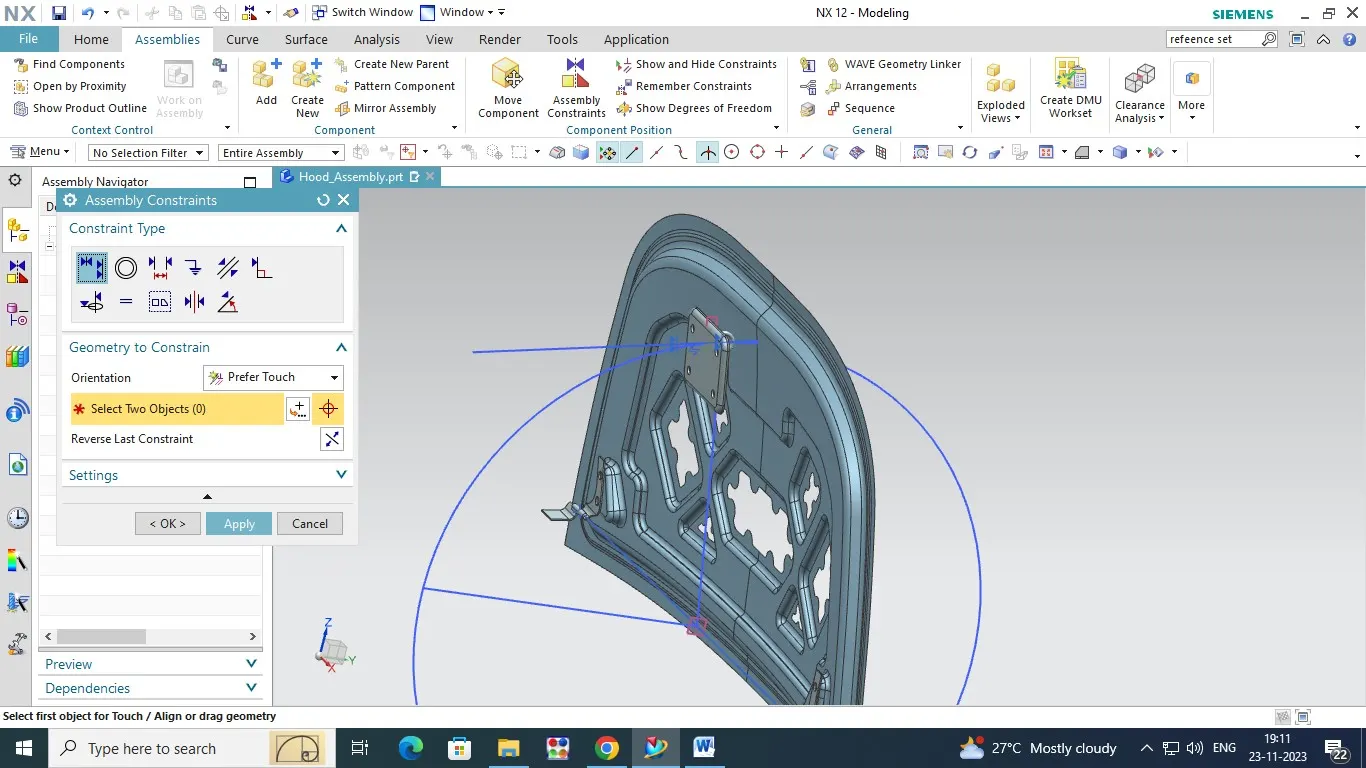
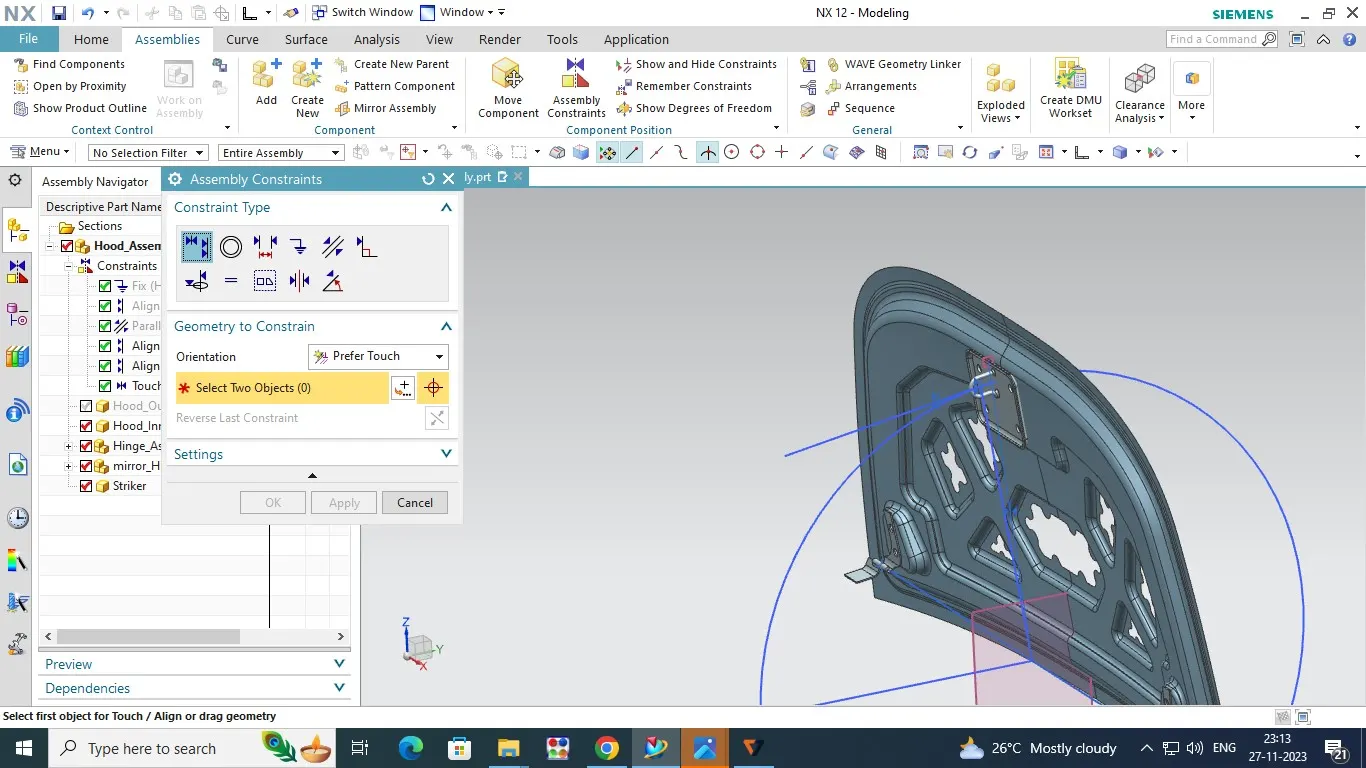
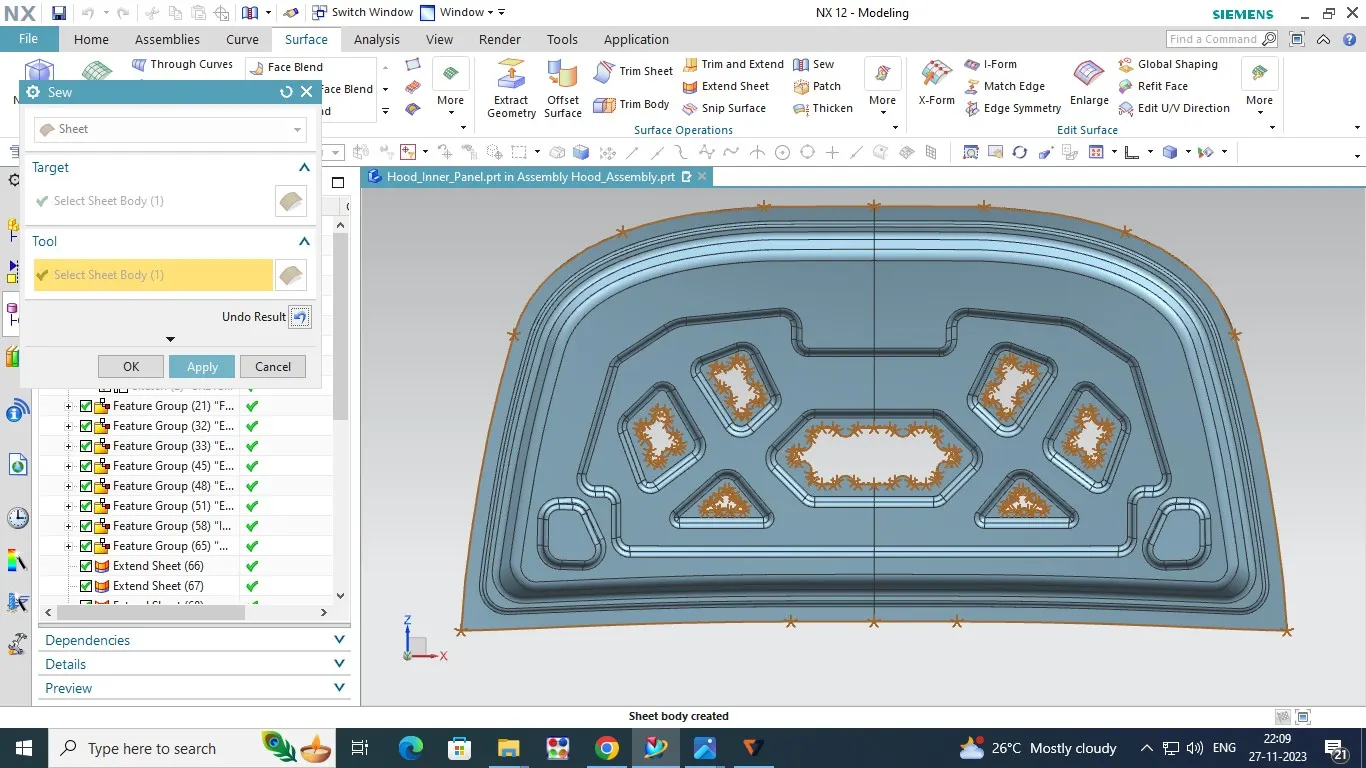
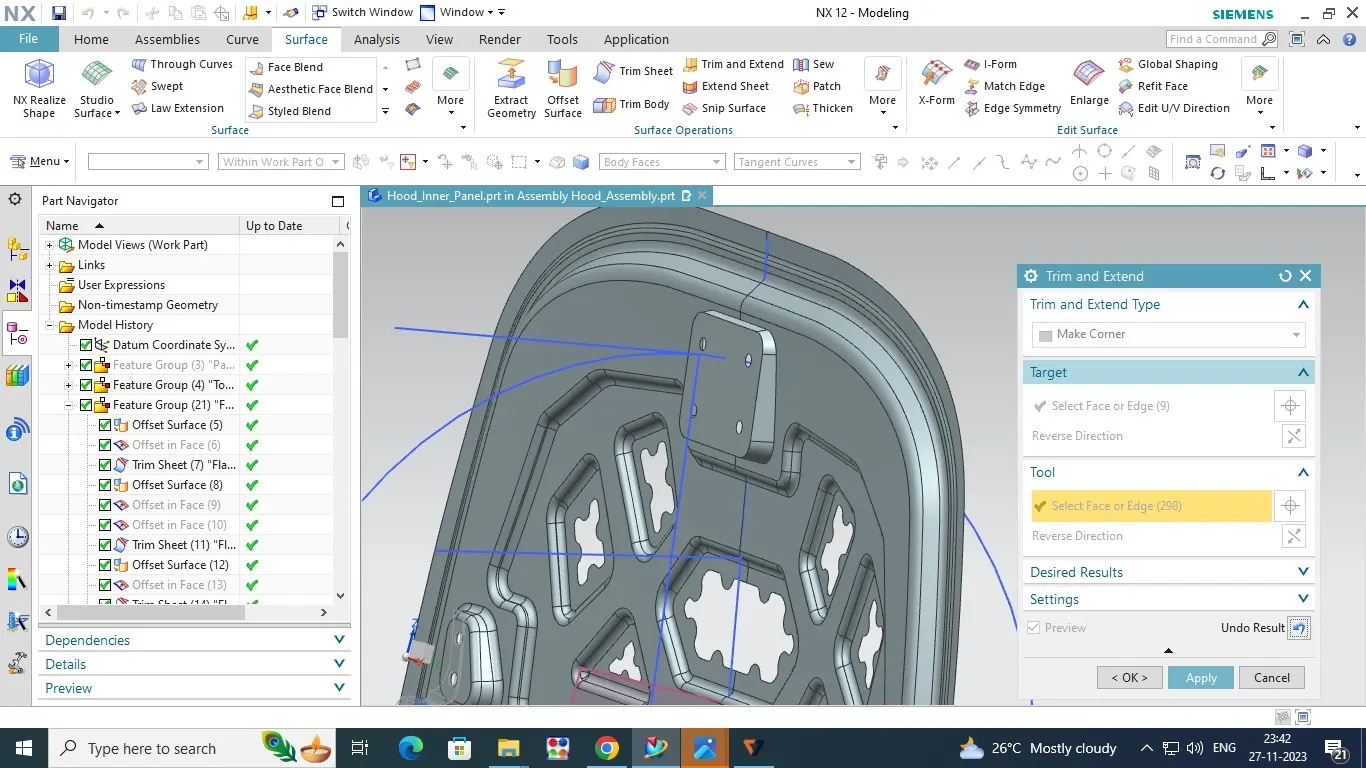
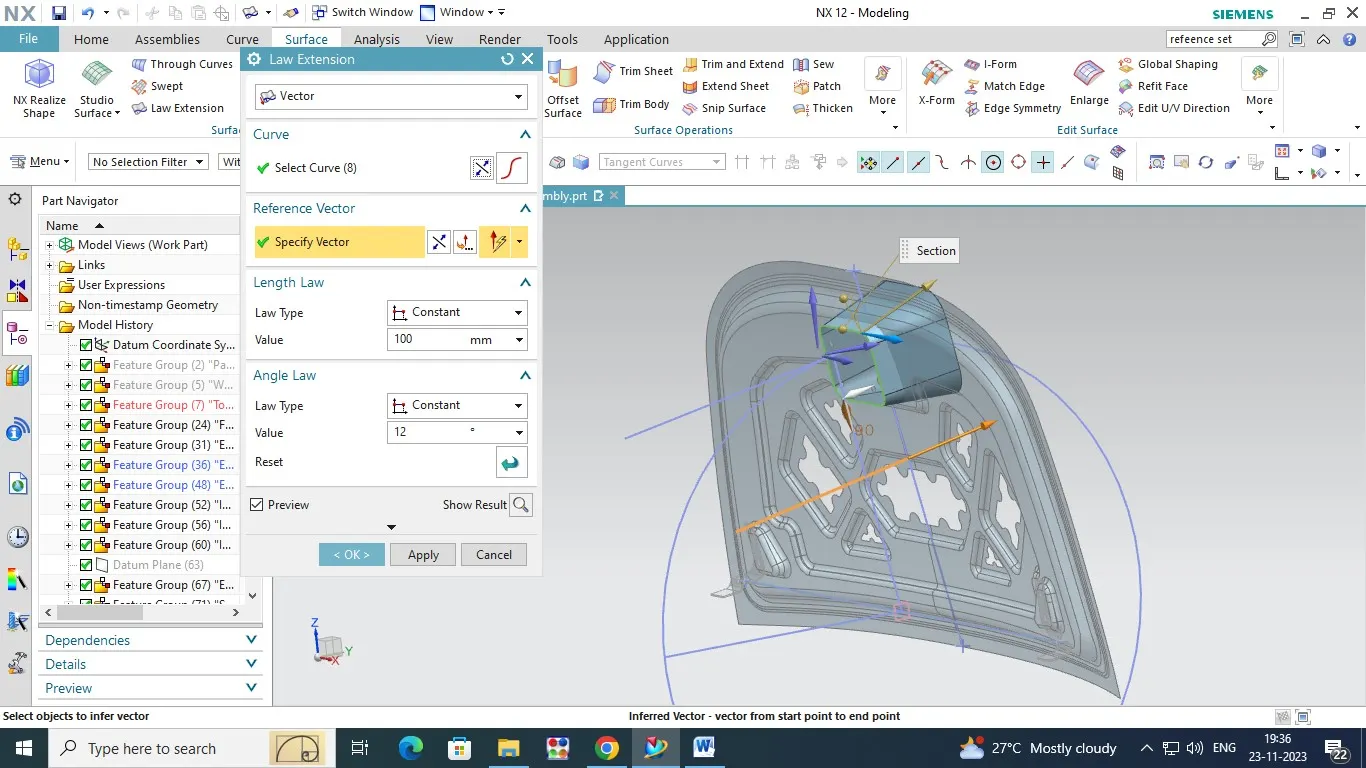
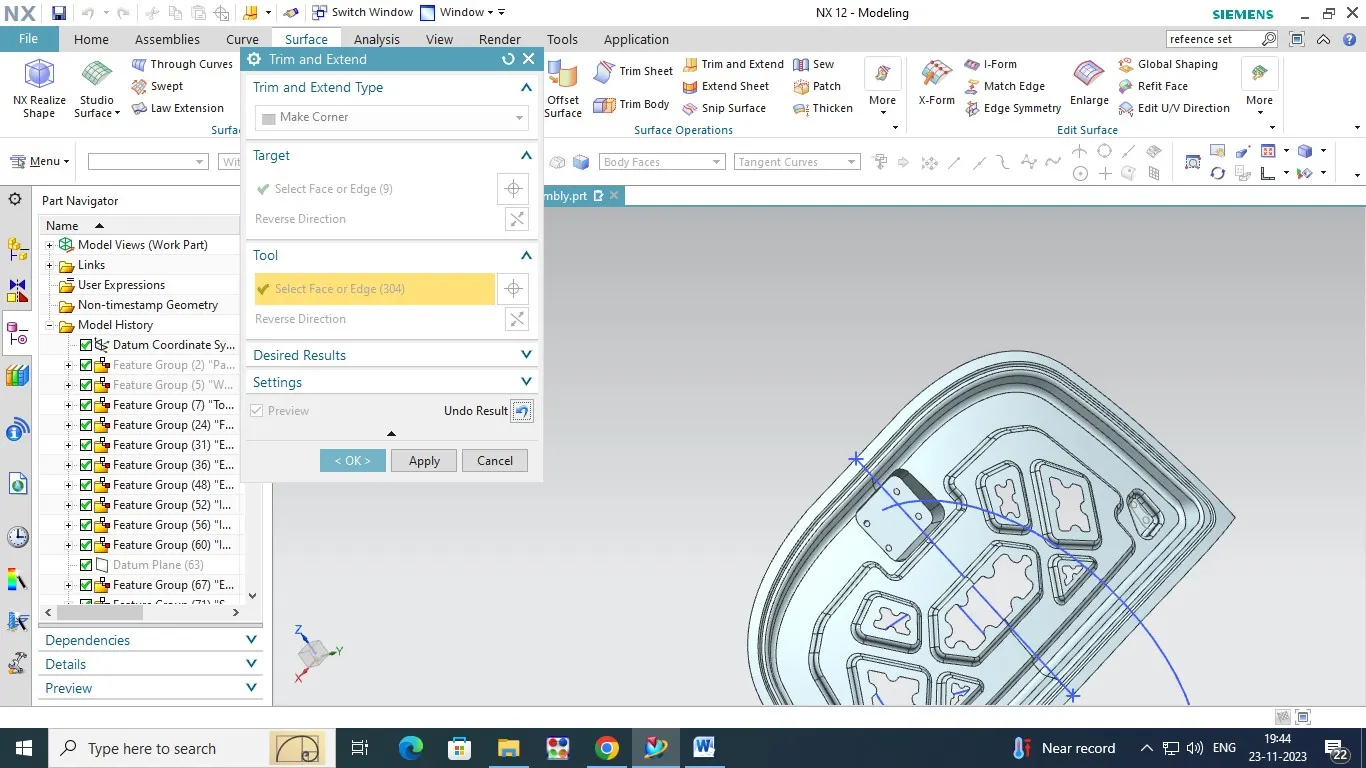
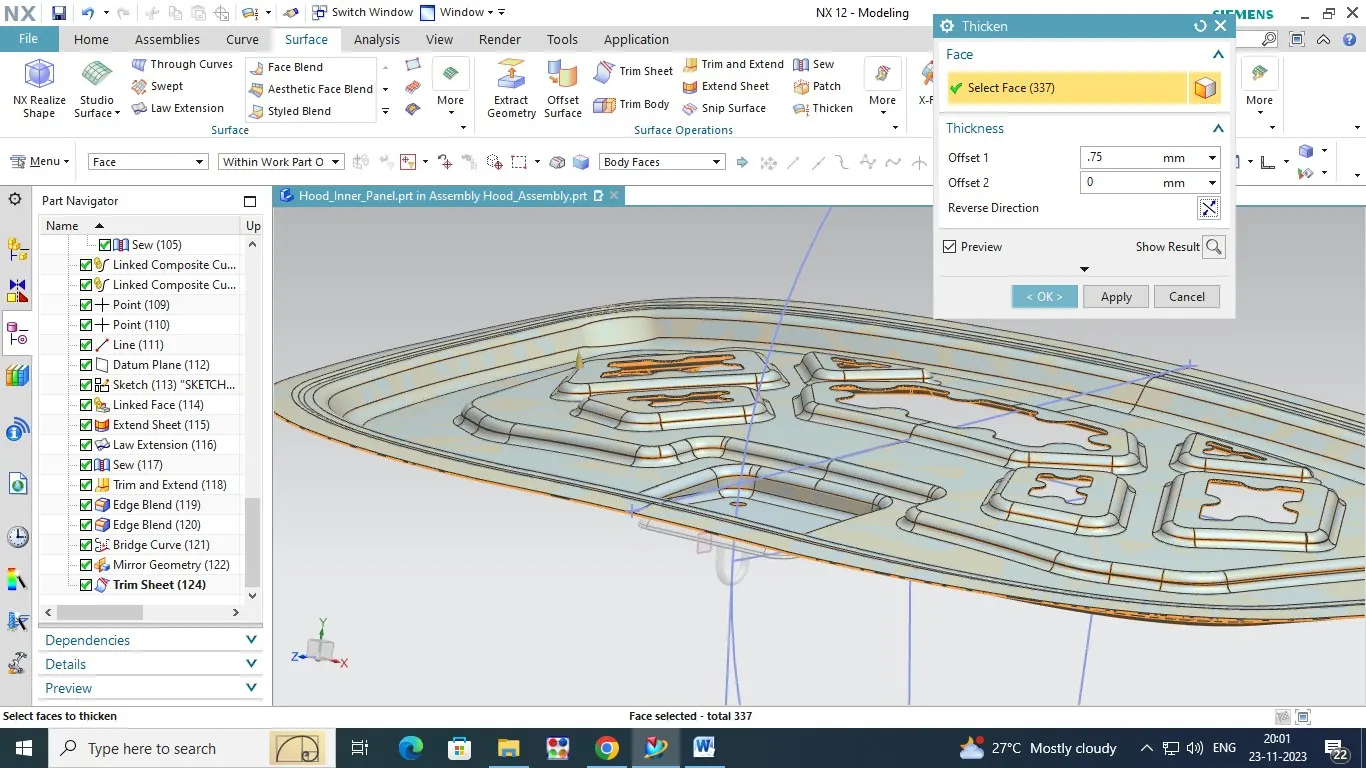
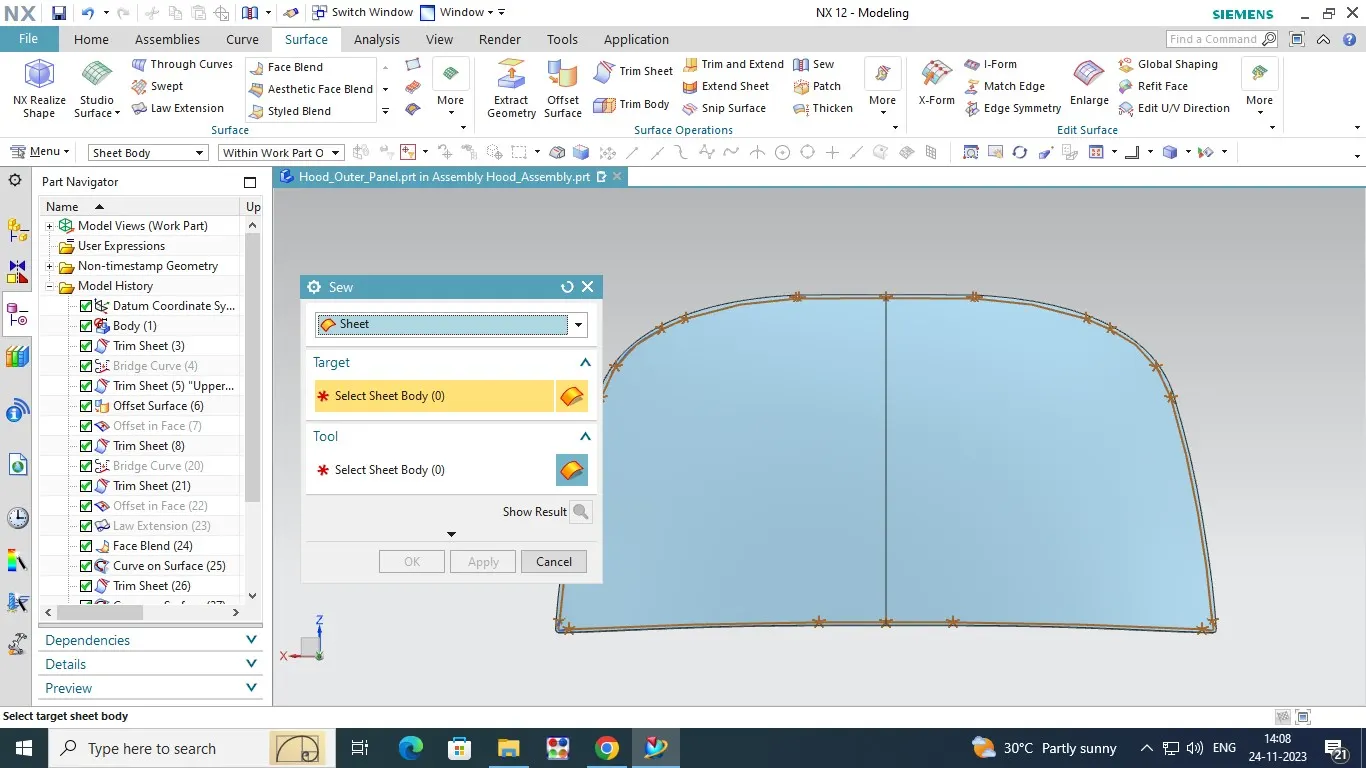
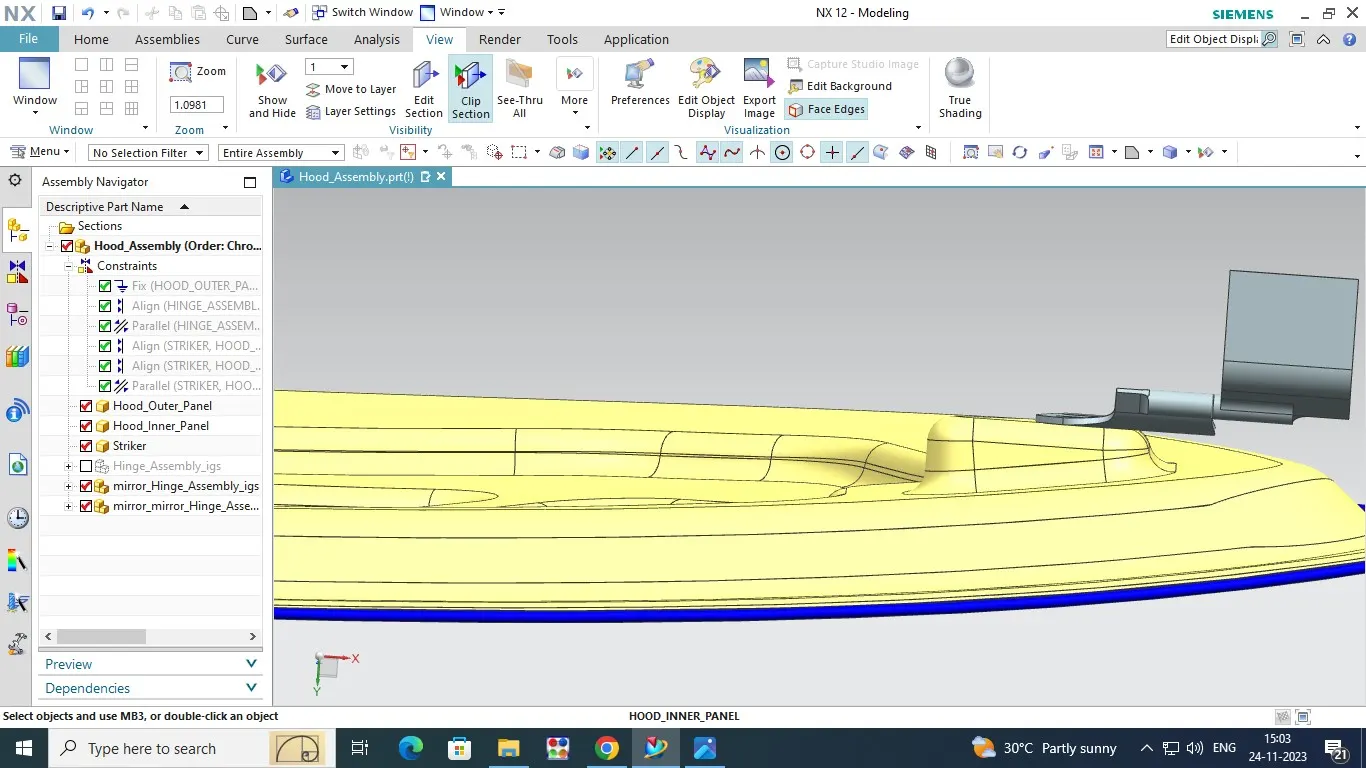
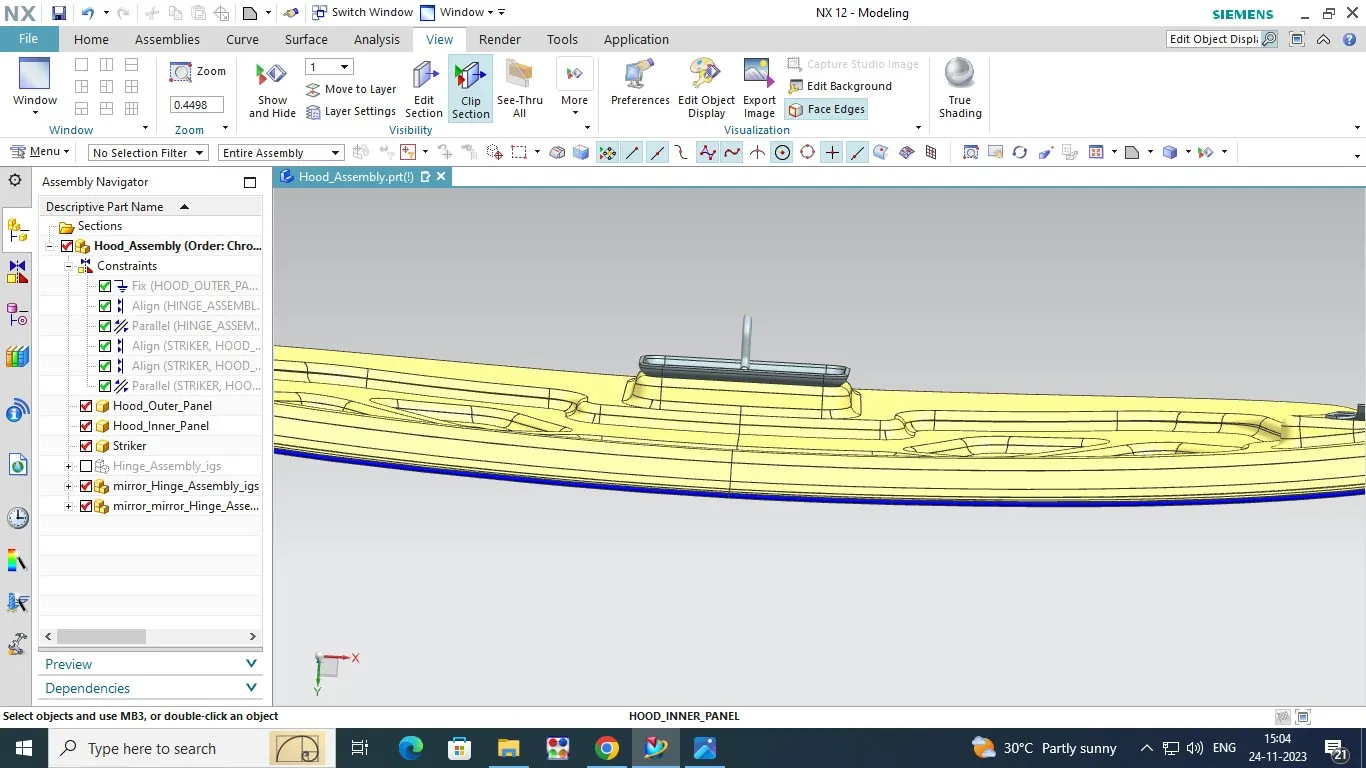
The same Datum pane is created on Strike also Horizandal line has created.now select the assemble option and pick the touch option then click the Strike vertical line and panel circle verticla plane and apply. The stricke component have move to place on tangent intersect point and also click on Strick componet vertical line and intersect line .the strike component will be placed then Select the Strike component Datum plane and panel datum plane the strike will be place in correct position.Now create the emboss on the strike component so select the strike component face in back side then extend the face as per tooling Axis and also trimed by using trim extend command.next join the face and extend part bu using sew command the sharp corner has created . so blend will be created in 6 mm radius.Finally use the thicken command to incress the thickness in 0.75mm.
Stricker Mounting Creation :
Thicknen:
Hemming Process:
Hemming is a sheet metal formming process. The sheets are bend to joint the 180deg. it is called hemming process.Hemming is mostly used automotive body panels,and automotive body parts like,deck-lides,trunk-lides,Hood,Doors and tail gates are forming by hemming Process.In this process the sheets are bend by help of inner panel with three different stages.
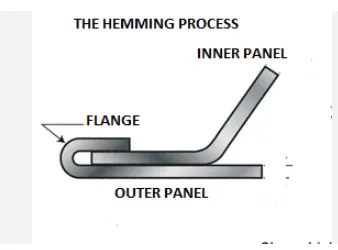
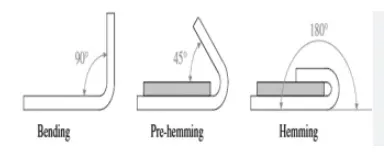
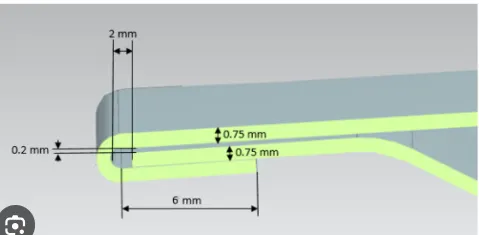
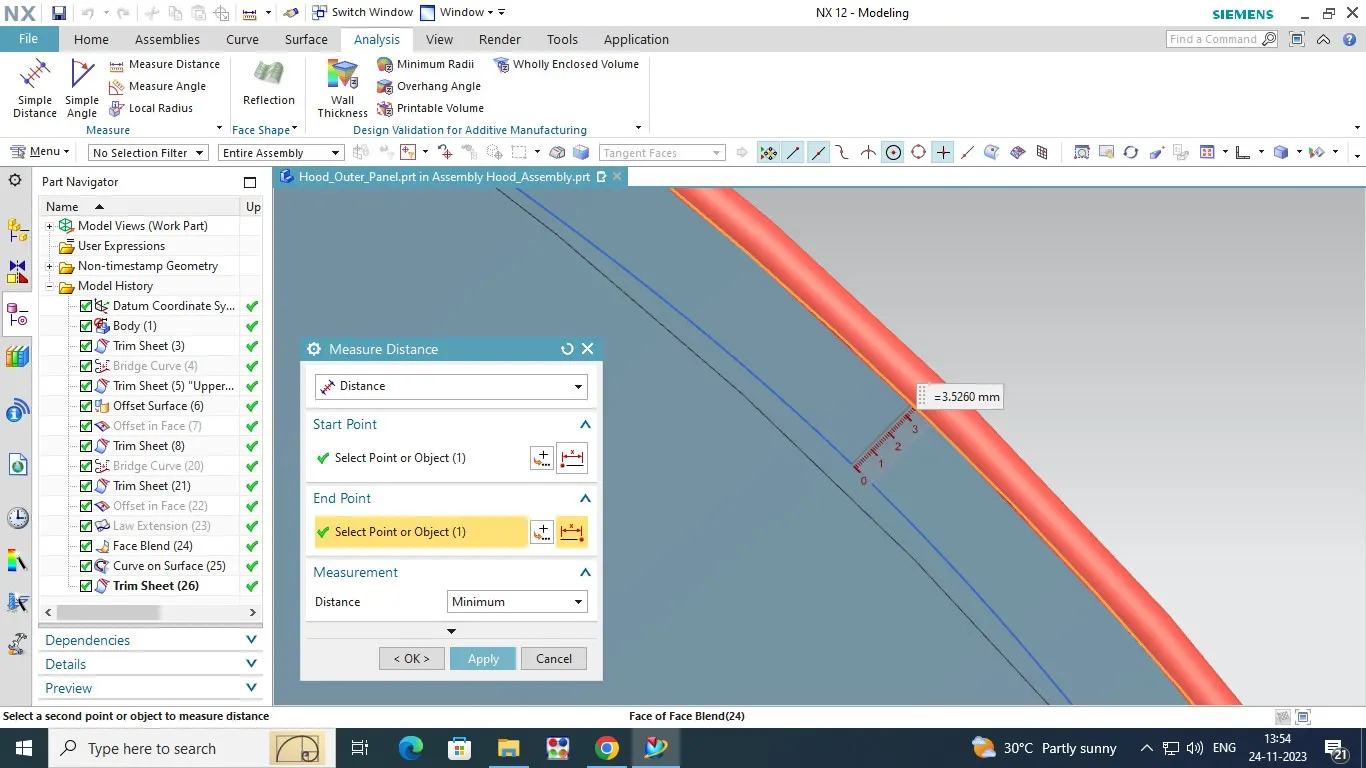
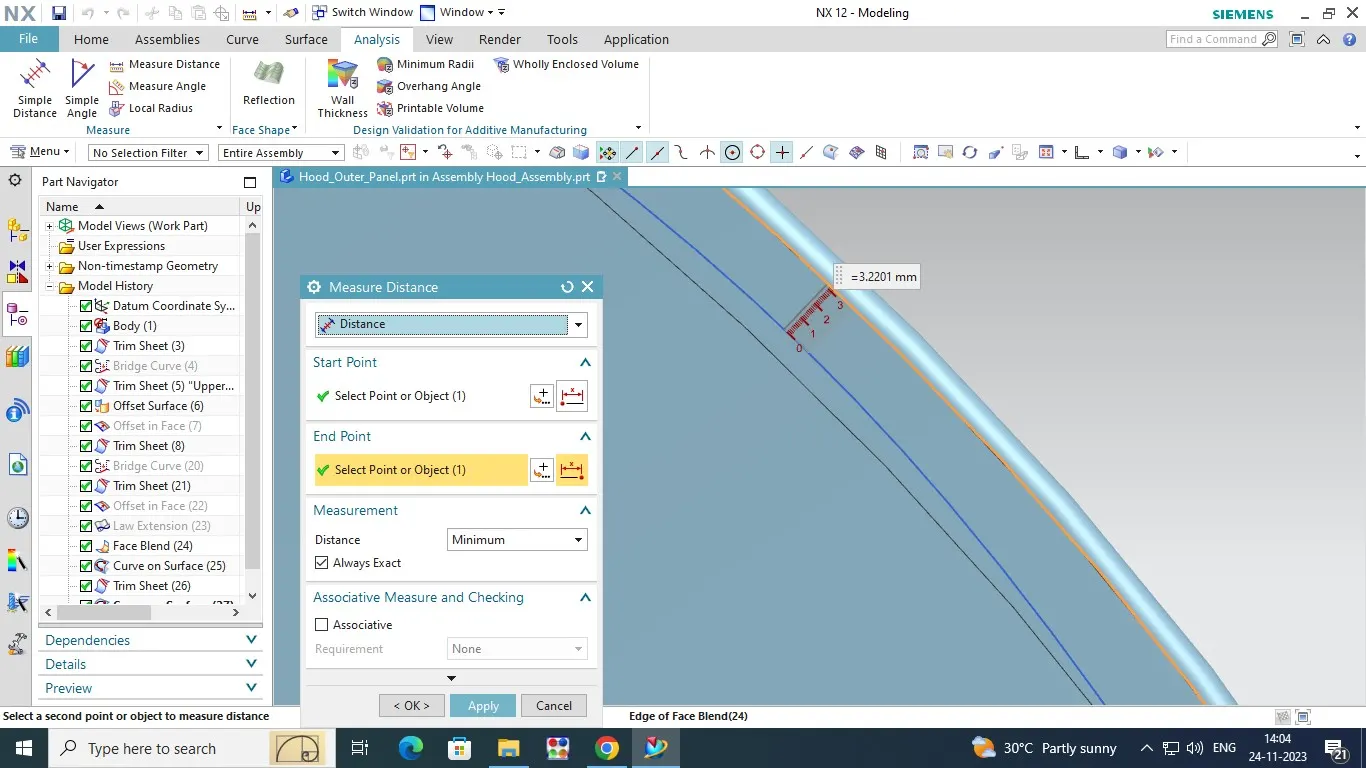
Select the Outer panel and offset the panel in 2.65 mm distance then make corner offset in 7mm distance and trim the sheet to create in flanges. once again we have doing on offset corner in -1mm distance.
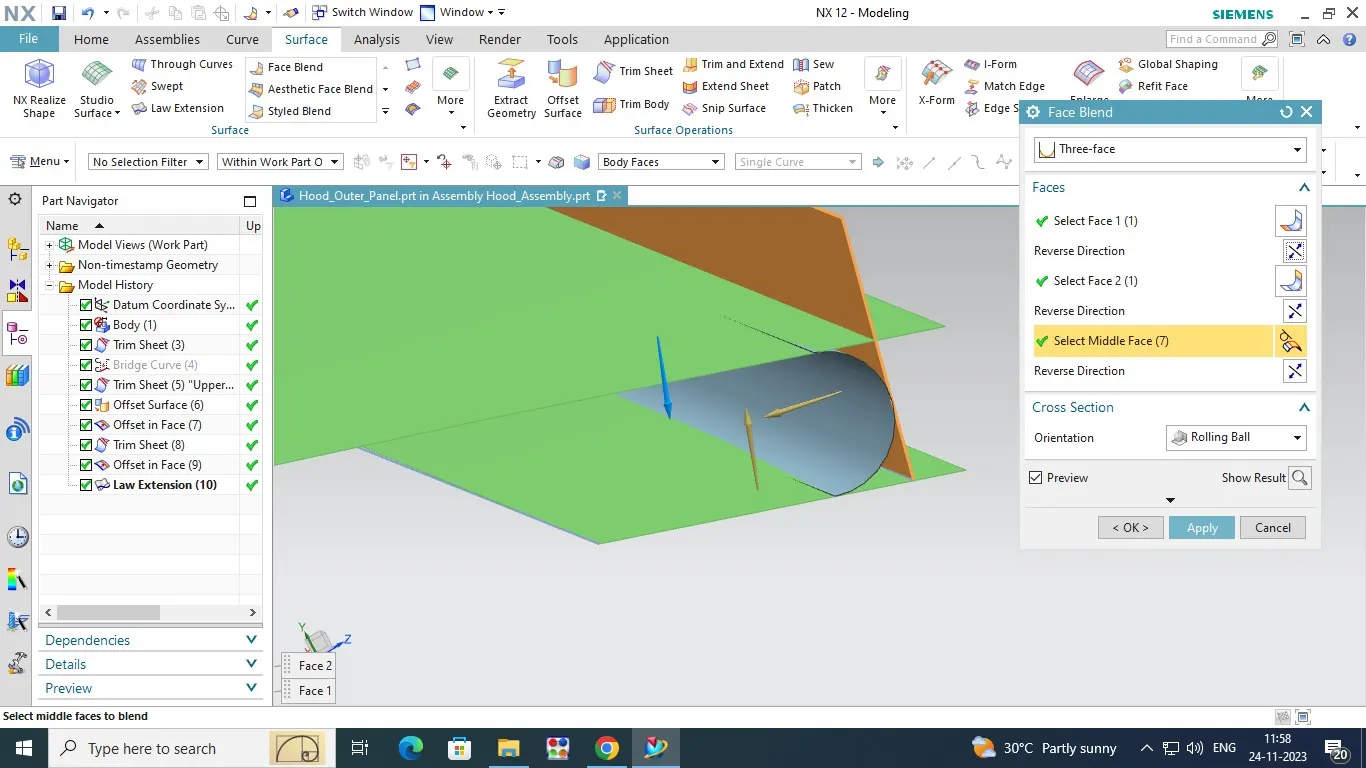
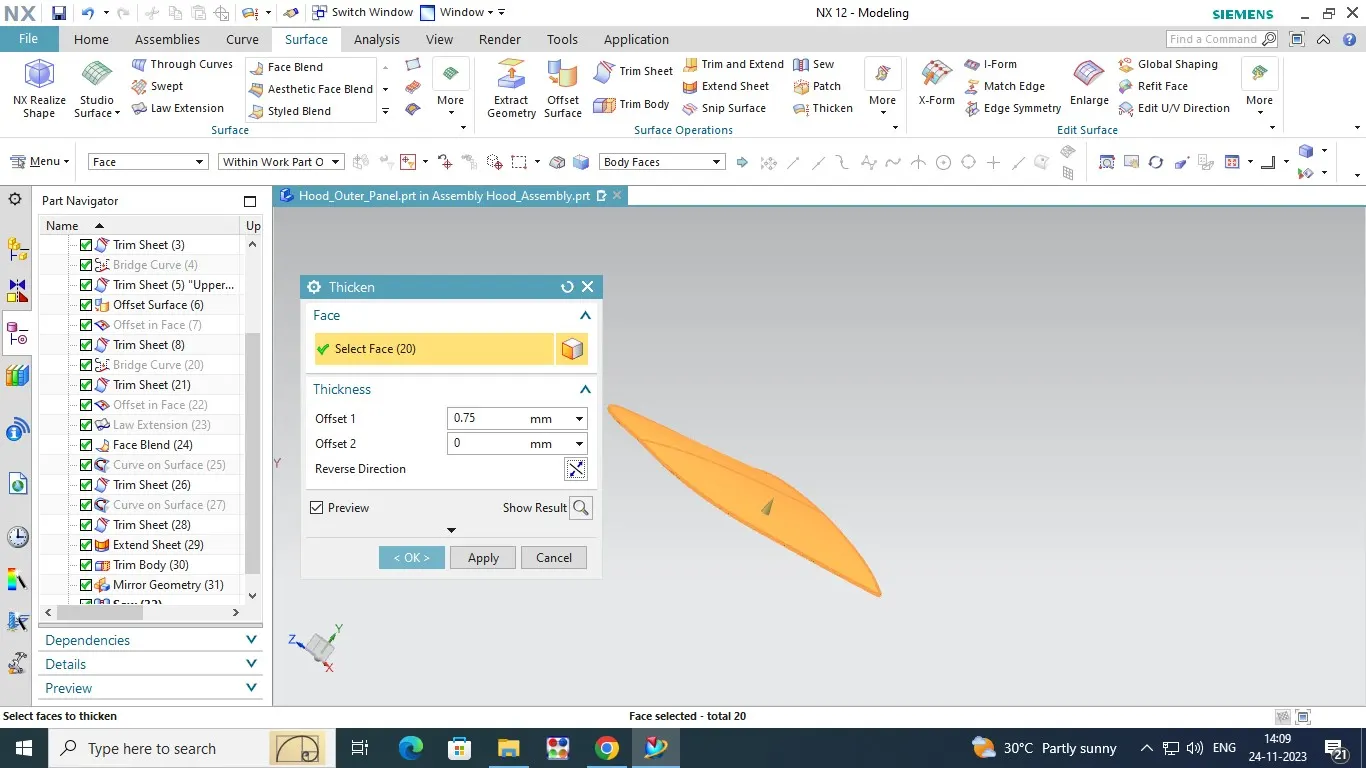
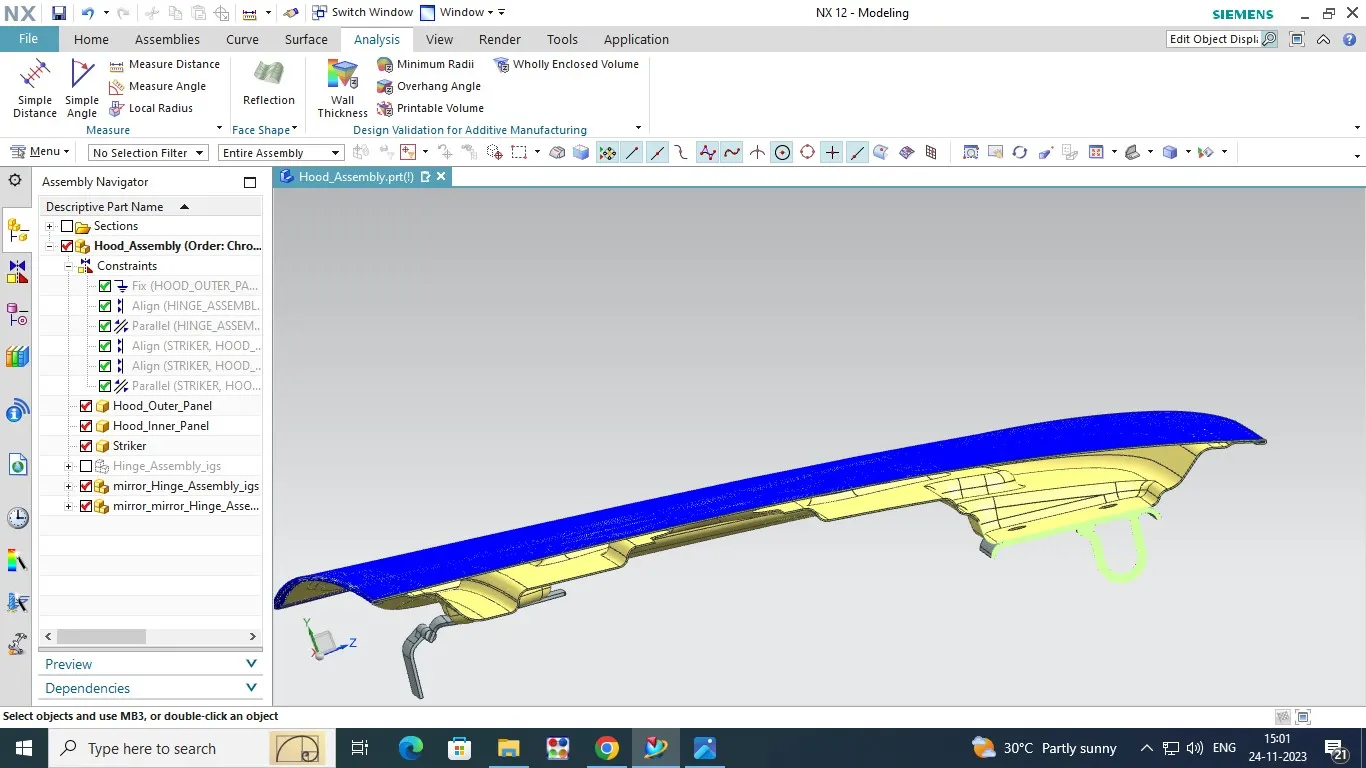
Then select law extension to extern the sheet as per offset curve . panel top surface flange are intersect the law extension but sharp corner are not happen.Se we have to select the face blend in Three face option .After this process we have to create the relief section in radius of 3mm on flange face.Finally we have doing on thicken in 0.75mm and activated the hood assembly and show inner panel .The whole HOOD Assembly have created.
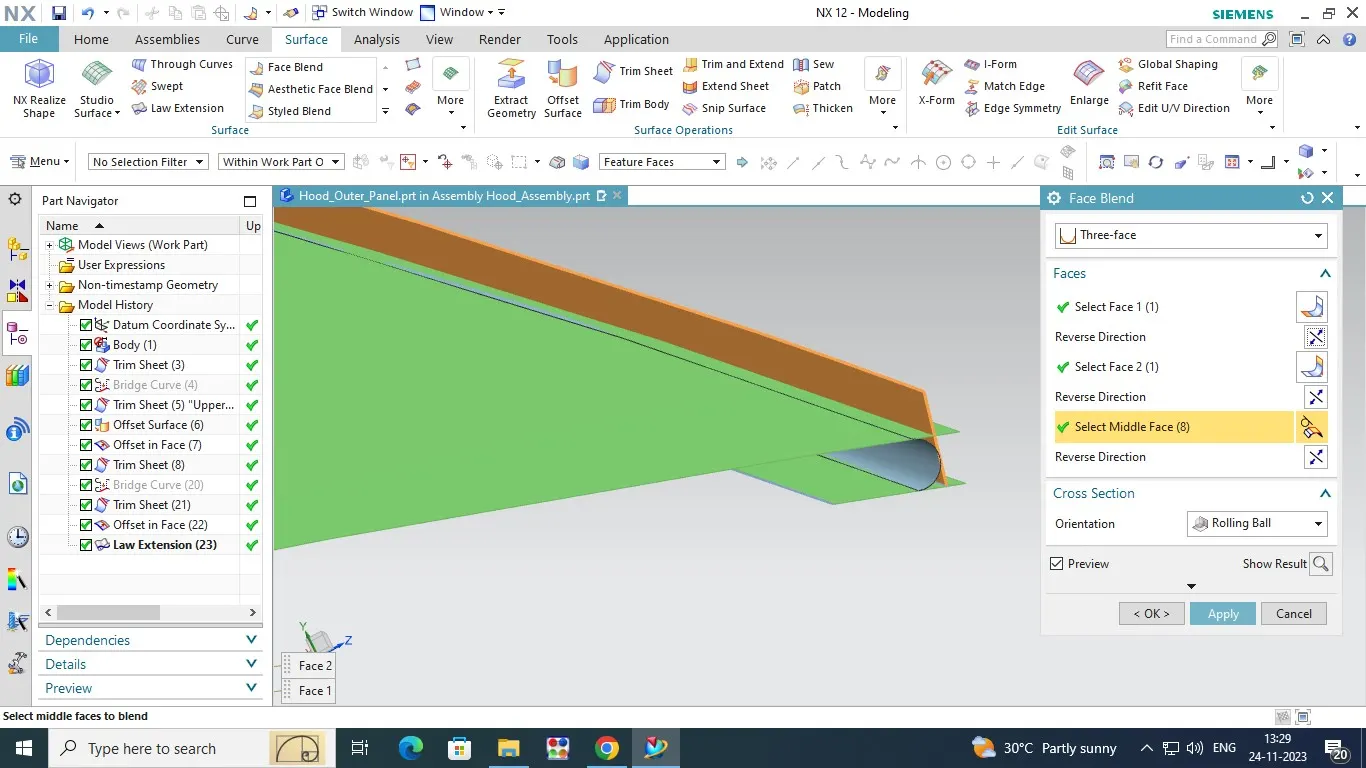
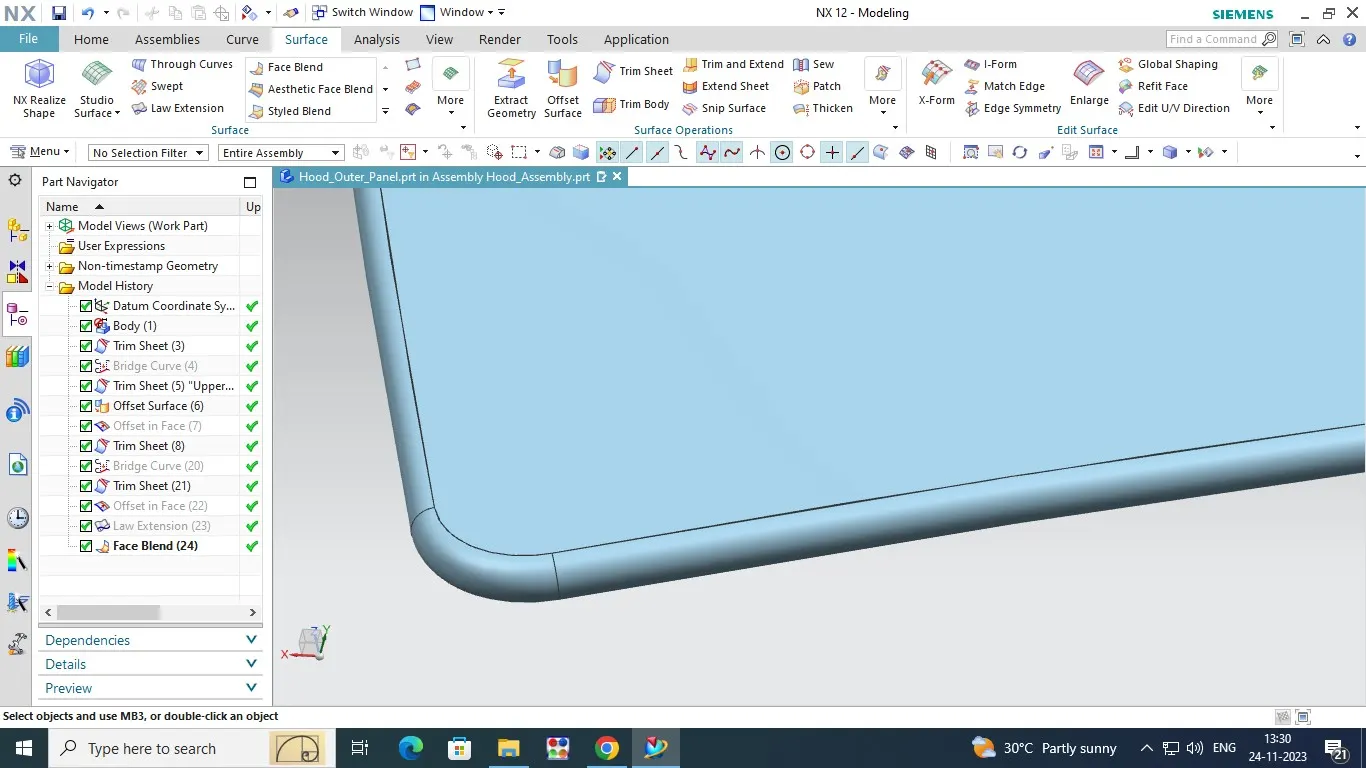
Relief Section Creation:
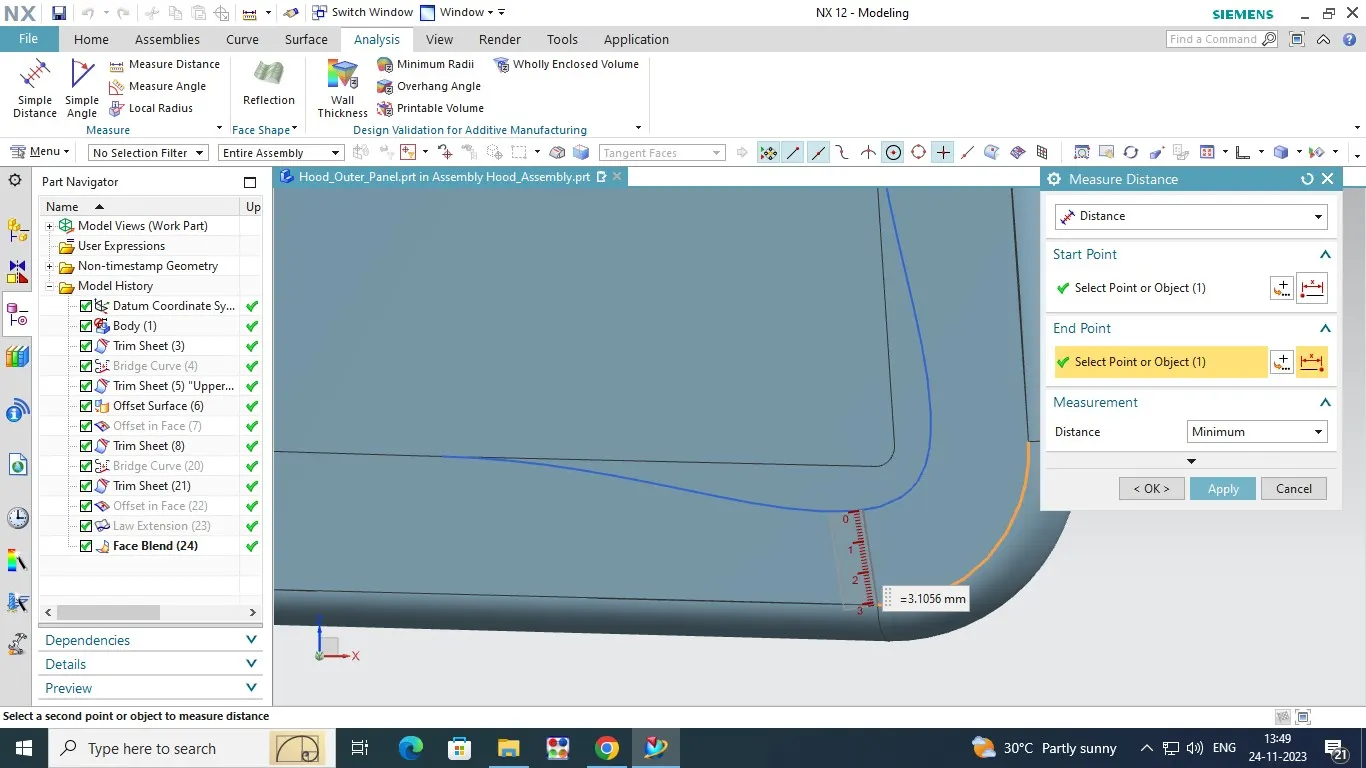
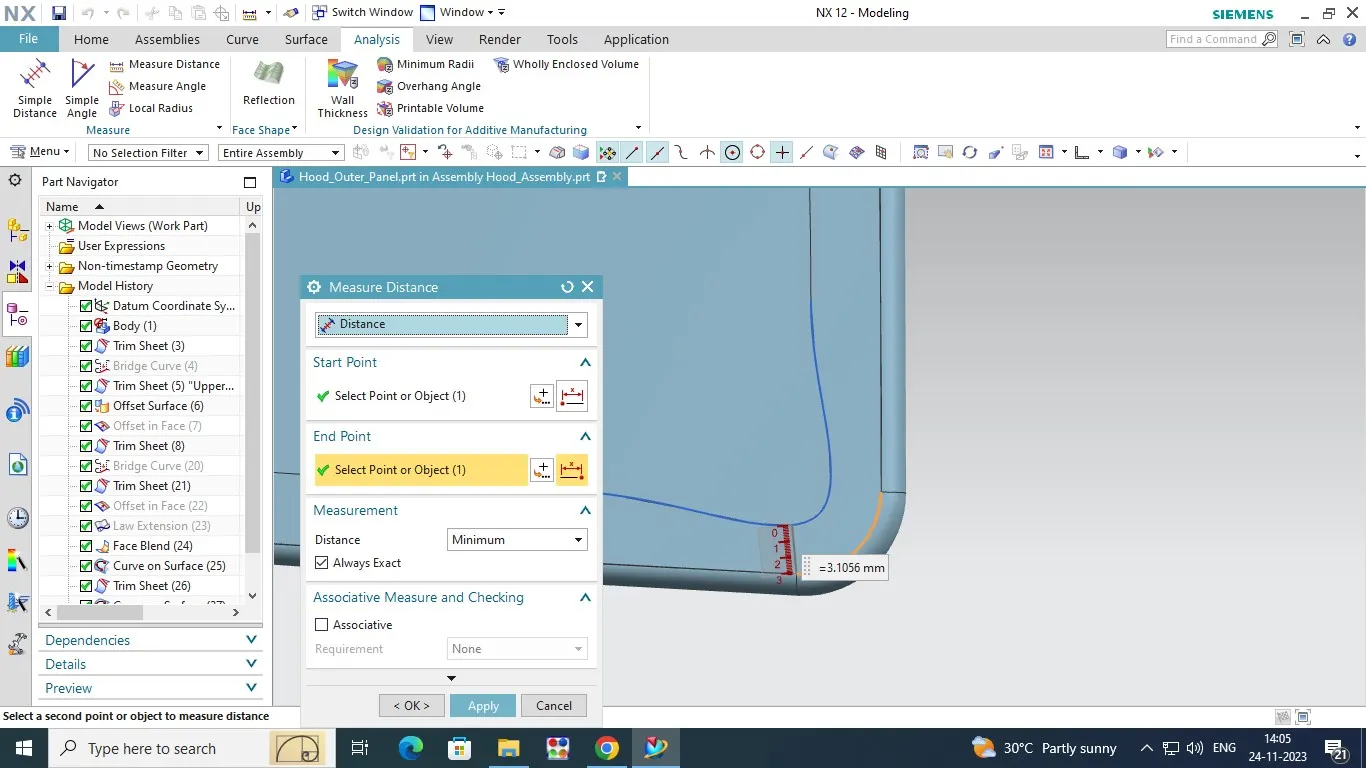
Outer Panel Thicken : 0.75mm:
MASTIC DATA:
Mastic Data has given the data of dimension in hood assembly .
1.Outer panel thickness - 0.75mm
2.Inner Panel Thickenss - 0.75mm
3.Gap of inner and outer panel - 0.2mm
4.Gap of Outer panel to Innerpanel flange -1 - 1.7 mm
5.Gap of Outer panel to Innerpanel flange -2 - 4 mm
6.Gap of Outer panel to Innerpanel flange -3 - 25 mm
7.Blend Radius of inner panel flanges - 6mm,10mm,15mm
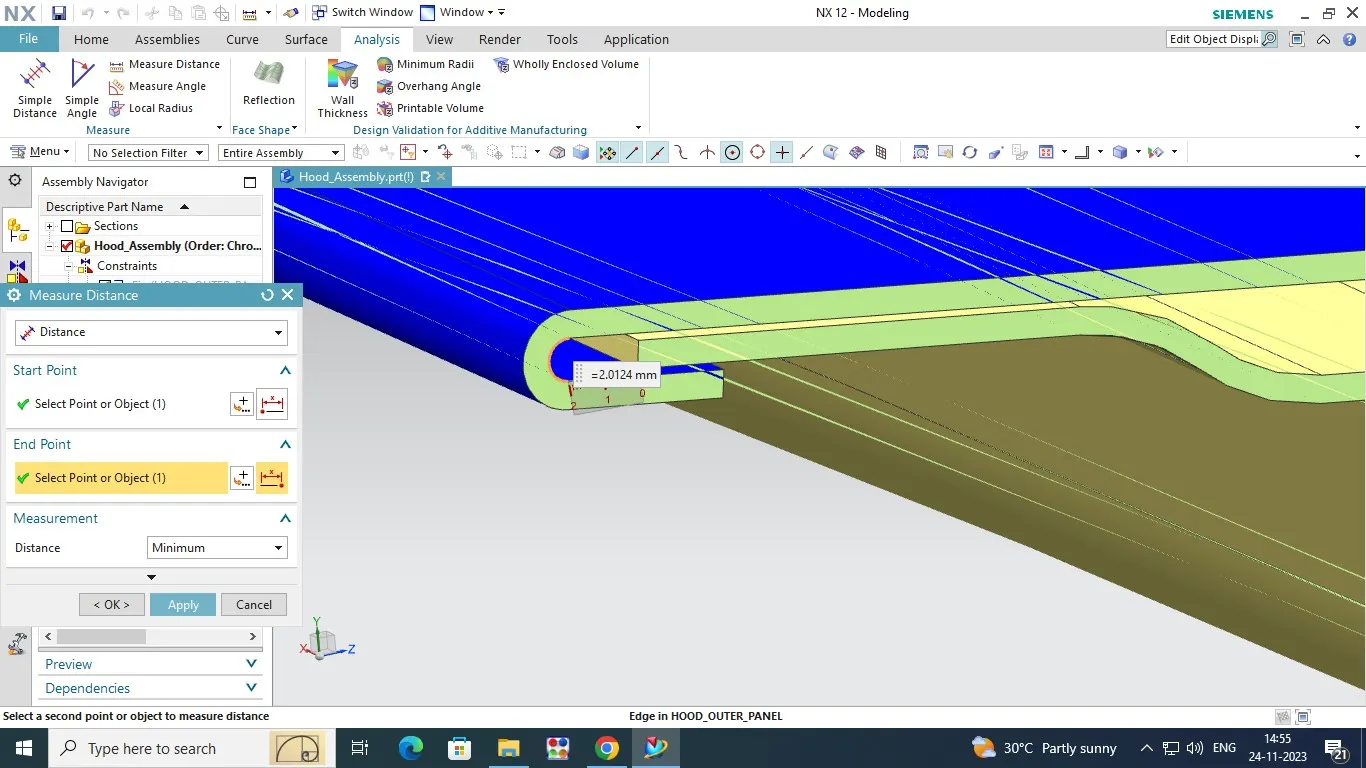
Outer Panel Thicken : 0.75mm
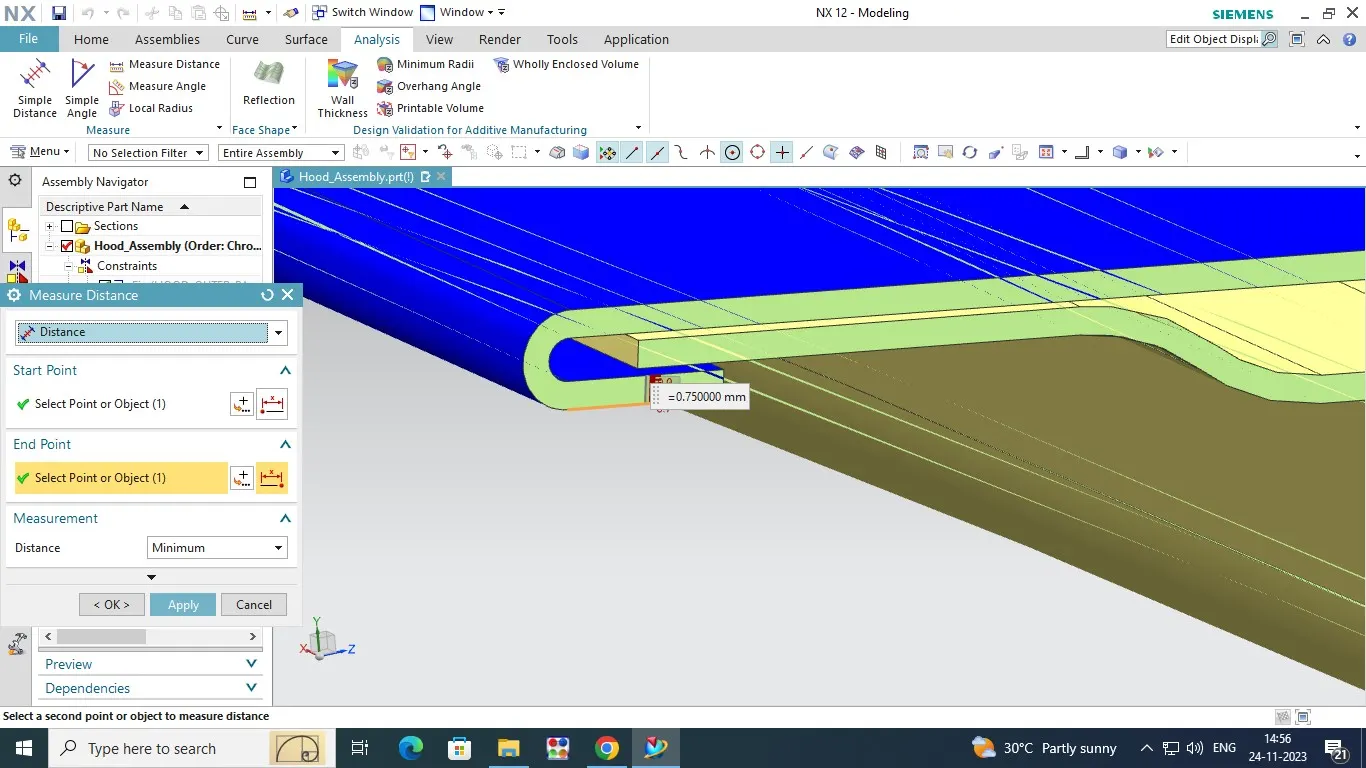
Outer Panel to Inner Panel Gap : 0.2mm
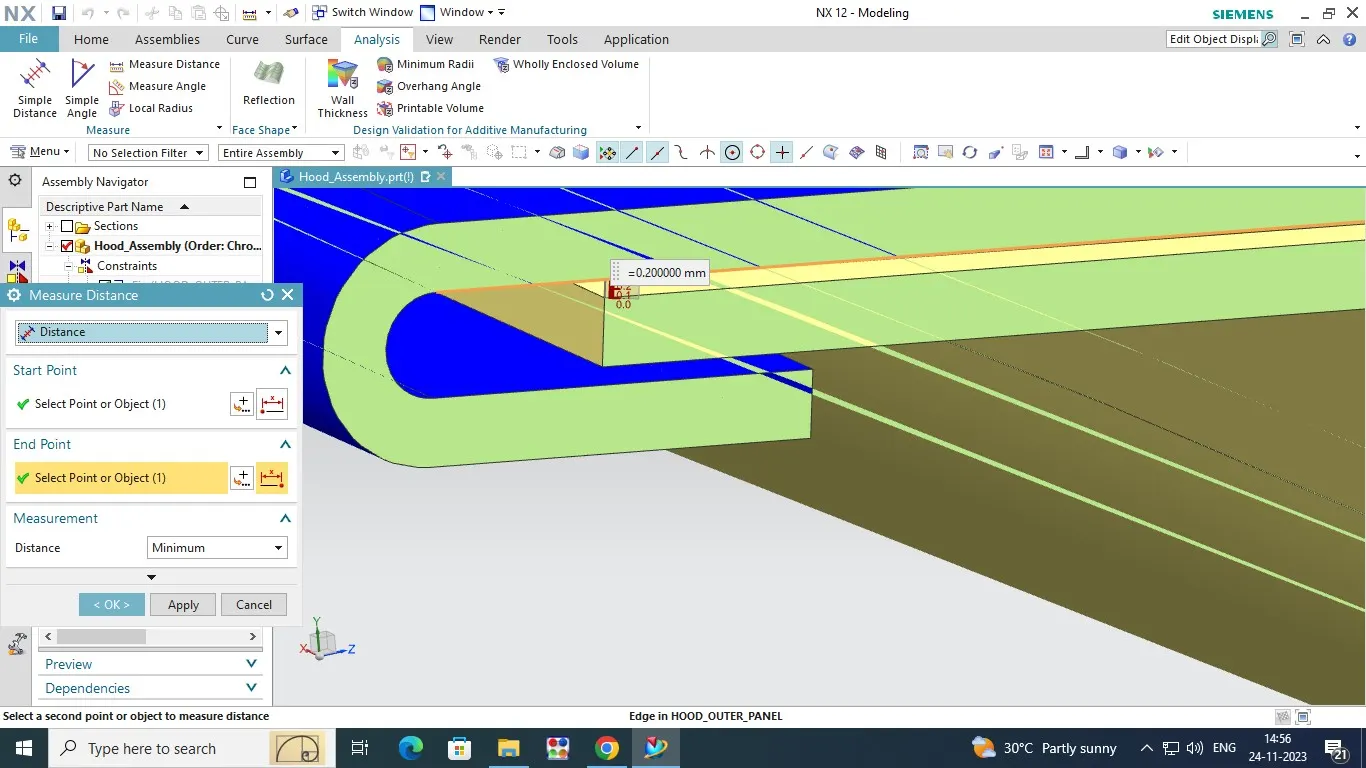
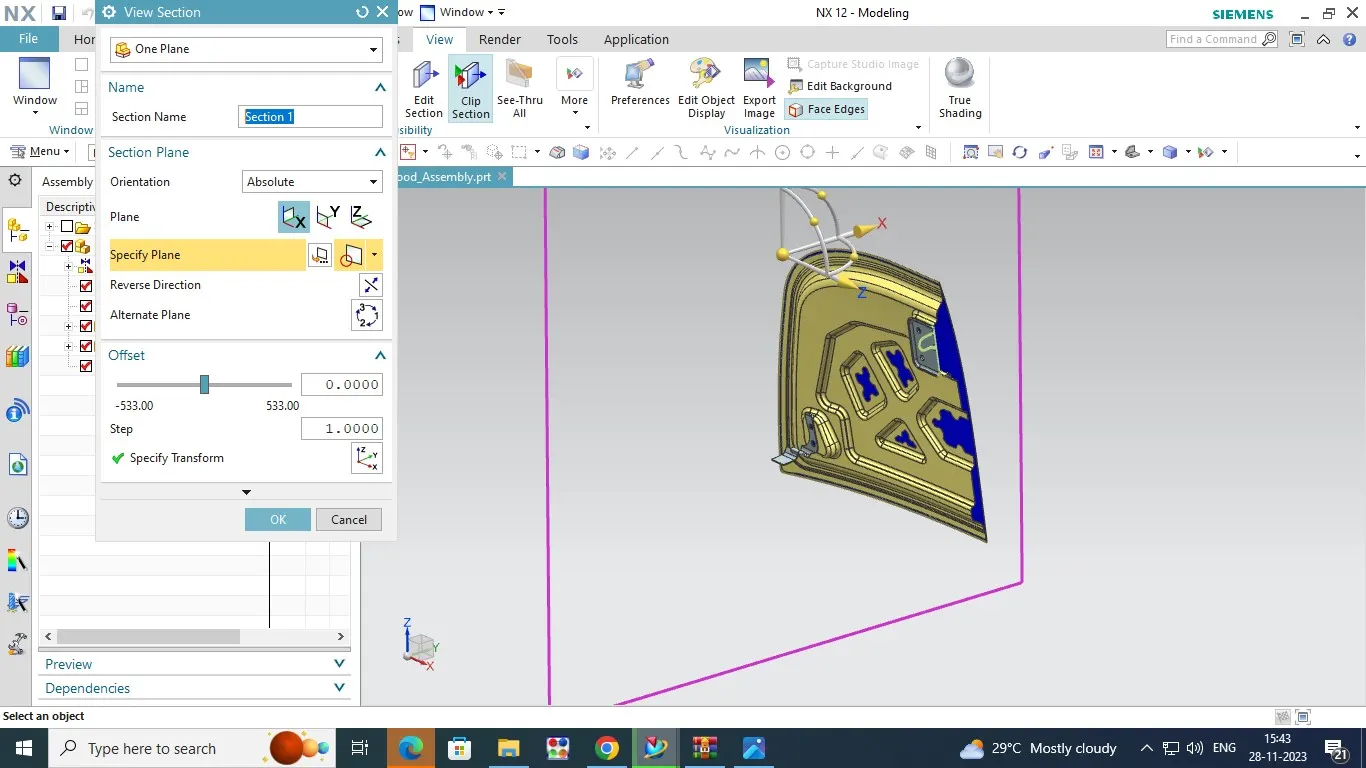
ISOMETRIC VIEW:
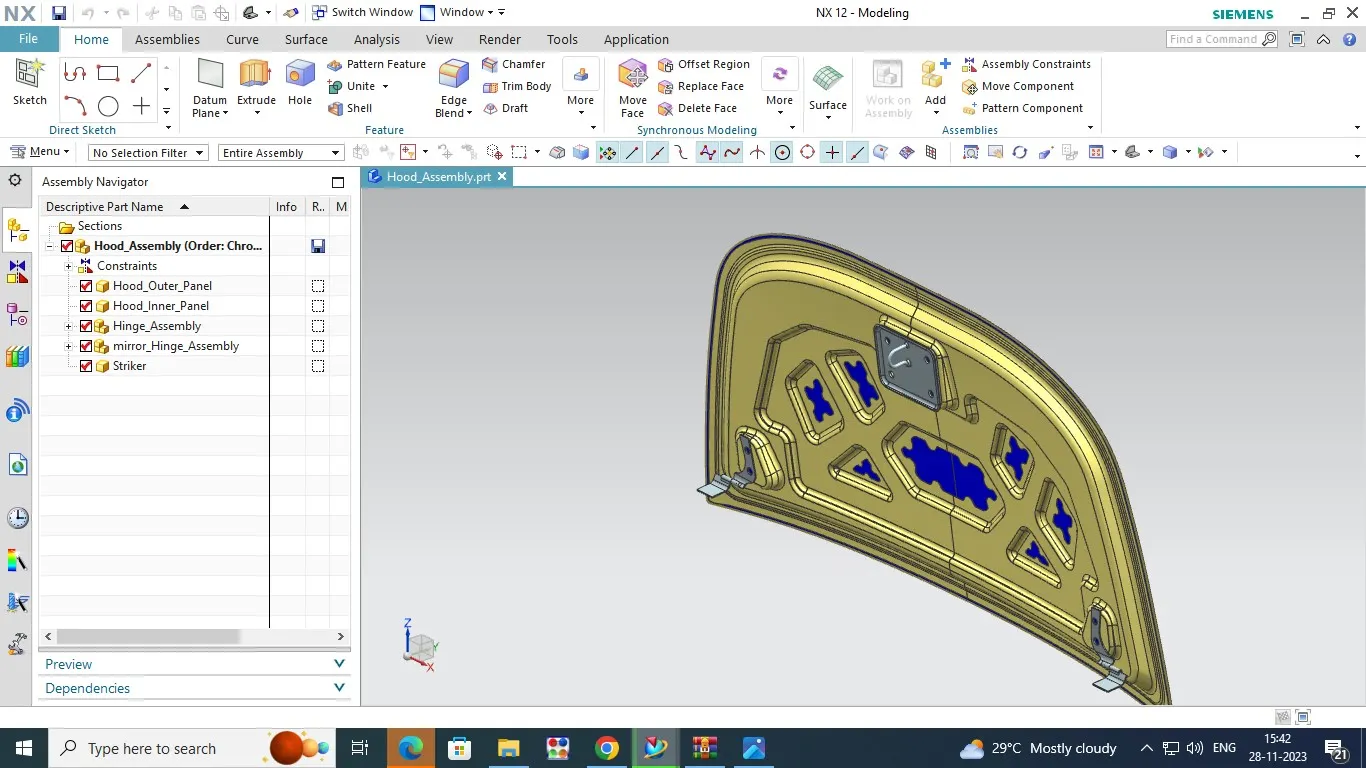
FRONT VIEW:
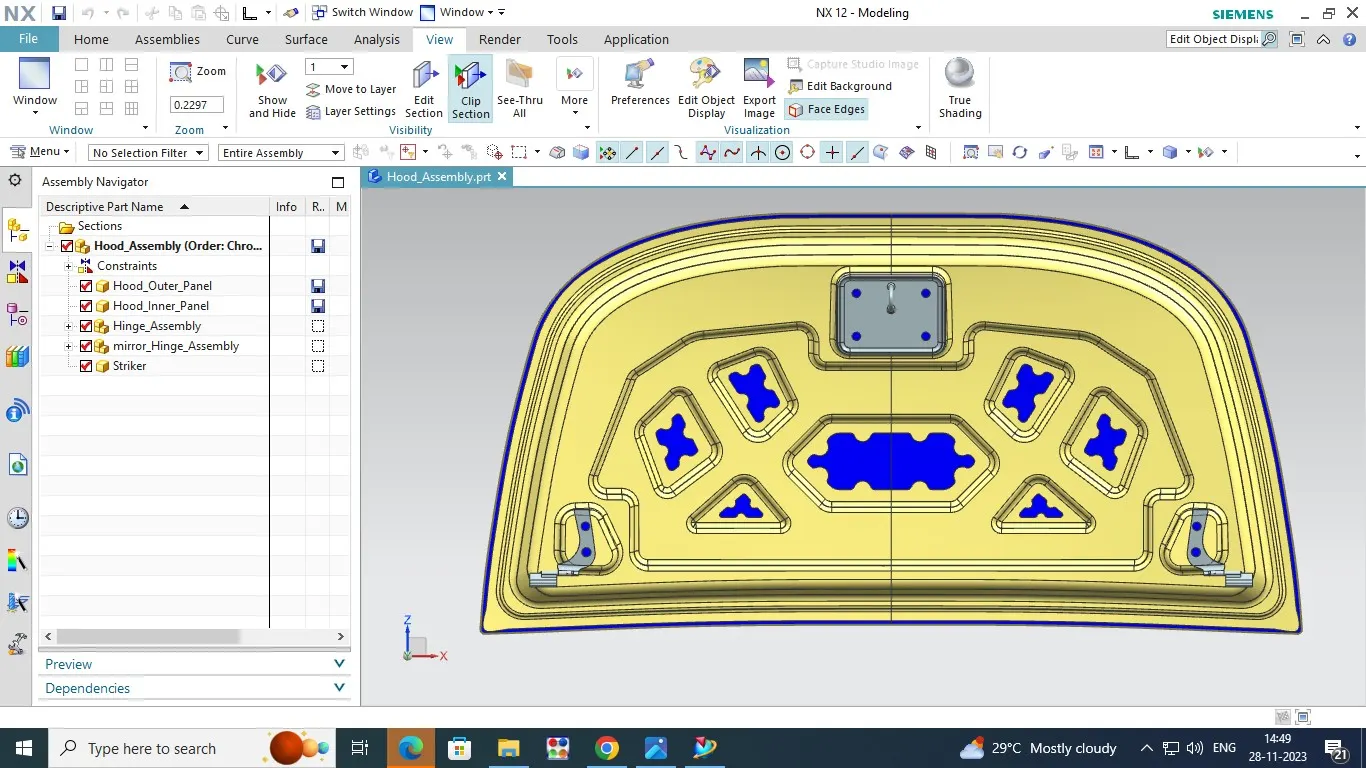
BACK VIEW:
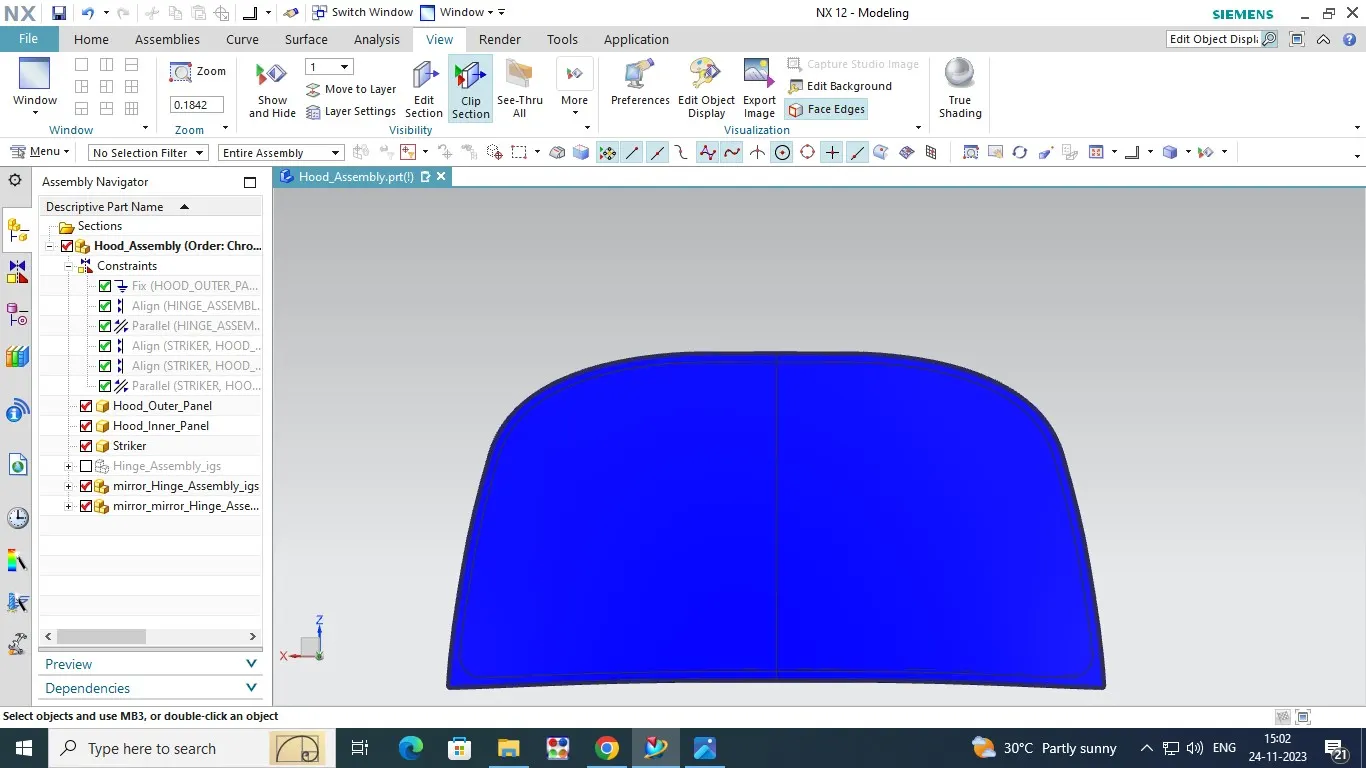
SIDE VIEW:
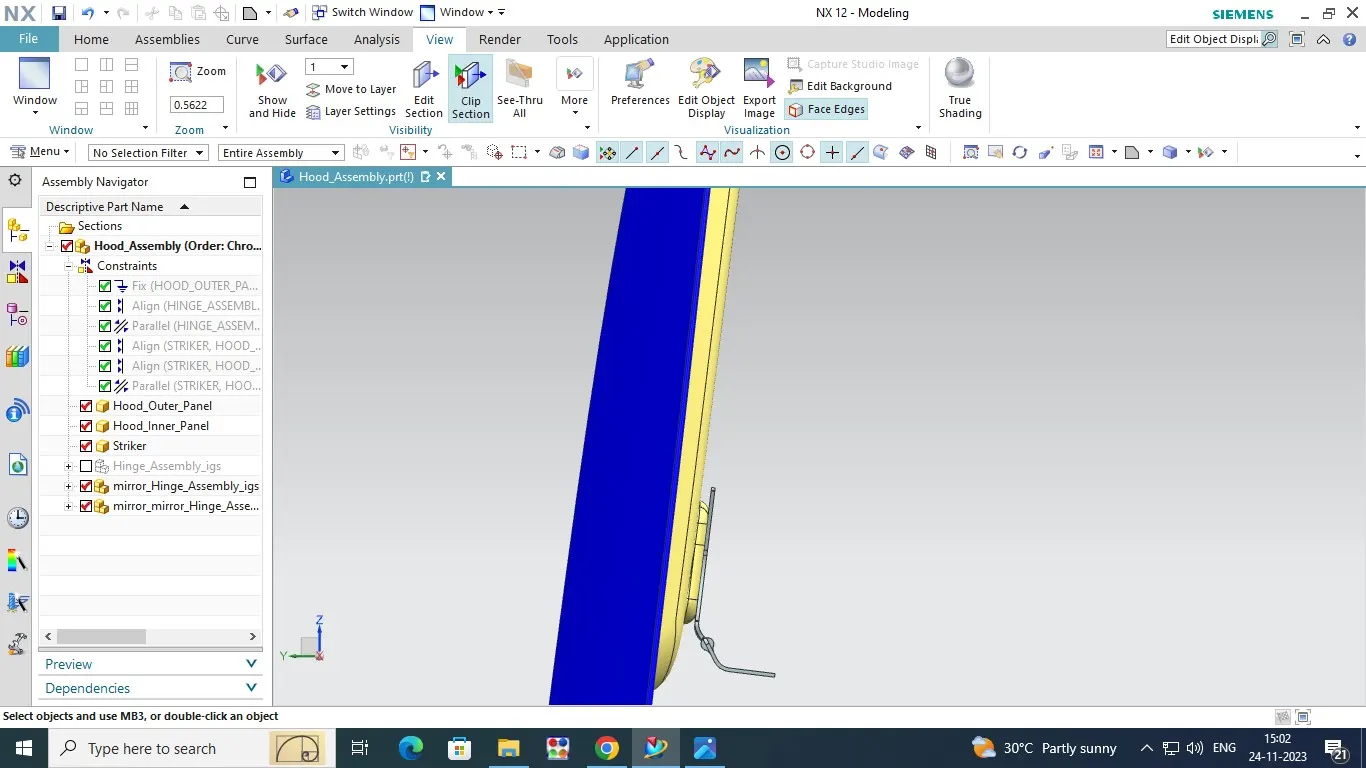
HINGE ASSEMBLY MOUNTING POSITION:
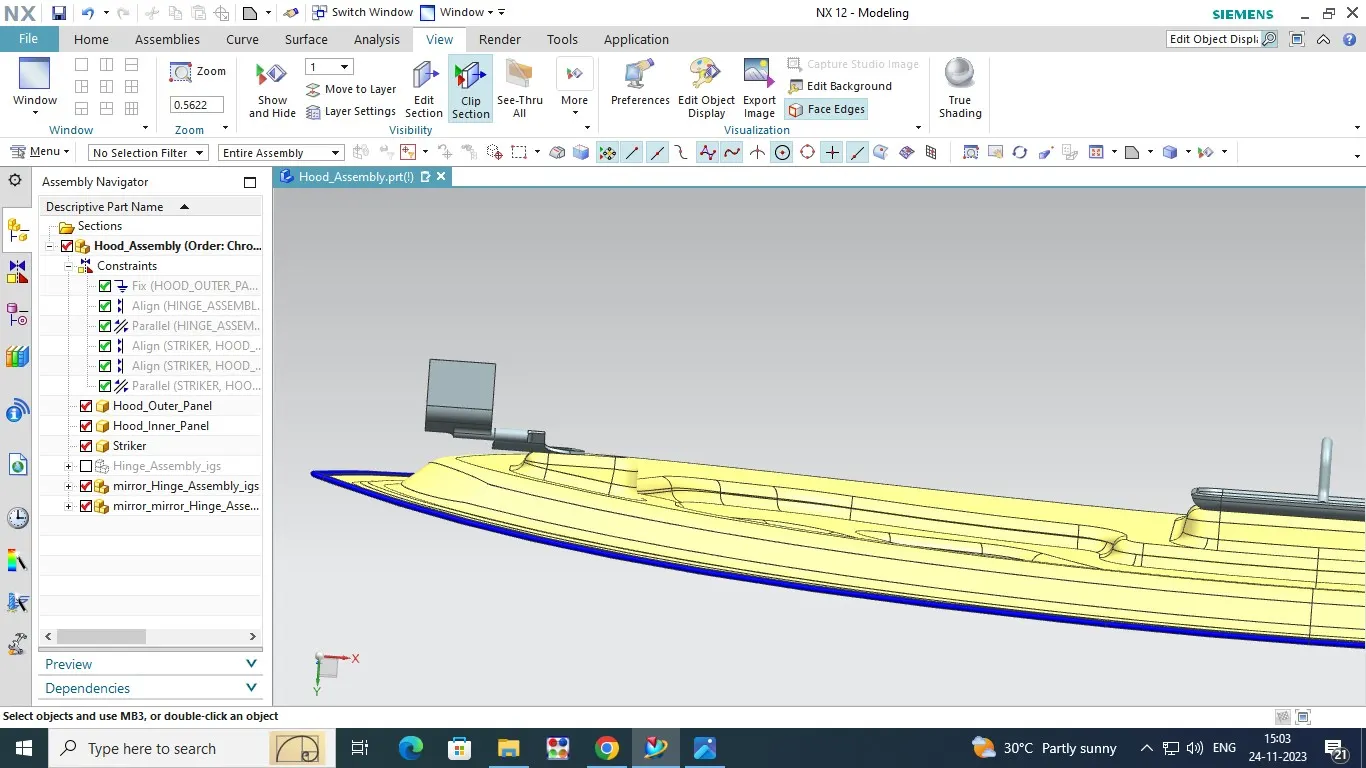
STRIKER MOUNTING POSITION:
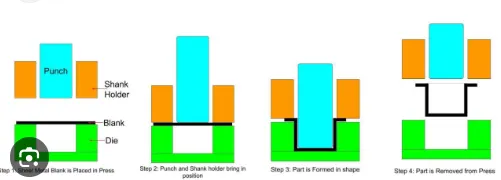
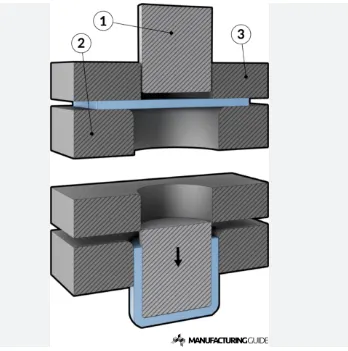
Deep Drawing Manufacturing method:
Deep Drawing method is sheet metal is radialy drawing in to the dia by mechanical action of punch .It is called Deep drawing manufacturing method.In this method work piece put on to the die and blank holder then interduce top on the work piece which is bot deformed by the punch.