Hood design-Week 2
AIM:
- To design the Hood or Bonnet of the front driving car by using the master section and standard procedure which is used in the OEM Manufacturer's.
GIVEN MASTER SECTION:
HOOD DESIGN IN NX CAD:
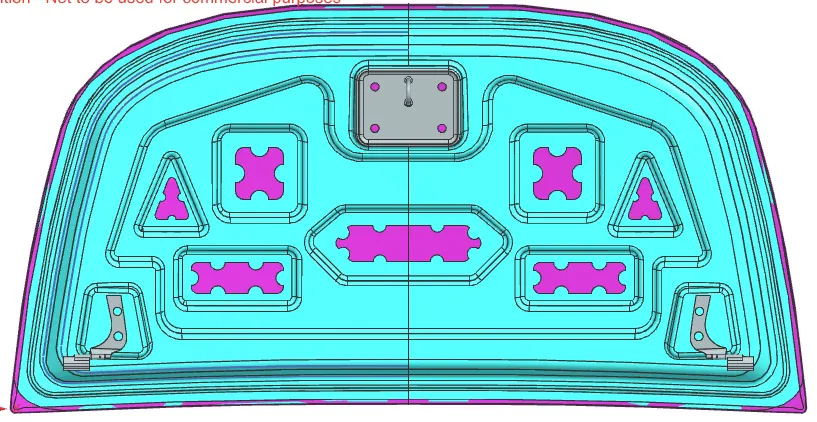
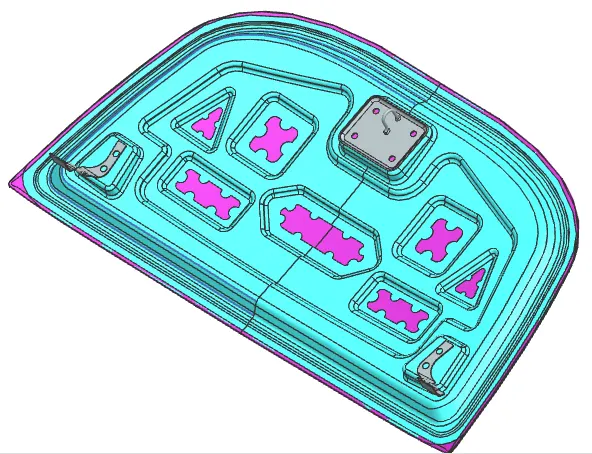
HOOD : The hood (North American English) or bonnet (Commonwealth English) is the hinged cover over the engine of motor vehicles. Hoods can open to allow access to the engine compartment, or trunk on rear-engine and some mid-engine vehicles for maintenance and repair.
On front-engined cars, the hood may be hinged at either the front or the rear edge, or in earlier models, it may be split into two sections, one each side, each hinged along the centre line. Hoods are typically made out of the same material as the rest of the body work. This may include steel, aluminium, fiberglass or carbon fiber. However, some aftermarket companies produce replacements for steel hoods in fiberglass or carbon fiber to make the vehicle lighter.
Hood is typically supported by rods or some fixtures, so that it stays at a position and a person can lean onto it hassle free and work.
Design constraints to be followed: -
- Passenger safety
- Pedestrian safety
- Manufacturing feasibility
- Passenger Safety :Whenever a frontal crash occurs in the car, the first part affected will be the hood. So must be designed in such a way that it should not come from the body of the vehicle and must absorb the energy as far as possible ad divert the force towards the side panel of the car so that the amount of force which is sent to the cabin is lesser since the force lesser the passenger will experience less amount of force so that passenger safety is ensured.
Pedestrian Safety: Safety of the pedestrians needs to be considered during the design as per the NCAP Euro assessment. Hood is of two types based on the side reference line. The side reference line is an imaginary line drawn from the ground at an angle of 45degree. If this line falls on the fender, then the hood is inlaid, and if the line falls on the hood, the hood is wrapped around the hood.
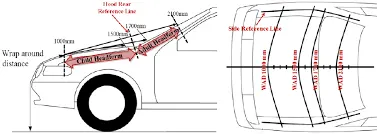
Child and adult impact areas on the hood are defined by wrap-around distance. The space between the wrap-around length of 1000- 1500mm in the child head impact zone and from 1500-2100 WAD is the adult head impact zone. We know the area where the pedestrian going to be hit; as a design engineers, we must make sure that they are exercising the most minor force such that they were not getting any serve injury without compromising the strength of the hood so that passenger safety must be assured.
The Head impact area is defined as the side reference line and wrap-around distance. This zone will get a red, yellow, and green rating using the head injury criteria calculated using the expression. For this reason, the inner panel kept 25mm from the outer panel and created the embosses to improve the strength of the hood.
- Components –
The car hood consists of following components,
1) Hood Outer Panel
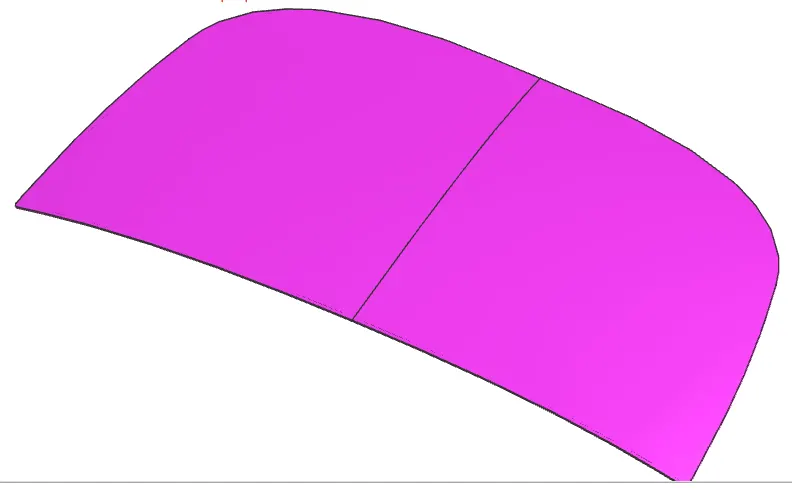
The outer panel works as a metal cover. It is responsible for aesthetics of the vehicle.
2) Hood Inner Panel
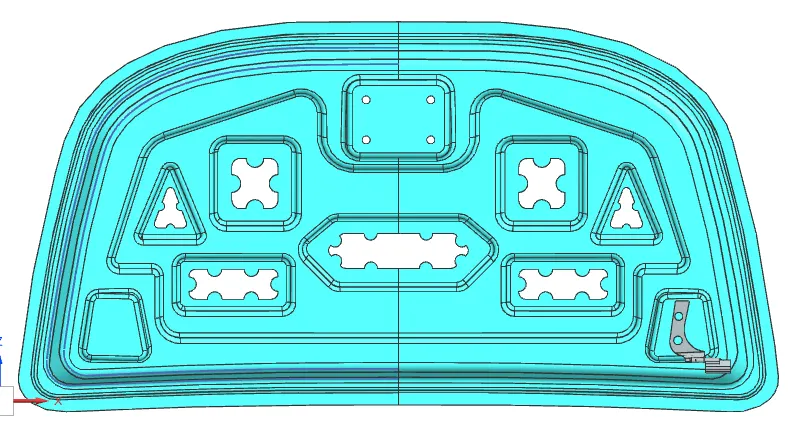
The inner panel provides strength and supports the outer panel. It is where hood balancer and hinges are attached.
3) Hinges
Hinges allow the hood to rotate around a fixed axis for opening and closing movement. One part of the hinge is fixed with the engine compartment, while other part is connected to hood.
4) Latch and Striker
Latch and striker mechanism is provided to lock the hood, in order to prevent accidental opening of the hood during driving. The latch is present on the engine compartment while the striker is attached to inner part of hood.
5) Support Rod
It is a device that supports the hood in open position. It is also called as hood balancer rod.
Types of hood support
There are two types of support available for the hood support
- Gas Stay
- Support Rod
Gas Stay:
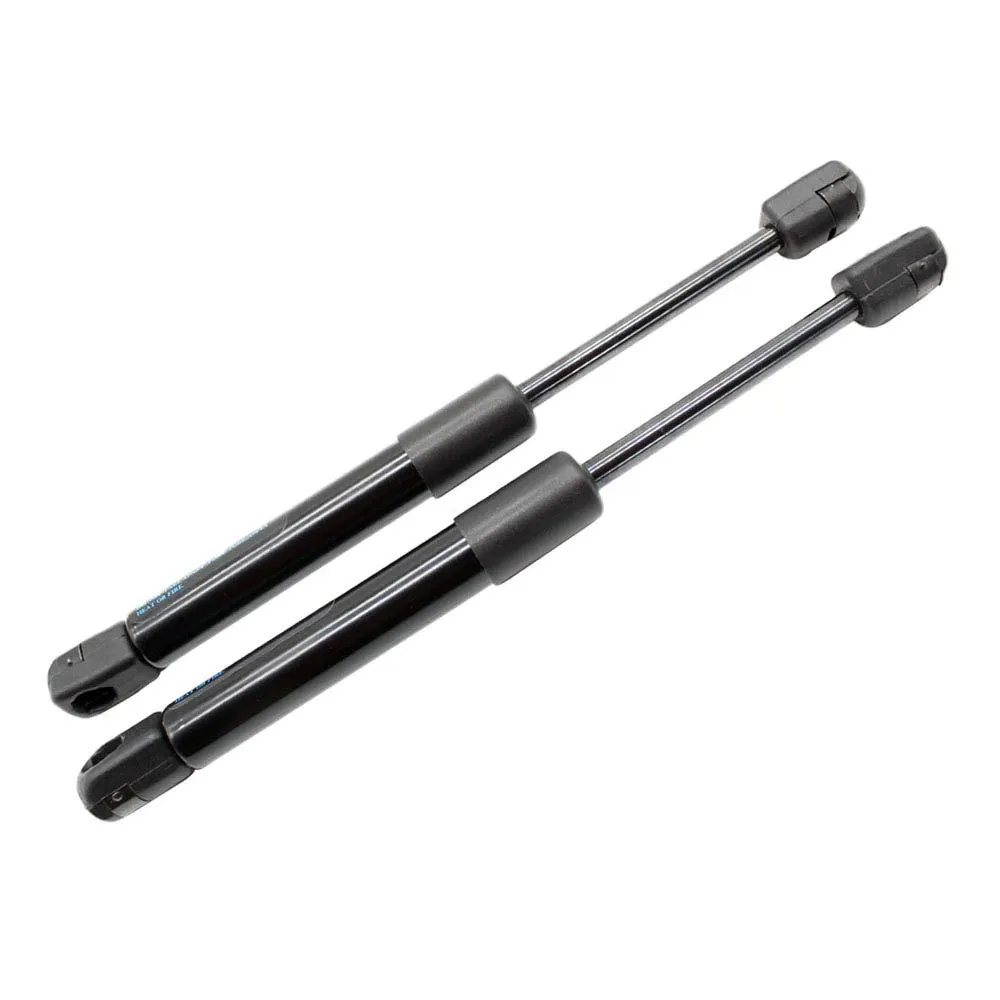
Gas Stay Gas stay is the device for supporting the engine hood of a motor vehicle in its open position using an actuator activated by gas. This is mainly used when the car hood is heavy. In this, no men's power is required. Spring stays are designed to be used on upward-lifting doors; once the door is open n slightly, the spring will push the entrance to the fully open position. Euro fits stock various size springs depending on the door size requirement.
Support Rod :
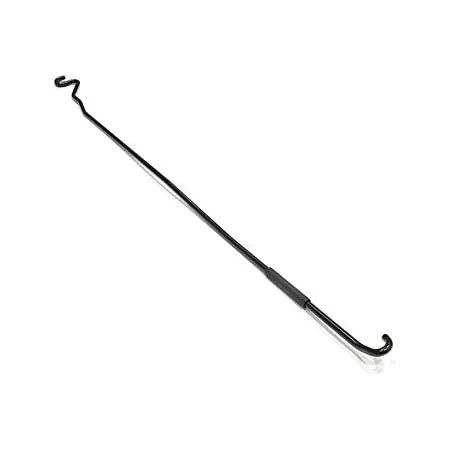
A support rod is a device for supporting the engine hood of a car in its open position using a rod. This is mainly used where the car bonnet weight is negligible. We have to lift the hood ourselves and place the support provided either in the hood or the engine component.
6) Reinforcements:
The reinforcements are provided to add material to the inner panel to provide extra strength to the hood to compensate for loss of strength near component installation regions.
Latch Trajectory:
It is the path along which the hood rotates during opening and closing movement. The striker on the hood follows a particular path while opening or closing the hood, which is along circumference of a circle with center at the hinge axis. This path is nothing but latch trajectory. It is a very important aspect in hood design, in order to decide hinge, latch and striker installation points
Sheet Metal Operations :
- Blanking & Piercing : Blanking and piercing are shearing processes in which a punch and die are used to produce parts from coil or sheet stock. Blanking produces the outside features of the component, while piercing produces internal holes or shapes. The web is created after multiple components have been produced and is considered scrap material. The "slugs" produced by piercing internal features are also considered scrap. The terms "piercing" and "punching" can be used interchangeably.
- Deep Drawing : Deep drawing is a sheet metal forming process in which a sheet metal blank is radially drawn into a forming die by the mechanical action of a punch. It is thus a shape transformation process with material retention. The process is considered "deep" drawing when the depth of the drawn part exceeds its diameter.
- Embossing : Sheet metal embossing is a stamping process for producing raised or sunken designs or relief in sheet metal. This process can be made by means of matched male and female roller dies, or by passing sheet or a strip of metal between rolls of the desired pattern.
Hemming:
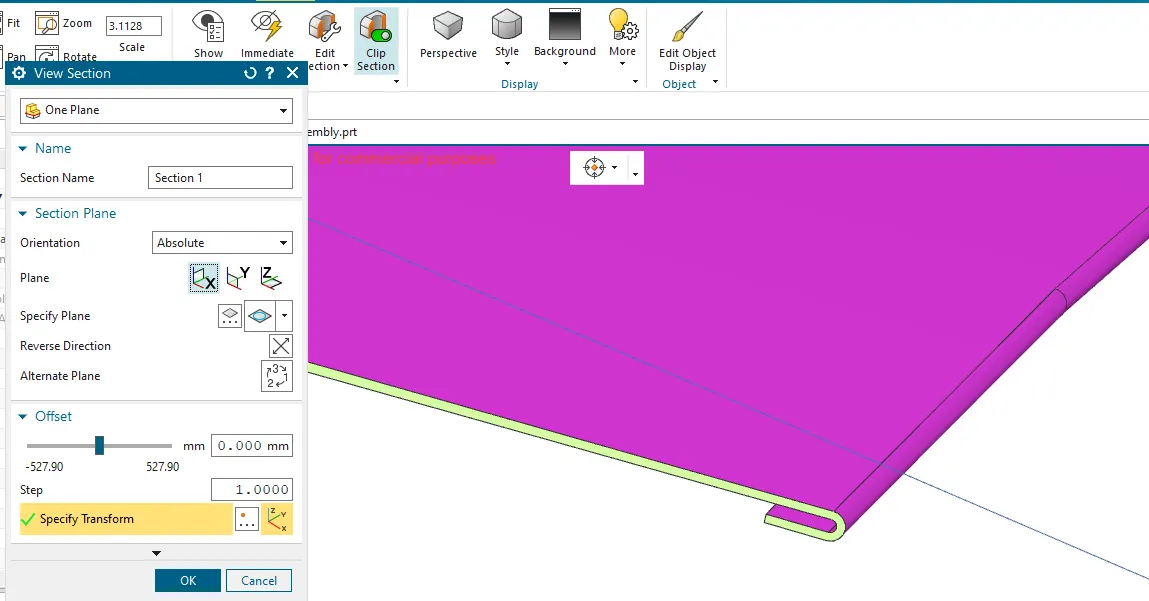
Hemming is a forming operation in which the edges of the sheet are folded or folded over another part in order to achieve a tight fit. Normally hemming operations are used to connect parts together, to improve the appearance of a part and to reinforce part edges.
In car part production, hemming is used in assembly as a secondary operation after deep drawing, trimming and flanging operations to join two sheet metal parts (outer and inner) together. Typical parts for this type of assembly are hoods, doors, trunk lids and fenders.
The accuracy of the hemming operation is very important since it affects the appearance of the surface and surface quality. Material deformations, which occur during the hemming process, can lead to dimensional variations and other defects in parts. Typical hemming defects are splits or wrinkles in the flange, material overlaps in the corner areas or material roll-in. This is why it is important to provide required reliefs at the corners.
There are two types of hemming operations,
- Conventional die hemming
In conventional die hemming, the flange is folded over the entire length with a hemming tool.
- Rolleer hemming
It is the roll hemming process that is used for automotive sheet metals. Roll hemming is carried out incrementally with a hemming roller. An industrial robot guides the hemming roller and forms the flange. Roll hemming operation can also be divided into several pre-hemming and final hemming process steps. Roll hemming is very flexible to use and tool costs are significantly lower as compared to those of conventional die hemming. However, the cycle times are much higher since the hemming is realized using a hemming roller which follows a defined path.
Fig.13 Roller Hemming process in 3 Stages
Mastic Points : These are the spots where the inner panel and the outer panel of hood are joined or can say sealed together using a mastic glue. To fix the outer panel, if process like bolting, riveting or welding is used, it will lose all its aesthetics. So, mastic sealant is used which is elastic compound and acts like rubber. It is placed between both the panels. Initially it is in paste form and after hot furnace bath it gets solidify and gives strength to the panels together. One spot normally has influence over diameter of 80 mm.
Important Features used in designing:
- Trim Body – It is used to trim one or more bodies using a face or plane. You can also specify the bodies to retain and the bodies to discard.
- Offset Surface – It allows you to offset one or more existing surfaces.
- Offset in Face – This command will allow you to offset particular edges or curves on selected faces.
- Trim Sheet – It is used to trim off a portion of a sheet body using curves, faces, edges or planes.
- Through Curves – It will allow you to create a body Through multiple sections, where it’s shape changes to pass through each section.
- Law Extension – This command extends a curve or edge to create a sheet body at desired angle length by changing the rules under angle law and length law.
- Trim and Extend – It helps you to trim and extend intersecting surfaces and make corner at their intersection.
- Face Blend – It creates fillets between faces.
- Edge Blend – It creates fillets on edges.
- Extend Sheet – It will allow you to extend an existing surface to required distance.
- Emboss – Emboss command creates an embossing by modifying a body with faces created by projecting a curve/section along a direction. You can modify the emboss using options like endcap location and draft angle.
- Projected Curve – It is used to project an existing curve/curves on a selected plane or surface by selecting a direction for projection.
- Mirror Geometry – As name suggests, it allows you to mirror geometries about selected plane or surface.
- Sew – It combines sheet bodies together by sewing their common edges. There shouldn’t be any gaps larger than specified tolerance.
- Thicken – It is used to convert a surface to solid body by providing thickness.
- Extrude – It helps you to create a feature from a sketch. You are also able to create thin feature using a sketch or curve under this command.
- Wave Geometry Linker – With this you can create, associative or linked copies of any entity of a part into other parts. It may be a surface, edge, curve, body, sketch etc. The changes made to the original entity will be reflected in the copy of that entity.