Hood design-Week 2
Aim:
To Design & Assemble Hood outer panel, inner panel and the necessary reinforcements by following the Design parameters & Master section which is given to us as an input.
Abstract:
The project report deals with the explanation of steps and procedure followed while developing the HOOD Assembly of a car using CATIA V5. Using the styling surface and master section as input, we were able to create HOOD outer panel and inner panel with features like embossments and mastic points. After creating the HOOD outer & inner panels, we have created a complete HOOD assembly consisting of the outer panel, inner panel, latch, hinge & reinforcements. In the end, a Draft Analysis has also been performed using the main tooling axis to check the manufacturability of the components.
Software used:
- NX CAD
Methodology:
- Creating Hood Inner Panel
- Creating Hood Outer Panel
- Creating Embossment for Hinge
- Creating Embossment for Latch
- Creating Reinforcements
- Assembling the components
- Performing Draft Analysis on CAD Model
Theory:
HOOD:
The hood or bonnet is the hinged cover over the engine of motor vehicles. Hoods can open to allow access to the engine compartment or trunk on rear-engine and some mid-engine vehicles for maintenance and repair. It generally covers the engine and other essential accessories like battery, Radiator, electrical components, etc. of the car which are exposed outside. The Hood consists of an outer panel and an inner panel. The inner panel provides strength and support, where the outer panel is a metal cover that has styling factors.
Support Rod :
A hood rod is designed to hold your hood propped open whenever you need to do some work in your car's engine bay. When used, it must be firmly secured to ensure that it provides a stable hold on the hood. Meanwhile, when not in use, it must be kept stable in place and must not move around. The hood rod clip is the part assigned with that function. This clip clamps onto the rod and ensures that it is firm in its place when not in use. It keeps the rod from moving around under the hood and from causing trouble.
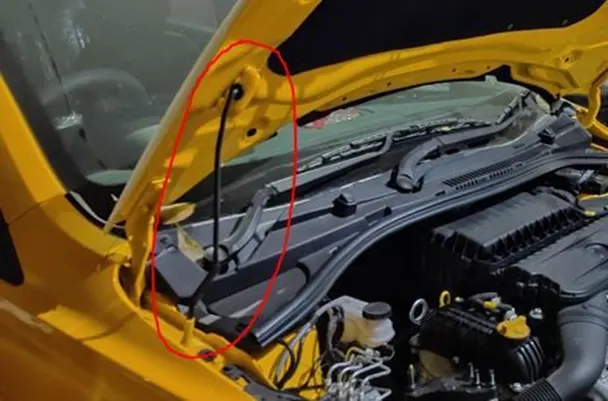
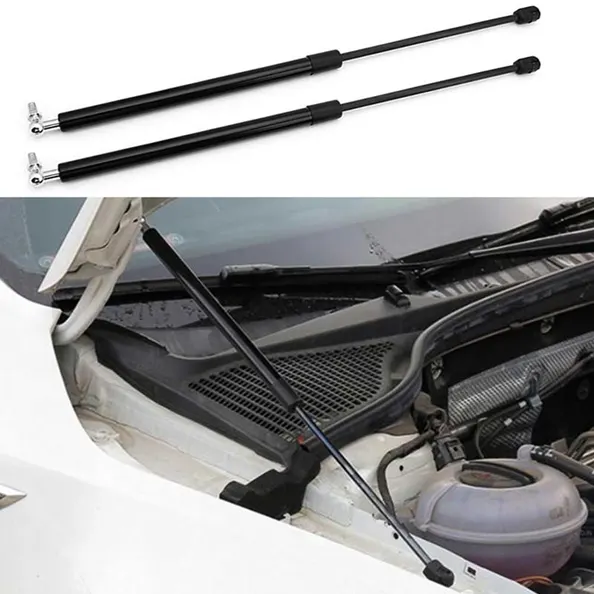
Gas Stay : This is used to open the car hood by just providing little lift force. A small effort is all it needs and other work is done by gas pressure. It is normlly found in high-end cars where the mass of hood is more than normal.
Design of inner panel: -
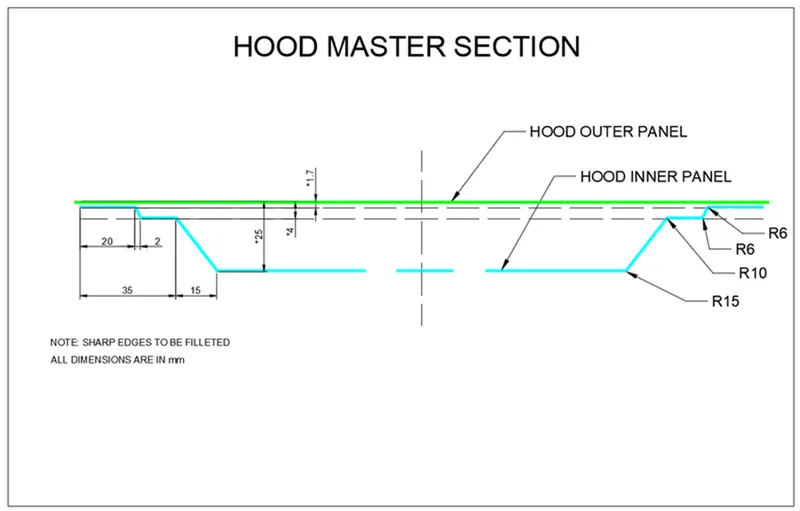
Master Section: -
Master section is already provided by the marketability team and the manufacturing requirements.
Initial design was created from the master section that was already provided. Embossing is a metal forming process for producing raised or sunken designs or relief in sheet material by means of matched male and female roller dies, theoretically with no change in metal thickness. Embosses are created to provided addition strength and to direct the forces from the front collision towards the hinge of the car
Hood outer panel:
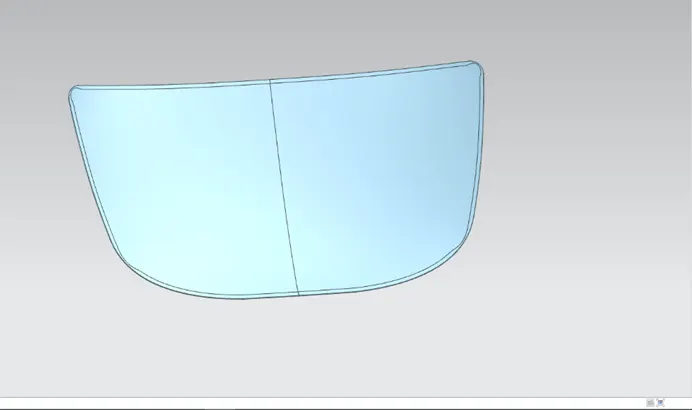
Outer panels are the aesthetic elements of a car. It is the styling team who provides the skin for the outer panel. The shape, position and size of the hood should satisfy the safety norms. So while designing the hood we should give more importance to pedestrian safety. The outer panel is attached to the inner panel by hemming. So, it is necessary to provide required hemming flange and reliefs for the hemming operation. We also provide mastic sealants between outer panel and inner panel to reduce vibration.
Hood inner panel:
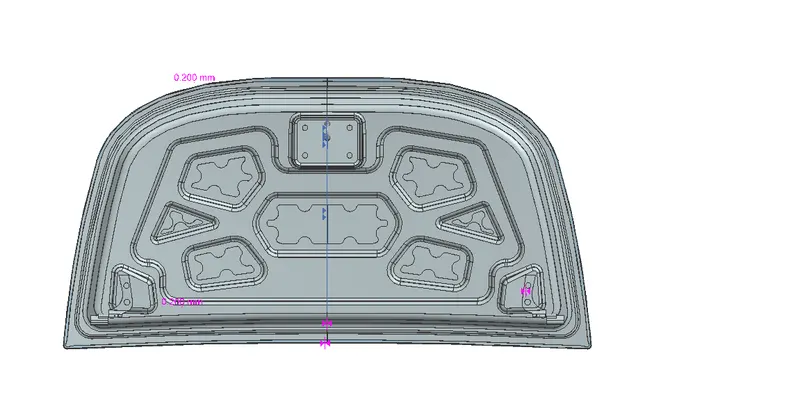
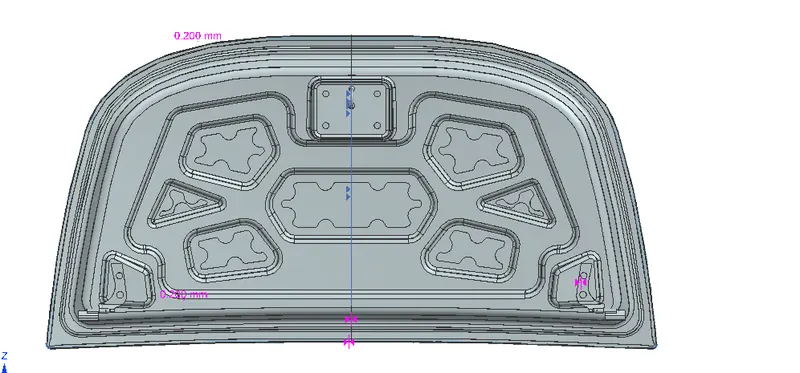
Inner panel is the part that gives strength and rigidity to the outer panel. The master section represents the initial emboss shape and size. Then we provide the emboss for the latch and hinge elements after fixing the location.
Latch and Hinge reinforcement:
To furthermore reduce the impact to the occupants inside the car, additional latch and hinge reinforcement to the hood. When latch and striker are placed, there is drop in strength at that position thus reinforcement is required. Also stiffness pads are placed to reduce NVH. Hinge and latch reinforcement thickness is kept at 1.5 mm but it may vary.
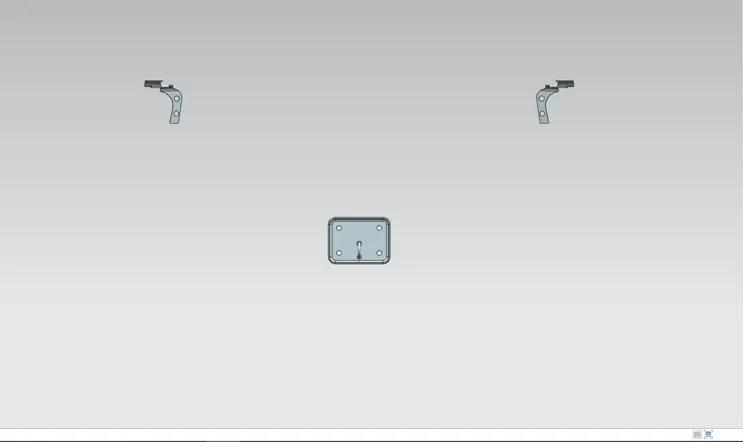
STRIKER AND HINGE BEFORE MOUNTING
Latch trajectory:
Latch trajectory is given by the circle drawn from the hinge axis point. Hinge axis point is the centre point of the hinge axis. First, we can fix either the latch or the hinge. If we have fixed the hinge position then we should plot the Trajectory circle for the latch. For proper mating condition the striker axis through the tip of the striker should be tangential to the latch trajectory.
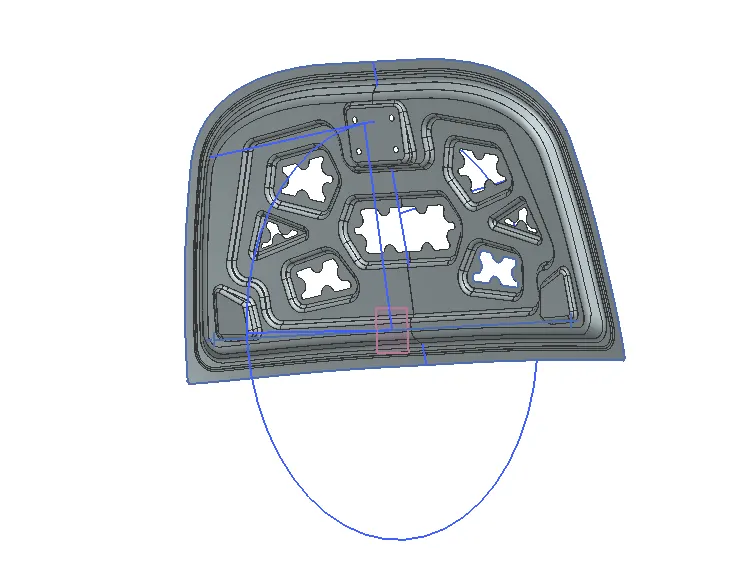
STRIKER AND HINGE AFTER MOUNTING
Emboss definition:
Embosses are the projections made on sheet metal using deep drawing techniques. the operation is carried out the mostly for the purpose of stiffening flat surface and design in the inner panel. the major function of embossing is to dissipate the force acting on the hood during the collision of the car toward the hinges as early as possible. this helps to reduce the impact of the force on the passenger sitting inside.
Hemming:
Hemming is a forming operation in which the edges of the sheet are folded or folded over another part in order to achieve a tight fit. Normally hemming operations are used to connect parts together
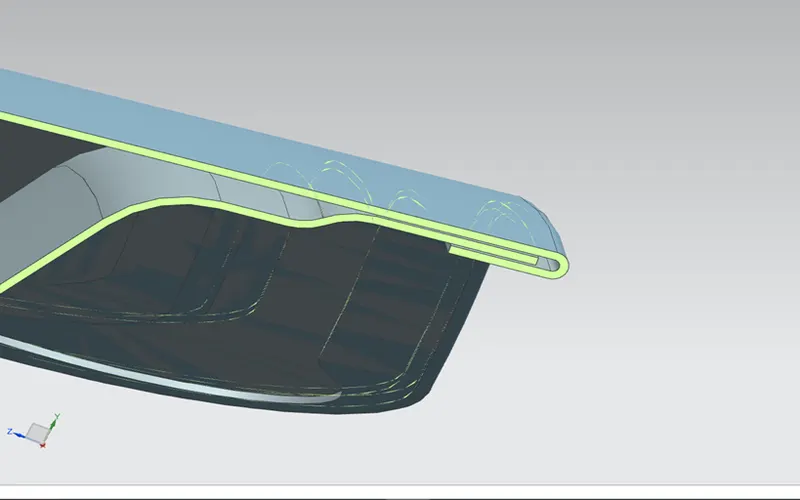
to improve the appearance of a part and to reinforce part edges. In car part production, hemming is used in assembly as a secondary operation after deep drawing, trimming and flanging operations to join two sheet metal parts (outer and inner) together. Typical parts for this type of assembly are hoods, doors, trunk lids and fenders. The accuracy of the hemming operation is very important since it affects the appearance of the surface and surface quality. Material deformations, which occur during the hemming process, can lead to dimensional variations and other defects in parts. Typical hemming defects are splits or wrinkles in the flange, materials overlaps in the corner areas or material roll-in. It is important to provide required reliefs at the corners.
Mastic sealants:
The Mastic sealant or mastic points is a elastic compound that behaves like a rubber. it is applied between Hood's outer panel and inner panel. it have an influence area of about 80mm.
Final assembly:
Conclusion:
In this challenge I learned to design the hood inner panel, outer panel with the help of master sketch and the styling surface. And also learnt the assembly of Hood inner panel, Outer panel, and the reinforcements like latch and hinge assembly.