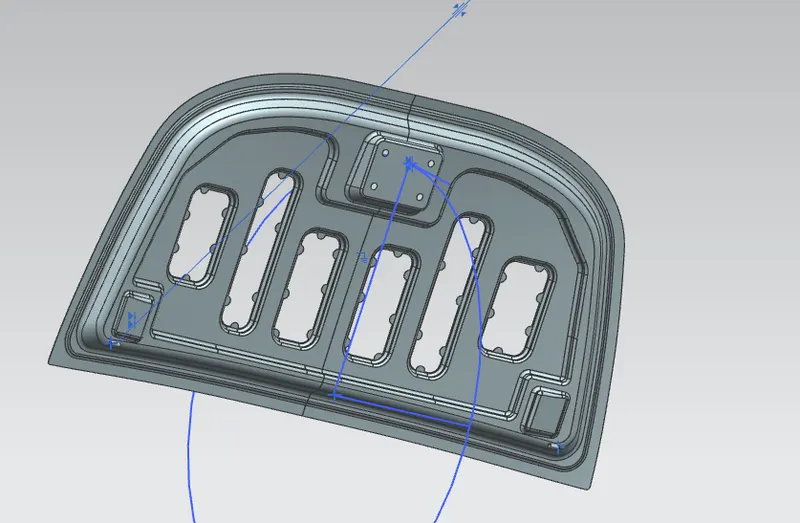
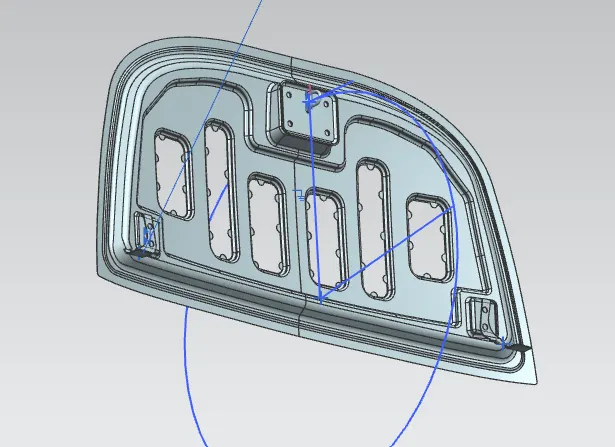
Hood design-Week 2
Hood Design Challenge
Aim : To design Hood Outer Pannel, Inner Pannel and the necessary reinforcements by following the master section explained. Also to submit and assembly of Hood Inner Pannel, Outer Pannel, Latch, Striker, Hinge and other reinforcements.
Main Body :
- Hood Inner Pannel : (IP)
Made a copy of outer panel and named it inner panel and then imported both as an assembly file.
Hidden the outer panel. Trimed the IP half and worked on only one side to mirror later.
Offsetted the IP at certain distances to create details and trimmed accordingly, filled the gaps by through curve mesh and gave suitable blends.
Created the Embosses to give strength to the IP and also made cutouts with the mastic data points.
Made space for striker and Hinge assembly. Then mirrored the IP and did a sew.
- Striker :
Added the striker in the assembly, placed it at 83 degrees from -ve X axis.
Gave a touch and parallel constraint to striker and inner panel.
Now trajectory was formed.
Did a law extension for the striker and then blended the edges.
- Hinge assembly :
Imported the stiker into the assembly and the made the embosses flat readily. Gave a touch constraint. Mirrored the assembly.
- Outer panel (OP) :
Added the OP and gave a corner blend to the extreme edge.
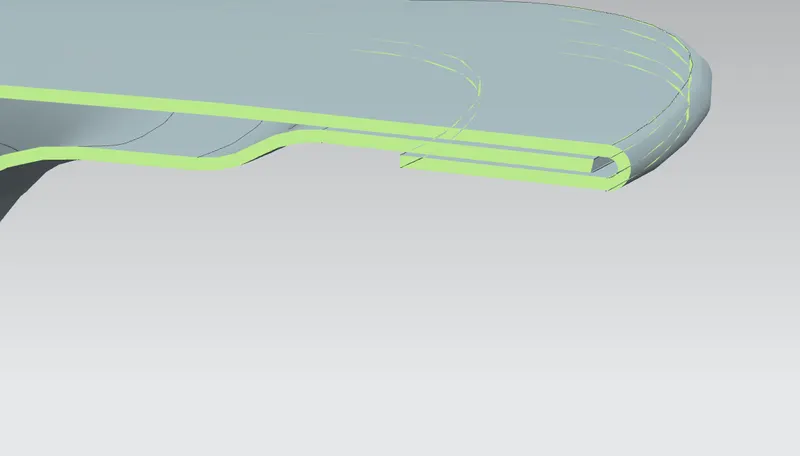
Did hemming by using law extension.
- Assembly :
Thickened the outer panel inside and the inner panel outside.
Hemming Flange :
Inner Pannel :
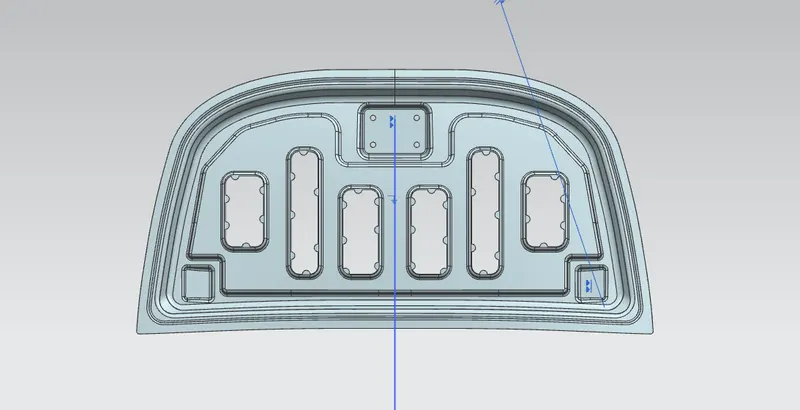
Striker and Hinge emboss :