Hood design-Week 2
Hood Design USing NXcad
1. Introduction
HOOD: The hood is the cover of the engine in the vehicles with an engine at its front. The hood has two panels one is the outer panel, and the other is the inner panel. The outer panel design depends on the aerodynamics and car style. The inner panel design mainly checks the crash of the vehicle to the human body. For a good star rating and good NVC, the inner panel must be designed so precisely.
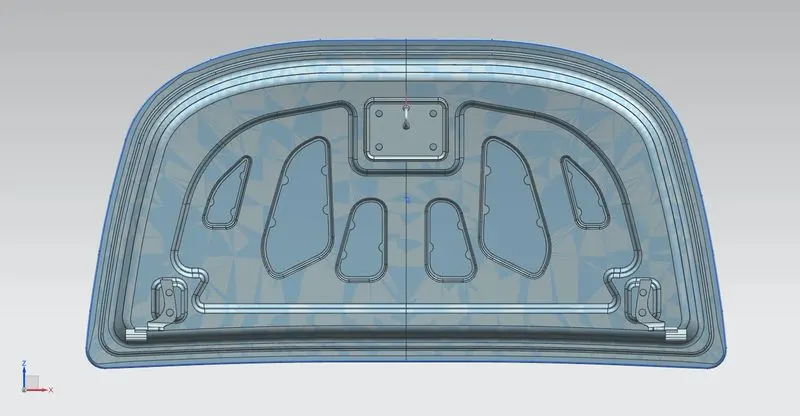
The different types of parts present in the inner panel of the hood are, latch, reinforcements, hinge, support rods. The latch is the locking and unlocking mechanism of the hood. Once the latch is unlocked, the hood opens up to 2 to 5 mm for the hands to open the hood. The support rods are placed to support the hood in the open condition. The reinforcements are used for strengthing the hood. Hinges are attached to the reinforcements for opening and closing the hood. Support rods are used to support the hood in open condition at a certain angle. Mastic surfaces are soft surfaces that are placed between the outer and inner panel of the hood.
2. Objective
The objective of the present challenge is to create an inner panel for the hood along with hinge and latch reinforcement in NX CAD.
Procedure to Create Hood outer and inner Pannel
- The styling department gives the outer hood panel. The given outer hood panel is kept in a feature group named as parent file.
- Trim the body to xc plane using the TRIM BODY command.
- Offset the surface with 0 mm using OFFSET SURFACE. Keep the offset surface in the feature group and name it as a working file.
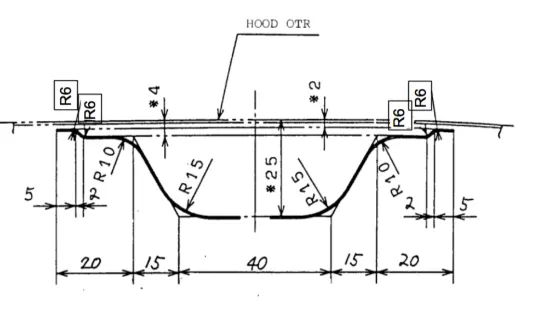
- The hood inner panel master section is given. According to the given dimensions in the master section, the surfaces are created using commands: OFFSET SURFACES (2 mm, 4 mm, and 25 mm) OFFSET CURVE IN SURFACE(20 mm, 40 mm and 55 mm), TRIM SHEET, THROUGH CURVES, and FACE BLENDS(6 mm and 15 mm radius).
- Now offset the curve to the inner panel and select EMBOSS command and give an angel higher than 7 degrees on the side of punching and create an emboss plane.
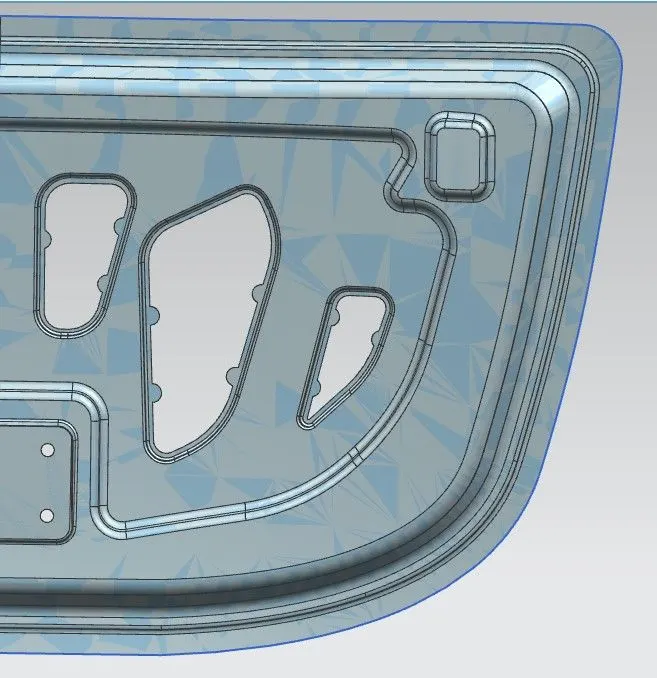
- As the car collides, the forces should not travel perpendicularly, so on the embossed area, sketches are given so that the forces travel sideways.
- To create these faces, LAW EXTENSION, TRIM & EXTEND commands are used. FACE BLEND and EDGE BLEND commands are used to give fillets.
- MIRROR GEOMETRY command is used to mirror the panel in xc direction.
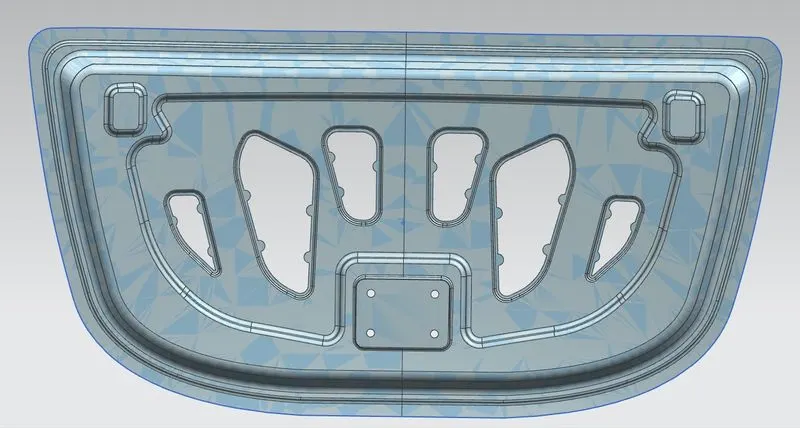
- Once the part is mirror it is checked for any intersections present using EXAMINE GEOMETRY command. If any sheet boundaries are present along the mirror face use TRIM BODY command and trim the extra sheet along it.
- Now thicken the surface using THICKEN command with 0.75 mm. The inner panel is completed with a thickness of 0.75 mm.
- TRIM SHEET command is used to cut the sheets inside the emboss.
- Then the datum plane is created parallel to the inner panel region to create support for the hinge and latch sections.
- The latch has attached to its position.
- All the features are then placed in the feature group.
- Now the parent outer panel is offset with 0 mm. and law extension surfaces are created.
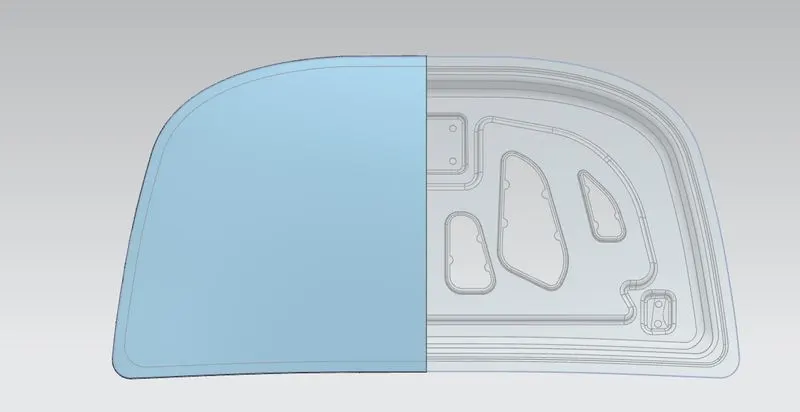
- Using the FACE BLEND command with three face options the hemming is created for the outer panel.
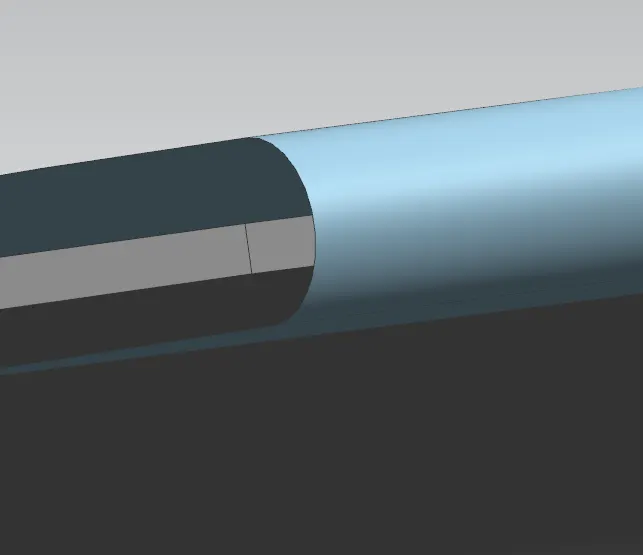
- Now the outer panel is mirrored and thicken with 0.75 mm.
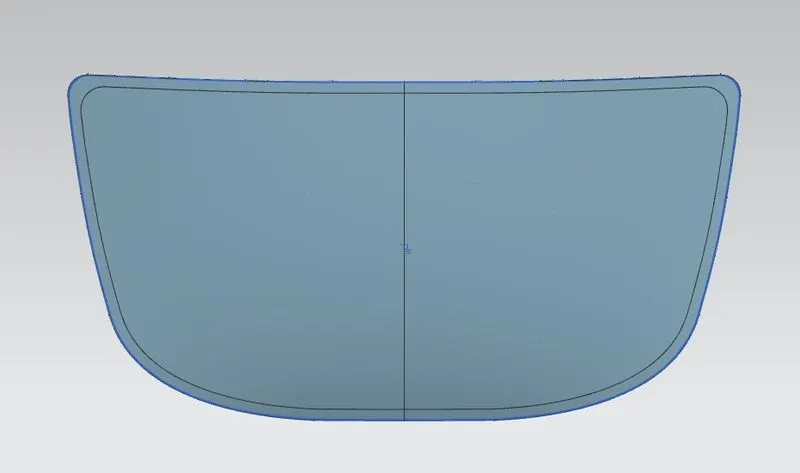
- Along the curve edges less hemming region is created.
- The hood outer and inner panel is extracted as a body and named Hood outer and inner panel.
Manufacturing Methods to create Hood Inner Pannels
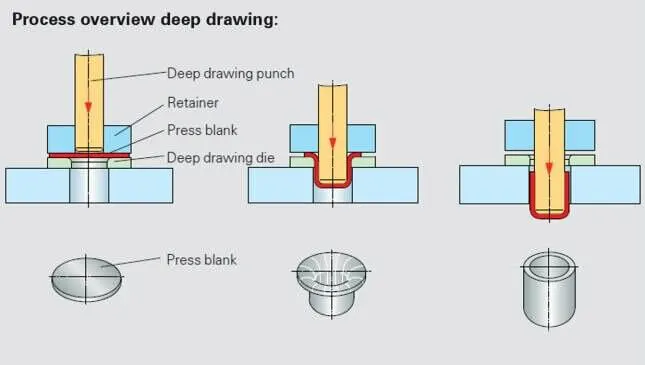
EMBOSS: To create the emboss, DEEP DRAWING manufacturing methods are used.
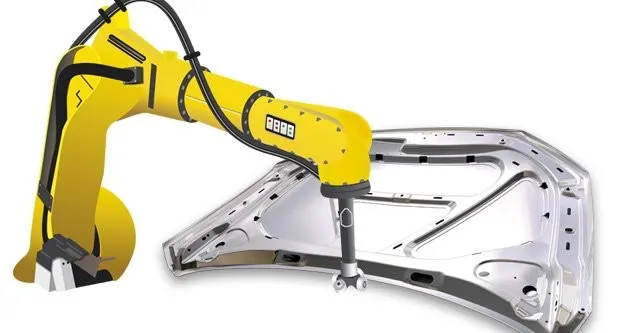
HEMMING: The roller hemming method is used to attach the outer hood panel to the inner hood panel.
5. Conclusion.
The outer hood panel and inner panel are created using the NX CAD software. The commands like EMBOSS, FACE BLEND, LAW EXTENSION, EDGE BLEND, OFFSET SURFACE, DATUM SECTION, OFFSET CURVE ON THE FACE, TRIM BODY, DATUM PLANE CREATION, TRIM SHEETM, TRIM AND EXTEND have been studied and got a good knowledge about these commands.