Hood design-Week 2
AIM
To create an outer and inner hood panel, positioning the stiker, hinge and their reinforcements using CATIA V5.
ABOUT HOOD
- Hood plays a major role in pedestrians safety as well as car safety.
- It covers entire engine components and also acts as a shield to the pedestrians from the major injury.
- Hood has different styles.On front-engined cars, the hood may be hinged at either the front or the rear edge, or in earlier models it may be split into two sections, one each side, each hinged along the centre line.
- A further variant combines the bonnet and wheel arches into one section and allows the entire front bodywork to tilt forwards around a pivot near the front of the vehicle.
- Hoods are typically made out of the same material as the rest of the body work. This may include steel, aluminum, fiberglass or carbon fiber.
- However, some aftermarket companies produce replacements for steel hoods in fiberglass or carbon fiber to make the vehicle lighter.
- The boundary conditions for commencing a new design process using aluminium can be identified and analysed by grouping together requirements using affinity matrix methods.
- Bonnet and boot lid are treated separately and are then compared to highlight major differences.
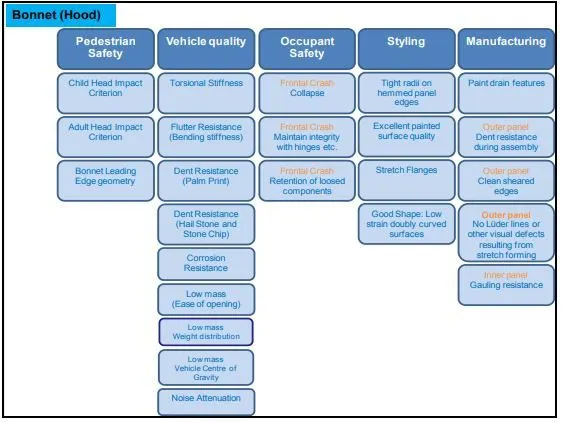
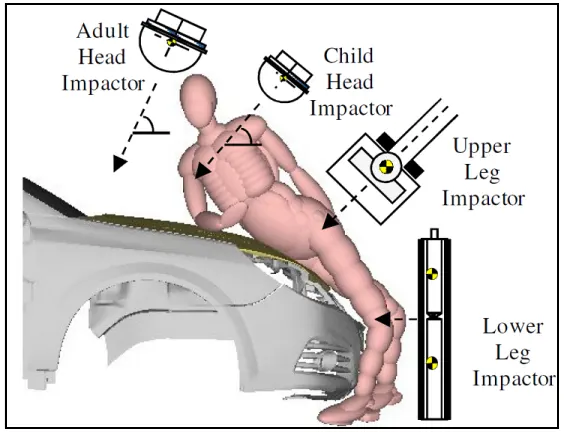
Evaluation of pedestrian safety for a bonnet must be carried out in the context of its surrounding elements:
1.Vehicle styling, size (wrap around distance “WAD”) and under bonnet clearance to other elements (considered as hard points).
2.Local bonnet stiffness is influenced by mounting point stiffness such as hinges, bump stops and latches.
3.This is better understood by superimposing the kinematics of a dummy onto the test conditions.
TYPES OF HOOD SUPPORT:
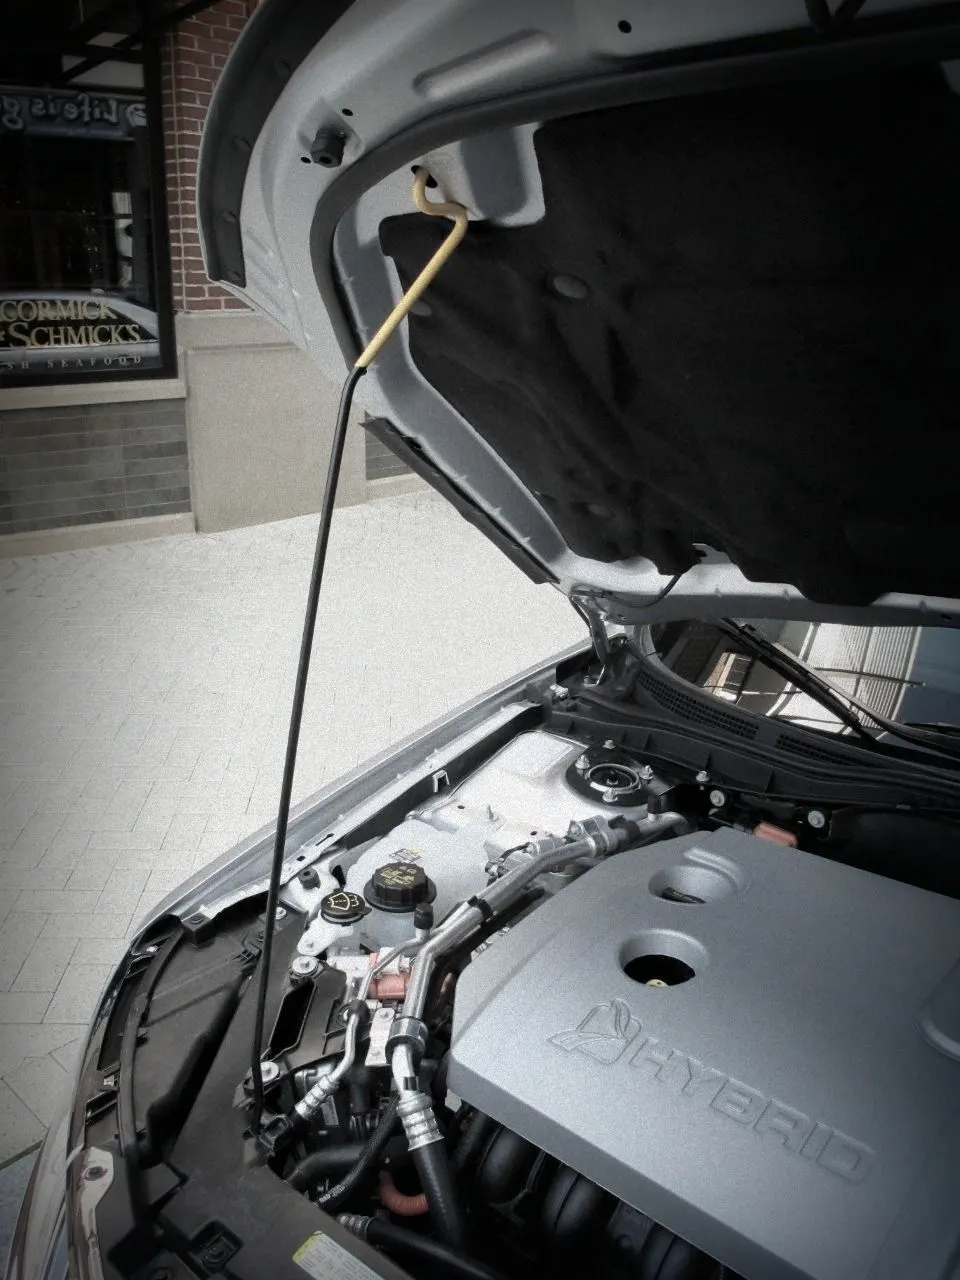
1.Support Rod
- These support rods are widely used in cars to support the hood in open Position.
- These support rods are cost effective compare to gas stay. In this type of hood support the hood opens manually.
- The support rod is fixed on the hood or the engine compartment, to hold hood (in Open Position) the support rod needs to positioned(manually) on the supporting rod point which is opposite to the support rod position. Generally these support rods are used only in the lighter weight hood Vehicles.
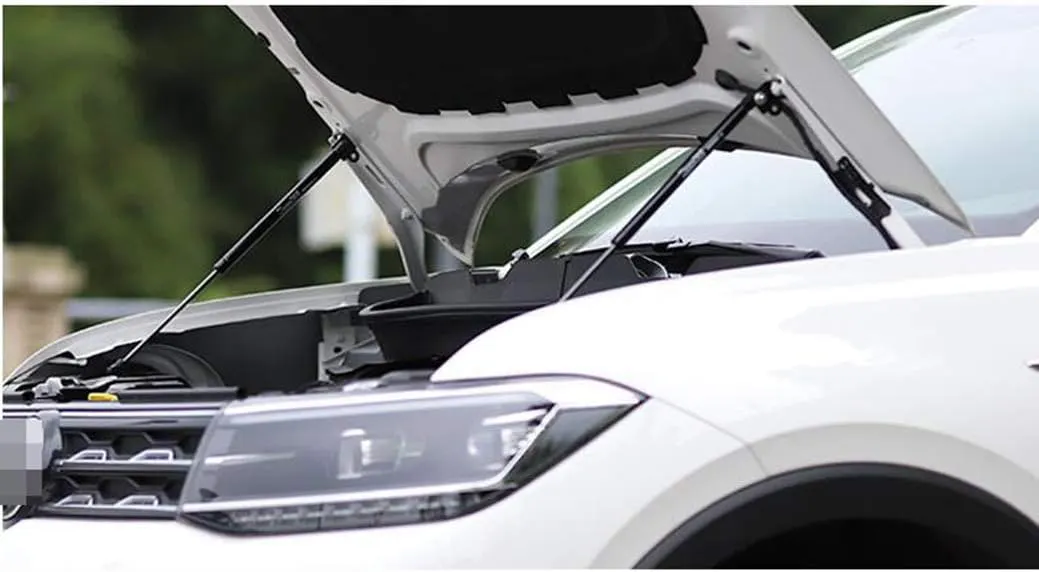
2.Gas stay
- These Gas stay are type of support rods which is used for heavy weight hoods.
- In these gas stay rods, pressurized gas is filled which helps to hold the hood in open position.
- Gas stay just needs the initial force to open the hood. Gas stays are convient to use but these are expensive when compared to support rods.
- Spilt the outer hood panel Class A into half and copy it in the newly created geometrical set ‘Inner Hood’.
- Create surfaces using offset, spilt options as per Master Section given for inner hood panel.
- Use Edge Fillet option by joining the surfaces, to minimise the errors.
- Use Boundary option for any discontinuity around the surfaces.
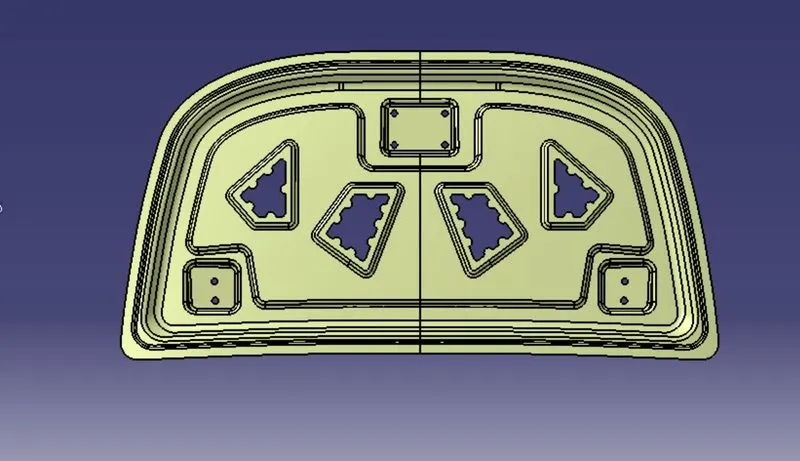
- Embossing is a stamping process for producing raised or sunken designs or relief in sheet metal.
- This process can be made by means of matched male and female roller dies, or by passing sheet or a strip of metal between rolls of the desired pattern, theoretically with no change in metal thickness, or by passing sheet or a strip of metal between rolls of the desired pattern.
- Metal sheet is drawn through the male and female roller dies producing a pattern or design on the metal sheet. Depending on the roller dies used, different patterns can be produced on the metal sheet.
- Emboss should be in 7 degree to 25 degree inclinte in angle and it should not be in 90 degree angle,why because when we do stamping in manufacturing the stamping tool fits the sheet metal hence it will not come out of that sheet metal,So this is the main reason why the emboss face is in angle.
- Its ability to form ductile metals,
- Its use in medium to high production runs,
- The ability to maintain the same metal thickness before and after embossing,
- The ability to produce unlimited patterns, depending on the roll dies, and
- The ability to reproduce product with no variation.
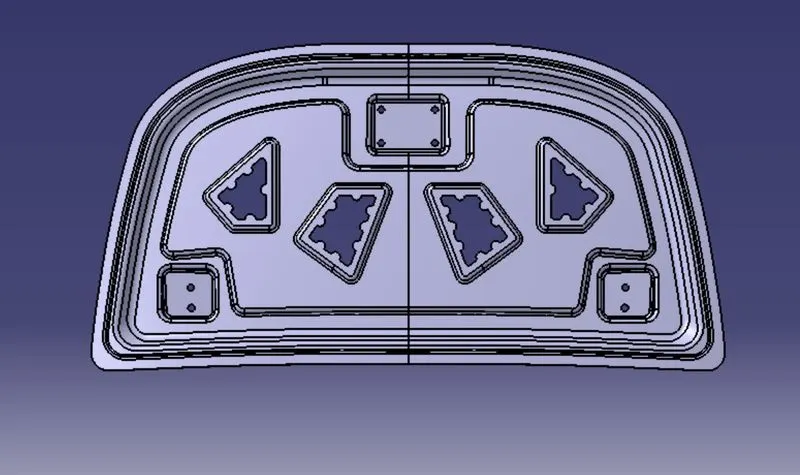
- Design a new sketch and project it on the surface using the Projection option.
- Sweep the projected curve with a 7degrees draft angle in draft direction.
- Offset the extracted surface to the required embossment length.
- Trim the unwanted surface and join all the surfaces.
- Repeat the same steps for required embossment shapes.
- After completion of creating embossments, Join all the surfaces and Mirror it.
- Use the Boundary option for the perfect inner hood panel.
- Thicken the entire surface in the new body created.
- Spilt the surface into half and offset it to 2mm.
- Extract the edge of the surface and use Parallel Curve to move a distance of 6mm.
- Now spilt the surface with a parallel curve as a cutting element.
- Extract the edges of both surfaces, use Multi Section Surface to create a connecting surface.
- Join all the surfaces and give edge fillet to all sharp edges.
- Create a new body and thicken to 0.75mm.
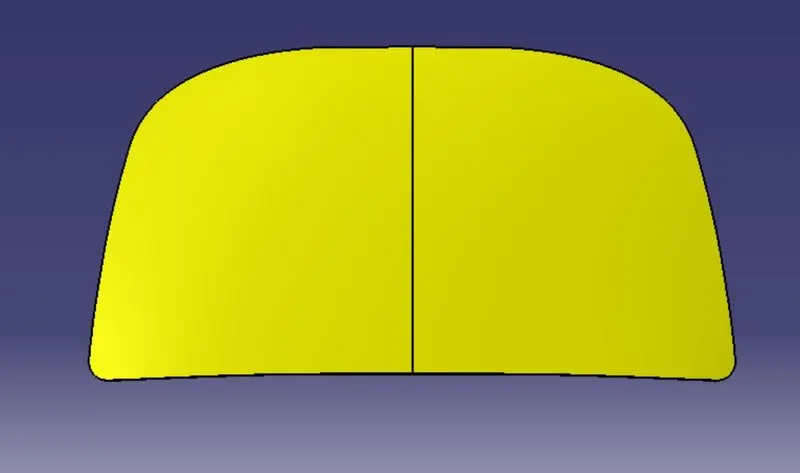
- A mastic sealant is a type of liquid sealant that cures in an elastic state, thus making it flexible while holding the bond of the surfaces that has attached together.
- It adheres to just about any material making an all-purpose type of sealant.
- The main purpose of the outer panel is for the aesthetic looks. Thus we cannot use bolts or welding.
- This has to be done with the help of the hemming and mastic sealants. Mastic sealants are elastic compound that behaves like the rubber.
- It is placed between the outer and inner panel. Initially is it in paste form, but after the hot furnace bath it gets hardened thus joining the outer and inner panel.
- Mastic sealant has the tendency to increase the strength of the panel and has influence of 80mm diameter.
- One positive characteristic of mastic sealant is that it has a very smooth exterior while keeping its rigid form underneath.
- Surfaces do not have to be primed when using this type of sealant, and although applied thick, it adheres smoothly to any surface. It is important that the area to be joined or sealed be clean and dry, just like any other sealant on the market
- Mastic sealant may be used outdoors as well because of its waterproof quality. It can be applied on rain duct leaks outdoors, for example.
- It is also favored for areas under high or low temperatures such as heater vents or drier vents and contains ultraviolet inhibitors to make sure that it is protected from damaging effects of the sun that will often weaken other types of sealants. That makes it a good choice for use on roofs, or any surface that is constantly exposed to sunlight. Most mastic sealants will also work well with metal because they do not corrode over time.
- It functions well in areas with mild vibration and heat, like hood, heating ducts.
- Mastic sealant is not recommended for areas that have too much joint movement, or anything that will be moved a long length.
- It works well with constant pressure on it, but not constant movement.
- It also works best when applied thickly and is not recommended if only a thin layer is needed such as touch ups. Another sealant is a better choice for those types of repairs.
- Extract the hinge bottom surface and thicken it to 0.75mm.
- Repeat the same for the stricker part.

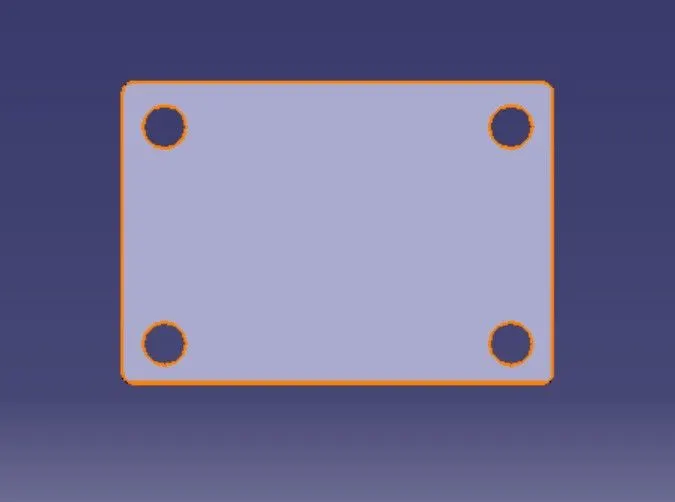
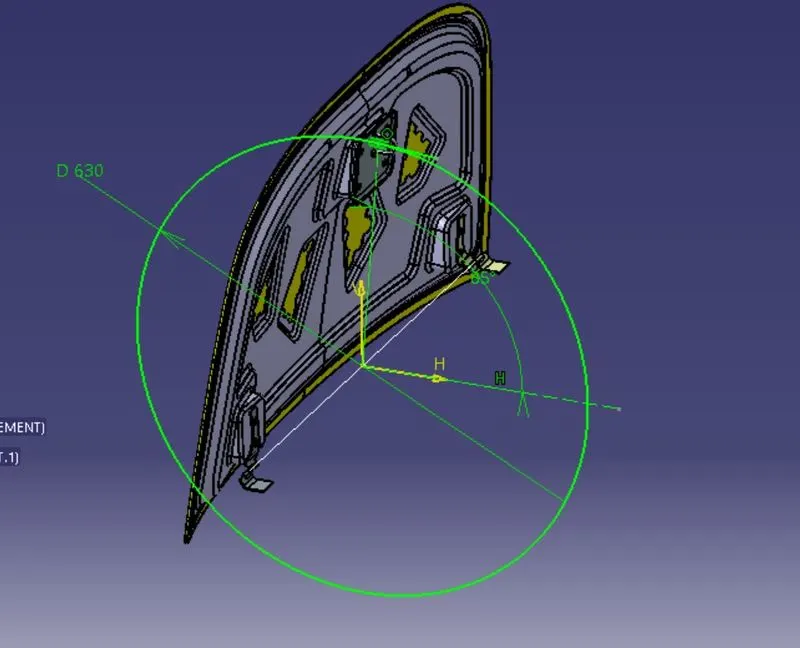
- For the proper opening and closing of the hood, the striker should be perpendicular to the trajectory of the hood.
- For this, hinge is assembled at its position. Once it is placed, hinge axis is drawn.
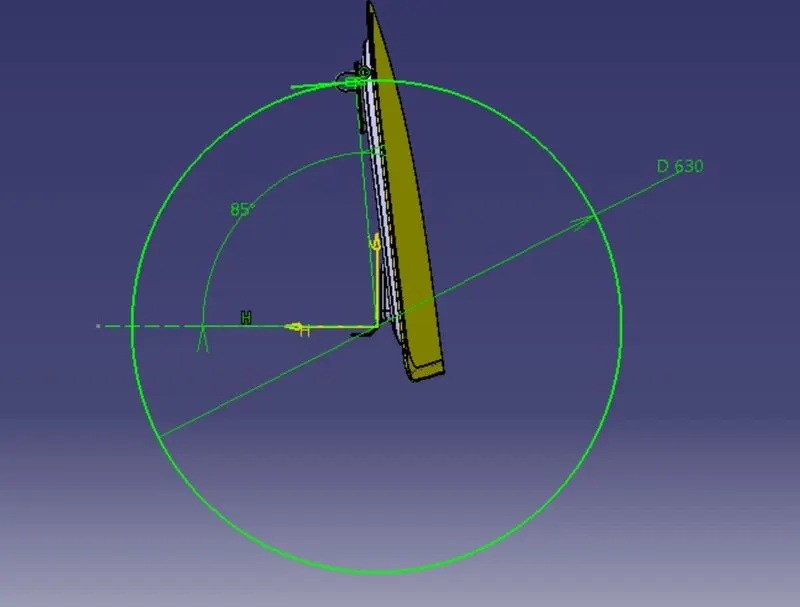
- To check the hinge axis as the center we draw a big circle to the position the latch in such a way that it is perpendicular to the hood trajectory.
- In between the two hinges, the striker is perpendicular to the midpoint of two hinges, because while closing and opening of latch and striker the opening position be similar actions.
- This is one of the main criteria in designing of hood.
- This opening angle varies from person to person and country to country. In India, the average height of a person is 5.8 feet/ 177 cm (Current data) whereas in the European countries the average height is 6 feet, these points refers variation in opening angle of hood.
- Opening angle is considered as an important criteria, when the opening angle is less than required there are possibilities of human head injury.
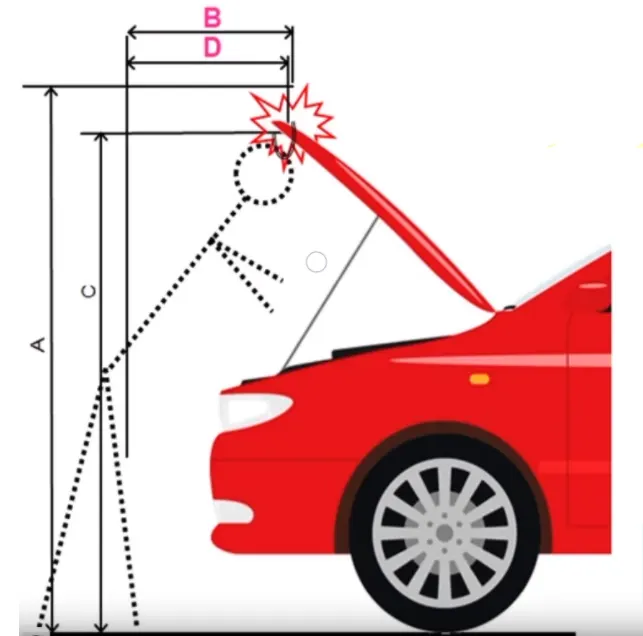
- The latch trajectory shows the path of the striker when the hood is opened and closed on a vehicle.
- The radius of the circular trajectory is determined by the set standard based on the average height of a person.
- The radius is measured from the hinge axis up-to the latch.
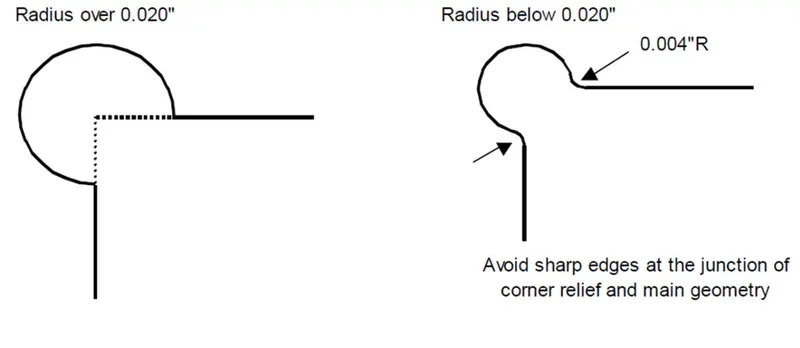
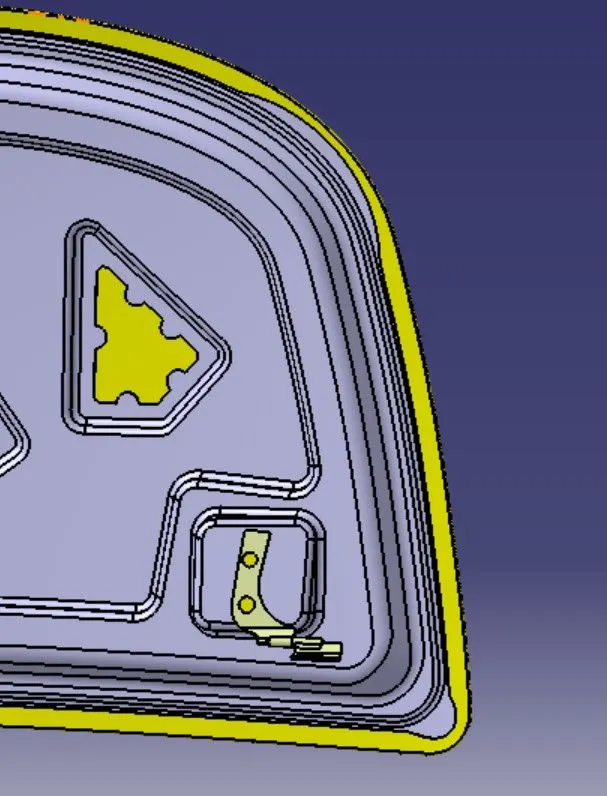
- Relief is provided onto the part or component in order to remove any stresses developed in a particular area i.e sharp corners that takes place during the hemming process is carried out. Thus corners are rounded or chamfered.
- Relief of 3 mm from sheet metal for Roll hemming process.
HEMMING
- Hemming is a forming operation in which the edges of the sheet are folded or folded over another part in order to achieve a tight fit.
- Hemming is a technology used in the automotive industry to join inner and outer closure panels together (hoods, doors, tailgates, etc.).
- It is the process of bending/folding the flange of the outer panel over the inner one. The accuracy of the operation significantly affects the appearance of the car’s outer surfaces and is therefore a critical factor in the final quality of a finished vehicle.
- In hood design, hemming is used in assembly as a secondary operation after deep drawing, trimming and flanging operations to join two sheet metal parts (outer and inner) together.
Roll hemming -
- In roller hemming process, a robot guides a small roller across the flange to fold a sheet onto itself or onto another sheet.
- The process is oriented to low volume automotive applications, providing a distinct advantage in manufacturing closures and subassemblies with developed flanges.
- Import the parts into Assembly workbench.
- Select hinge part and set in required position by Manipulate option.
- Once part is posritoned, Use offset option to get attached by 0 mm distance.
- Select axis hinge part and axis of inner hood panel then use Coincidence Constraint.
CONCLUSION
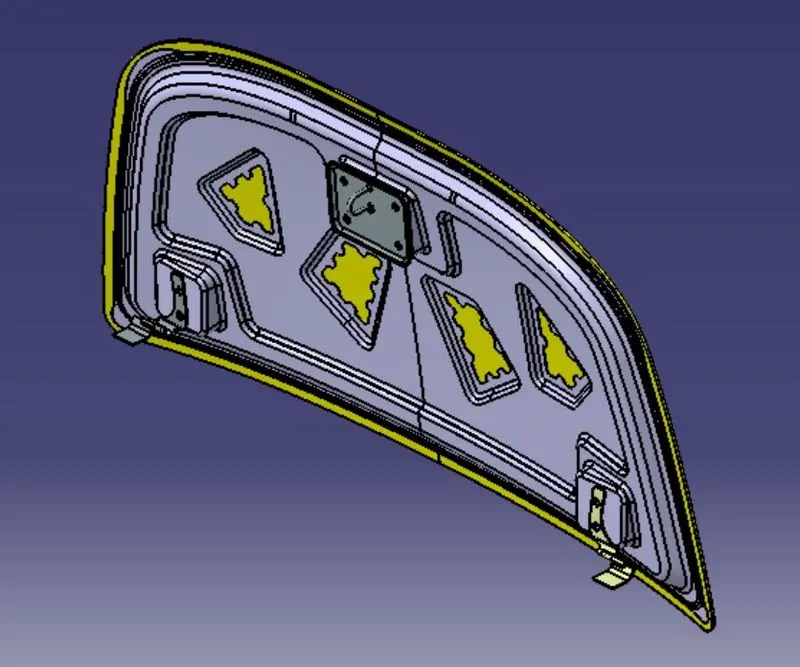
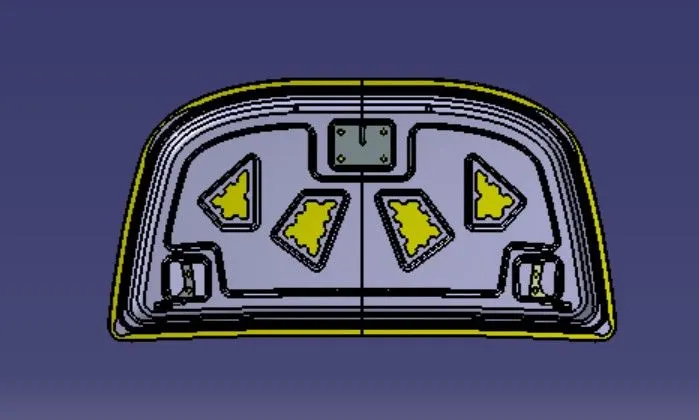
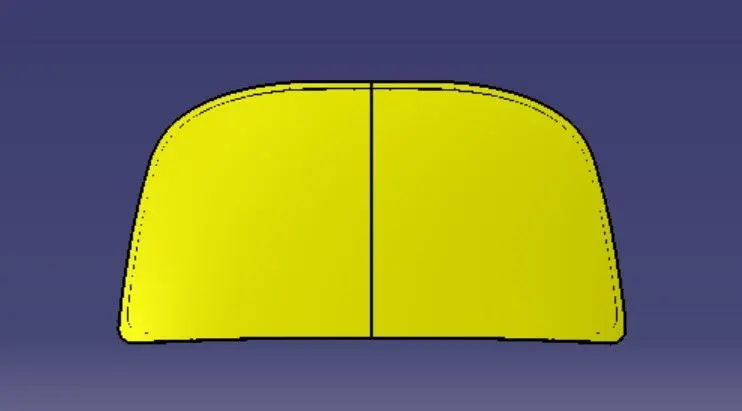
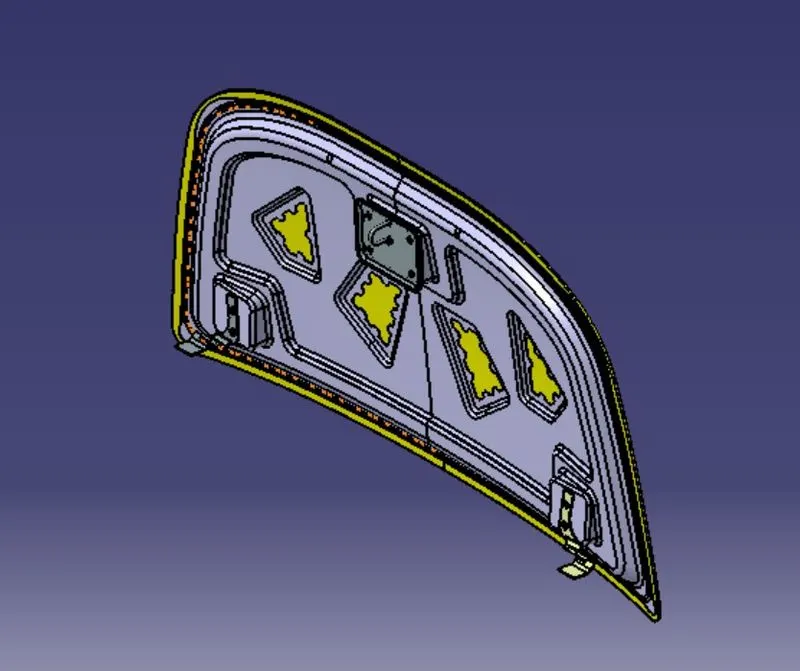
This hood was designed in CATIA V5 software with given and required design guidelines for hood design and manufacturing.