Final Project: Electric Rickshaw modelling
AIM : Design of an Electric Rickshaw using MATLAB Simulink.
ABSTRACT :
In this project, we going to build the MATLAB model of the ELECTRIC RICKHAEW by using a PM brushed type DC motor and a suitable Lithium-Ion battery for the motor. Before that, we will know about what is Electric RICKHAEW, how it works and the benefits of EV RICKHAE. Then we make an actual EV RICKHAEW model in SIMULINK with suitable blocks from the powertrain block set. My main motto is to check "how my RICKHAEW performs for any three standard driving cycles showing energy consumption, the temperature rise of motor and controller for vehicle cover around 100 km at constant speed driving 45 mph. Made a comparison between Mahindra e-Rickhaew and my Simulink model.
INTRODUCTION :
- Electric E-Rickshaw also known as electric tuk-tuks, e-rickshaw, and autos are going more popular in 2018 in the Indian market. This E-rickshaw is the best alternative to petrol/ CNG auto rickshaws and human or horse-pulled rickshaws because of their low fuel cost, zero emissions, and less human effort.
- The electrical system used in the Indian version is 48VDC can run 90– 100 km/full charge, top speed of 25 km/hour and this electric motor power ranges from 650-1400 Watts; the battery takes 8–10 hrs to become fully charged. The basic seating capacity is driver plus 4 passenger total of 5 persons.
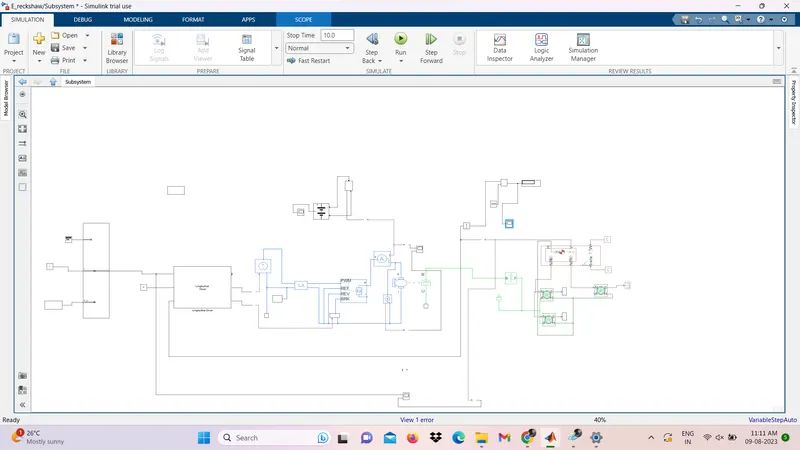
- Here basically, the e-rickshaw is designed in CREO and MATLAB Simulink. In the designed electric rickshaw main blocks are the battery, drive cycle, controlled, DC Motor, Vehicle body and transmission system. Drive cycle is the input of human effort that how he is going to drive his actual cycle. We can use drive cycle like FTP75, WOT or by using Excel.
- The main objective of this project is to obtain speed by driver, to estimate the temperature of motor and controller, to estimate the state of charge (SOC) and distance travel by the vehicle. There is a SOC block that will estimate the state of charge of battery, distance is calculated by speed and time parameter for all the three Drive cycle.
1. Vehicle body design
1. The motor will produce the rotational output which will give to the vehicle body nd transmission system.
The rotational output is taken by the gear system here to maintain the constant speed throughout the transmission without any loss in seed from the motor to the tires
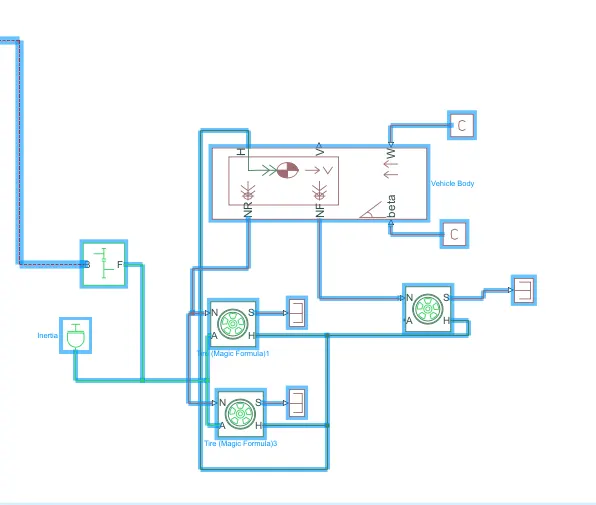
Here I created a Rear wheel-drive transmission system
- The gear output is given to the axels of the Rear tires, in the circuit it is shown that the gear is connected to the Rear wheels and the front tire is free to rotational motion, thus vehicle moves forward. N is the normal force caused by the tires and it is given to the vehicle body's normal force port.
- The vehicle body has an H-Hub, S- Tire slip, N- Normal force, A- axel connection, wind velocity, and inclination angle. The tire hub is connected as a common node to the vehicle body.
- The vehicle body wind velocity is connected to a constant block and the beta-inclination angle is connected to another constant block where we can assign wind velocity and inclination angle as per requirement. Velocity is the output port where we can get at which speed the vehicle is moving. The velocity is taken out to get the distance traveled and state of charge.
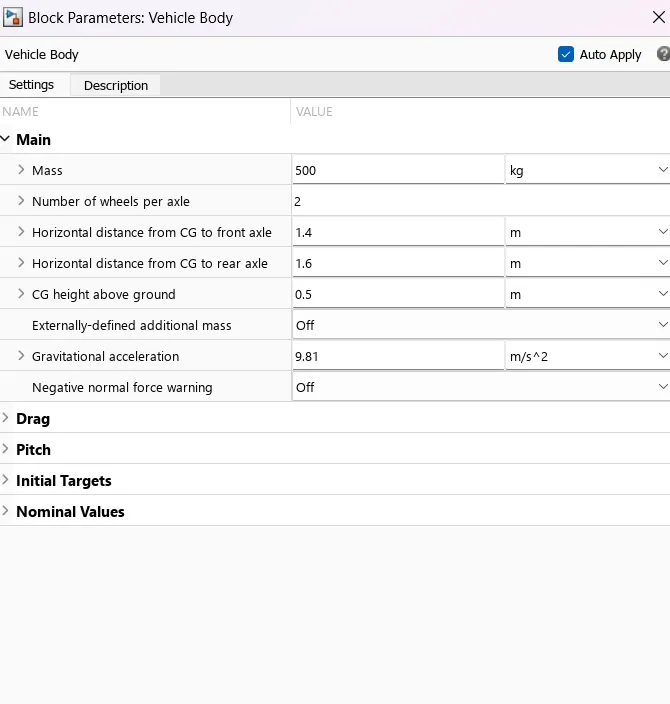
Vehicle body parameter
Tire:
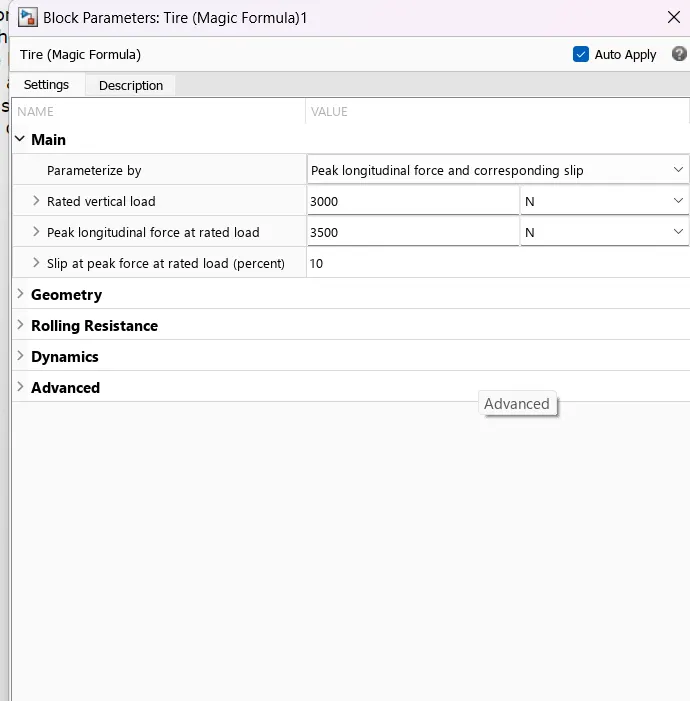
Tire parameter
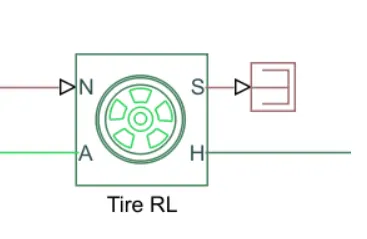
- Connection A is the rotational conserving port for the wheel axle.
- Connection H IS THE MECHANICAL TRANSLATIONAL CONSERVING port(for the wheel hub through which the thrust developed by the tires is applied to the vehicle)
- Connection N is a physical signal input port ( that applies the normal force acting on the tire.
- Connection S is the physical signal output port that reports the tires slip
Gear :
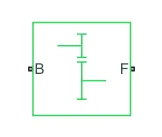
- Represents a fixed-ratio gear or gearbox. No inertia or compliance is modeled in this block. You can optionally include gear
meshing and viscous bearing losses. - Connections B (base) and F (follower) are mechanical rotational conserving ports. Specify the relation between base and follower rotation directions with the Output shaft rotates parameter.
- The base is connected to the Motor shaft and the follower is connected to the Rear wheel derive.
Vehicle body:
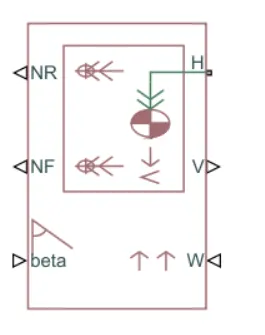
- This block basically represents a two-axle vehicle body in longitudinal motion. The block accounts for - body mass, aerodynamic drag, road incline, weight distribution between axles due to acceleration road profile.
- Here, the connection H is the mechanical translational conserving port hub. NF & NR correspond to the output ports for nomral reaction forces on front axle and rear axle wheels respectively.
- Connection V represents the actual output translational velocity of the vehicle. beta is the road inclination angle & W corresponds to the headwind speed (headwind - direction opposite to that of vehicle). The gross weight is given to be 600 kg.
- The geometric parameters of the vehicle are given as
(2) Motor & Power Converter Subsystem Model (With Temperature Sensor) :
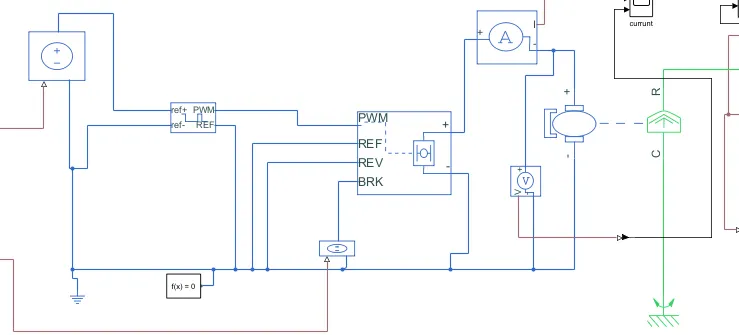
H-Bridge :
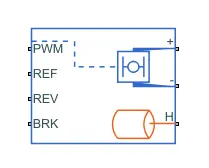
- This block represents an H-bridge motor drive. The block can be driven by the Controlled PWM Voltage block in PWM or Averaged mode. In PWM mode, the motor is powered if the PWM port voltage is above the Enable threshold voltage.
- In Averaged mode, the PWM port voltage divided by the PWM signal amplitude parameter defines the ratio of the on-time to the PWM period. Using this ratio and assumptions about the load, the block applies an average voltage to the load that achieves the correct average load current.
- The Simulation mode parameter value must be the same for the Controlled PWM Voltage and HBridge blocks.
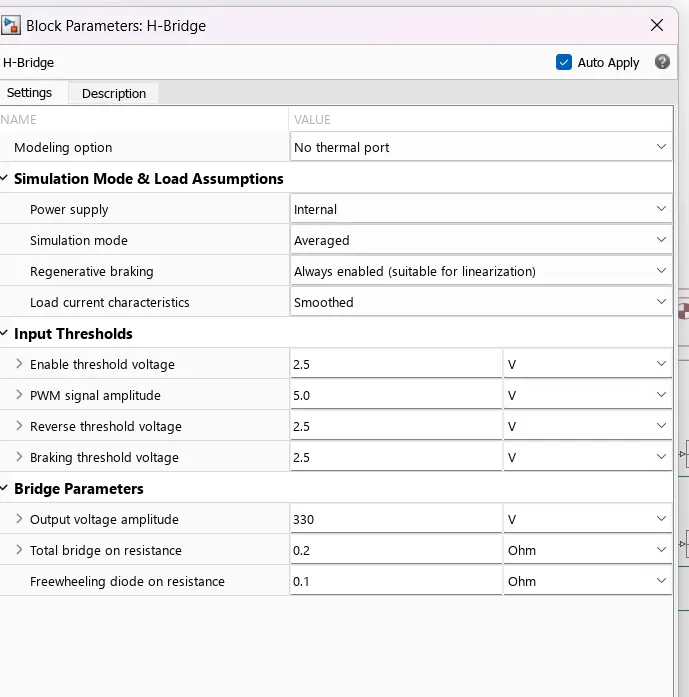
Controlled PWM voltage:

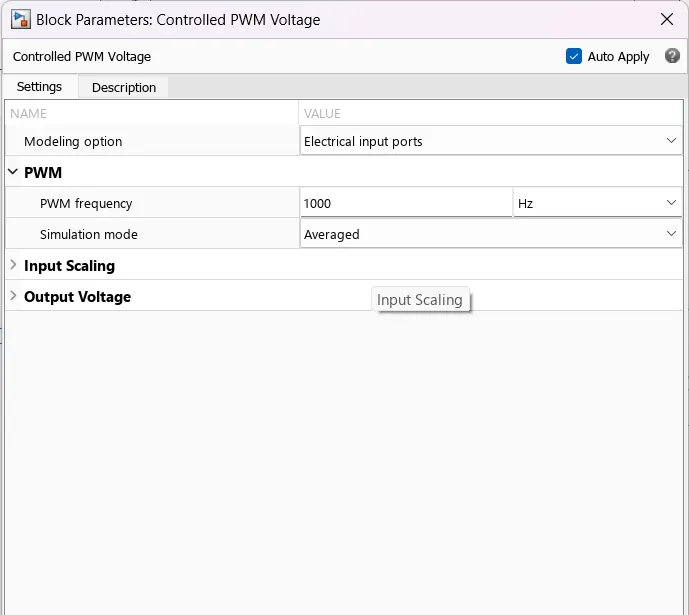
- This block creates a Pulse-Width Modulated (PWM) voltage across the PWM and REF ports. The output voltage is zero when the pulse is low, and is equal to the Output voltage amplitude parameter when high.
- Duty cycle is set by the input value. Right-click the block and select Simscape->Block choices to switch between electrical +ref/-ref ports and PS input u to specify the input value.
- At time zero, the pulse is initialized as high unless the duty cycle is set to zero or the Pulse delay time is greater than zero.
- The Simulation mode can be set to PWM or Averaged. In PWM mode, the output is a PWM signal. In Averaged mode, the output is constant with value equal to the averaged PWM signal. Select Simulation mode as Averaged.
olver Configuration :
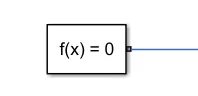
Defines solver settings to use for simulation.
Battery
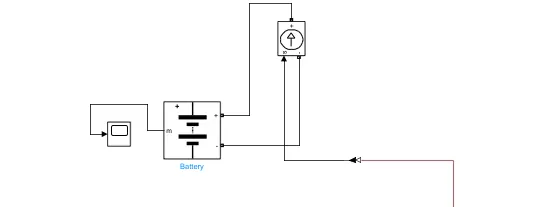
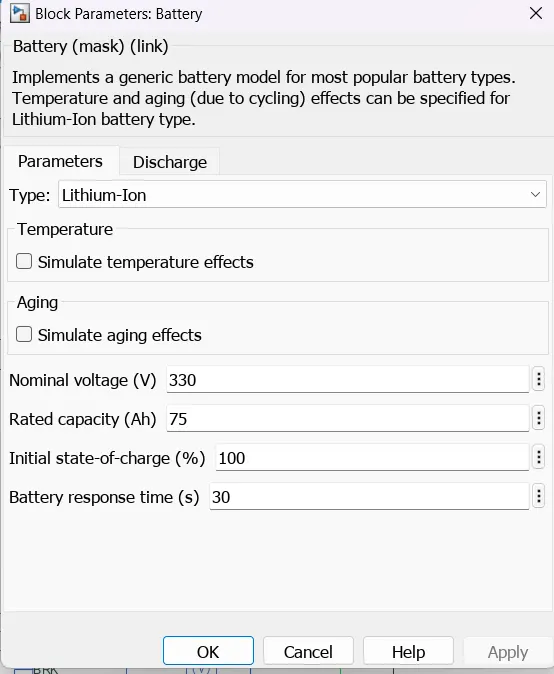
The battery has two stages one is charging and another one is discharging state. The battery is of 75Ah capacity.
The Nominal voltage of the battery is 330 V
Initial SoC is 100%
- where SoC is the state of charge and Vnom is the nominal voltage. Coefficient beta is calculated to satisfy a user-defined data point [AH1,V1].
- The battery has a positive and negative terminal which is given the voltage-controlled source where the battery consumption is controlled by the motor controller and then it is given to the SOC block.
Battery State of Charge :
- SoC is the percentage or level of battery presents after certain travel or consumption of battery charge by the vehicle.
- In the designed vehicle battery charge or SOC is calculated by the giving it to the rate transition and then to gain where 1/(nominal battery capacity) then to a discrete-time integrator and it will get minus from the 1 as it is considered a 100% of battery and it is multiplied with 100 to get percentage of battery.
- The majority of blocks are simscape blocks where physical to simulink converter is used to convert the physical signal from simscape block to simulink signal.
Controlled Current Source :
The Controlled Current Source block converts the Simulink input signal into an equivalent current source. The generated current is driven by the input signal of the block. The positive current direction is as shown by the arrow in the block icon.
We can initialize the Controlled Current Source block with a specific AC or DC current. If we want to start the simulation in a steady state, the block input must be connected to a signal starting as a sinusoidal or DC waveform corresponding to the initial values.
- Double click controlled current source and from the drop-down menu of measurement select current.
- The signal output will connect with the scope by adding a current signal to it.
- (+) the terminal will connect with the battery (-) terminal.
SIMULINK MODEL