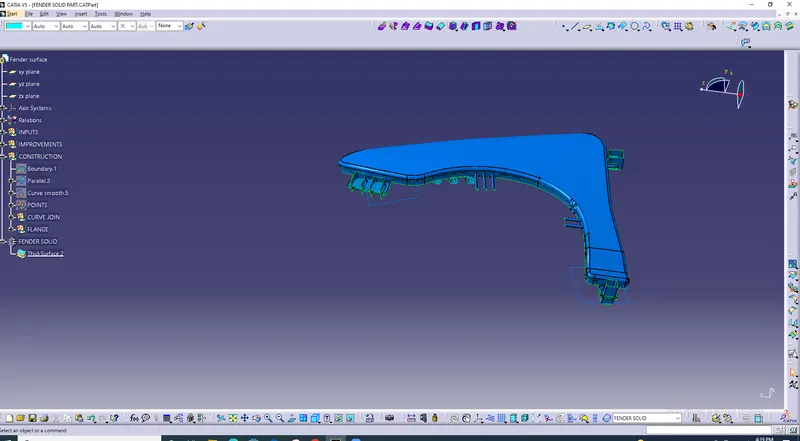
Fender Design Challenge
FENDER DESIGN:
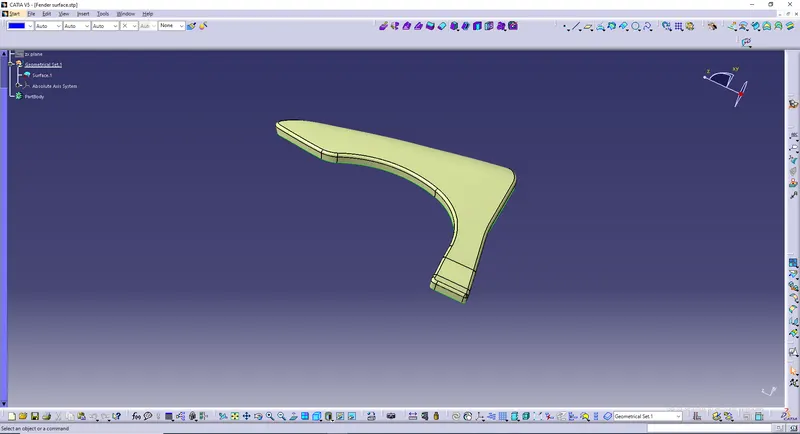
The above figure is the part file given to us
- In this part file we have to create Drip Area, Wheel arch, Sill, Bumper, A Pillar.
- Before Creating these things we have do few modifications in the Fender Design.
- Intially a geometrical set, Improvements.
- Improvements:
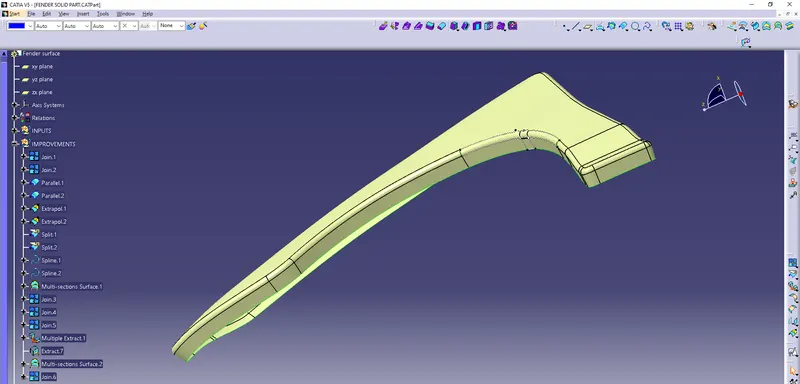
- Join the surface (join 1).
- Join the surface/face 2 (join 2).
- Insert 2 parallel curves Join 2 & edge 1 Join 2 & edge 2.
- Extrapolate both the parallel curves separately & split it separately with join 2.
- Insert Multi Section surface for thgat parallel curves.
- Join the multi section surface with split 1 & split 2.
- Join, join 1 & join 3 (Join 4).
- Join , join 4 (Join 5).
- Multiple Extract join 5/edge 12.
- Extract join 5/edge 13.
- Insert mulkti section surface for these extracts.
- Join , multiple section surface 2 & join 5 (Join 6).
- Insert another geometrical set , Constructions.
II.Constructions:
- Insert Boundary for the improved surface.
- Insert parallel curve join 6 & boundary.
- Curve Smooth the boundary.
- Insert another geometrical set Flanges under construction which is a parent for Drip Area, Wheel arch, Sill, Bumper, A Pillar.
Drip Area:
- Insert 6 sweeps according to master section.
- Select Bi tangent fillet & insert 4 fillets for sweep 2, sweep 3, sweep 6 & sweep 7.
- Join sweep 8,sweep 9 & fillet 6 (Jpoin 13).
- Put edge fillet for Join 13.
- Draw a sketch.
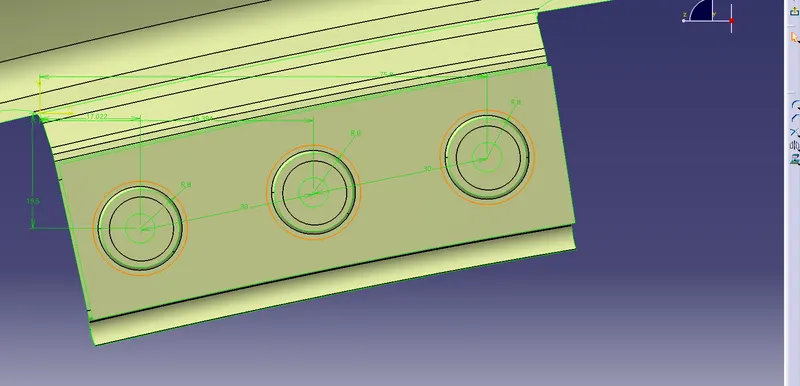
- Extrude the sketch.
- Split the extrude with edge fillet.
- Then Insert 3 sweeps at alenfth of 8mm & 10Deg.
- Offset sweep 6.
- Select Bi tangent fillet & insert 3 fillets for sweep 10, sweep 11, sweep 12.
- Trim the offset & fillet 9.
- Draw another sketch.
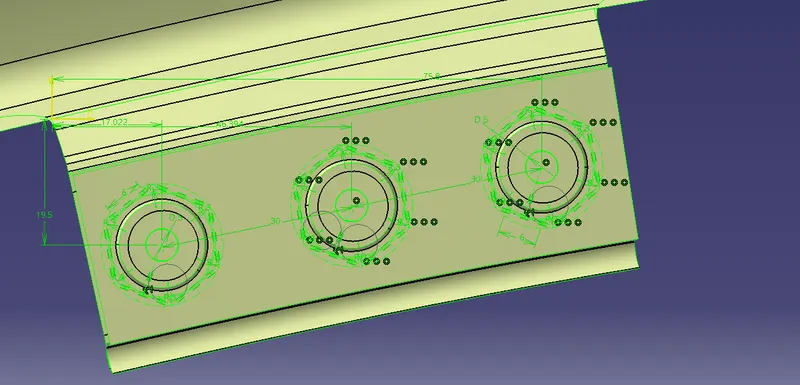
FINAL DRIP AREA SURFACE:
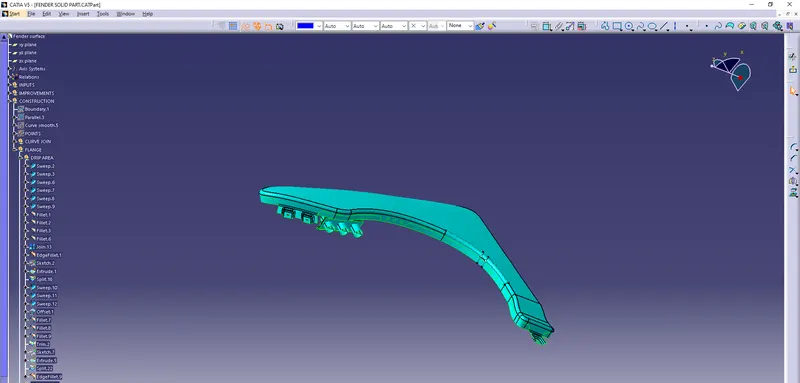
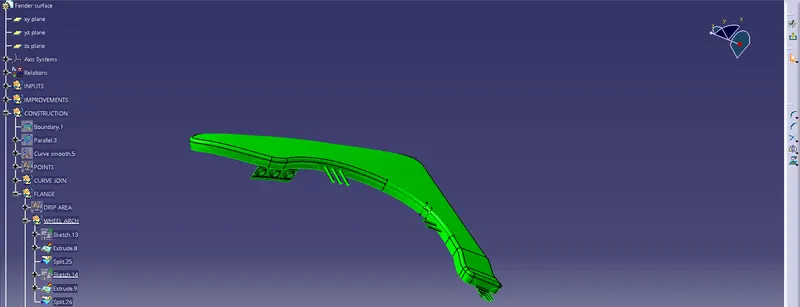
Wheel Arch:
- In wheel Arch Intially we have to draw a sketch.
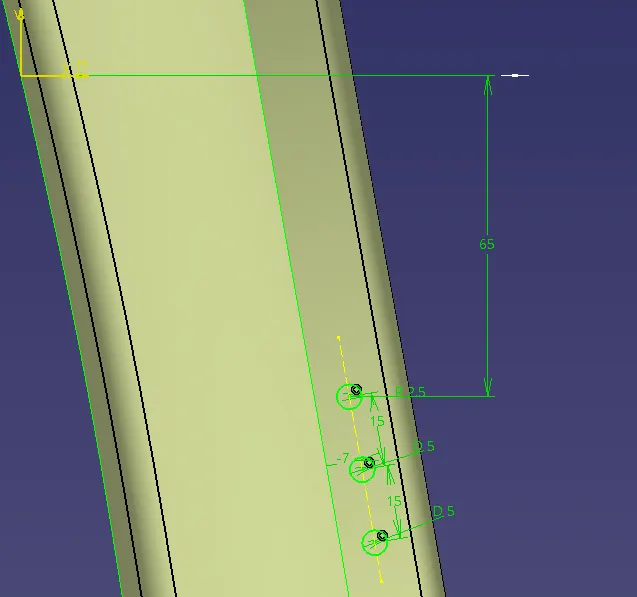
- Extude the sketch.
- Split the extrude.
- Draw another skrtch.
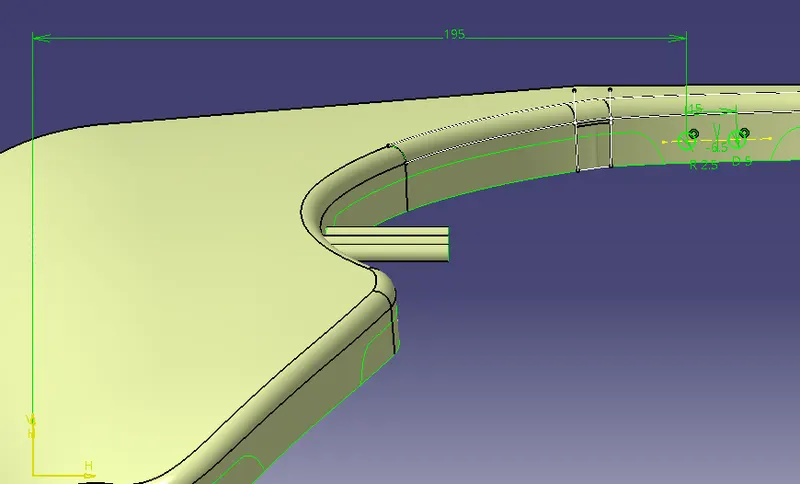
- Extrude the sketch.
- Split the extrude.
FINAL WHEEL ARCH SURFACE:
Sill:
- Create a plane.
- Draw a sketch.
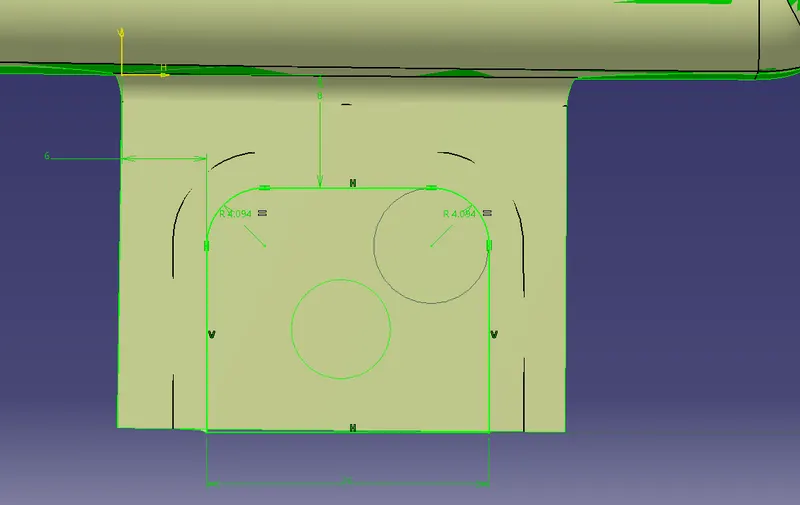
- Extrude the sketch.
- Sweep it for 25mm & 87deg.
- Split the extrude with sweep.
- Insert a Bi-tangent fillet for about 2mm.
- Again Insert another sweep for 8mm & 10deg.
- Offset the first sweep of about 5mm.
- Trim the offset & second sweep.
- Insert a Bi-tangent fillet for about 2mm.
- Insert a edge fillet of 2mm.
- Draw a sketch.
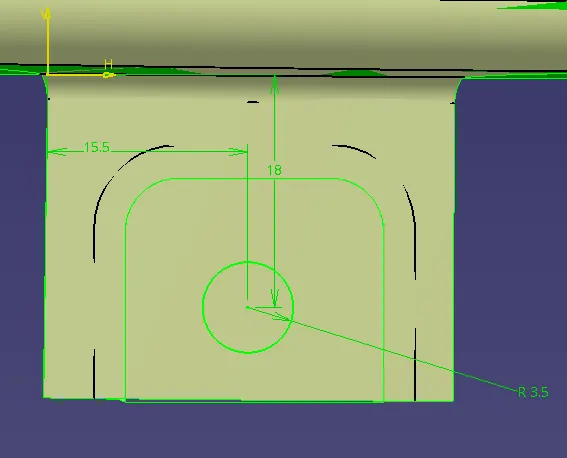
- Sweep the sketch.
- Split the sweep with edge fillet.
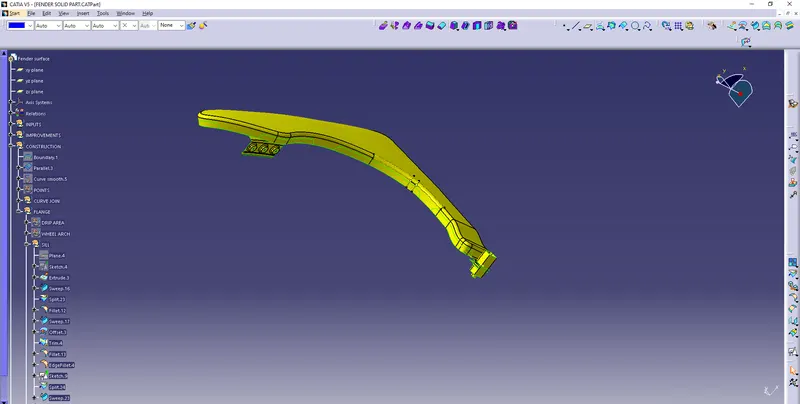
FINAL SILL SURFACE:
Bumper:
- The first step in Bumper is sweep for about 26mm & 83deg.
- Draw a plane.
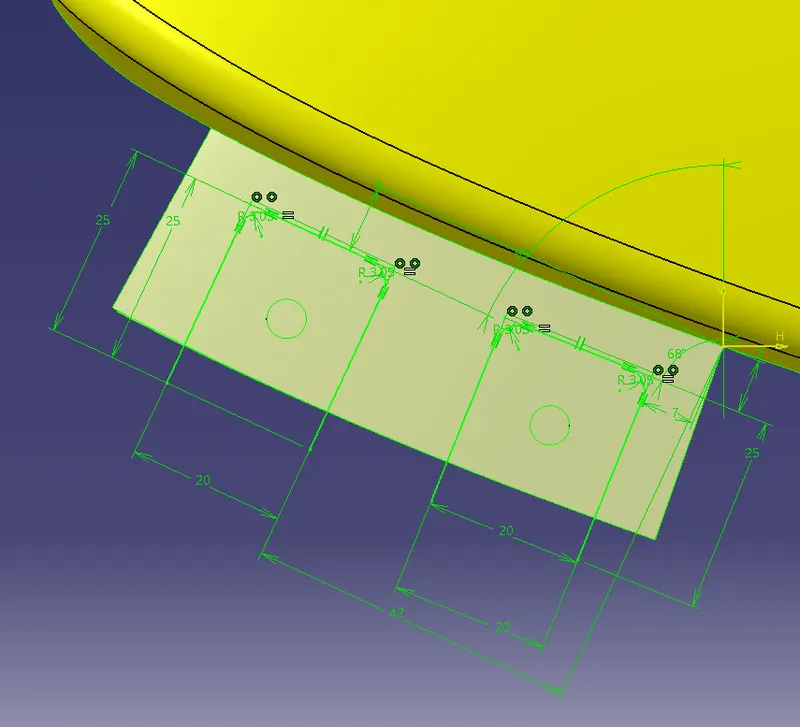
- Extrude the sketch.
- Split the extruded surface.
- Insert fillets.
- Sweep it for about 8mm & 80deg.
- Again sweep it for the same parameters.
- Offset the first sweep for about 5mm.
- Insert 2fillets & trim it.
- Insert a edge fillet fo about 2mm.
- Draw a sketch.
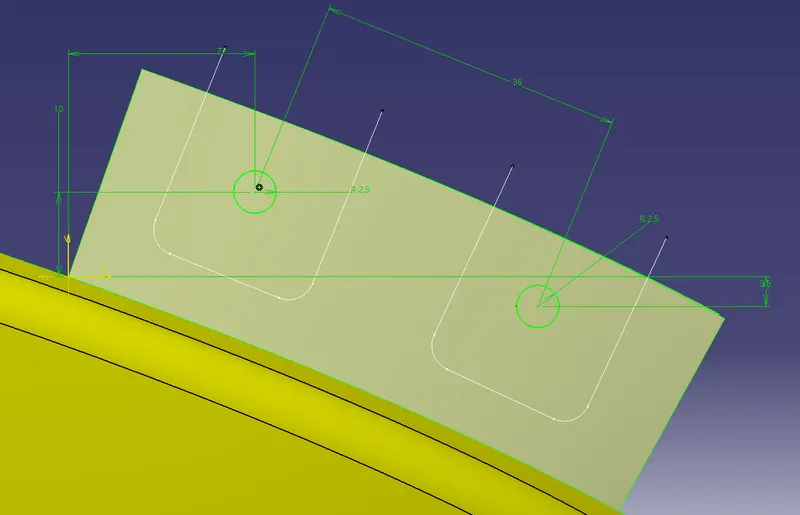
- Insert 2 sweeps & split both the sweeps with the edge fillet.
FINAL BUMPER SURFACE:
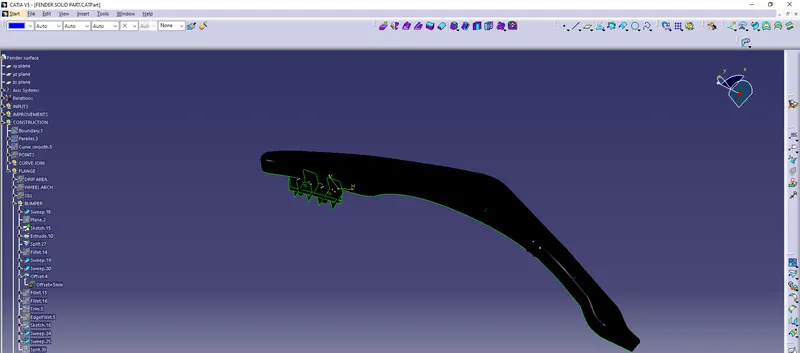
A Pillar:
- Intail step is sweep for 23mm & 83deg.
- Insert a Bi-tangent for that sweep.
- Draw a sketch.
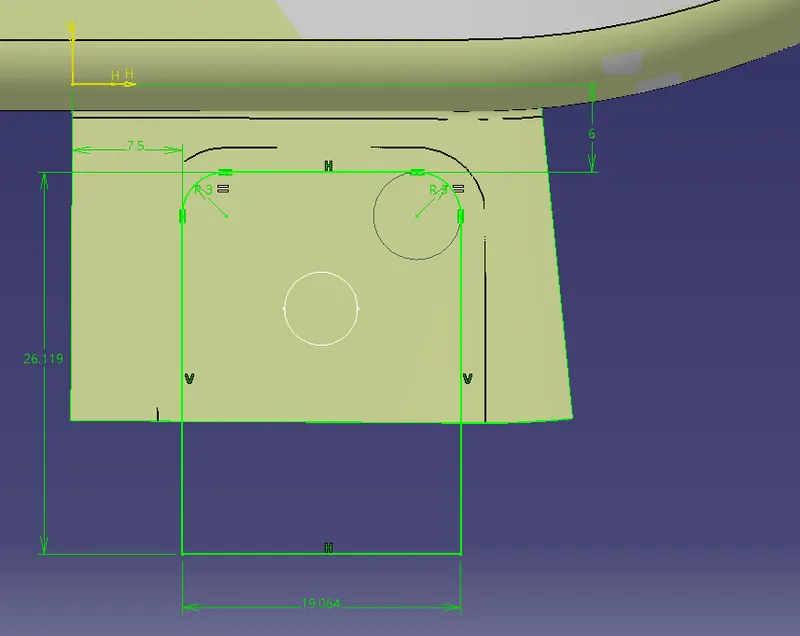
- Extrude the sketch & split it.
- Insert another sweep for about 8mm & 80deg
- Offset the first sweep for 5mm.
- Insert a Bi-tangent fillet for 2nd sweep.
- Trim the Bi-tangent & offset.
- Draw another sketch.
- Sweep the sketch for about 8mm & 83deg.
- Split the sweep.
- Insert the edge fillet.
FINAL A PILLAR SURFACE:
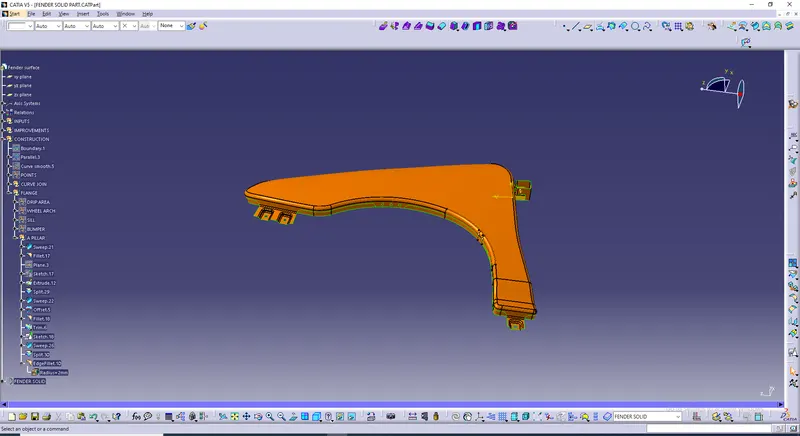
FINAL SURFACE:
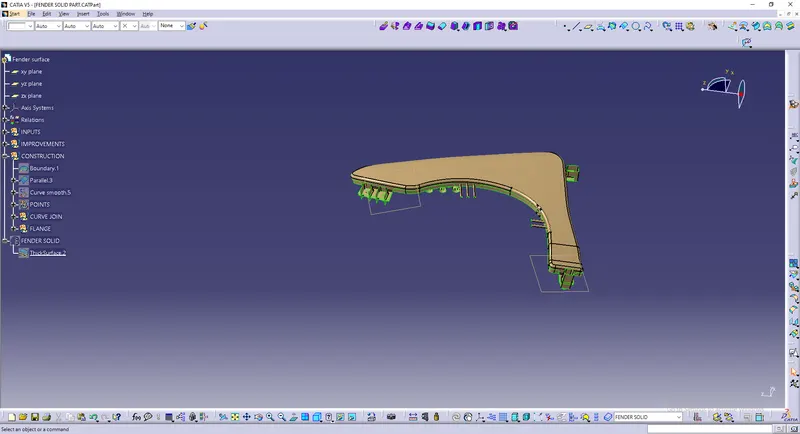
CLOSED SURFACE:
Thicken the whole suraface & make it as solid part.