Fender Design Challenge
AUTOMOBILE FENDER:
INTRODUCTION:
Fender is automobile part place above the wheel in both front and back side.
It will prevent from the chips, sand, rocks, etc. from the road to the inside parts of the vehicle.
It will also safeguard the pedestrian from these chips, sand, rocks, etc.
It is one of the main parts which cover the engine from the front side.
Below of the fender some mud flaps will be provide for extra safety to safeguard the parts.
This fender has been made by the material of steel, aluminum, plastic, fiberglass.
Fenders are available in both front and rear side.
There are two types of fenders,
1. Full bumper.
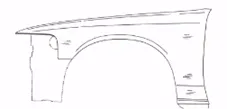
2. Half bumper.
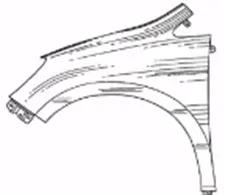
Full bumper types are used in old type vehicles and it will cover throughout the wheel. It was not considered now because there are so many material wastages are there, cost wise more, weight is more and look like in straight shape.
Half bumper types are using nowadays and using of this is, cost wise is less, material wastage is less, weight is less, and we can change the shape matching with the bumper and hood assy. by considering the aerodynamic to increase the speed of vehicle.
OBJECTIVE:
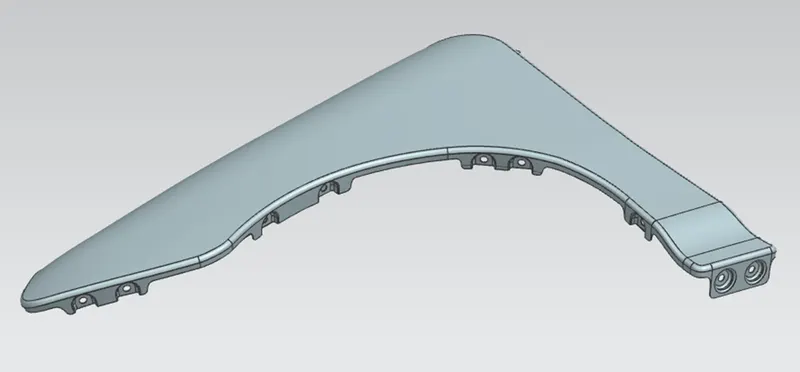
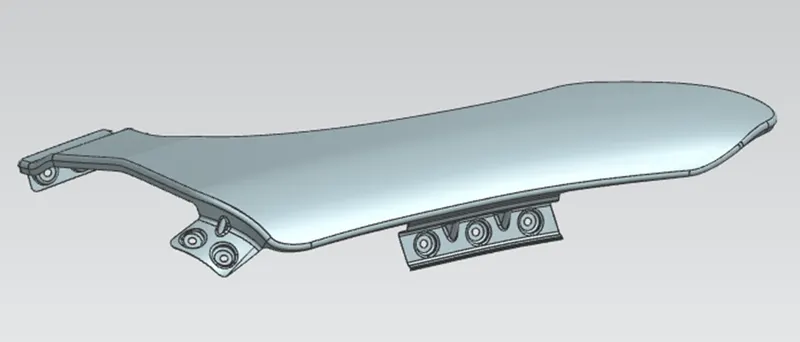
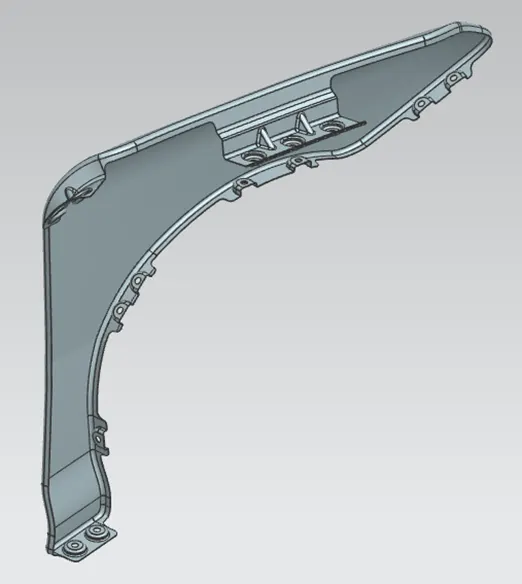
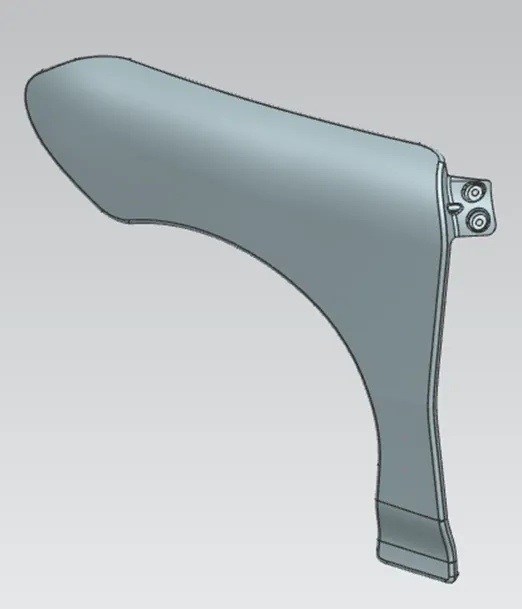
The fender has to create by using master sketch and basic surface model developed by styling team, by using this we need to create the locking area and we need to remove the unwanted surface from the given surface model.
PROCUDURE:
The fender has to be design by using master sketch and basic surface model in the following location.
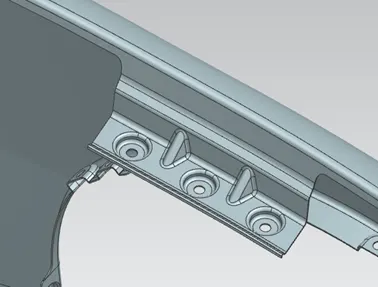
- DRIP AREA:
As per the master sketch we need to remove the unwanted surface in the given surface 3D model. We need to create the flange, mounting holes, dart for additional strength. It will connect under the bonnet & inside the engine assy. location, by using screws or bolt. Snap is pasted below.
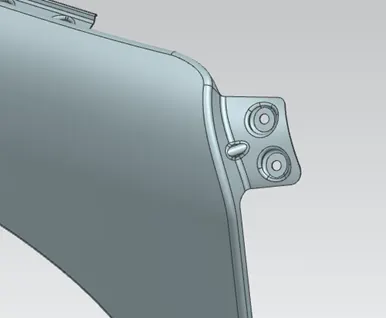
- BUMPER MOUNTING LOCATION:
After removing the unwanted material, we need to create a flange, mounting holes, dart for additional strength. It will connect at the bumper location by using screws or bolt. Snap is pasted below.
- SILL MOUNTING LOCATION:
After removing the unwanted material, we need to create a flange, mounting holes. It will connect at the bottom side vehicle by using screws or bolt. Snap is pasted below.
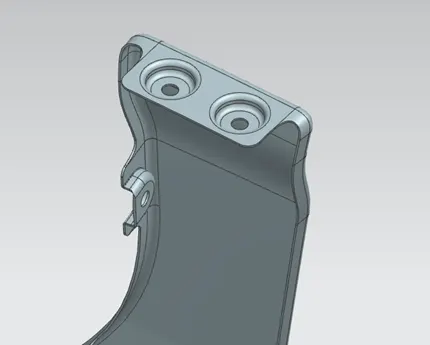
- A-PILLAR MOUNTING LOCATION:
After removing the unwanted material, we need to create a flange, mounting holes. It will connect with A-Pillar bracket assy. which is available near to the door hinge assy. Snap is pasted below.
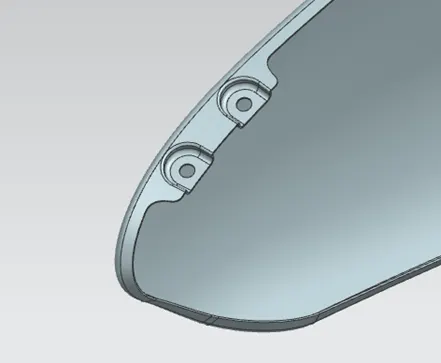
- BAFFLE MOUNTING LOCATION:
After removing the unwanted material, we need to create a flange. Mounting holes. It will help to withstand the bottom side plastic fender part by using plastic screws. Snap is pasted below.
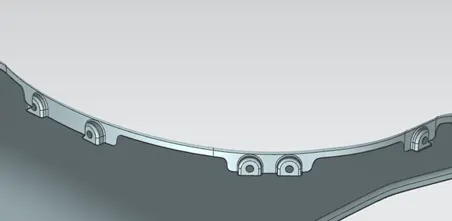
CONCLUSION:
Herewith the fender design has been completed with the required input and the indicator light cutout provision want to given if required in rare case, because nowadays the indicated was coming in the ORVM. So process cost was reduced and aesthetically was improved with proper curvature finish. (Light cutout want to do once the design has been confirmed).
IMAGES OF DESIGN: