Fender Design Challenge
FENDER DESIGN
AIM-
To develop the fender by adding the Mountings(Flanges) at the required areas.
INTRODUCTION-
Fender is the American English term for the part of an automobile, motorcycle or other vehicle body that frames a wheel well (the fender underside). Its primary purpose is to prevent sand, mud, rocks, liquids, and other road spray from being thrown into the air by the rotating tire. Fenders are typically rigid and can be damaged by contact with the road surface.
Sticky materials, such as mud, may adhere to the smooth outer tire surface, while smooth loose objects, such as stones, can become temporarily embedded in the tread grooves as the tire rolls over the ground. These materials can be ejected from the surface of the tire at high velocity as the tire imparts kinetic energy to the attached objects. For a vehicle moving forward, the top of the tire is rotating upward and forward, and can throw objects into the air at other vehicles or pedestrians in front of the vehicle.
- The material used for the fender:
- Steel
- Thermoplastic
- Types of Fender:
- Full Bumper
- Half Bumper
- Mounting of Fenders:
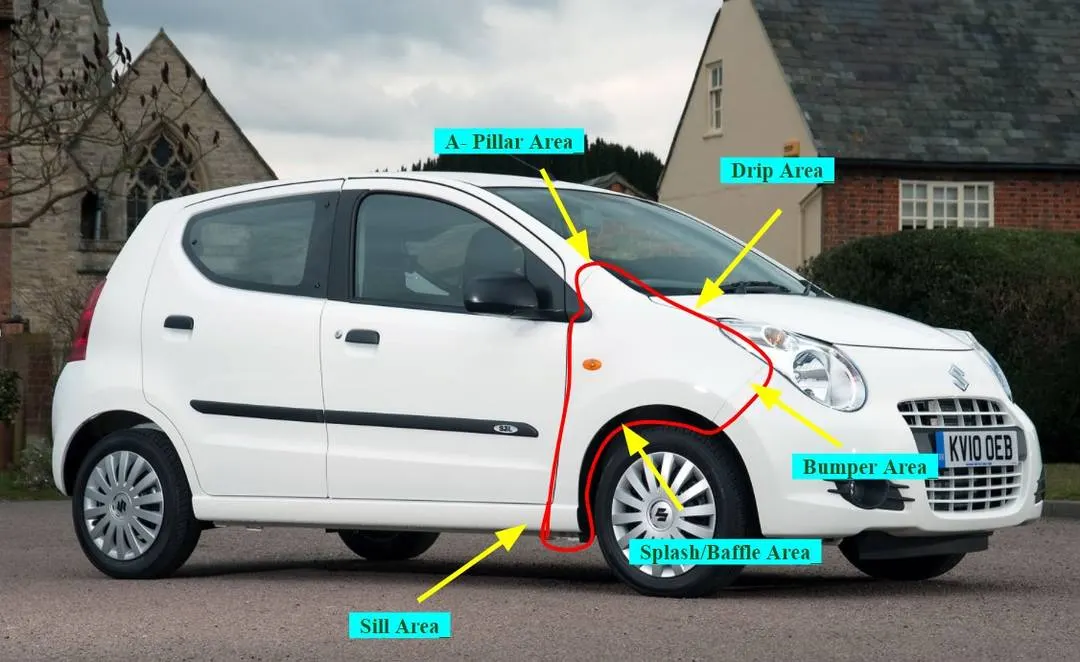
- Baffle mounting
- A-pillar
- Sill
- Cowl
- Drip
- Master Section : (Drip Area)
METHODOLOGY-
- Modifying the A-suface such a way that the filleted region is good wth lesser patches(Not recommended but if done make sure that it is excatly as the given A-Surface).
- Creating Cutout section for the mountings.
- Creating Drip flange with embossments.
- Creating Sill flange with embossments.
- Creating A-Pillar flange with embossments.
- Creating Baffle area embossments.
- Thickening Fender.
PROCEDURE-
- Open the file in catia v5 in Generative Shape Design.
- Modifying the A-suface such a way that the filleted region is good wth lesser patches.
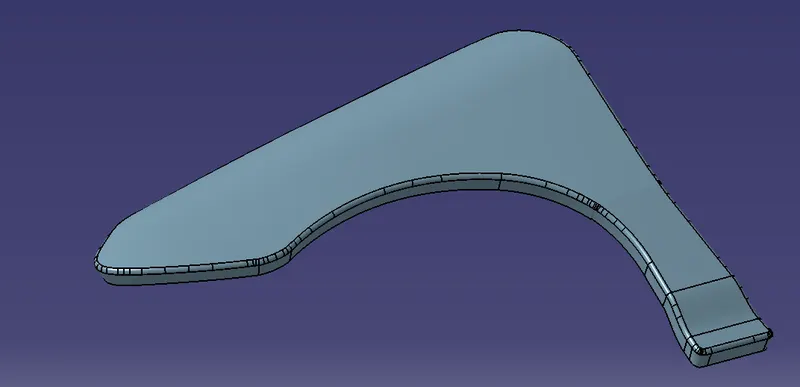 (Before)
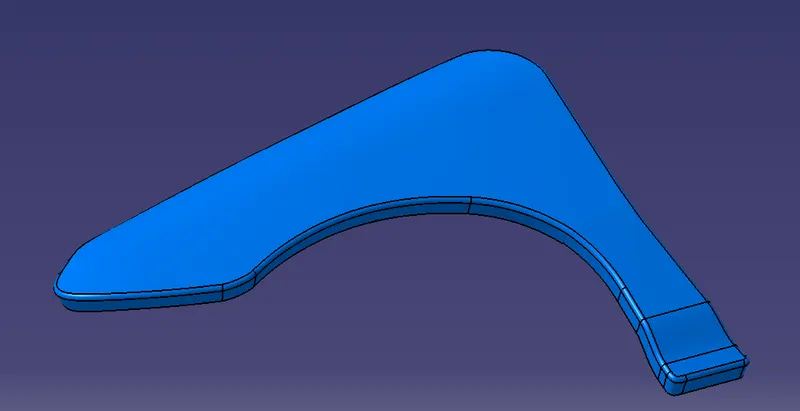 (After)
- Creating Cutout section for the mountings.
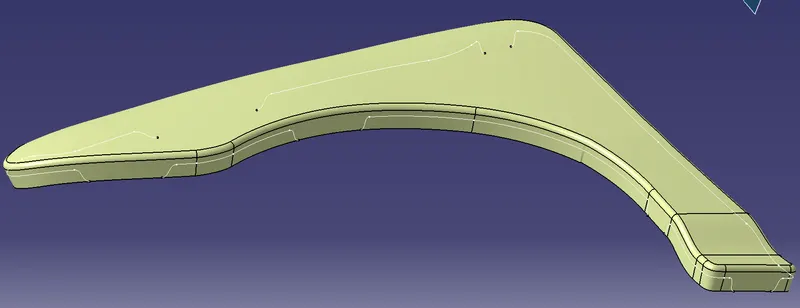
- Trim the portion.
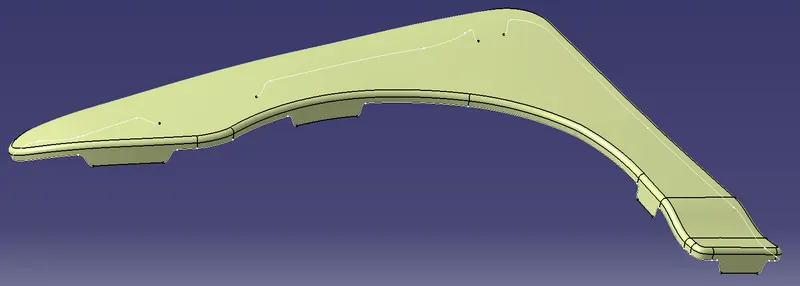
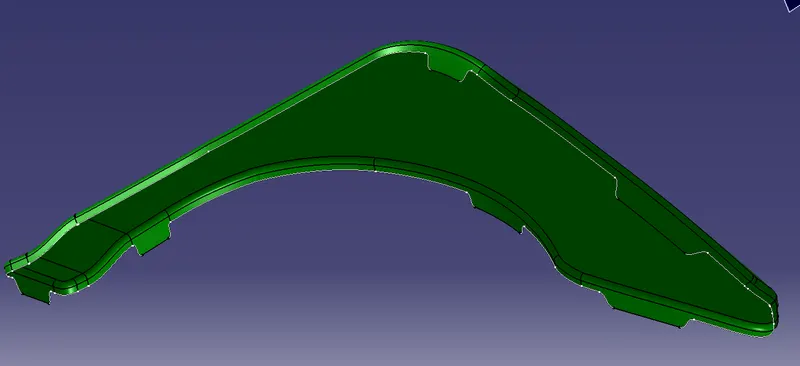
- Creating the flanges in the drip area by refering the master-sections.
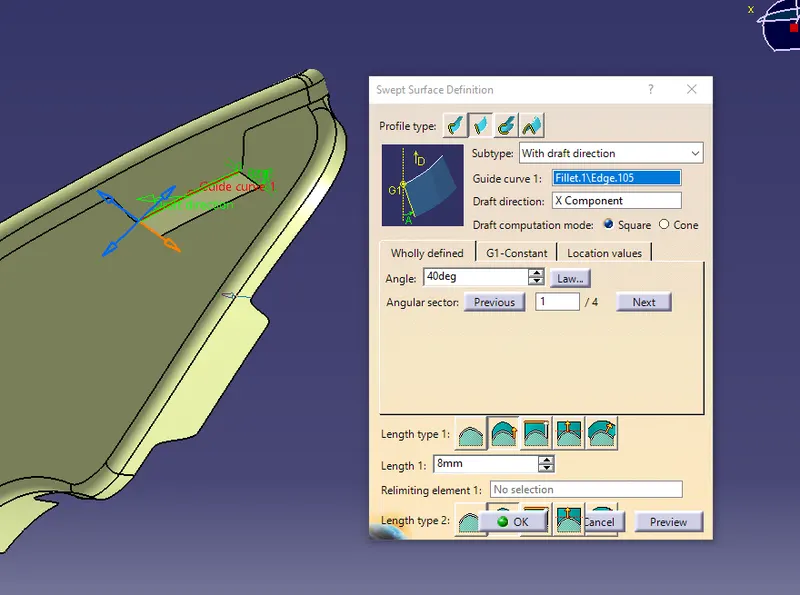
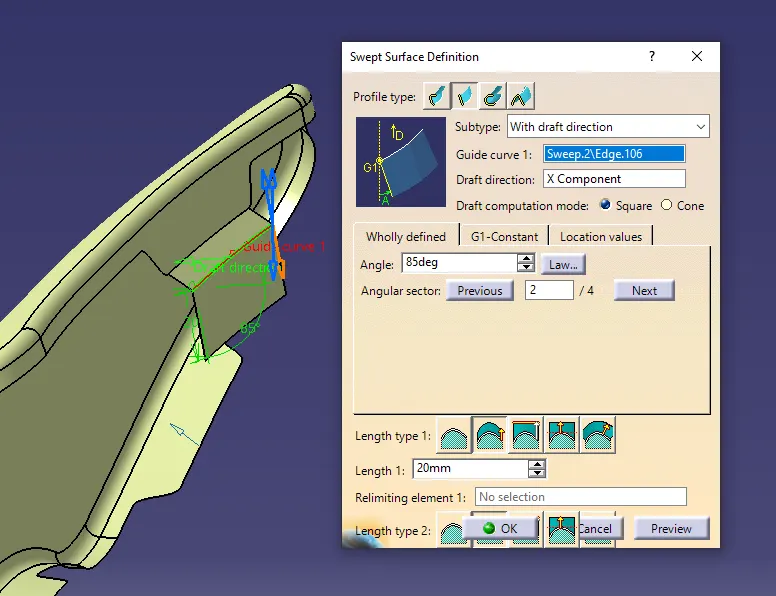
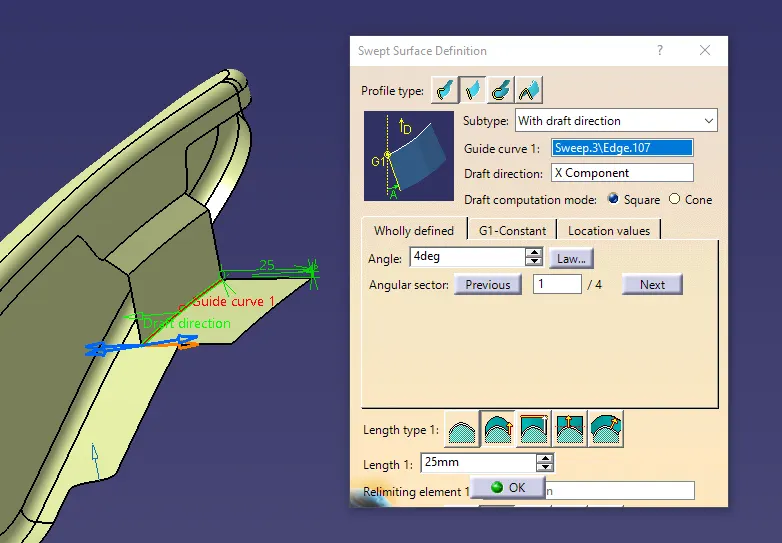
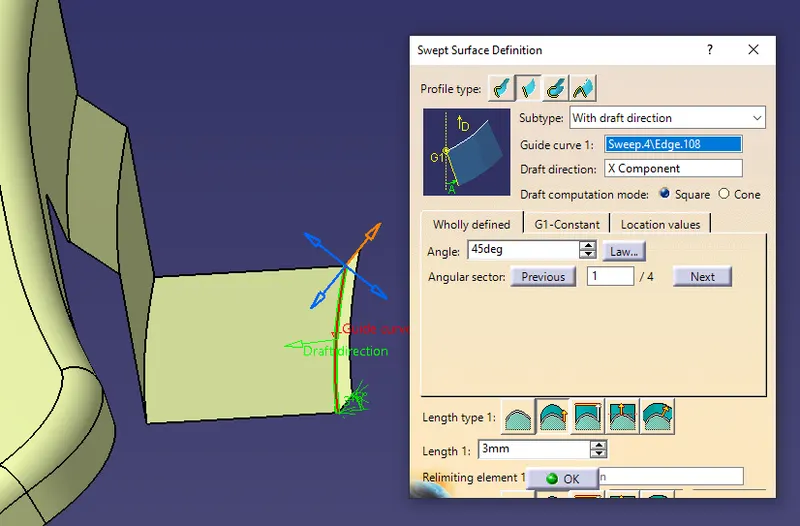
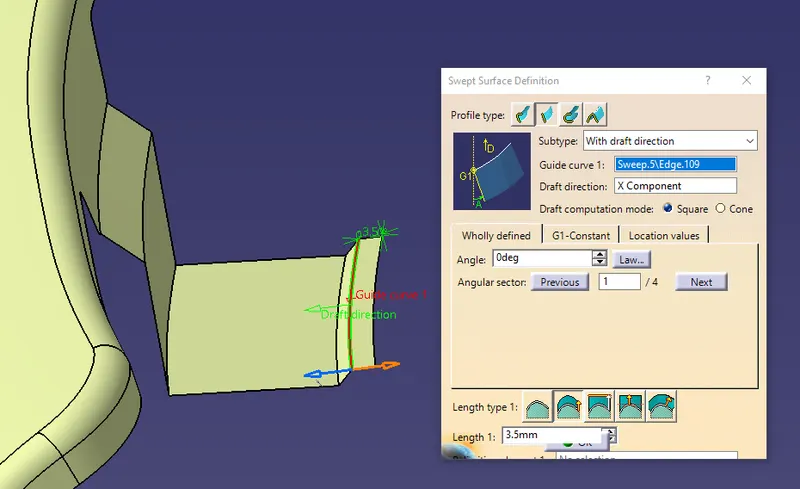
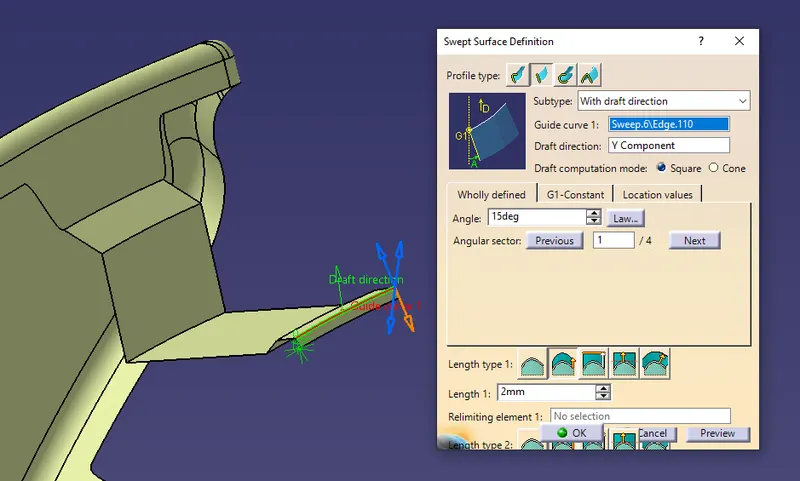
- Provide the Fillets.
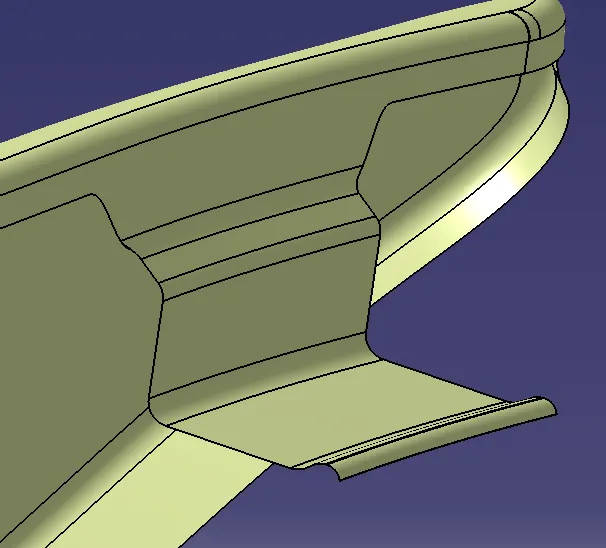
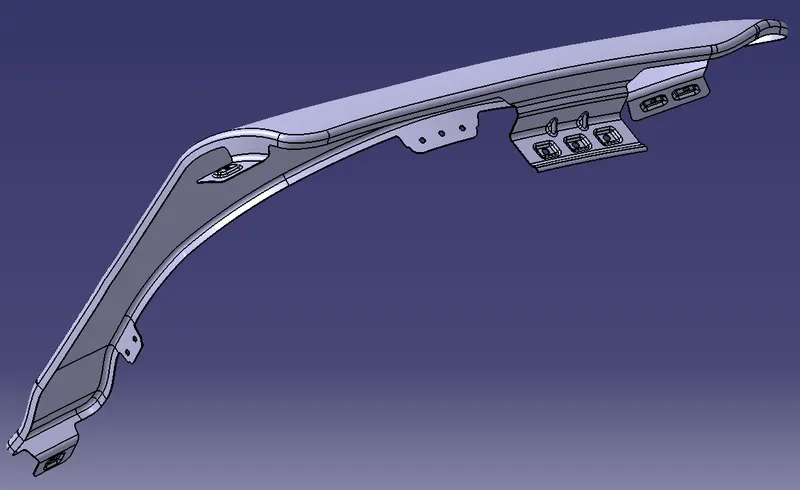
- Also Create the embossments over the flanges and give a bead in the drip area for the strength. To create the embossments create a sketch and project it on the flange.
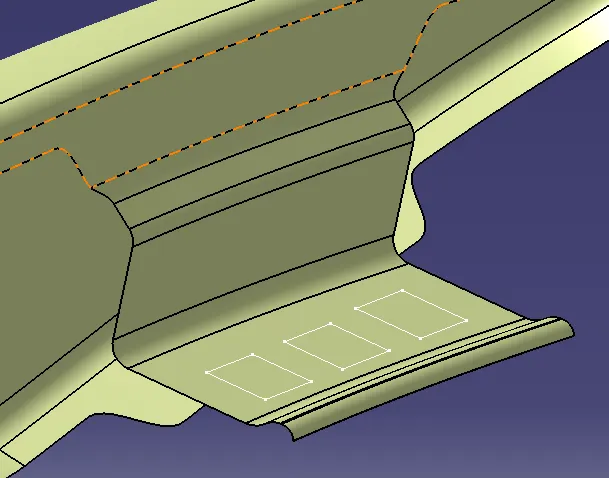
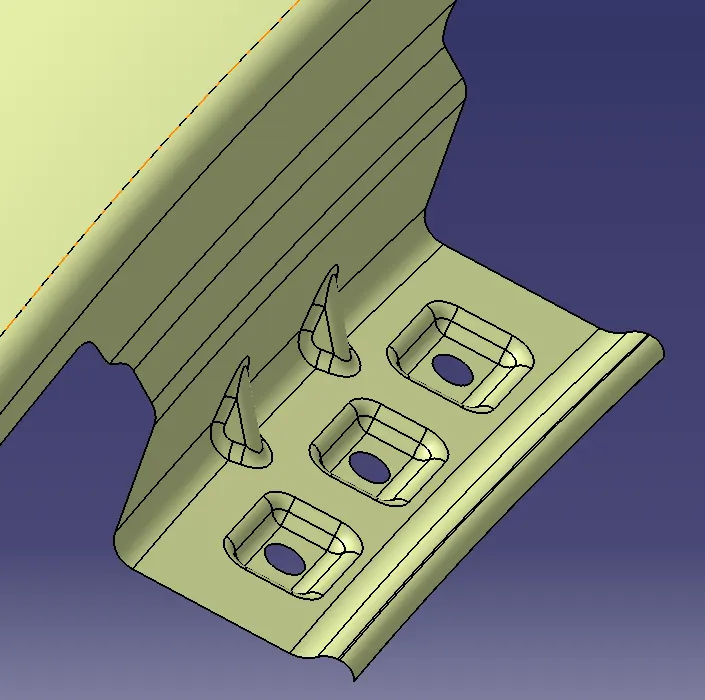
- Create the flanges in all the mounting areas like Sill, A-Pillar, Cowl and Baffle.
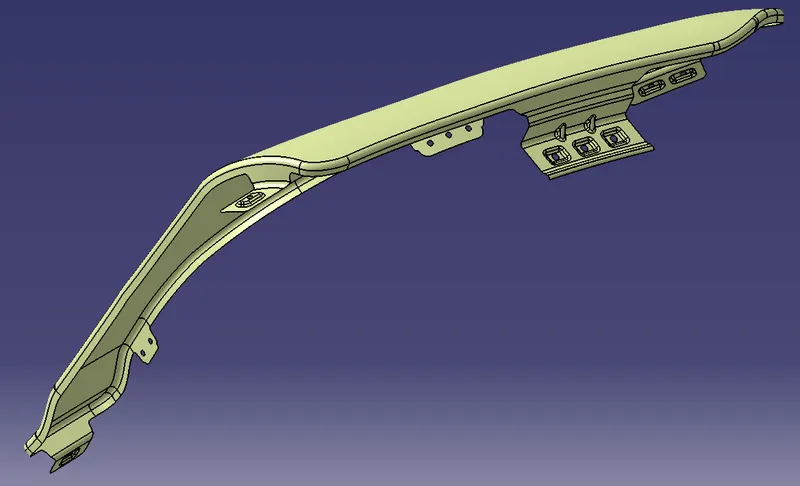
- Create the Thickened Part out of it in part body.
RESULT-
The Fender Has been Developed with Mountings for each part required and has been thickened for 0.75mm.
Terms used-
Baffle: Multi or single material (s) to ensure optimum water/air/dust sealing and dry area protection.
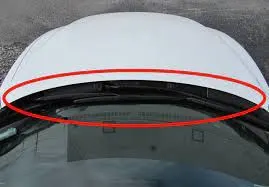
Cowl: A cowl is a panel that covers the gap between your car's hood and windshield. It supports both the windshield and the dashboard while also protecting the area between the windshield and the hood.
Drip: It is the area through which the fender is attached to engine housing through fasteners. There should be some consideration followed to design the drip area of the fender. From the backside of the front fender, there will be 200mm clearance for the cowl(wiper motor) mounting area.
Sill: The rocker panel, or sill, is the part of the car traditionally running between the wheel-arches beneath the doors.
A-pillar: The roof support structure on either side of a vehicle's windshield. On a typical sedan, additional pillars are located between the front and rear doors (B pillar) and on either side of the rear window (C pillar).