Fender Design
Fender Design
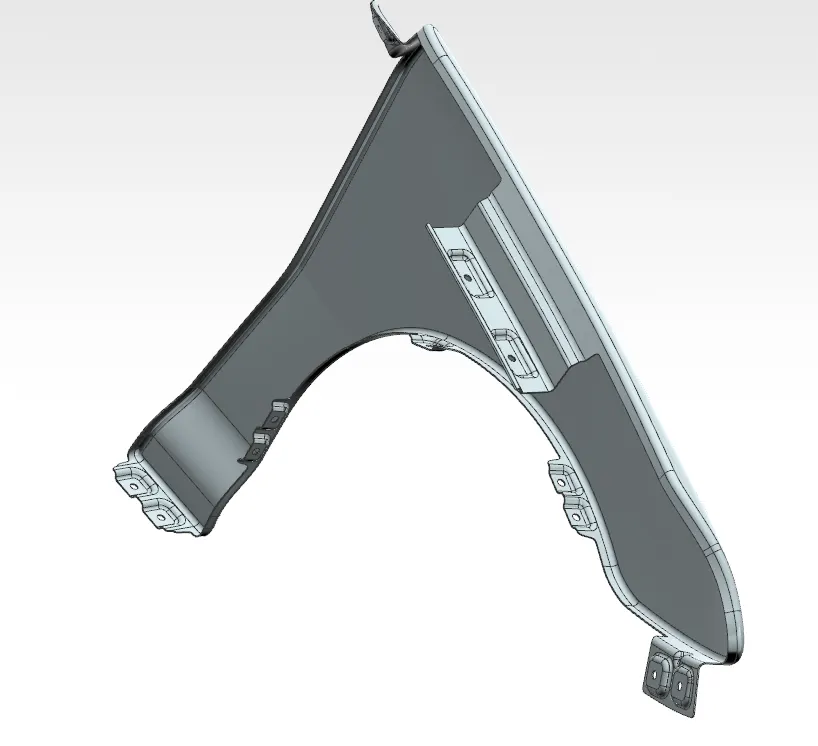
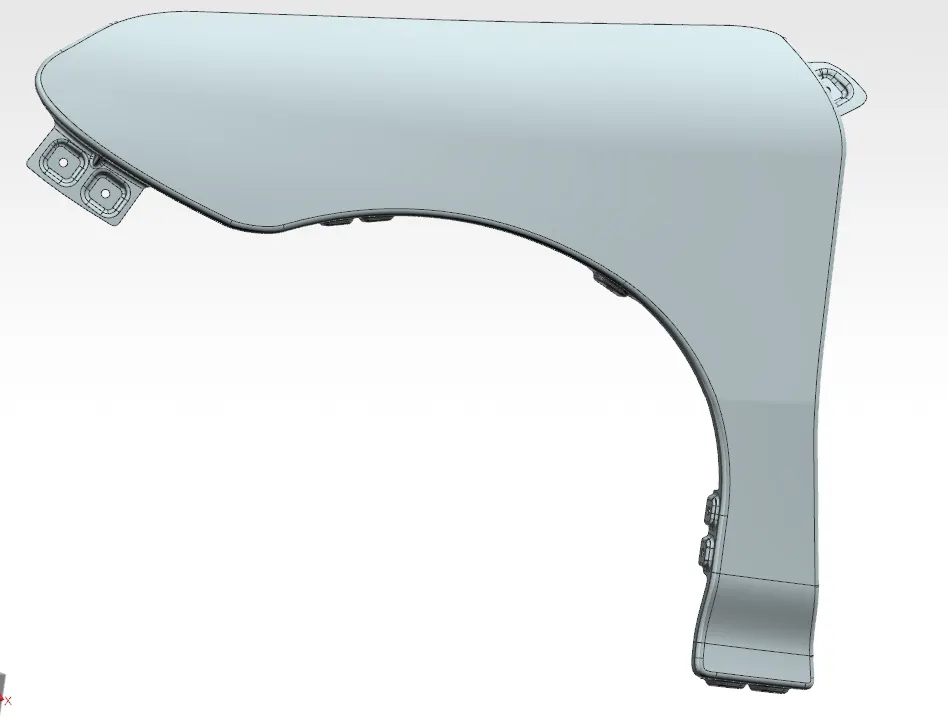
Fender is an important part of the vehicle that protects the important components of the vehicle from debris , water etc. being kicked up by the rotating wheel. It is located above the wheel.
In case of minor collisions or impacts, fenders are designed to absorb and distribute some of the energy, reducing the potential damage to the rest of the vehicle. In more severe accidents, fenders can crumple or dent, absorbing more impact force and helping to protect the occupants inside the car.
Design : -
The skin file of the Fender provided is downloaded and opened in the NX cad software. Before thickening the surface, different mountings are to be designed on the skin data. It is necessary to fasten the fender to neighbouring parts. The important mounting areas of the fender to be designed are,
- Drip Area
- Bumber Mounting
- A-pillar Mounting
- Sill Moounting
- Baffle Mount
Drip Area:-
The Drip area is designed by following the Master section given in the question. The Law extension tool is used to take the projection from the edge of the skin.
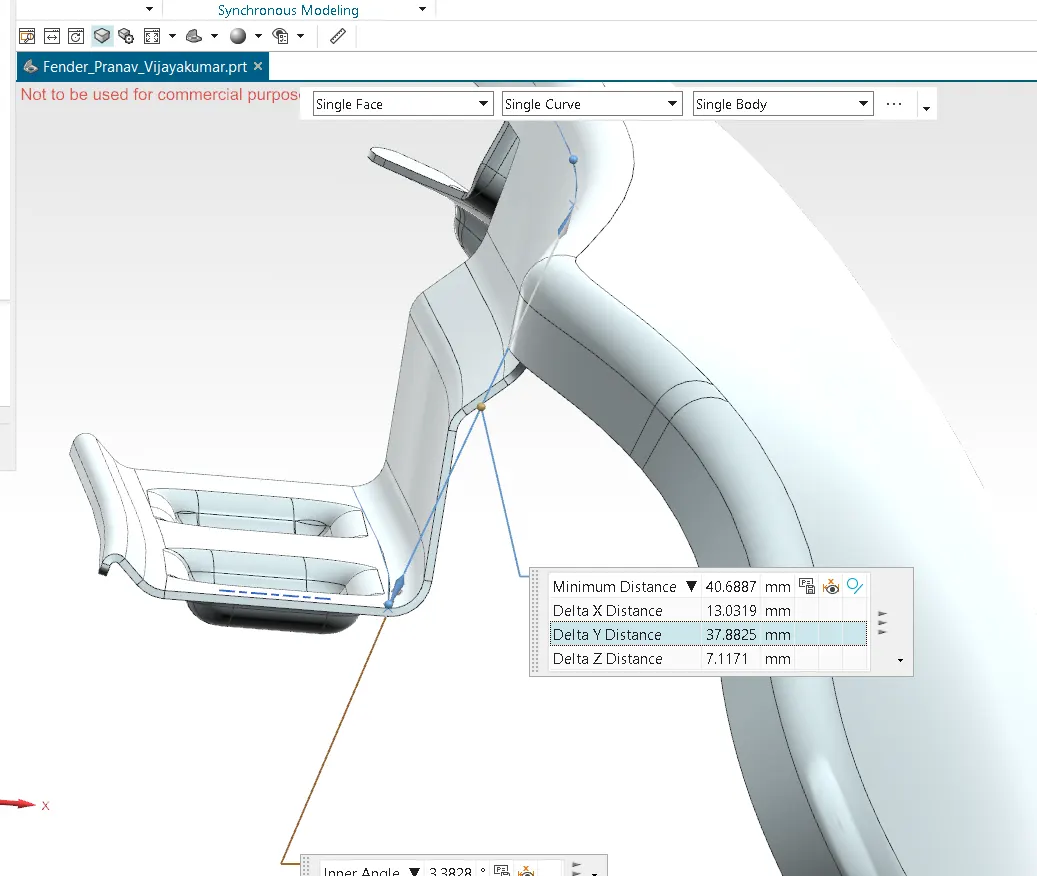
As in the master section the depth of the drip area is less than 40mm (Distance along y).
A flat projected surface is creared using Emboss tool. And a 5mm hole is created for the fastening. Enough flat area is given around the hole.
Fillets are given to all edges as in the master section.
A-pillar mounting:-
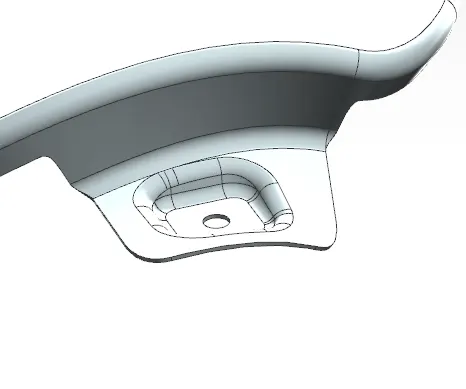
Using the law extension a support plate is created for the A-pillar mounting. And a flat suface for fastening hole is created using emboss tool
Bumber mounting :-
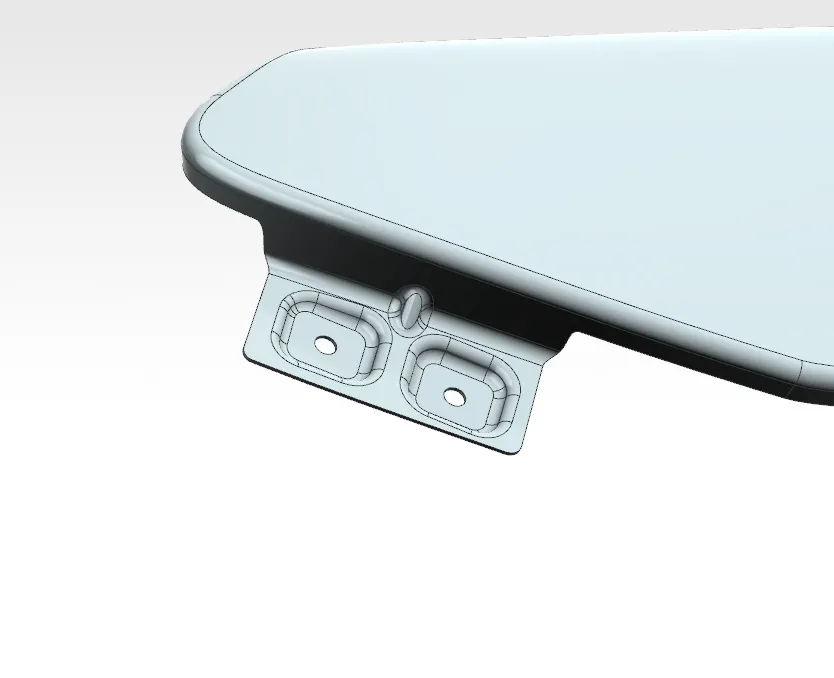
Using the law extension a support plate is created for the bumber mounting. And a flat suface for fastening hole is created using emboss tool. Also a rib is created for stregthening the munt using dart tool.
Baffle Mount:-
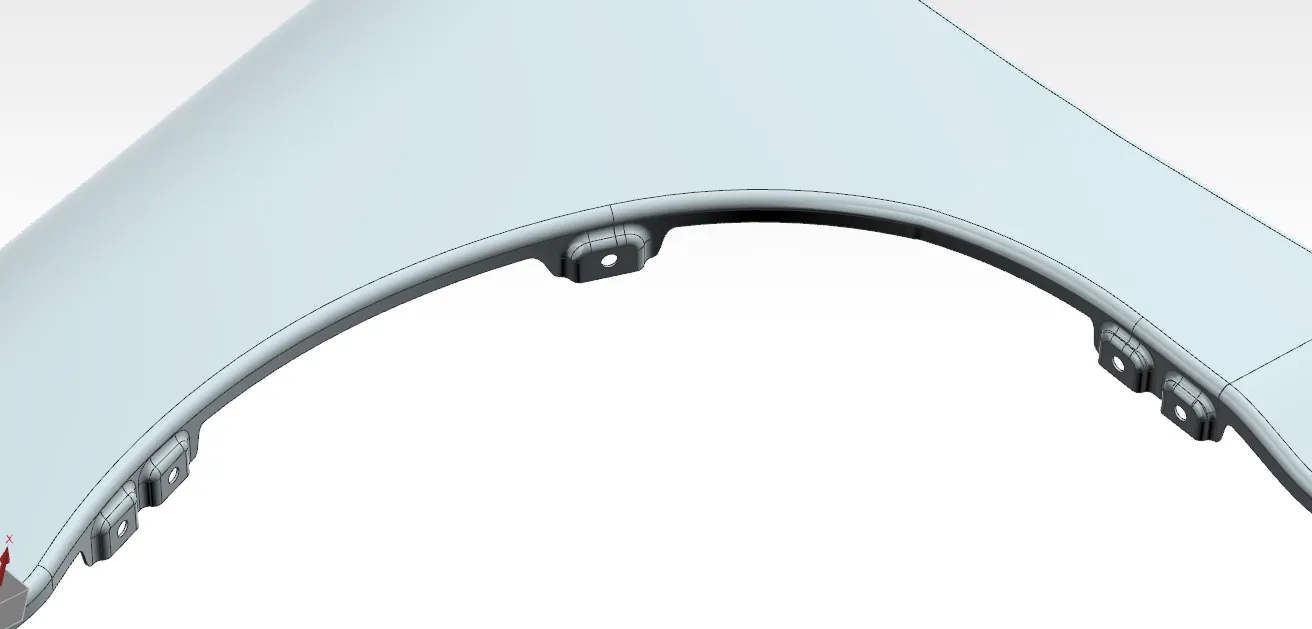
Edge is trimmed after creating a curve on surface for the baffle mounting. And a flat suface for fastening hole is created using emboss tool.
Sill Mount:-
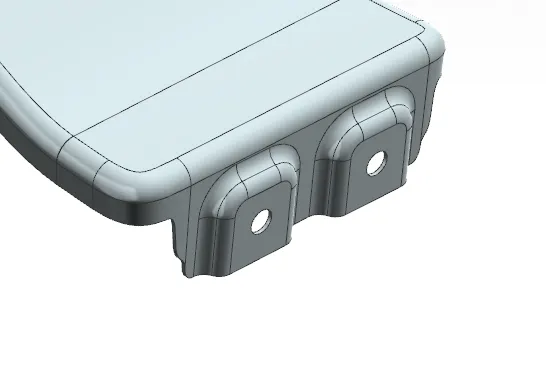
Edge is extended and trimmed after creating a curve on surface for the sill mounting. And a flat suface for fastening hole is created using emboss tool.
Thickening :-
The surface is thickend using thicken tool to 0.75mm. And suitable fillets are created on sharp edges.