Fender Design
Fender Design Challenge
Objective: To design the fender of a car from given skin data and provided master section for the drip area. Further designmountings – a-pillar mounting, sill mounting ,body or hood mounting and cowl mounting.
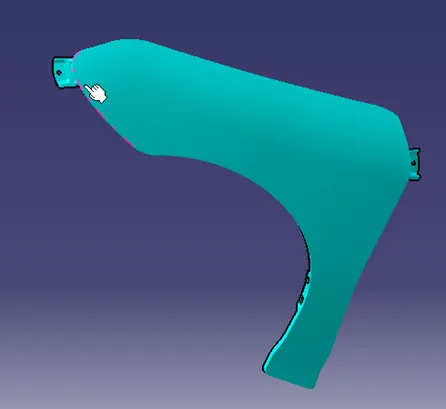
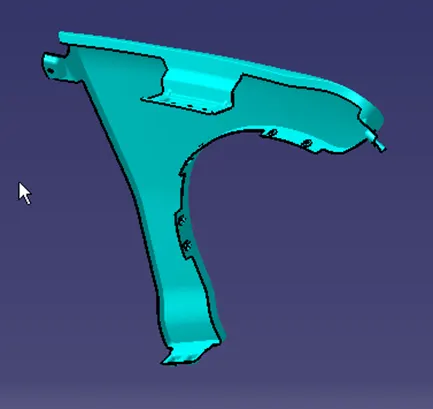
Fender
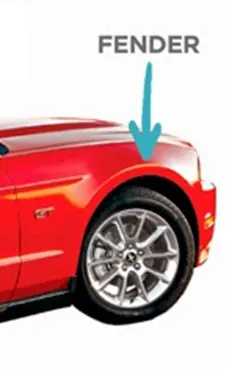
A fender is a curved panel that sits above the wheel of a car and runs from the bumper to its door. Fender is used in cars to prevent mud, slush and other debris from coming into contact with the tires, braking system, suspension system and other parts of the vehicle ,making them work more efficiently. It also stops the mud and dirt from being flung up at other vehicles and pedestrians on the road. Further fender acts as a shield, protecting your vehicle’s paint from scratches by preventing the mud from splashing all over the car.
Material of Car Fender: Earlier cars were heavy duty machines that cruised down the road with special kid of confidence. So, earlier fenders were made up of solid steel. They were thick and sturdy, just like old cars. But new technology allowed ne materials to come into play in the car industry. Now cars are designed to resist rust and other detrimental conditions. As metal tis prone to rust quickly, car fenders are now made of some combination of plastics. Other materials are sometimes used in vehicle construction, and technology has allowed for more solid plastic blends to replace metal. However fender in this challenge is made of a metal sheet considering sheet metal manufacturing techniques.
Role of fender in aerodynamics of a vehicle: Apart from their regular function of protecting the car from mud splashes and debris, fenders also play a crucial role in improving the aerodynamics of the car. Tpo put it simply, when the tires are snipping at high speeds, they generate alot of drag due to the turbulance they create. A fender that houses the wheel helps to reduce that turbulance. This is due to the curved design, hich increaes the vehicle's aerodynamic efficiency.
Manufacturing Processes involved in the manufacturing of the Fender:
- SHeet metal stamping
- Sheet Metal forming
- Punching
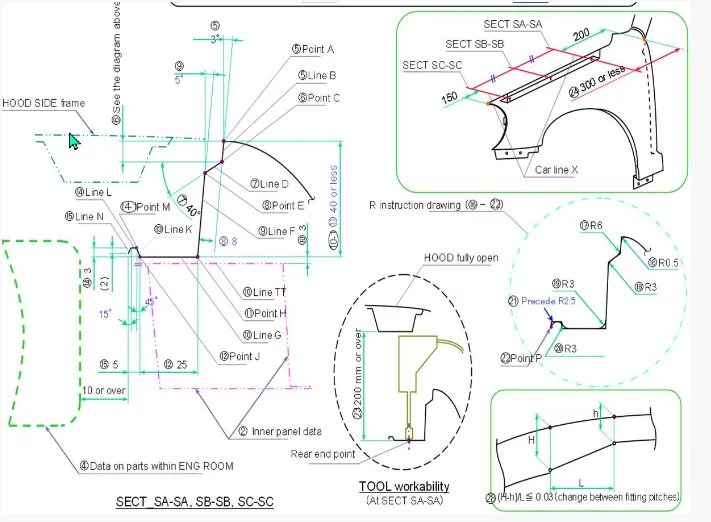
Master section for the drip area craeation:
Design Considerations:
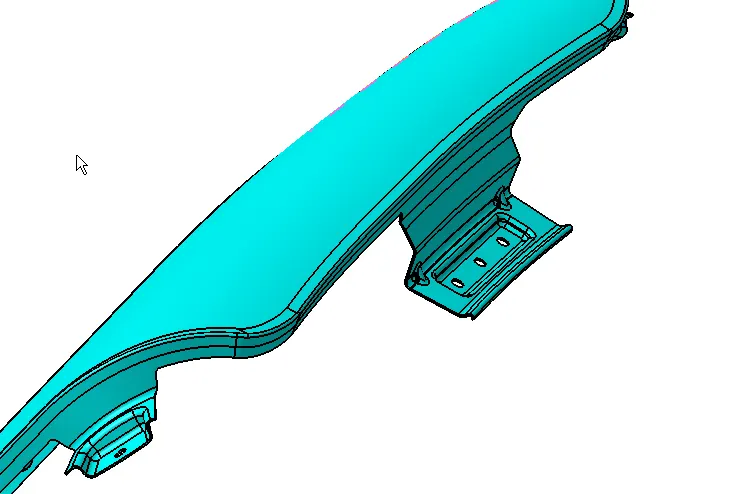
- The drip area is the most important mounting in a fender, it is the point where the fender has to be attached to the engine compartment.
- The drip area should be designed in such a way that it should be at least 150mm away from the front end of the fender to have sufficient space for mounting headlamps housing.
- Mostly the drip area starts from 200mm away from the rear end of the fender, to have sufficient space for the cowl which carries the wiper equipment.
- The length of the drip area depends on the length of the fender.
- There should be 200 mm minimum gap height between dirip area and the hood in open condition for the tool workability.
- The drip area flange distance should be controlled to avoid the spring back effect and reducing the vibrations.
- Flat surfaces are to be created at the mating positions of the mpounting and the parts to avoid vibrations and propers clapmping ith fastners or the by other means.
Fender Mountings:
There are five mounting positions for the fender:
1. Drip area mounting
2. A-pillar mounting
3. Sill mounting
4. Bumper mounting
5. Baffle mounting
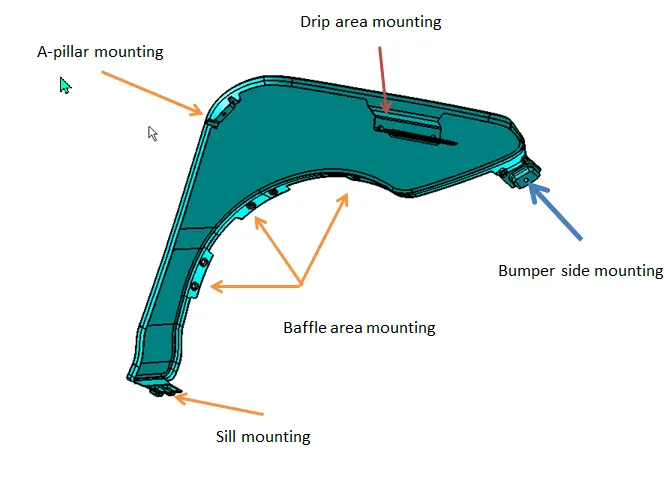
1.Drip area mounting:
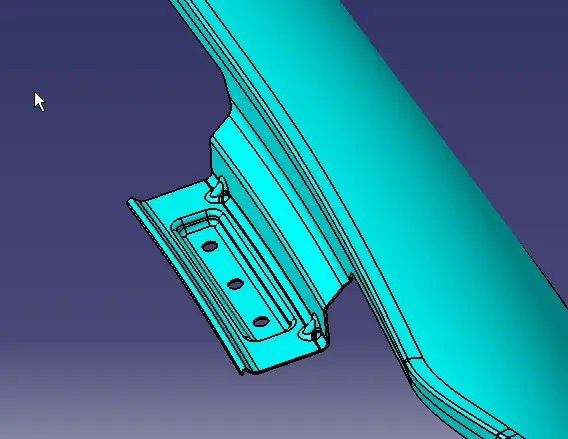
2. A-pillar mounting
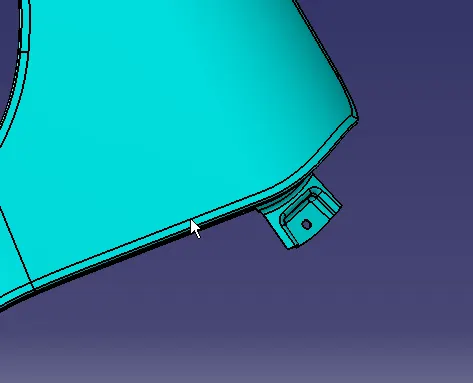
3. sill mounting
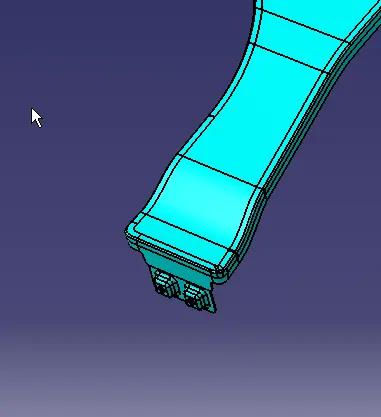
4. Bumper mounting
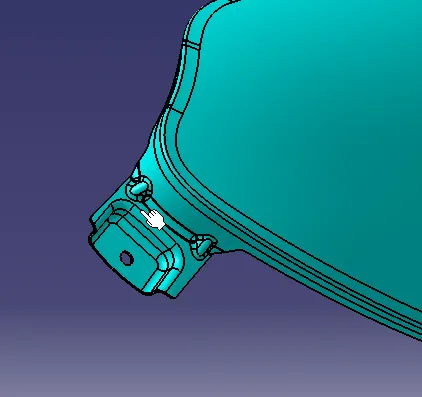
5. Baffle mounting
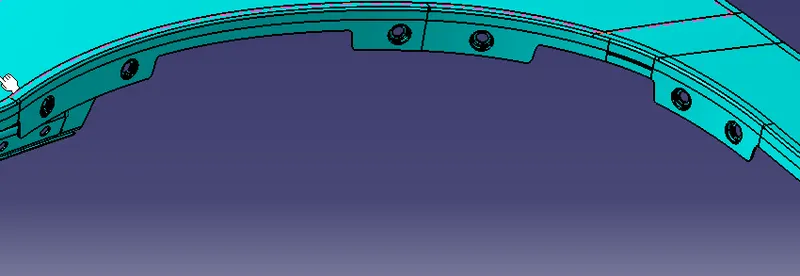
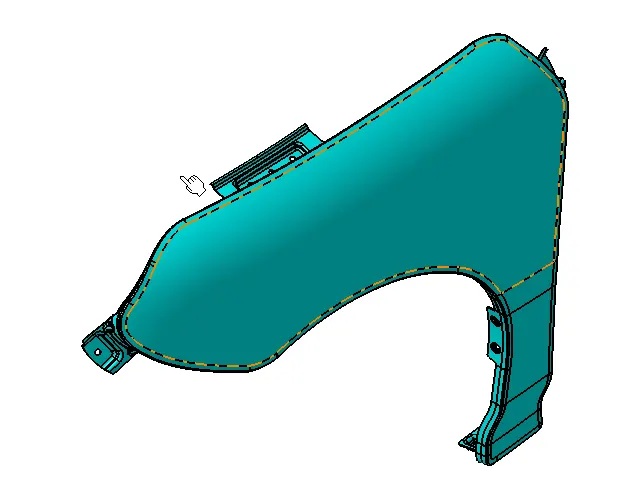
Parts Images
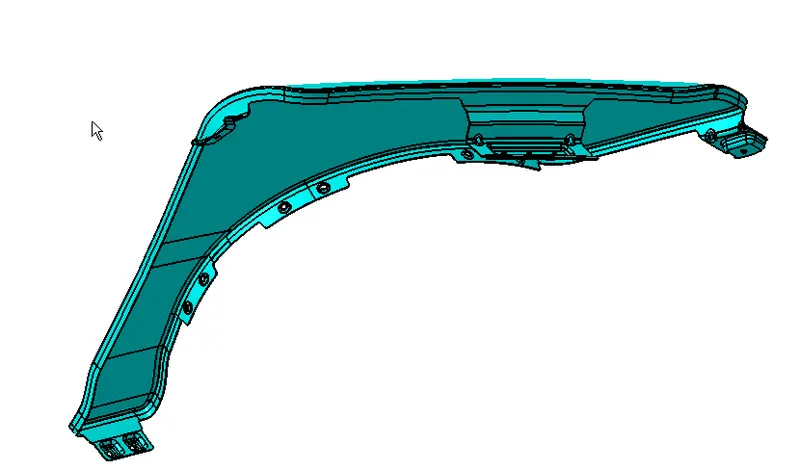
Conclusion
Fender is successfully created as per the master section for the Drip area and other mounting for the fender and craeted.