Fender Design
FENDER DESING -WHEEL ARCH
Definition :
Fender are panles on a cars that are located on the sides of cars in the front doors. They sever a numbers of functions ,not atleast of which is aesthetic. drivers may be most familiar with fender in the context of “fender-bender” ,a minor accident which the fender of cars dented or damaged as a result of collision.
Where is two types of fenders in automobiles.
- Full bumper
- Half bumper
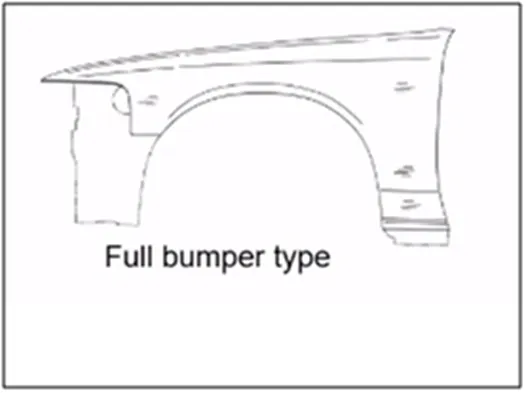
- Full bumper type:
Full bumper is fender which used in early days to the automation industry , which cover the car upto bumper. Now days the usage of full bumper type is reduced in automation. It is mainly used in sports cars.
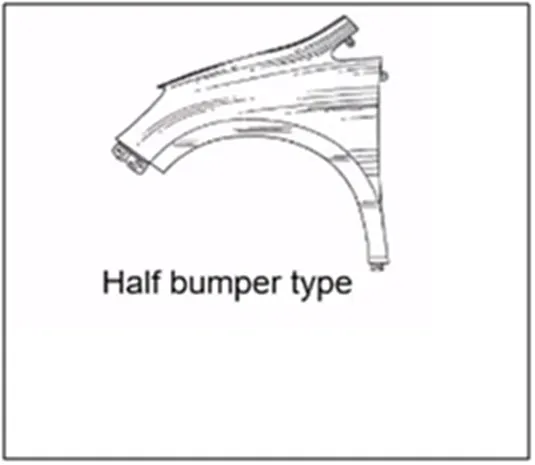
- Half bumper type:
Half bumper type is a fender using in now days vehicles. For reducing the space for fender half bumper types are used. Eventhough is also mainly used for reduce the vehicls weight.
.There are five type of mounting points in fender:
- Body
- A-pillar
- Sill
- Cowl
- Drip area
Body:
In the fender there is a body mounting which mounts on the cars body or the cars.it may bolted on the cars body.
A-pillar:
it is another types of mounting which fender mount on a-pillarwhere a-pillar the part where it is the frame of win shield holder which the cars front glass
.
Sill:
Sill the part of mounting in fender which is located in bottom of the cars .it is highly used to lift the car for the service purpose.
Cowl:
Cowl is one of the mounting part of the fender. Cowl is part made by plastic where the wiper motor are placed in the cowl parts
Drip area:
Drip area is the important part of mounting which is mount in engine compartments. 150mm distance is kept from the front side. and the distance 300mmaway from the rear side of the fender. the total length of the drip area is lesser than then 40mm.this may be avoid some spring back effects in manufacturing sides. there should be 10mm away from the engine side.
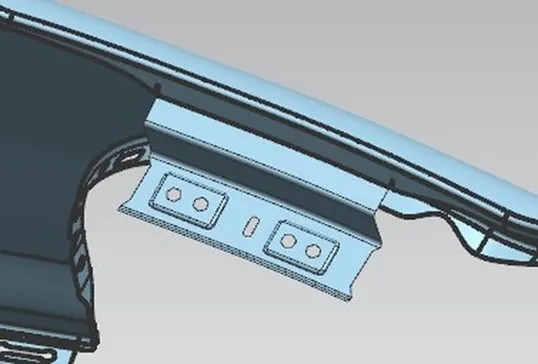
Main function of front and rear fenders:
the main usage of the fender is used to keep dirt, dust and road debris away from the wheel and the front braking system .many have some flaps and wings that are designed enhance to protect functions. The fender will also keep the debris off of the rest of the car as well, which will useful in car throws up a rock or stick from the road. And there are rear fender also know as quarter panel.
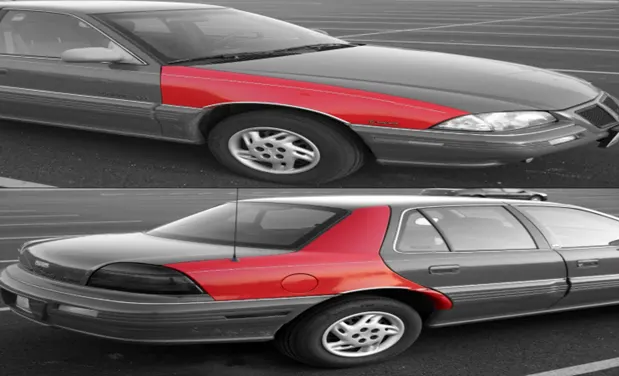
Calculations of wheel arch:
in this image it may have some approximate calculation of fender .
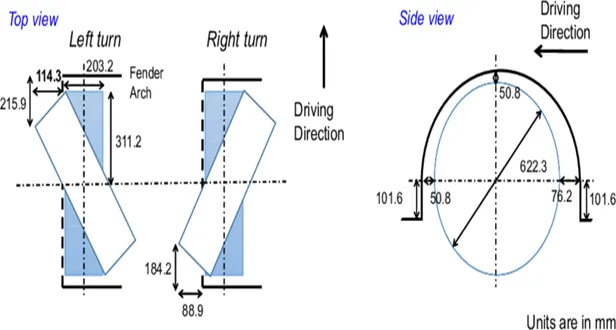
FENDER DESIGN
AIM:
create the fender design by using given data skin of fender.
PROCEDURE:
Step1:
Get the skin data in the NX cad software.
step2:
offset curve in face in given data skin.
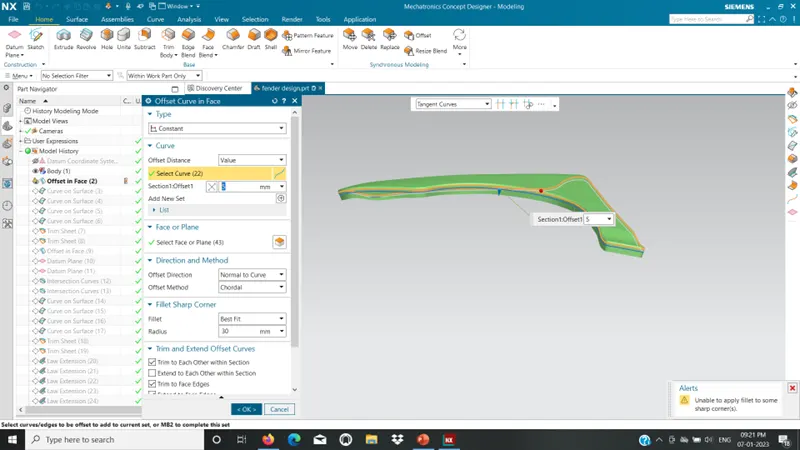
step3:
curve on surface in bumper mountings.
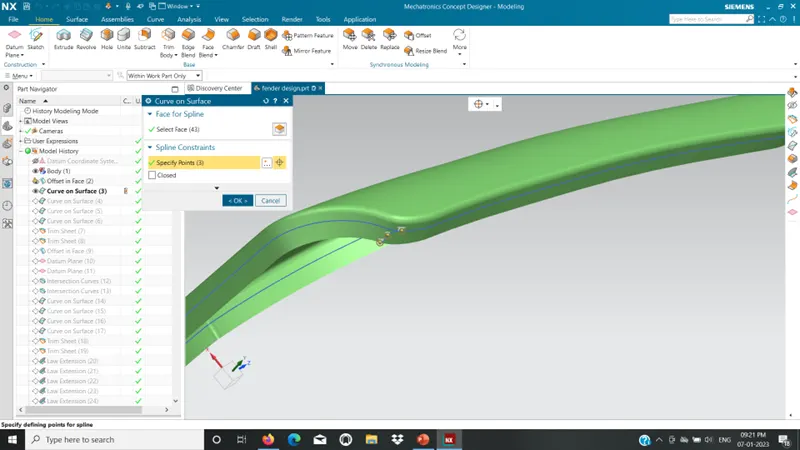
step3:
same procedure in sill area.
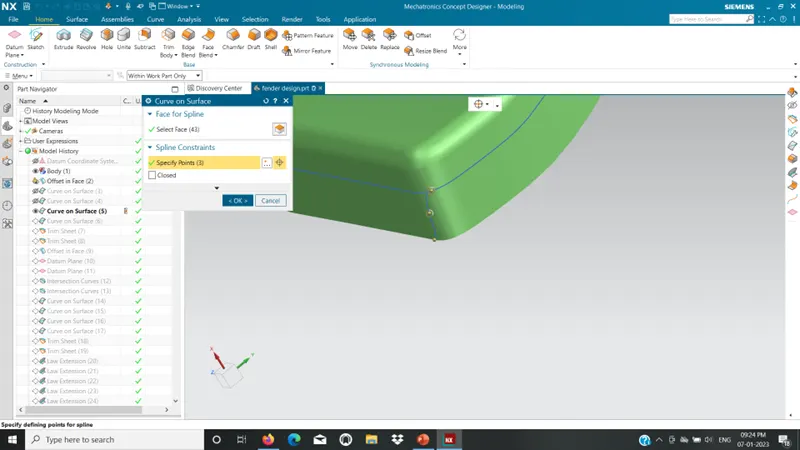
step4:
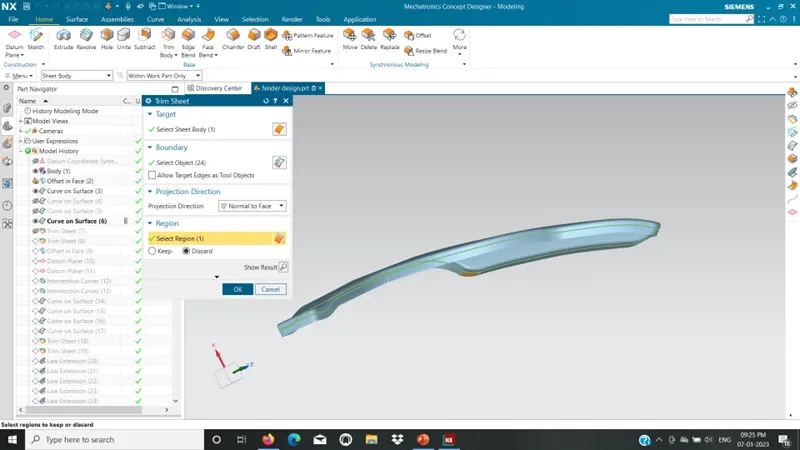
trim the sheet in curve on surface as boundary.
step5:
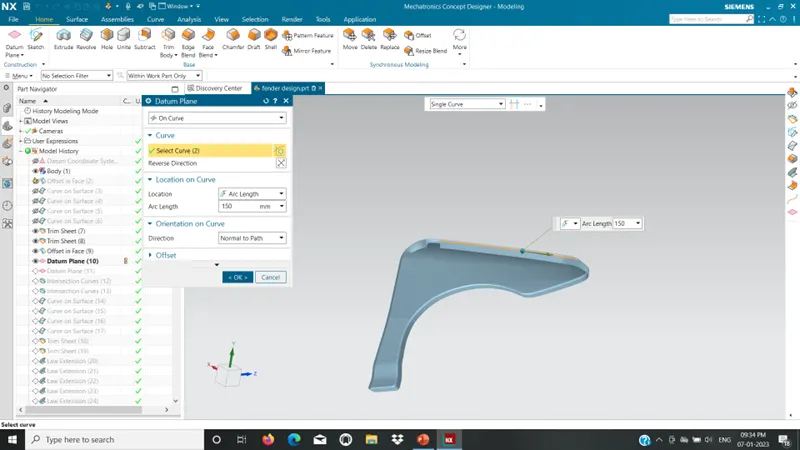
make datum palne to make drip area using deimension which is given in master sections.
step6:
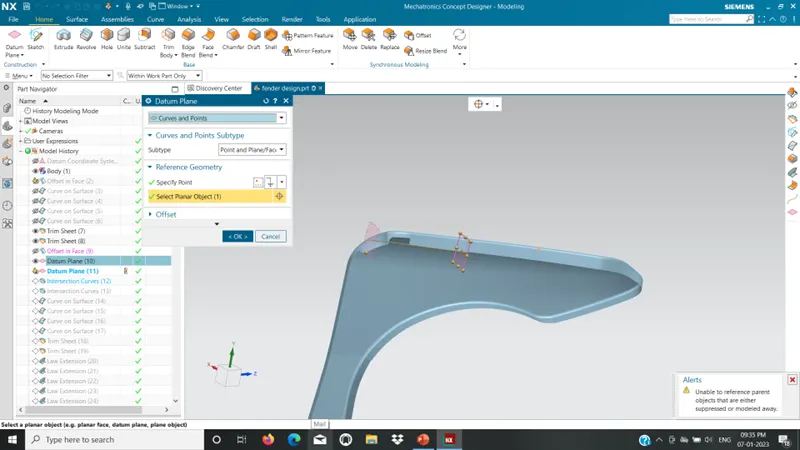
and make intersection curve in offset curve in face and to make drip drea.
step7:
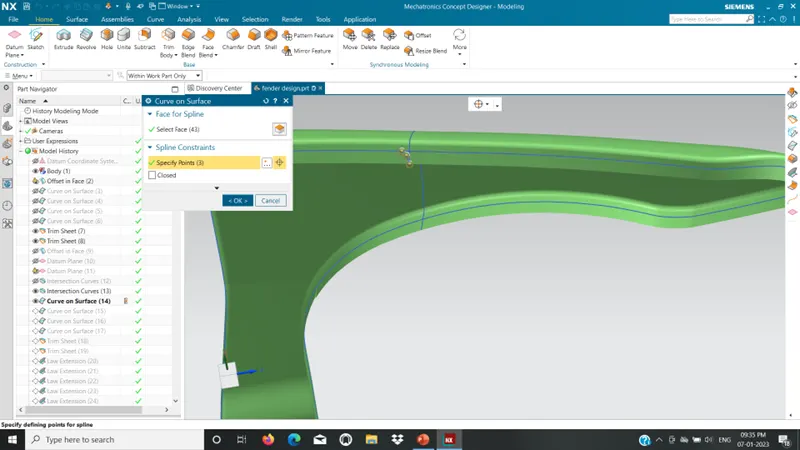
and draw the curve on surface in intersection curve.
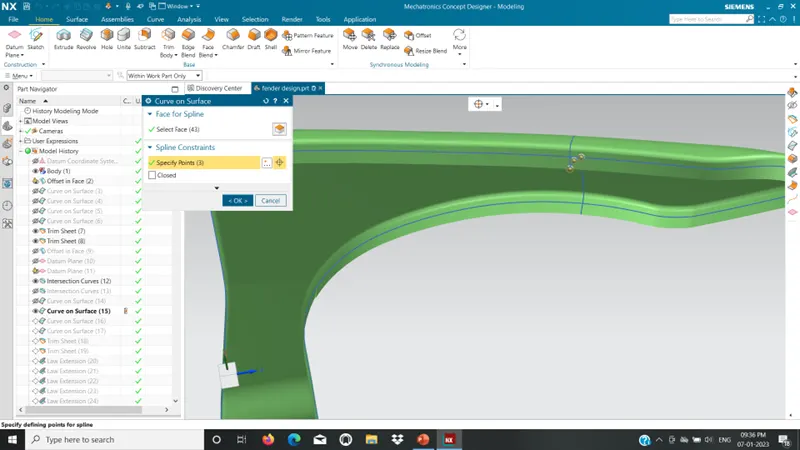
step8:
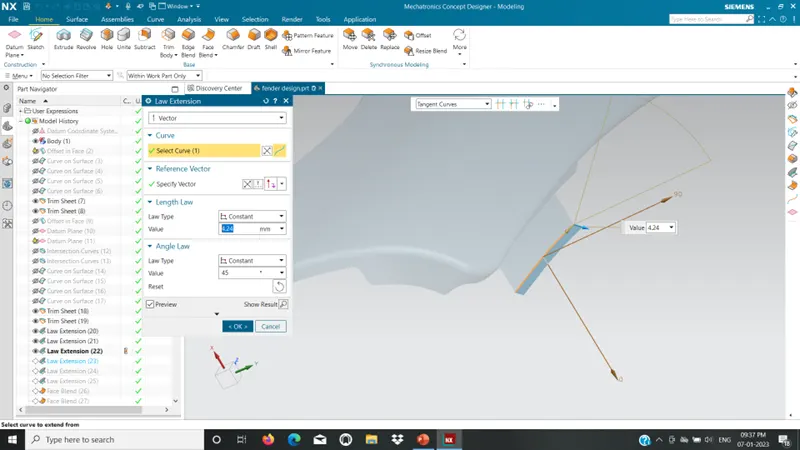
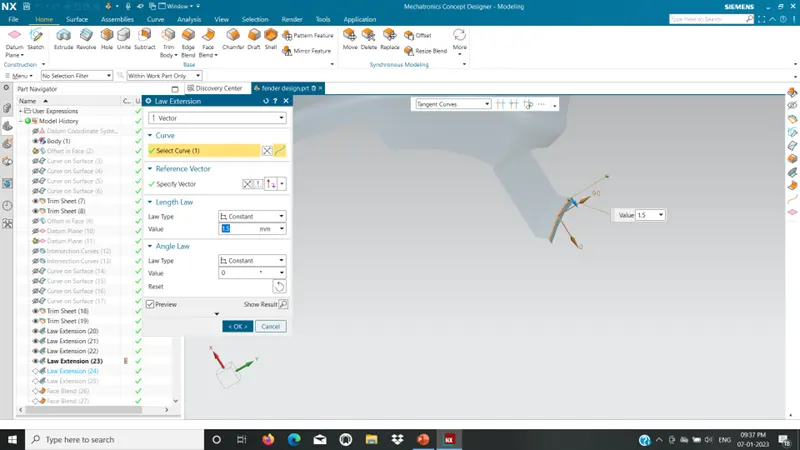
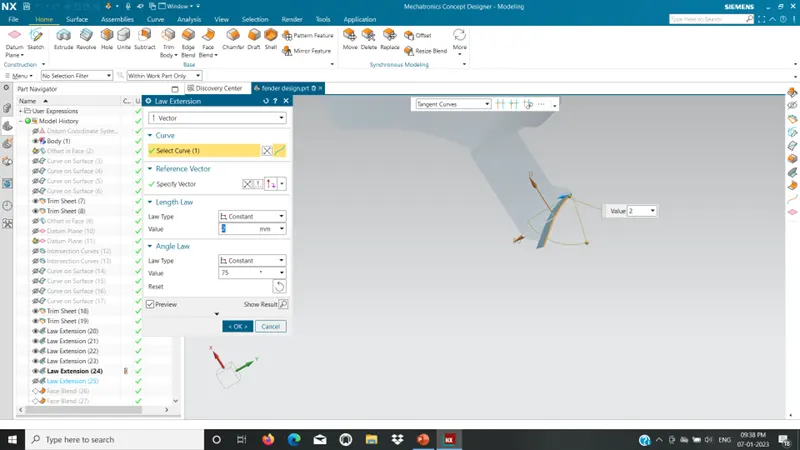
after that making surface trim the remain portion in drip area. make a law extension by using that option.
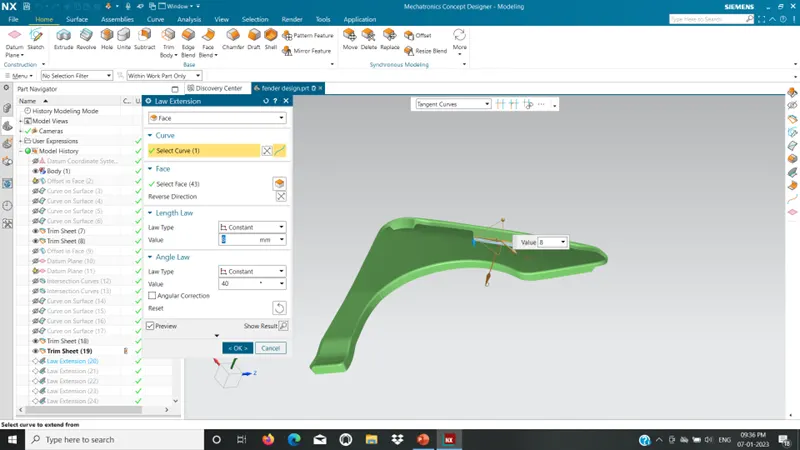
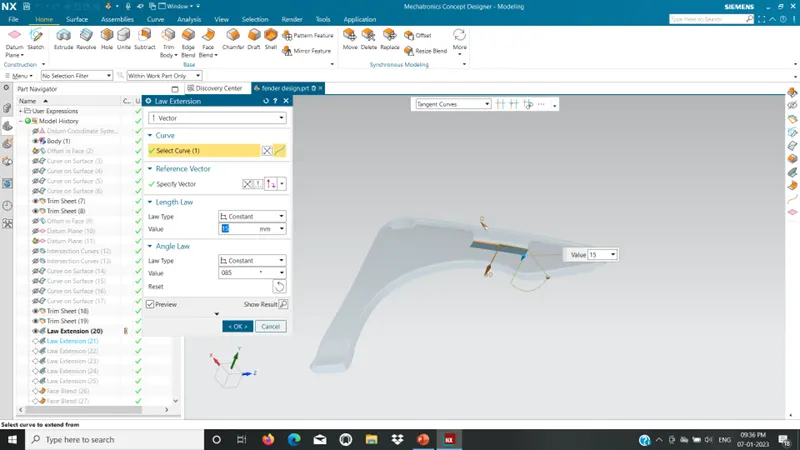
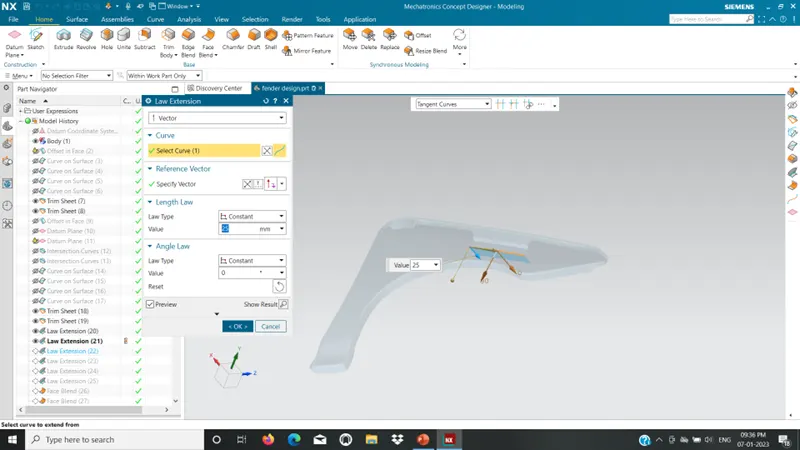
step9:
by making law extension using master section diemensions.
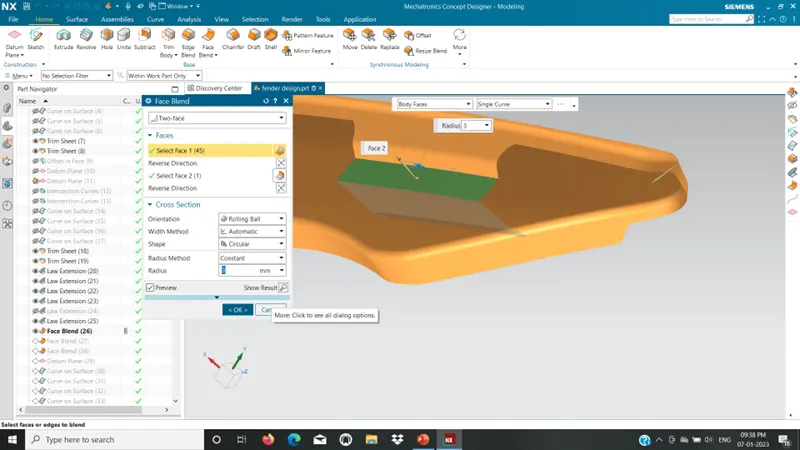
step10:
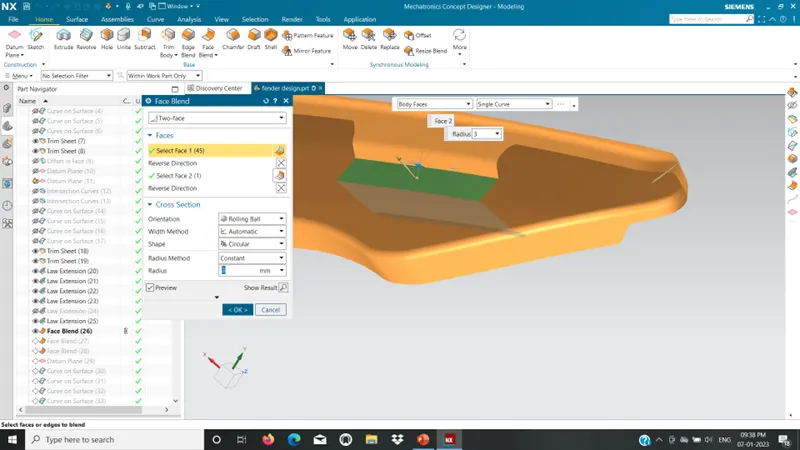
now blend the all reigon, in drip area by using face blend options.
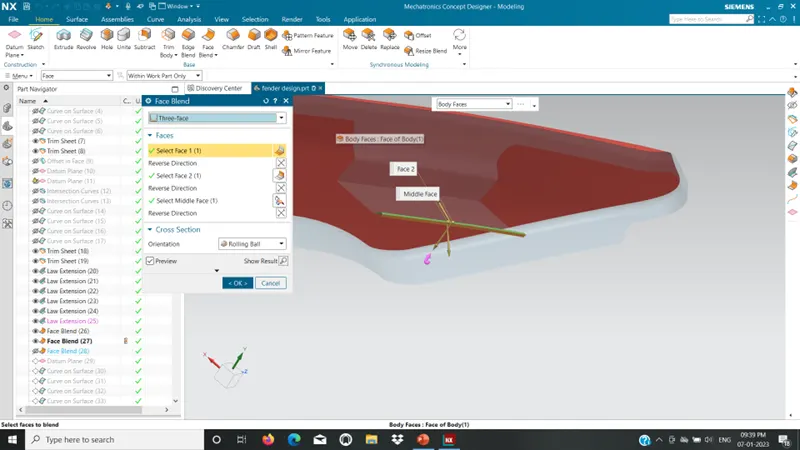
step11:
but in the edge the drip area use three face blend in face blend options.
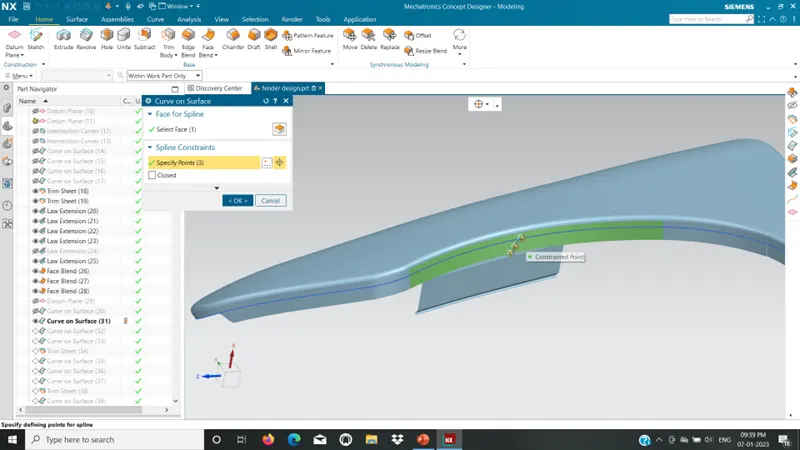
step12:
now make curve on surface in baffle mounting area .
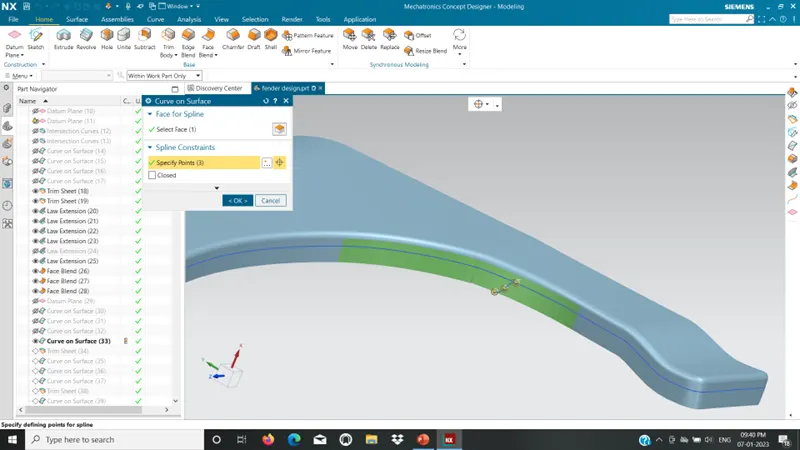
step13:
now trim the remain portions .
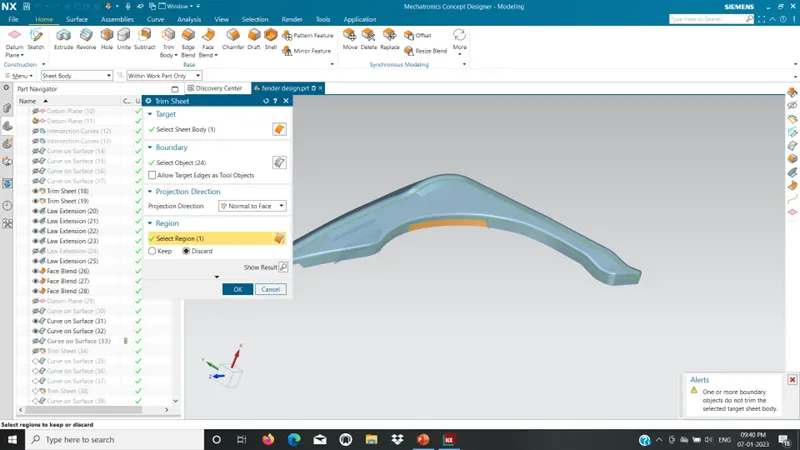
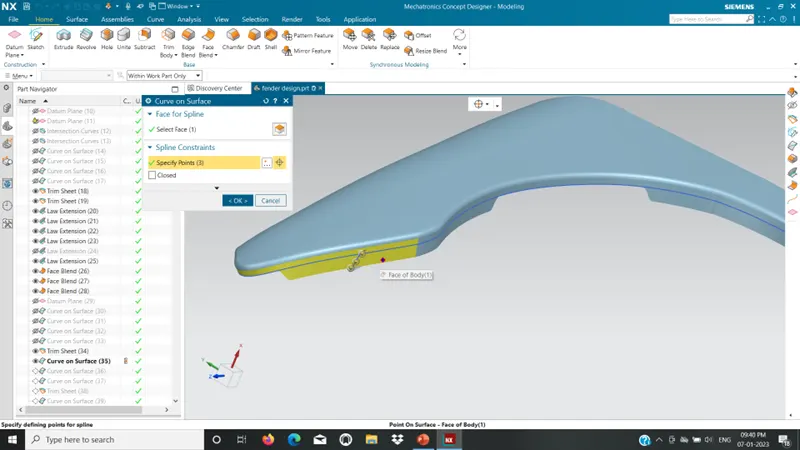
step14:
draw the curve on surface in bumper mounting area.
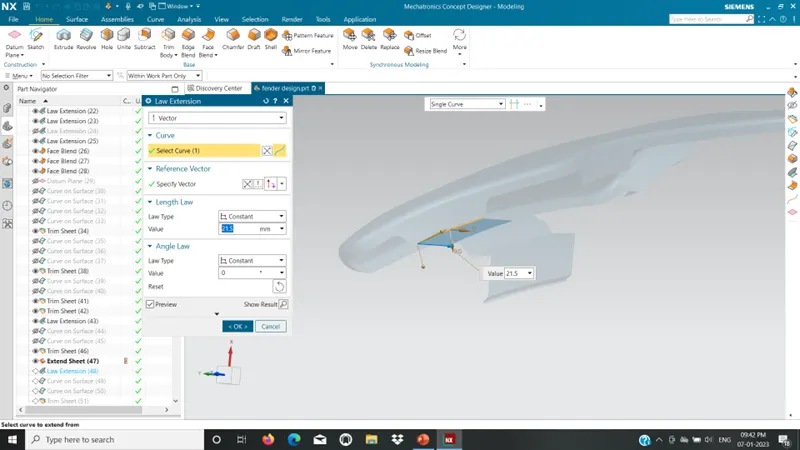
step15:
make law extension in bumper to make bumper mounting portions.
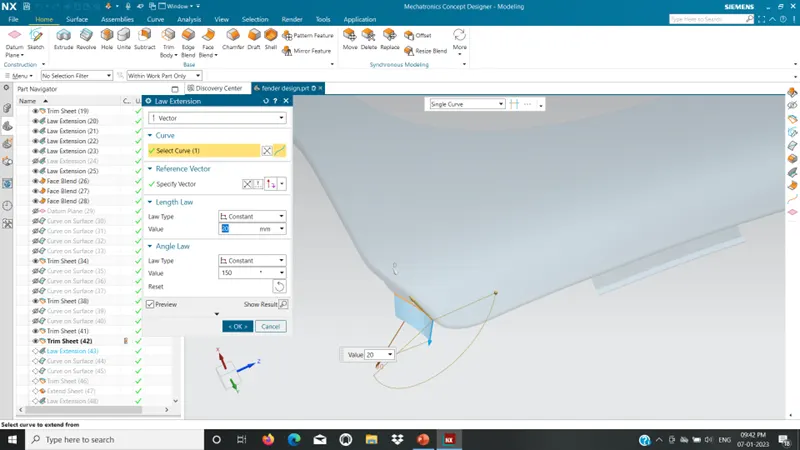
step16:
make the law extension in a-pillar mounting area.
step17:
use the bridge curve options in sharp corner edges. in bumper , a-pillar and sill mountings.
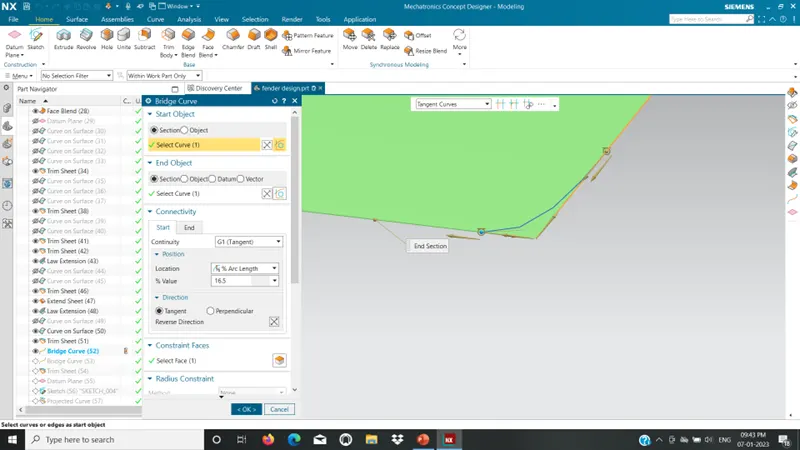
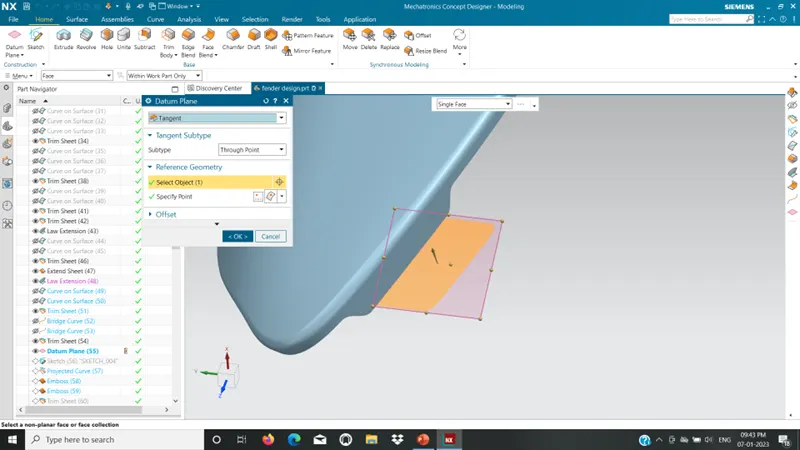
step18:
make the datum palne in bumper mounting area.
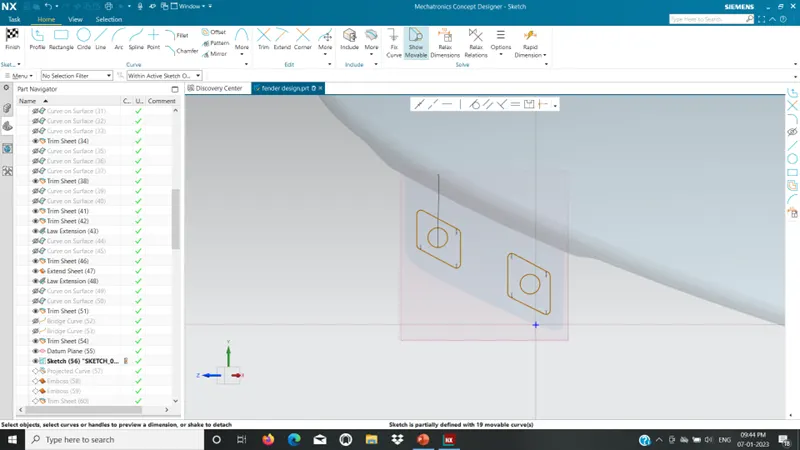
step19:
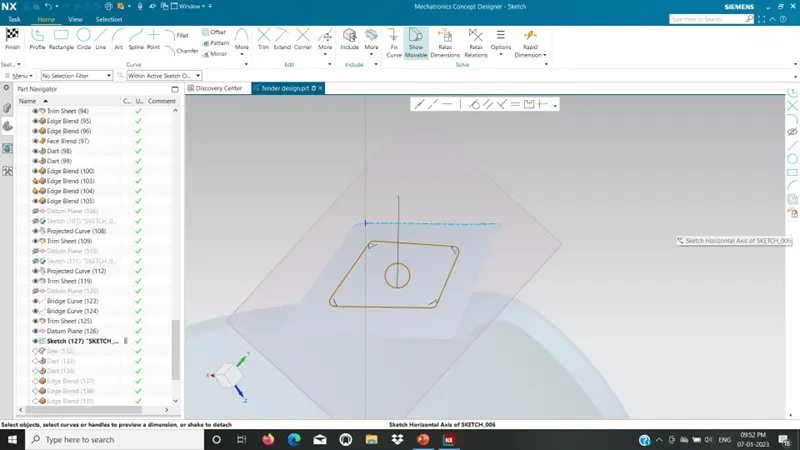
make sketch for mountings. in bumper area portions.
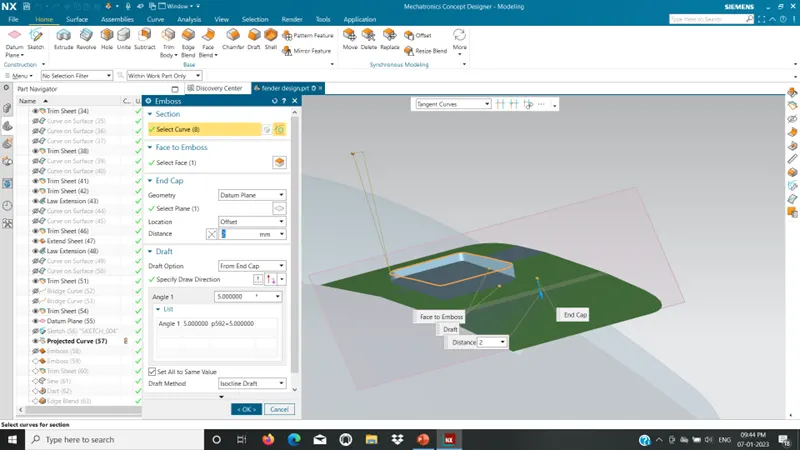
step20:
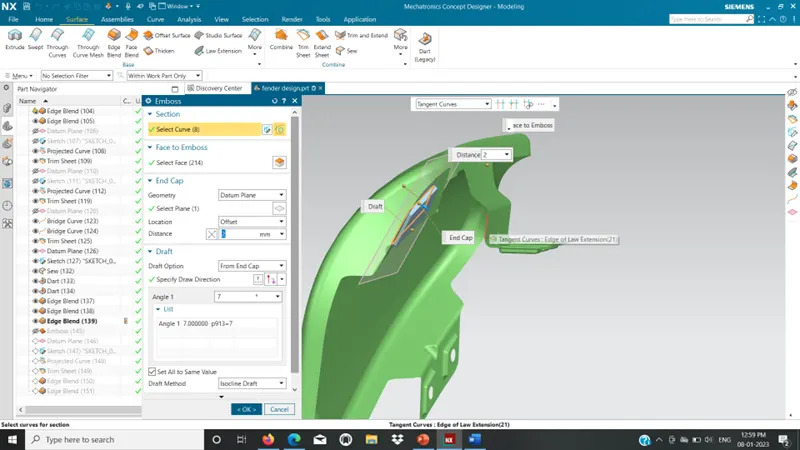
project the sketch and make emboss using datum plane options.
step21:
trim the sheet for the mounting fastner in bumper mounting portions.
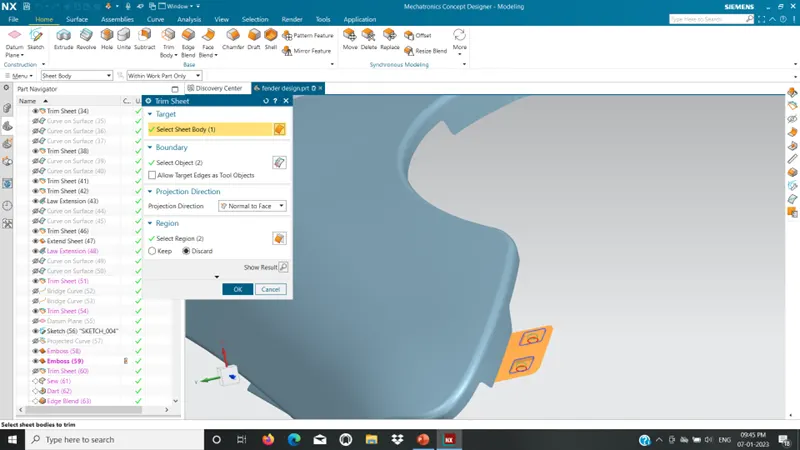
step22:
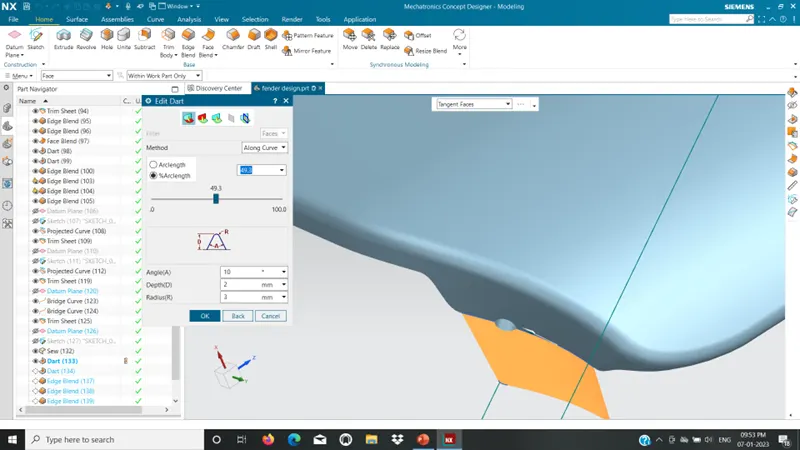
after trim ths sheet make dart in edged portion which give the strength to bumper portions.
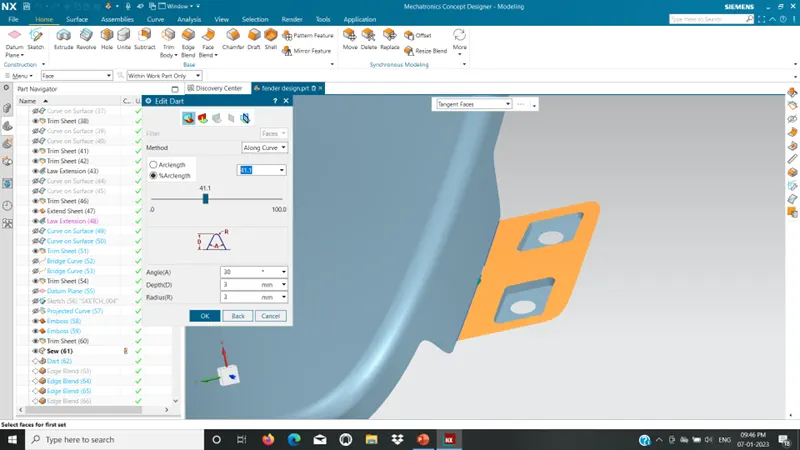
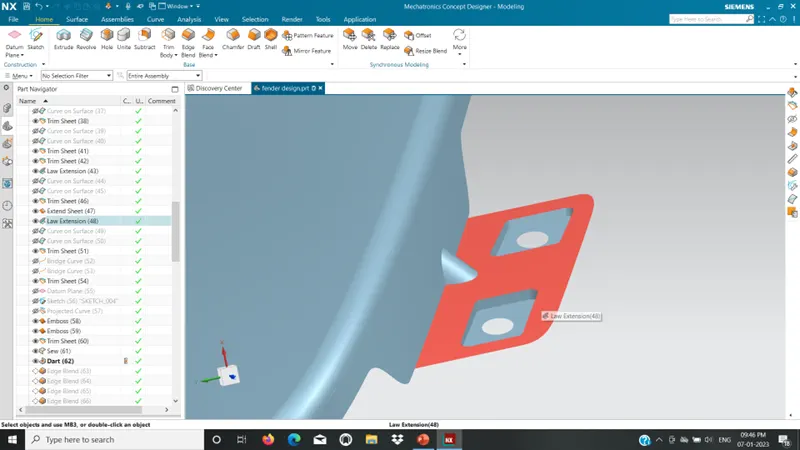
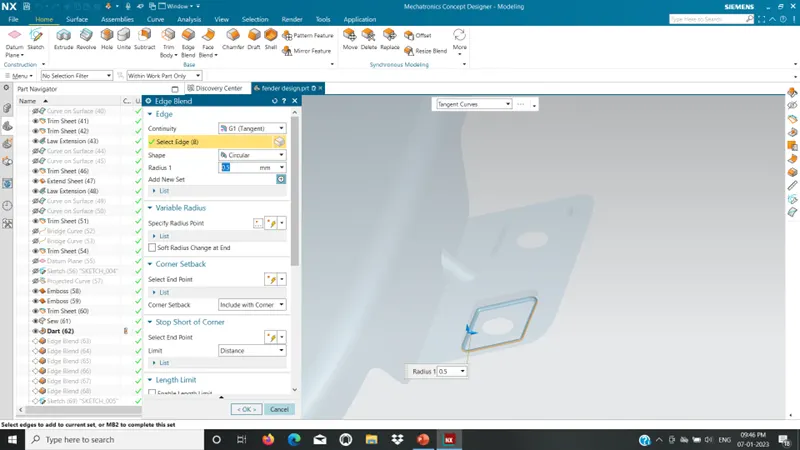
step23:
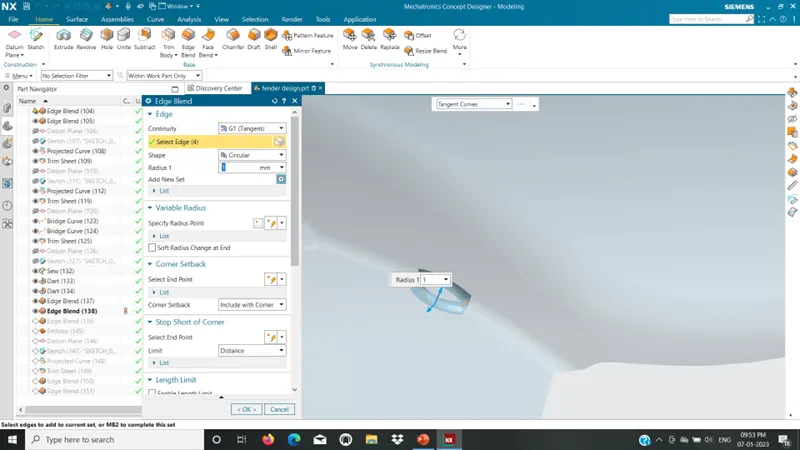
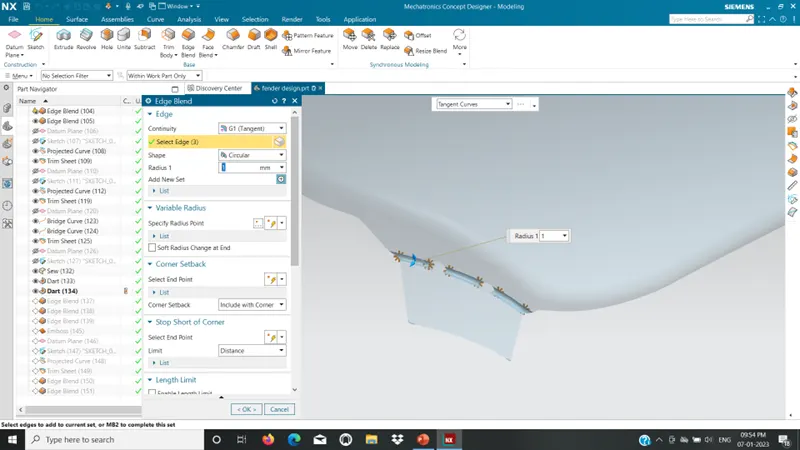
now blend the edges in bumper portions . using edge blend.
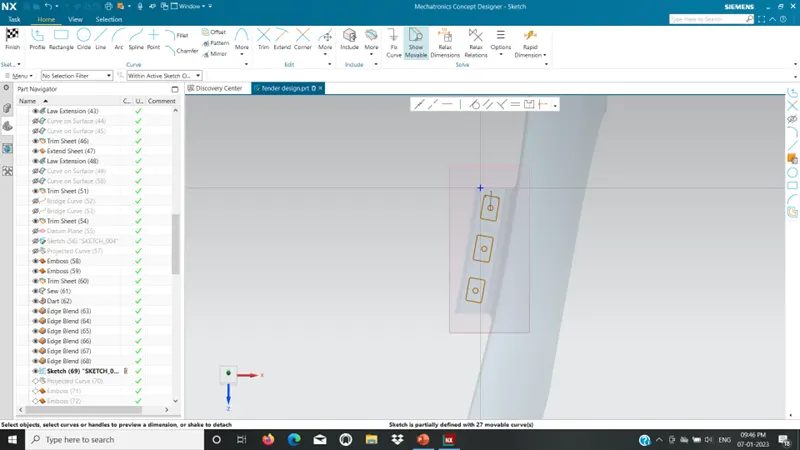
step24:
now make the datum plane in drip area and make sketch and project the sketch in drip area.
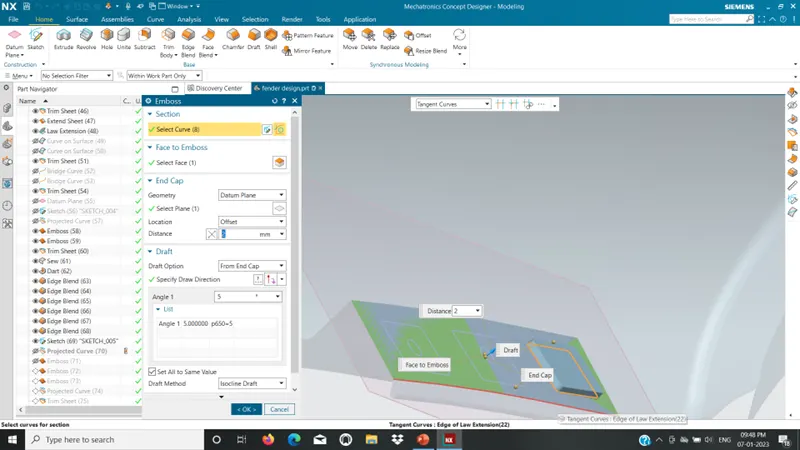
step25:
make emboss by using datum plane options.
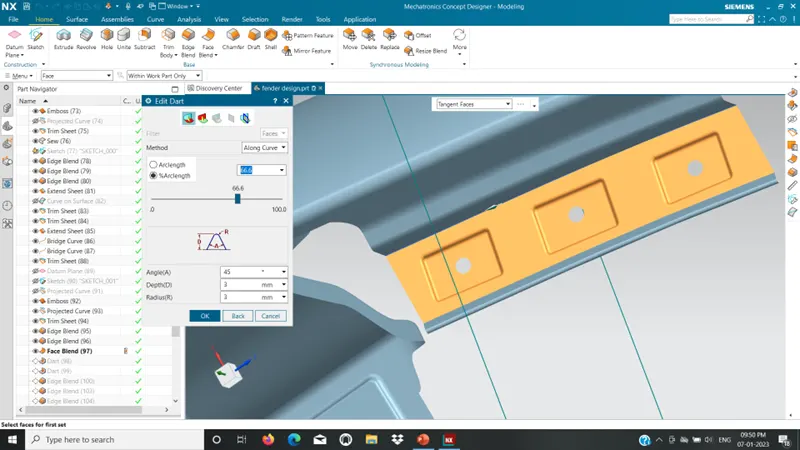
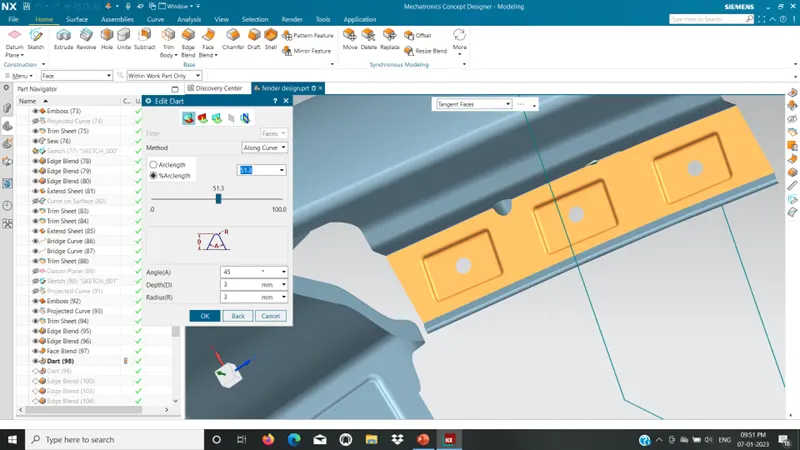
step26:
make dart in drip area to make strong in drip portion while mounting. and blend the all the edges.
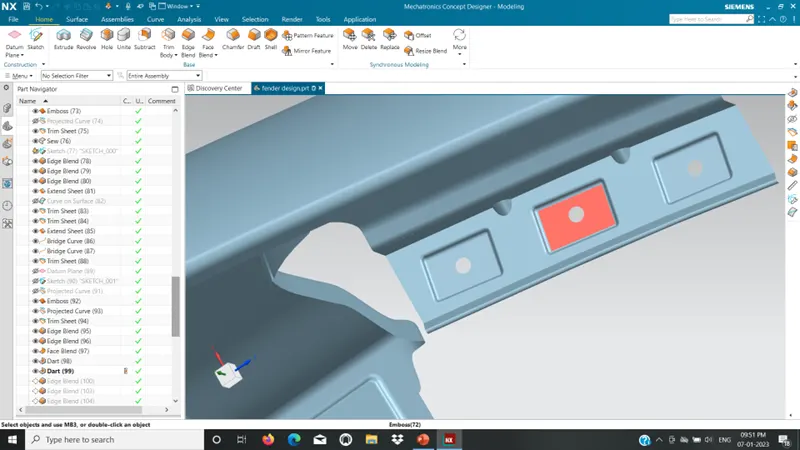
step27:
make the datum plane in sill portion.
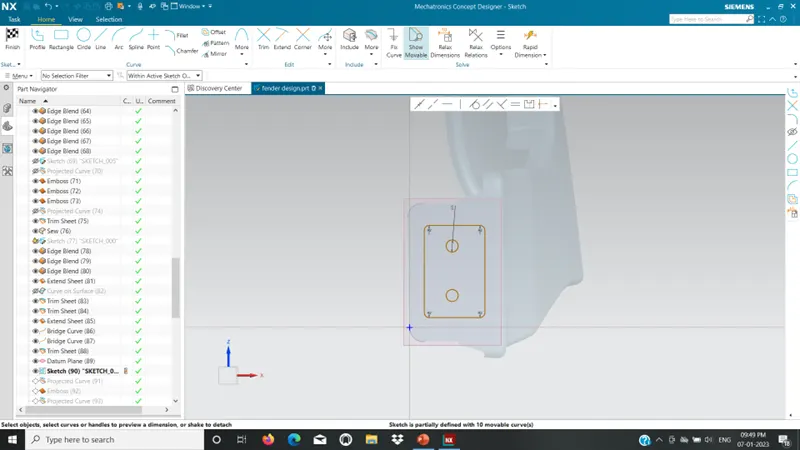
step28:
same procedure pervious part and make emboss by using datum palne .
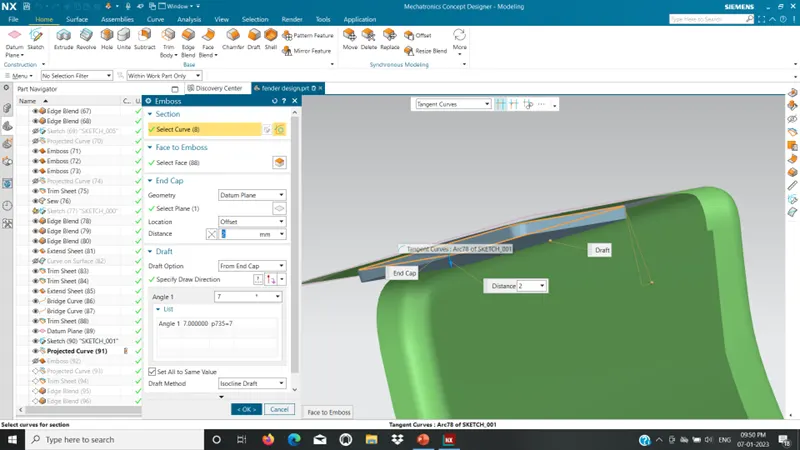
step29:
make datum plane and sketch for the baffle portions. to ctreate the hole, trim the sheet.
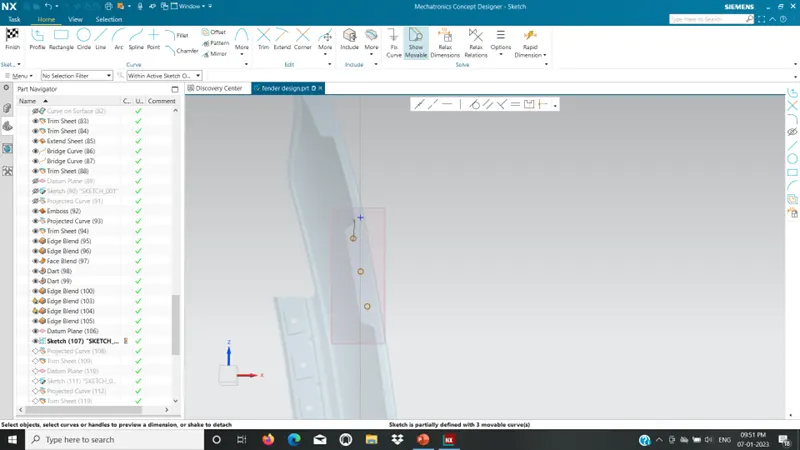
step30:
make the datum palne in a-pillar portions .and sketch the mountings and make emboss and blend the all the edge.
step31:
and make dart in a-pillar and blends.
conclusion:
these is my design by given master section.