Fender Design
Aim:
To create the drip area for the given fender skin according to the given master section above.
FENDER
It is an aesthetic component/part of a car that frames the wheels. Prevention of sand, mud particles, and other road contaminants from being thrown into the engine compartment and also to the pedestrians by the rotating tires are the main purpose served by the fenders.
The front fenders are separate components whereas the rear fenders are integrated with the body sides.
TYPES OF FENDERS
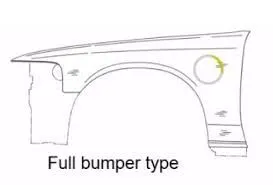
1. FULL BUMPER TYPE: These types of fenders were used in earlier models of vehicles. They contribute to the major increment of the steel weight by just covering the front headlights with respect to the bumper region. The problem associated with this kind of fender is there is a lot of wastage in the blank and every inch of a material is a cost to the industry.
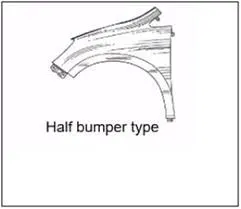
2. HALF BUMPER TYPE: These fenders are mainly used for serving the purpose of cost-cutting and reducing enough proportions of the steel wait resulting in a reduction of the weight of the vehicle slightly. They can be economically manufactured, i.e by slightly increasing the blank size, we can produce two fenders at a time.
DESIGN CONSIDERATIONS
There are five mounting positions for the front fender with respect to the other components.
These are the 5 mounting positions mentioned below:
- Drip Area Mounting.
- A-Pillar Mounting.
- Sill Mounting.
- Bumper Mounting.
- Baffle Mounting.
All the mounting parts and its positions are assumed with the respected components and the given master section is followed only for creating the drip area.
1. Drip Area Mounting:
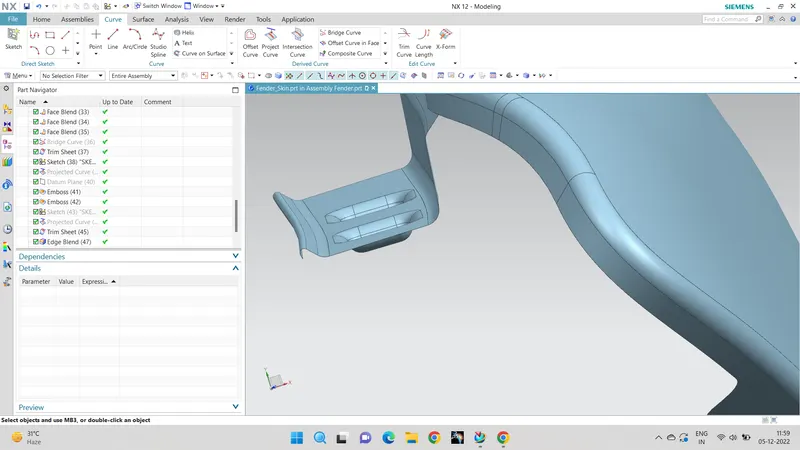
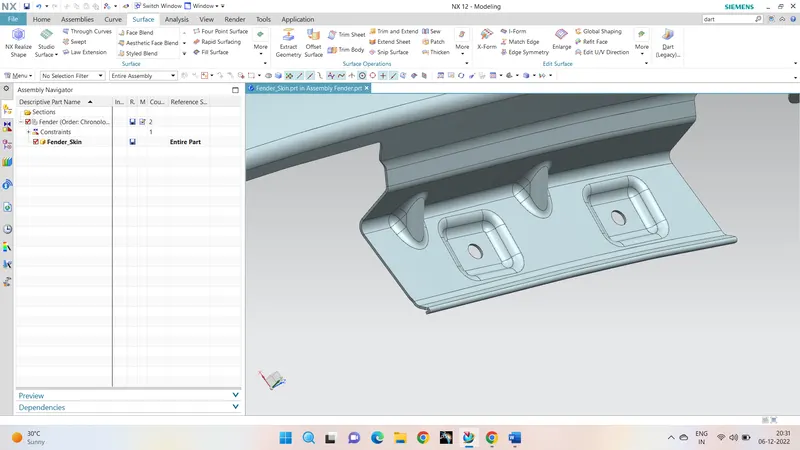
- The drip area is the most important mounting in a fender, it is the point where the fender has to be attached to the engine compartment.
- The drip area should be designed in such a way that it should be at least 150mm away from the front end of the fender to have sufficient space for mounting headlamps housing.
- Mostly the drip area starts from 200mm away from the rear end of the fender, to have sufficient space for the cowl which carries the wiper equipment.
- The length of the drip area depends on the length of the fender.
2. A-Pillar Mounting:
- This mounting position is created for attaching the fender to A Pillar of the vehicle.
- The mounting has to be created by taking the reference from the A-pillar of the vehicle.
- Enough clearance should be given for the easy mounting of the wiper equipment.
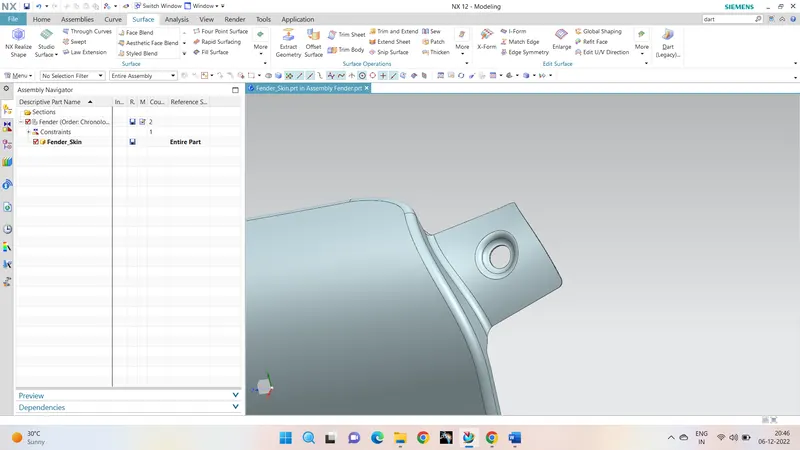
3. Sill Mounting: Sill mounting is created on the bottom portion of the fender for attaching to the sill.
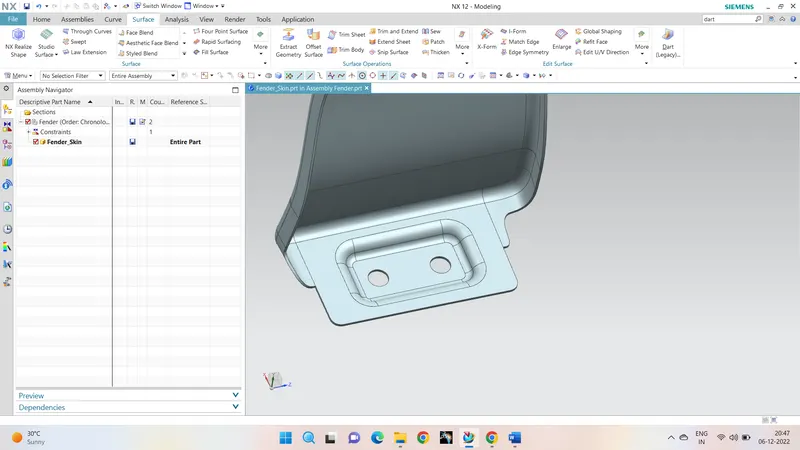
4. Bumper Mounting: This mounting point is created for attaching the bumper to the fender. It should have enough strength to hold the bumper steadily.
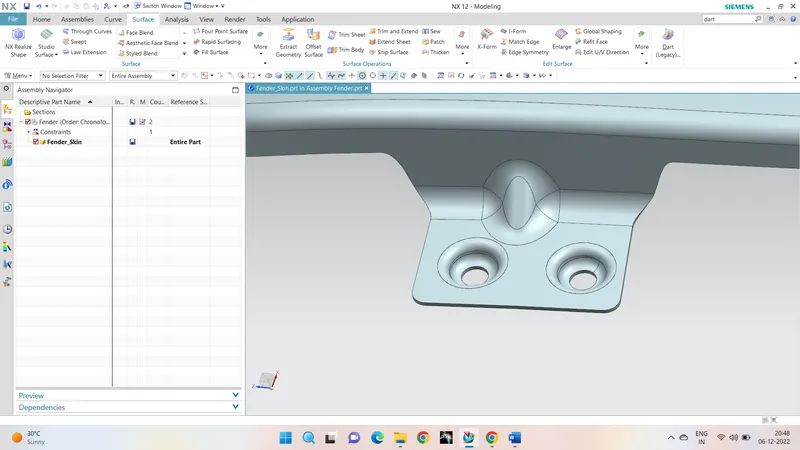
5. Baffle Mounting: These mounting points are created for attaching plastic components i.e baffle which prevents chipping inside the engine compartment.
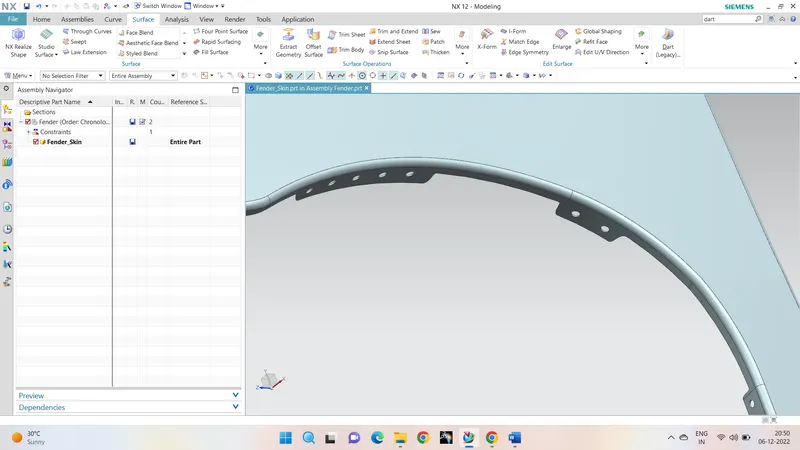
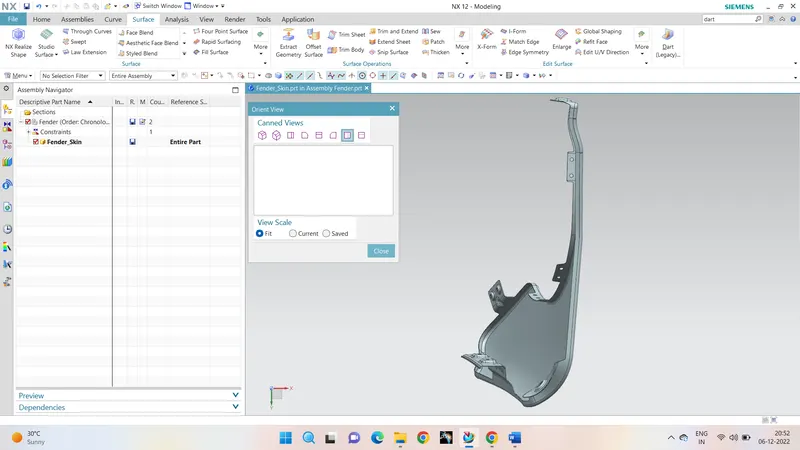
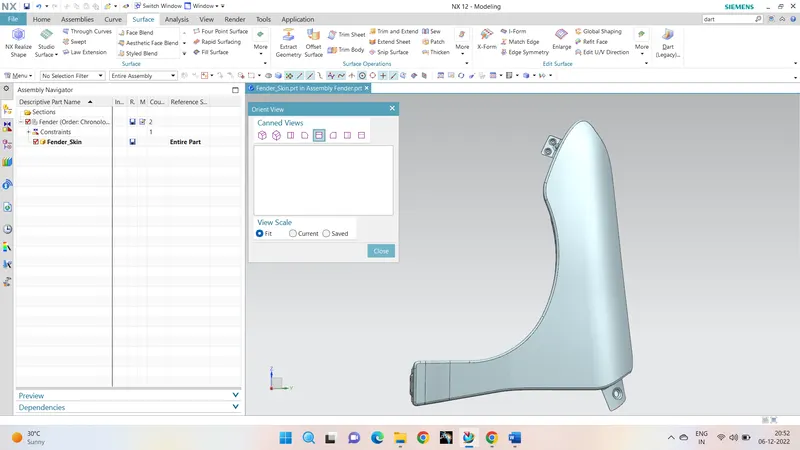
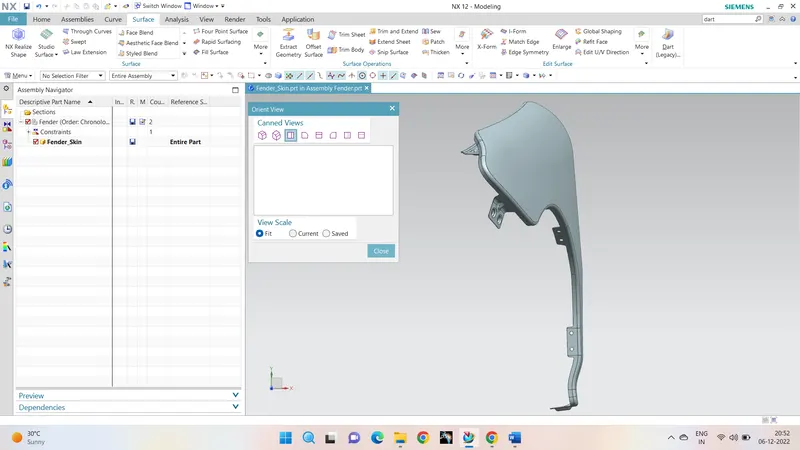
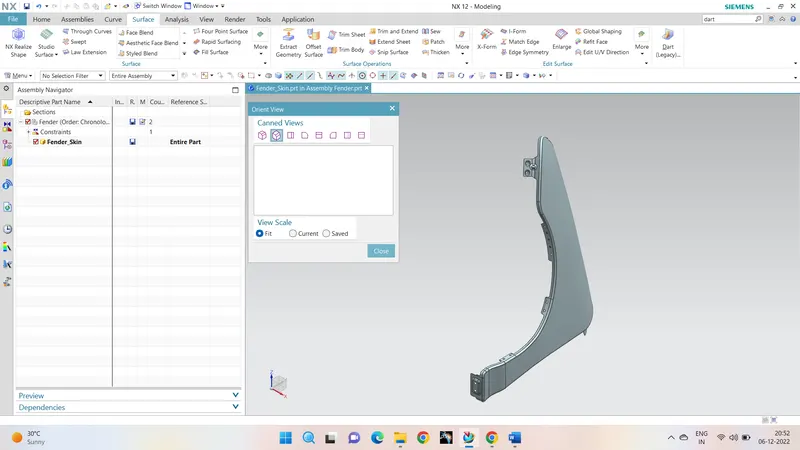
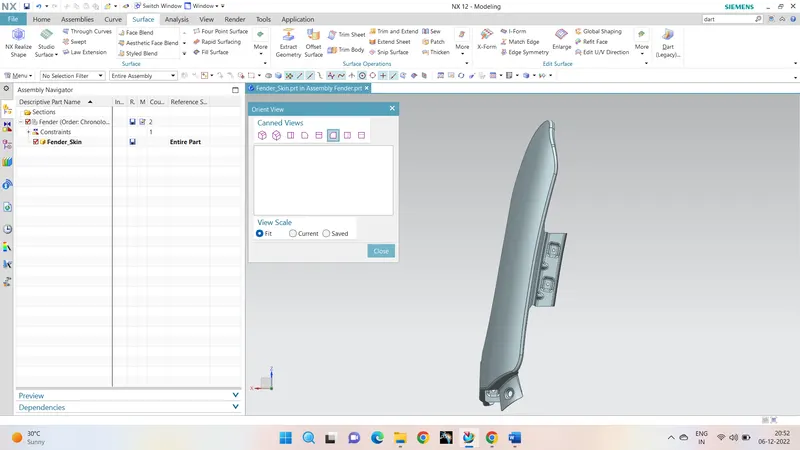
Various Views:
Conclusion:
The Fender Design is created as per the given master section with the help of the Fender skin or class-A provided.
Zip file of the design is submitted.