Fender Design
allow the given Master section to create the Drip Area
For the Sill, Bumper, Baffle(Splash), and A-Pillar mount create your own design according to the Engineering standard that you learned.
Prepare a report with all the relevant images included for the mounting points created.
Note:
- All the challenge help videos are available in the video number 15 - The help section
-
Submit your Model as a Part file and STEP (.stp) format
-
Attach the zip file. Don’t provide google drive links
-
Refer to the grading policy.
-
The report is to be made available in the provided Answer Box.
OBJECTIVE :
The main objective of this project is to design a fender using design software -CATIA V5
INTRODUCTION :
Design of any product starts from an requirement . The design engineer sketches the product based on the the requirement . Then the 2D sketch with the proper dimensions is converted into the 3D model using the advanced CAD software's . The another important thing in the design is that , every product that is designed should be able to manufactured . so the role of the design engineer is to design the product that can be easily manufactured and with less cost effective . This is the place where the Design for manufacturing [DFM] and Design of assembly [DFA] takes a role while developing any product . The process of development of design carries on until the design satisfies the customer needs .Here in this project the product that we are going to develop is a car fender
FENDER :
The main purpose of the fender is to prevent sand,mud, rocks,liquids and another road spray from being thrown into the air by the rotating tire .
TYPES OF FENDERS :
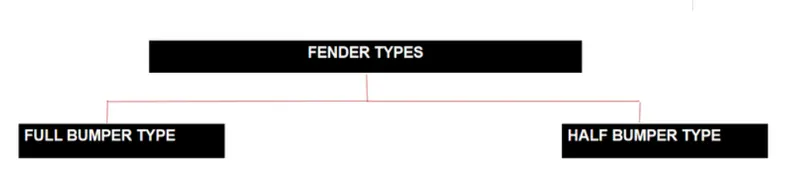
There are two types of fenders , they are
- full bumpertype
- half bumbertype
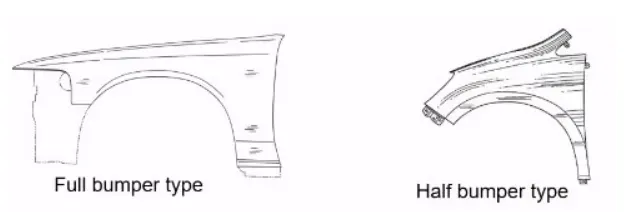
Presently we are using the half bumper type, the reason for choosing the half bumper type is that when we choose the full bumper type the blank used for creating it is very large and also has a lot of wastage, but in this case of the half bumper type we have the possibility to reduce the scrap. This is what we called as scrap management
In half bumper type we reduce the usage of the steel material and use the lots of plastic on the bumper which in term decreases the cars weight and increases the performance
FENDER WHEEL ARCH :
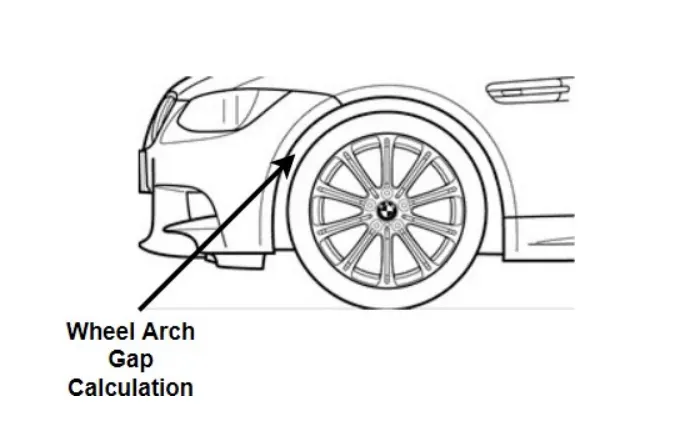
The fender wheel arch has a few standard specifications. For instance, when looking at the car from the front, if you see the wheel outside the fender, it chips more, causing a lot of damage to pedestrians and the car. To keep pedestrians safe, we need to put the tire wheel inside the fender. The European requirement calls for 5 millimeters of clearance between the wheel and the outermost skin of the fender. However, this depends on the road conditions in each country.
ASSEMBLY :
There are two types of assembly , they are Bottom-up assembly
Top-down assembly
From the bottom up:For the most part, assembly models are created using the bottom-up assembly method.In this kind of assembly, the parts are made in a file called part design work bench (also known as an nx cad part).Product structure tools are utilized in the assembly design workbench to conceptualize components.Constraints are applied to each component after it has been inserted so that it is properly positioned in relation to the other components in the 3D space.Large assemblies, particularly those with intricate individual components, prefer this assembly.
Top -down assembly :
The assembly design workbench is where components are created in the top assembly design method.Therefore, there is no need to create distinct component part files.The bottom-up design approach is completely different from this one.In this case, you must first create the product file before creating each component one at a time.Keep in mind that even when the parts are added to the product file, they are saved separately and accessed as needed.Construction and assembly take place simultaneously here.
MOUNTING REGIONS ON FENDER :
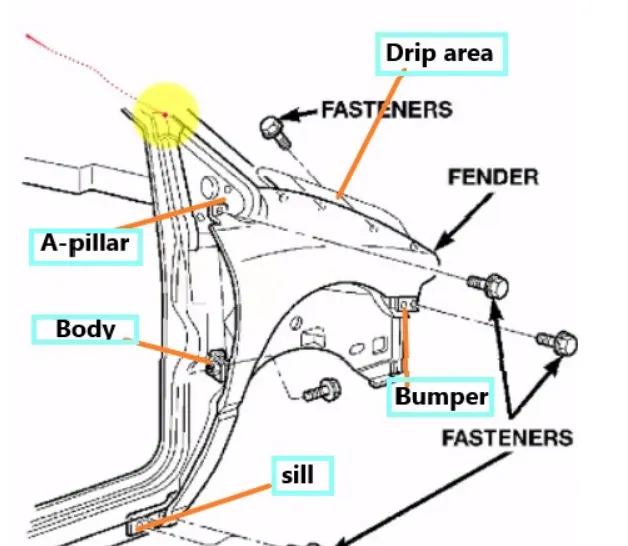 There are 5 mounting regions on the fender , they are A- pillar mounting
Body mounting Sill mounting
Bumper mounting Drip mounting
DESIGN METHODOLOGY : GIVEN DATA :
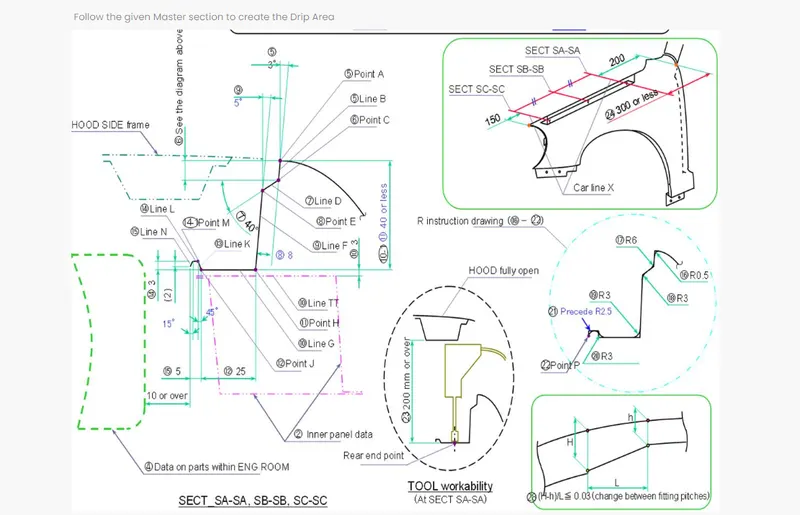
MASTER SECTION DESIGN 0F DRIP AREA MOUNTING :
It is the fender's crucial mounting unit.Because it is connected to the engine compartment, many design constraints must be adhered to when designing the fender. When designing the drip area, we must initially leave 200-300 mm for the cowl top. When designing the fender, we must also leave at least 150 mm in front for the headlamp. The cowl top part contains the wiper motor and its instruments.
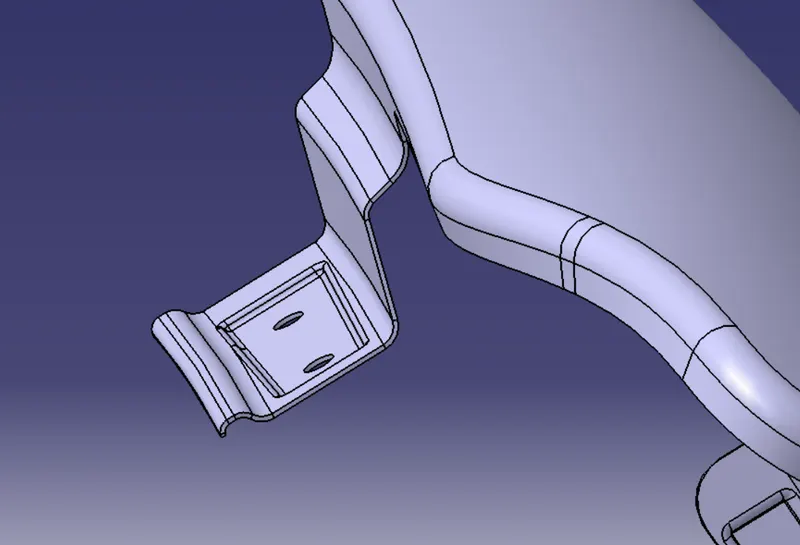
DRIP AREA
On the longer side of the drip area, two darts are added to give the part stiffness and strength.This prevents the fender from vibrating and affecting the forces outside of it when the vehicle is moving.
During fastening, the mounting is strengthened with embossing.
DESIGN OF SILL MOUNTING AREA :
The panel that supports the floor directly below the bottom of the door is called the sill. It can be used to combine the floor and the body.Because the fender's bottom end is mounted on the sill body to reinforce the fender panel, the sill mounting position is designed with holes and embossing.The fenders are secured to the sill body with M5 screws.
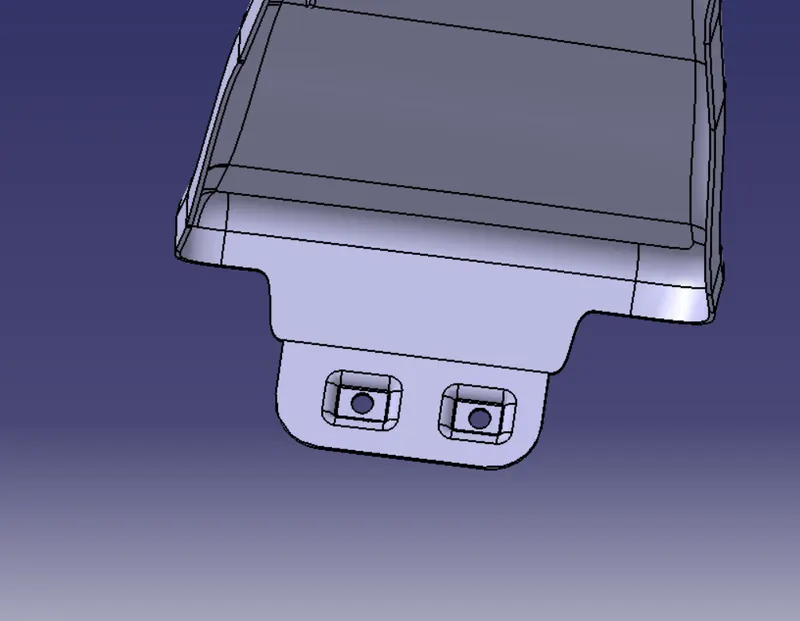
SILL MOUNTING DESIGN OF BUMPER MOUNTING AREA :
Bumper mounting area is used to fix the plastic bumper to the fender with the help of the fasteners
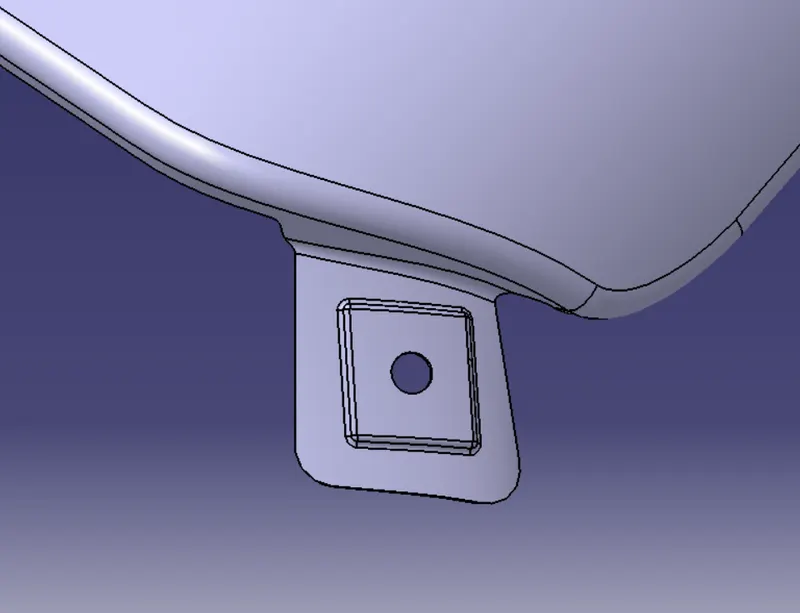
BUMPER MOUNTING
DESIGN OF A-PILLAR MOUNTING AREA :
The A -pillar is the structural pillar that combines the body to the roof . this make the sides of the windshield rest . front fenders are fastened to the A -pillar to form a robust structure .
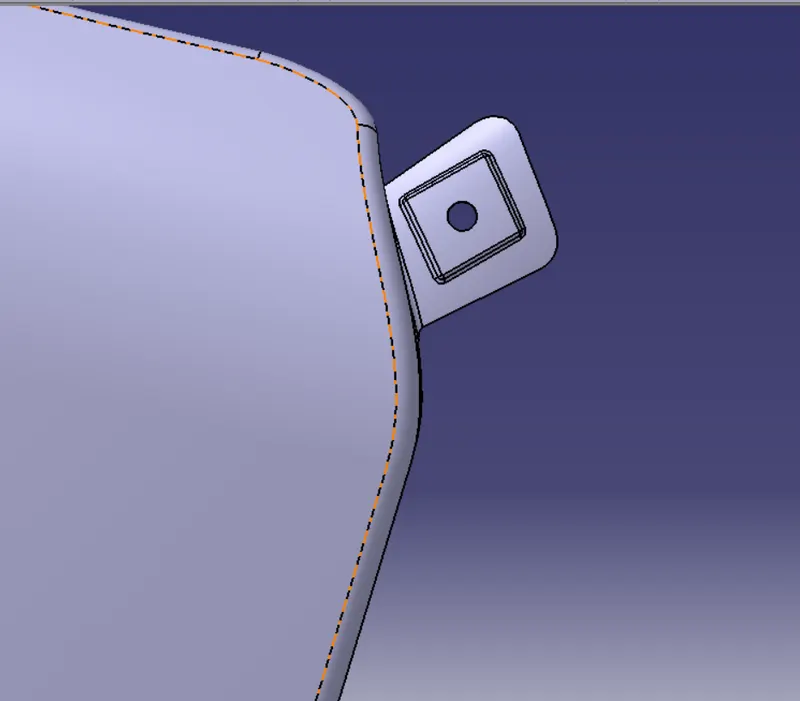
A-PILLAR MOUNTING DESIGN OF BAFFLE MOUNTING AREA :
On the inner side of the fender arch, over the tyre, you can find a clip-fit baffle mounting, also known as a mudguard.When the car is moving, it shields the engine compartment and prevents chipped debris from injuring pedestrians on the road.They are secured to the fender by means of a specialized set of plastic locking clips.
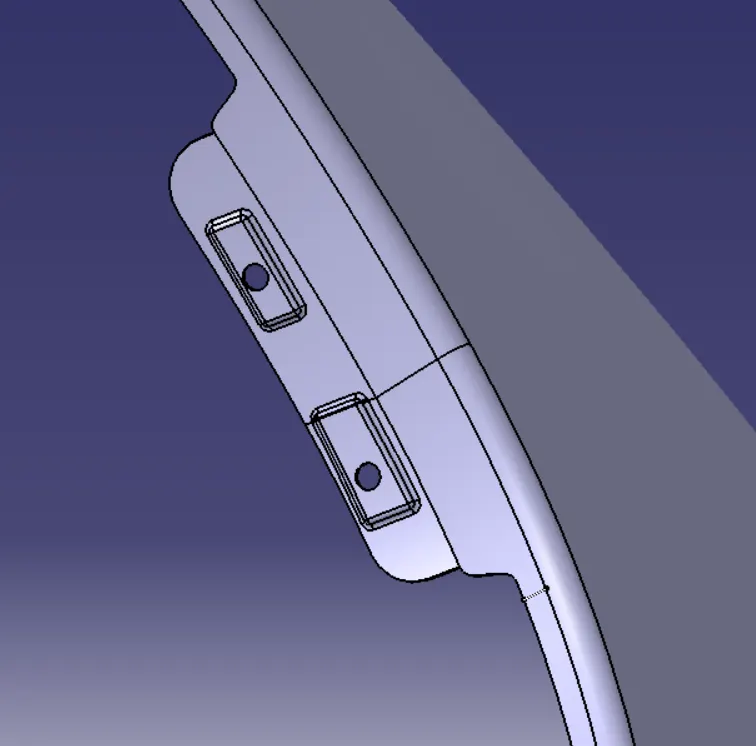
APPLYING OF THICKNESS TO THE SURFACE .
The thickness of 0.75 mm inward on the final sewed surface of the fender to the sheet metal parameters
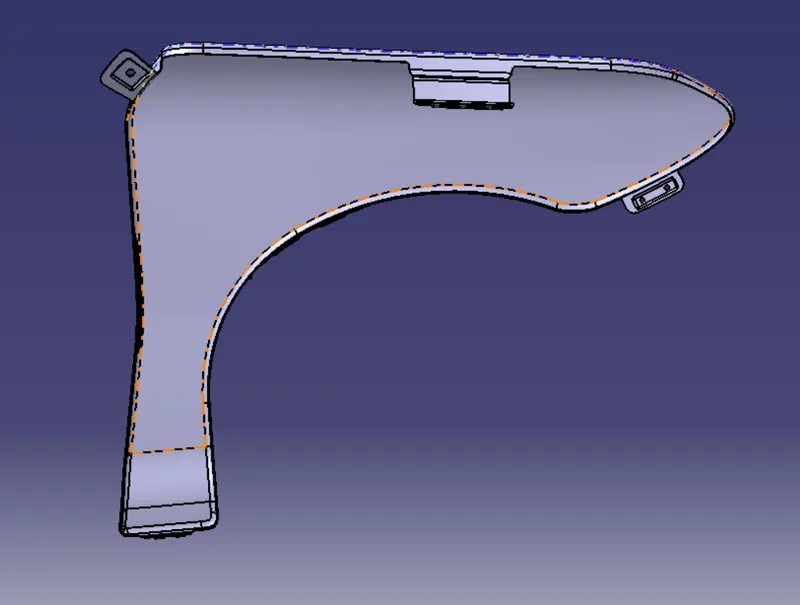
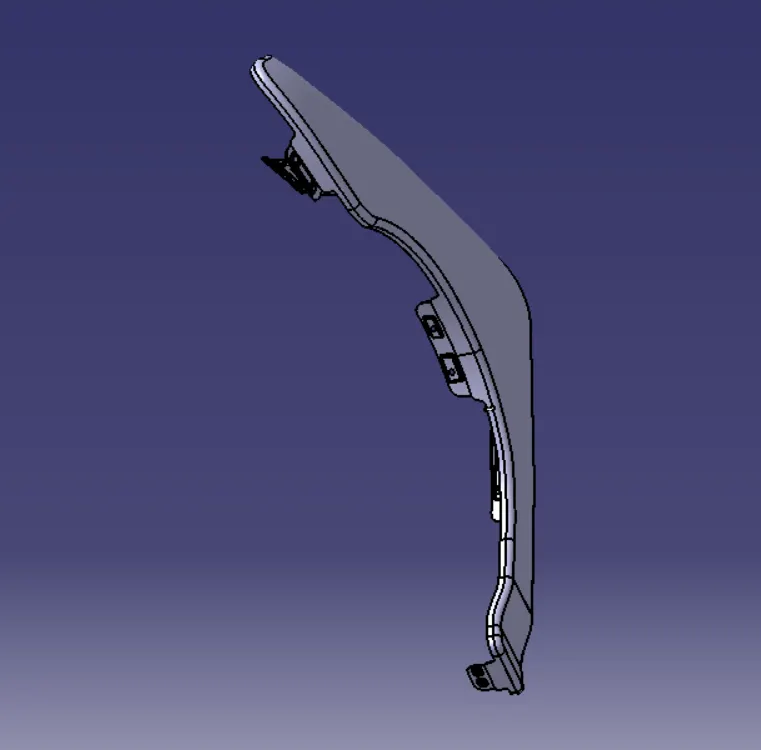
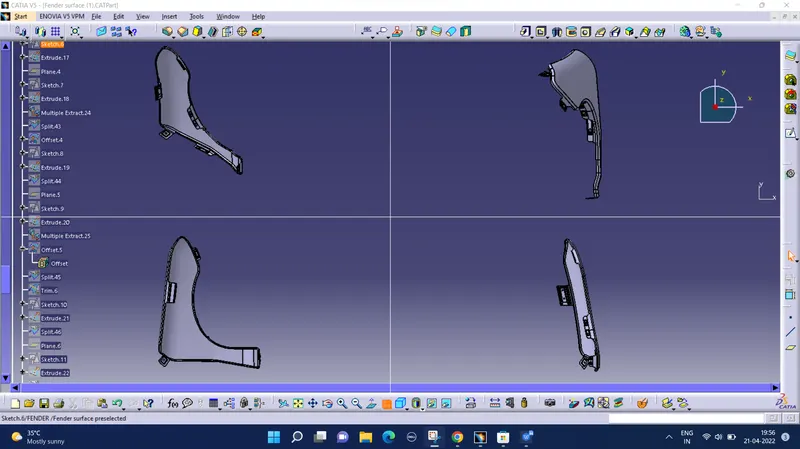
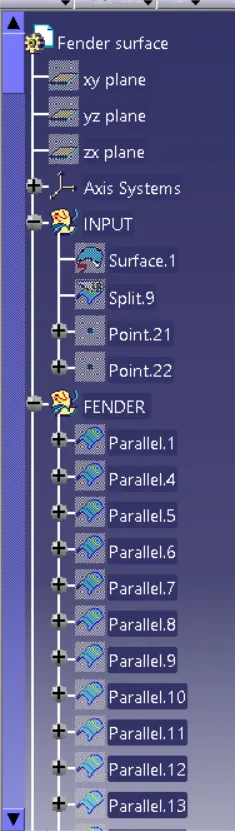
DIFFERENT VIEWS OF FENDER :
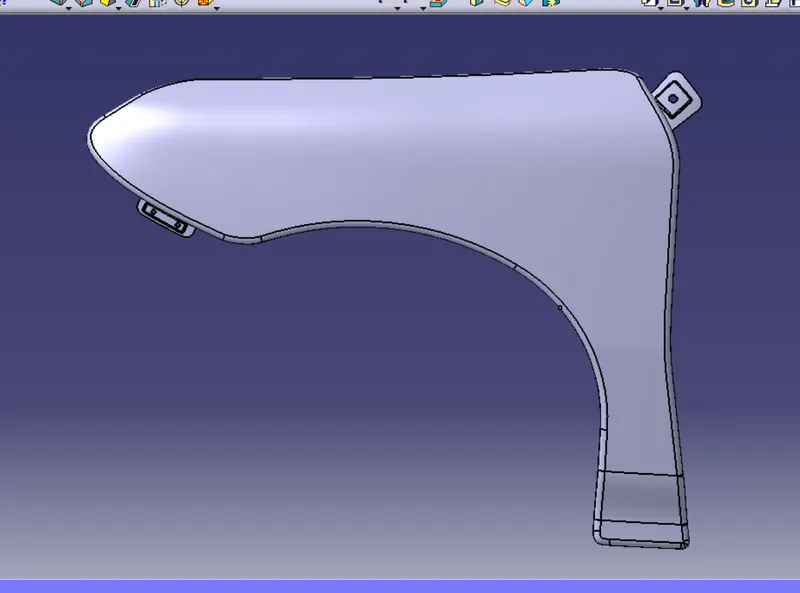
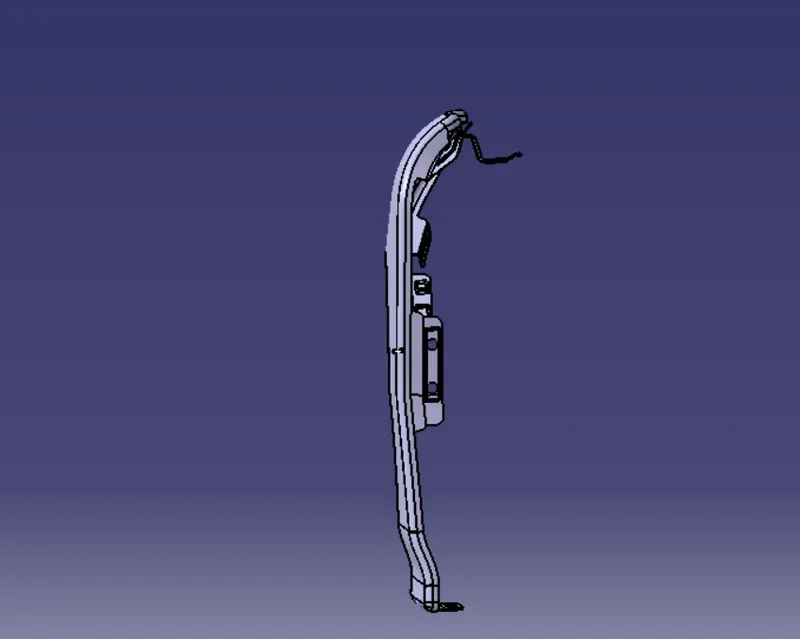
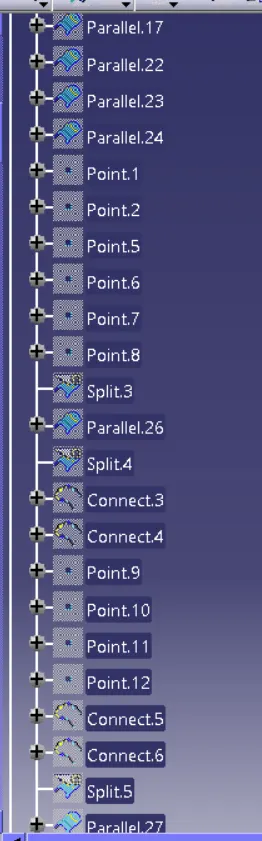
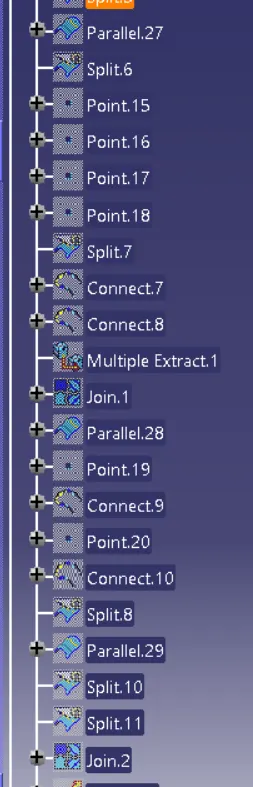
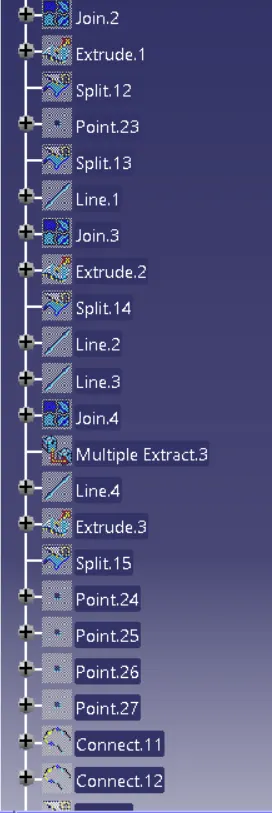
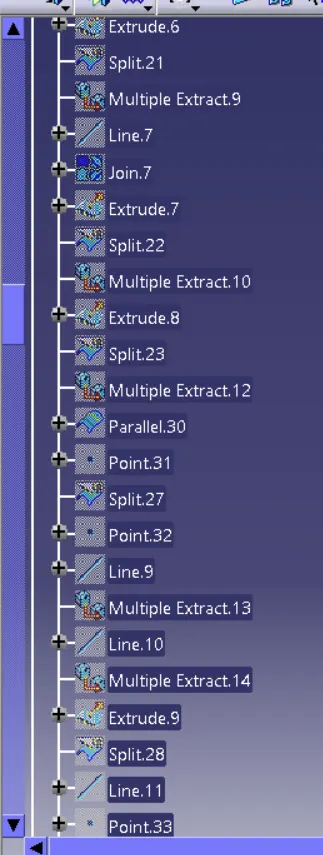
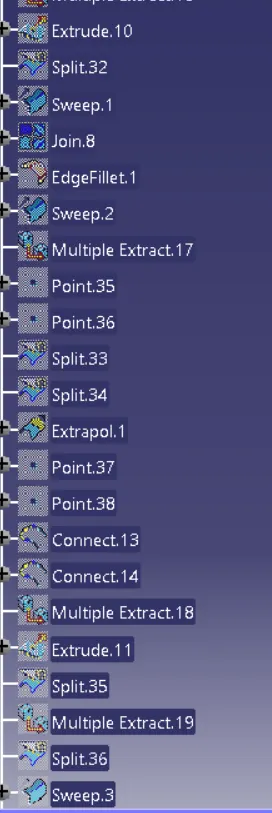
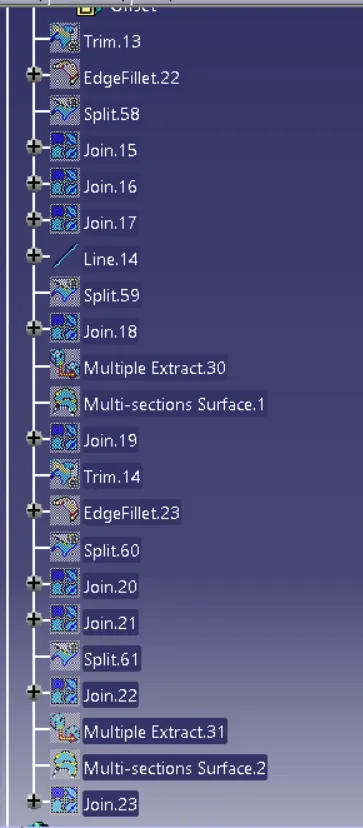
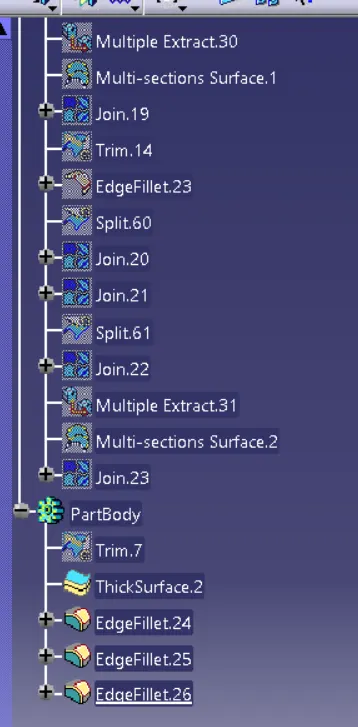
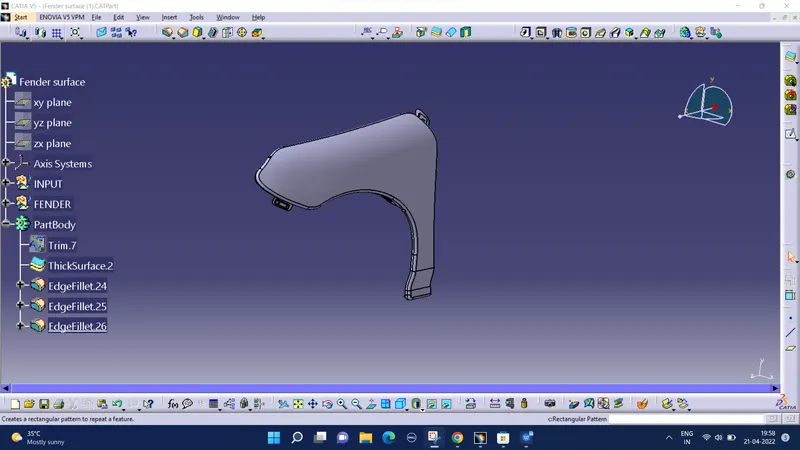
CONCLUSION :
The fender is then designed using CATIA V5 software in accordance with the master section.