Design of backdoor
Aim: To come up with a back door design using the provided styling surface by using appropriate design methodologies, and providing the necessary reinforcements and embosses.
Back Door/Tailgate:
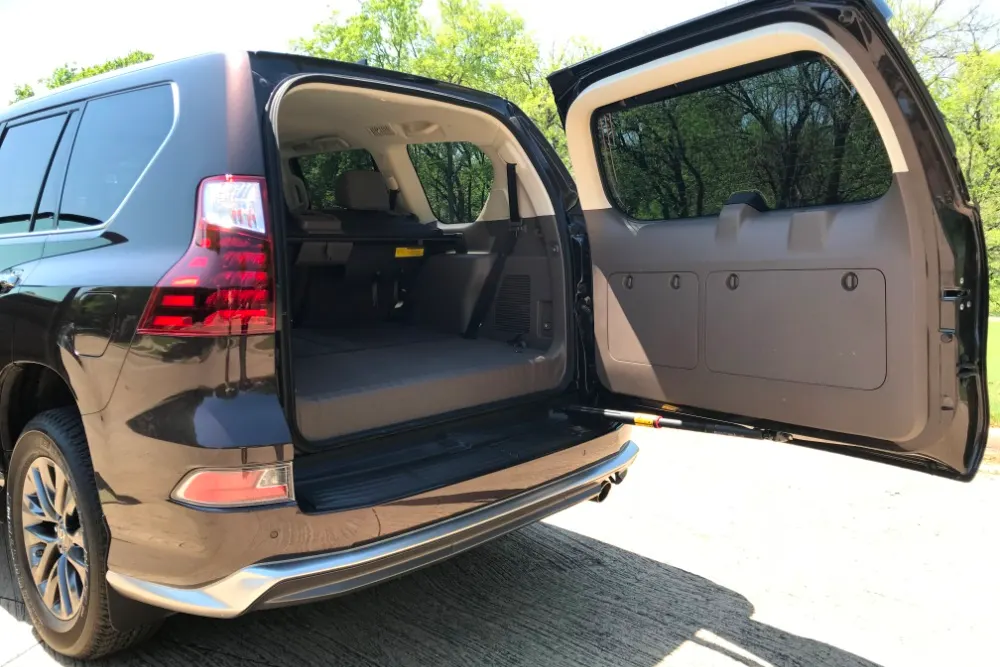
Back door or tailgate is the rear door of the car which opens either upwards or sideways providing access to the luggage/boot area.

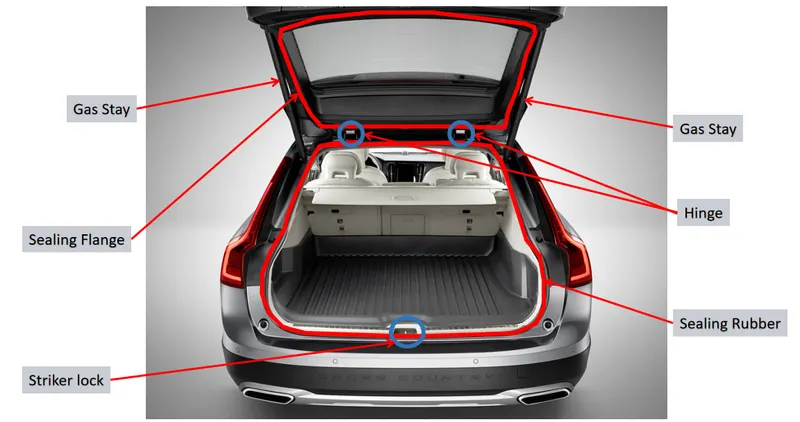
The various parts of the back door have been mentioned in the figure below.
What is Gas Stay?
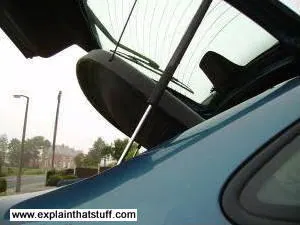
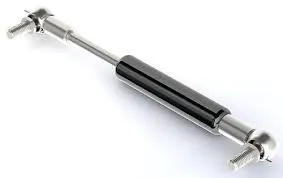
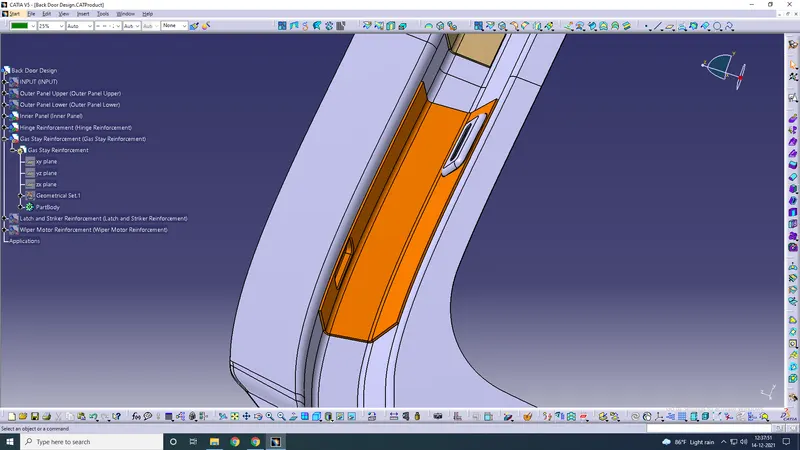
Gas stays are the piston-like hinges that support the tailgate at either side when opened. It makes lifting and closing the lid much easier.
Challenge:
Given styling surface
The styling surface given is of the back door outer panel which has been split by half. For working on the inner panel, this one half should be used and the remaining half can be easily mirrored.
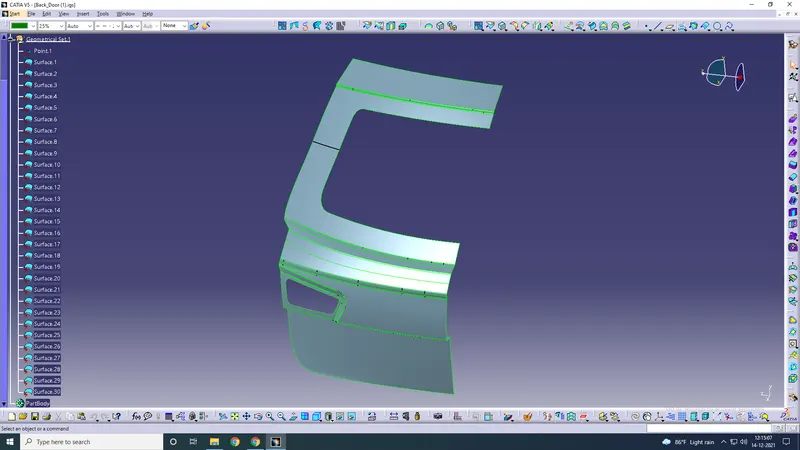
Tooling Axis Creation
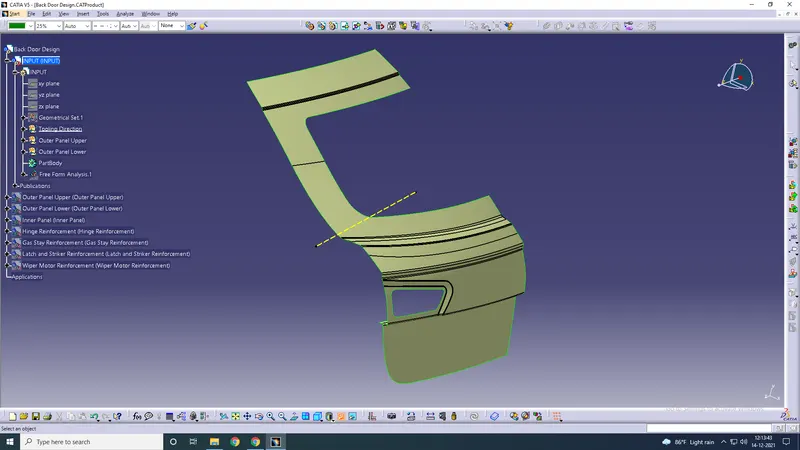
Making of Sealing Flange
Offsetting outer panel inwards for 25mm
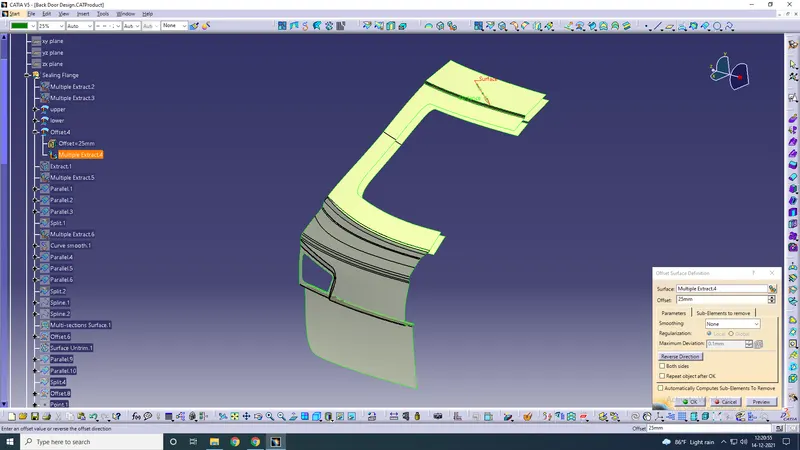
Now using parallel curves and split command, we make a thin layer of surface. A sweep is done from this surface and it is then trimmed with the outer panel.
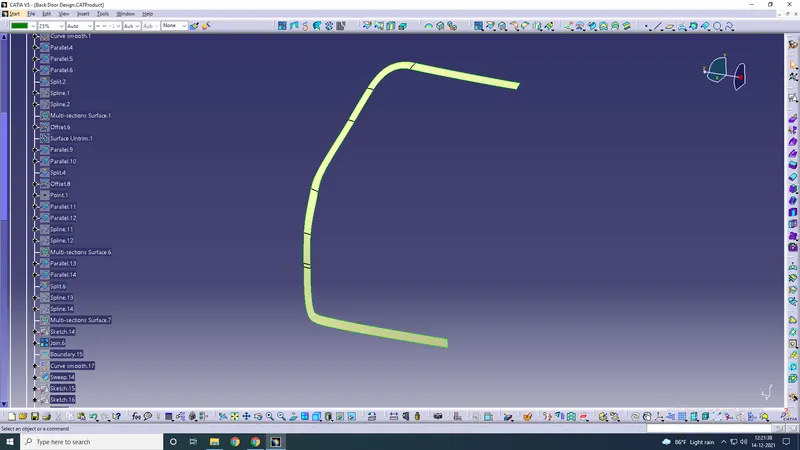
Sweep
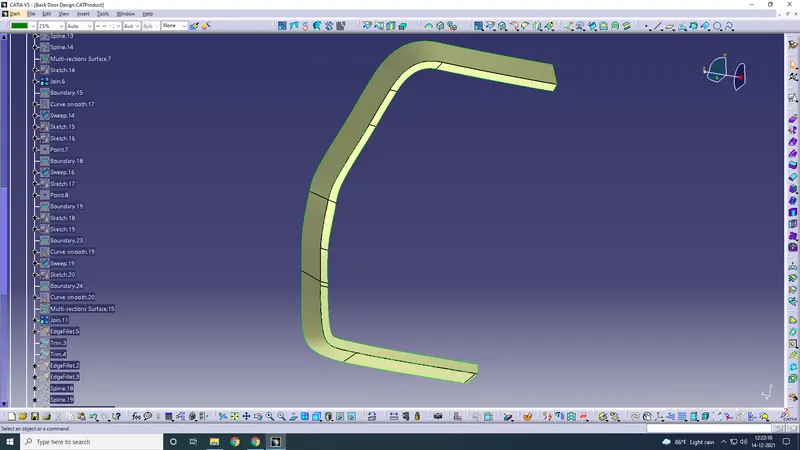
Trimming with extracted outer panel
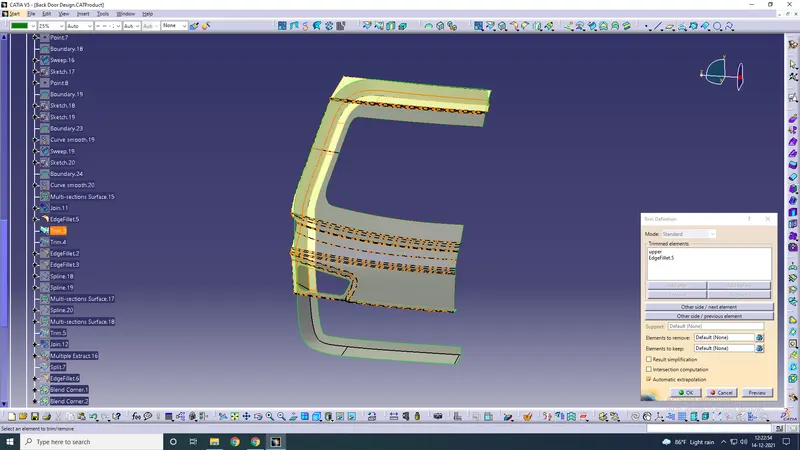
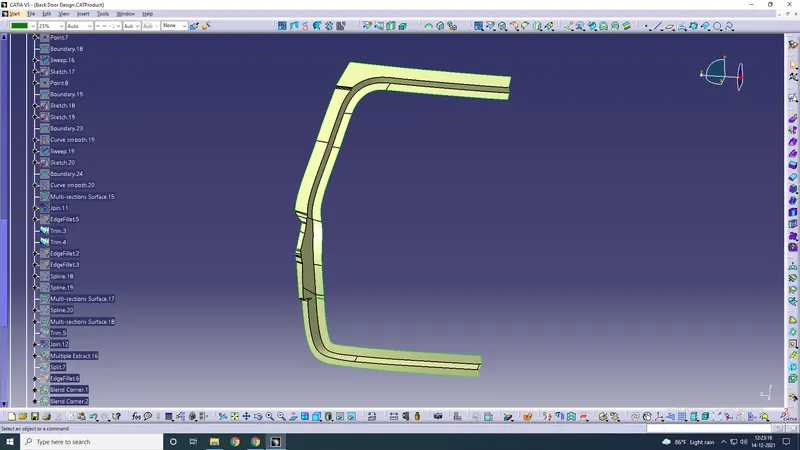
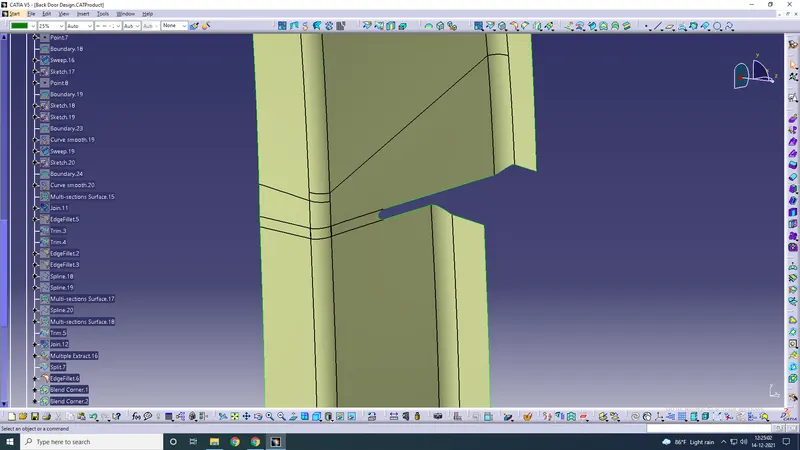
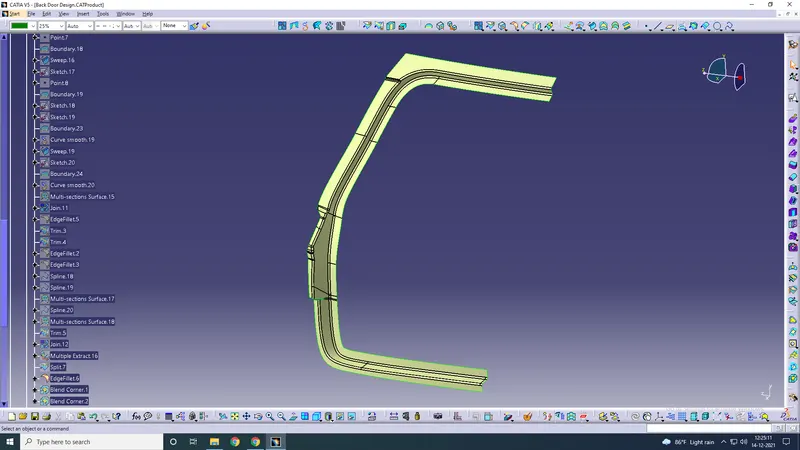
This is the area between the upper and lower panel. We need to join these 2 using multi-section.
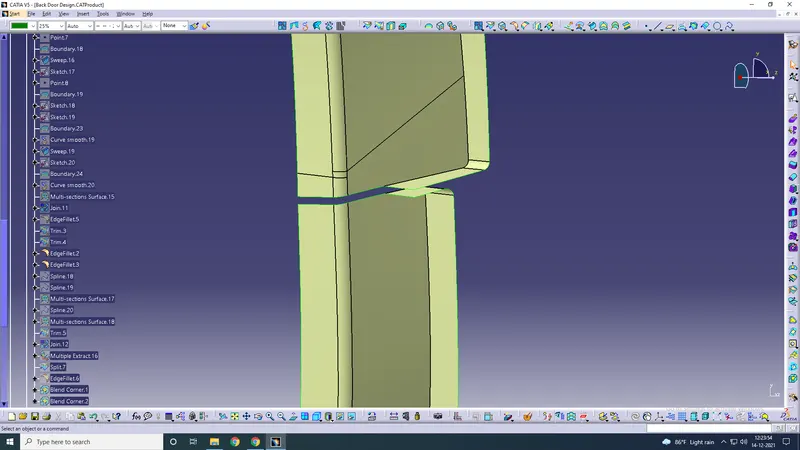
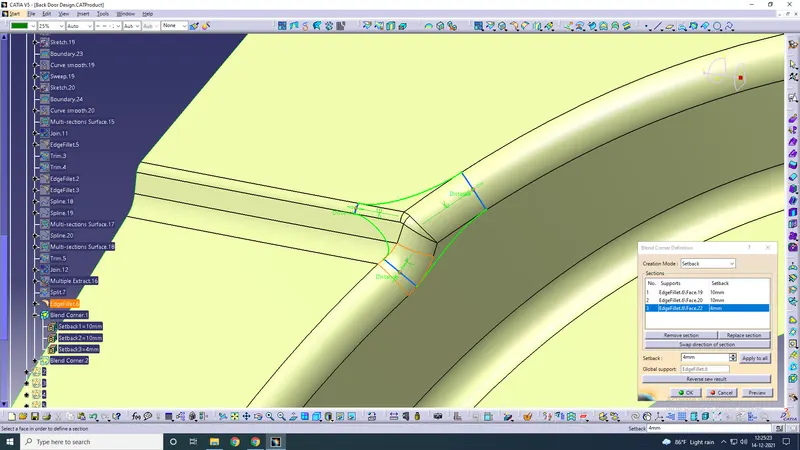
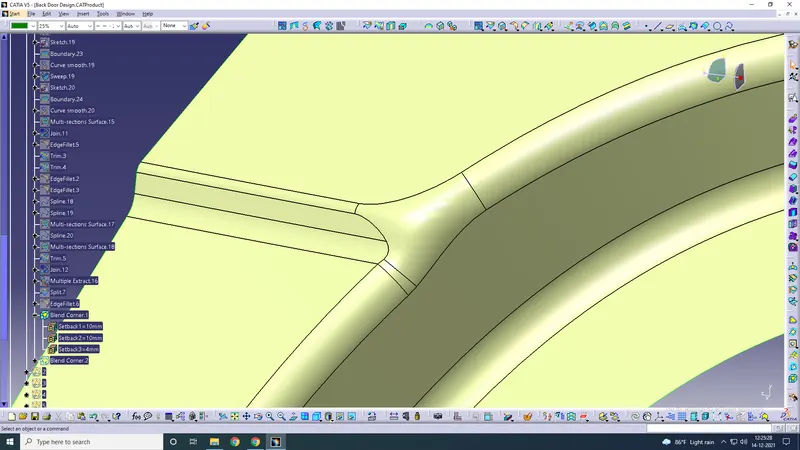
Fixing the irregular areas using blend corner command
Taking another offset from the outer panel to 1.7mm
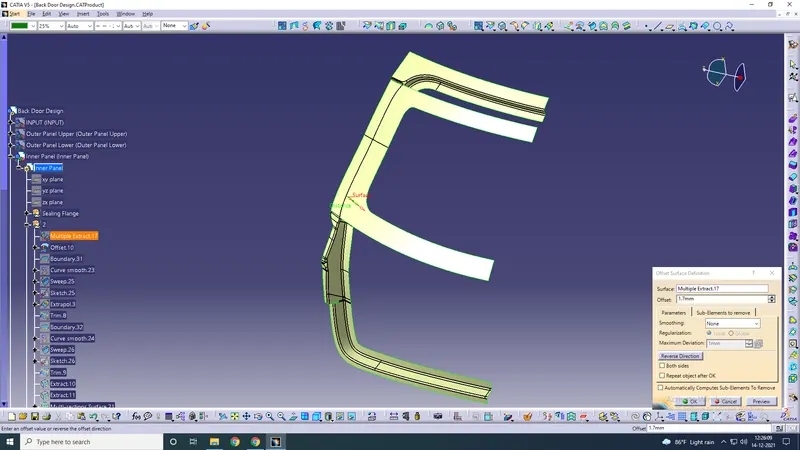
Trimming that offset with a sweep
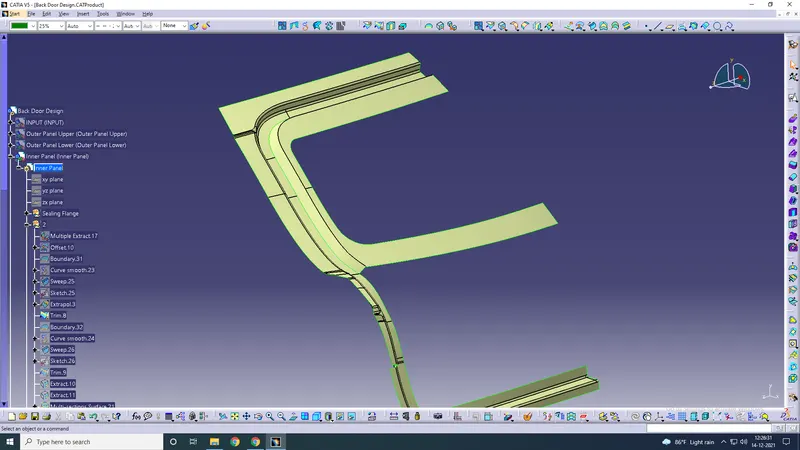
Closing the area below with the help of sweep (using 2 guide curves)
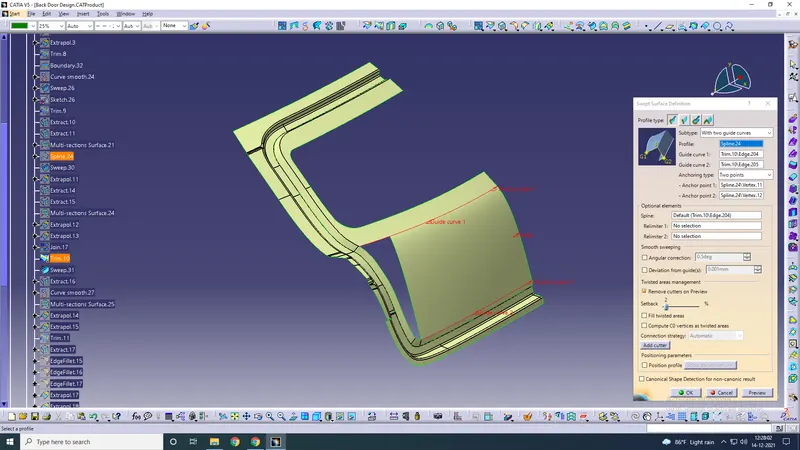
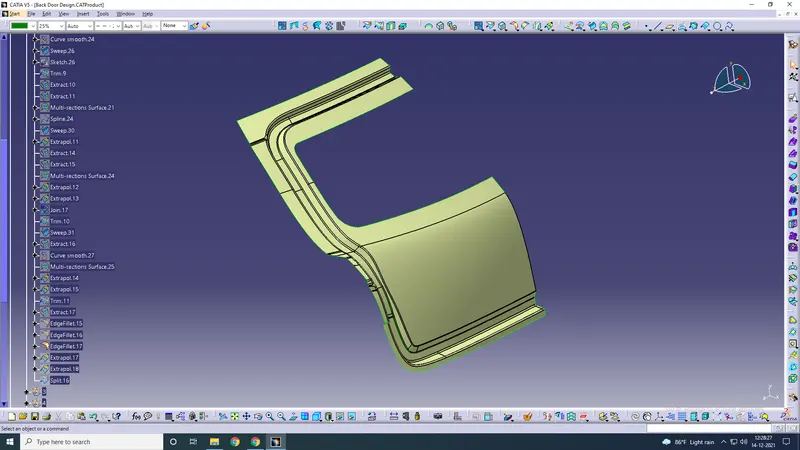
Making embosses
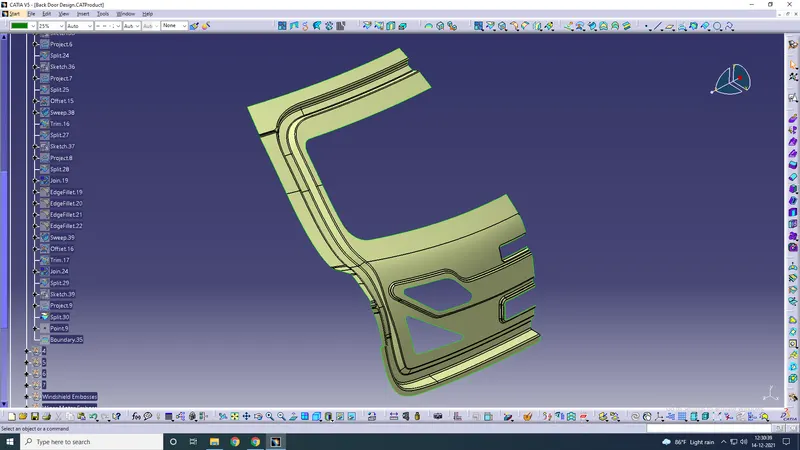
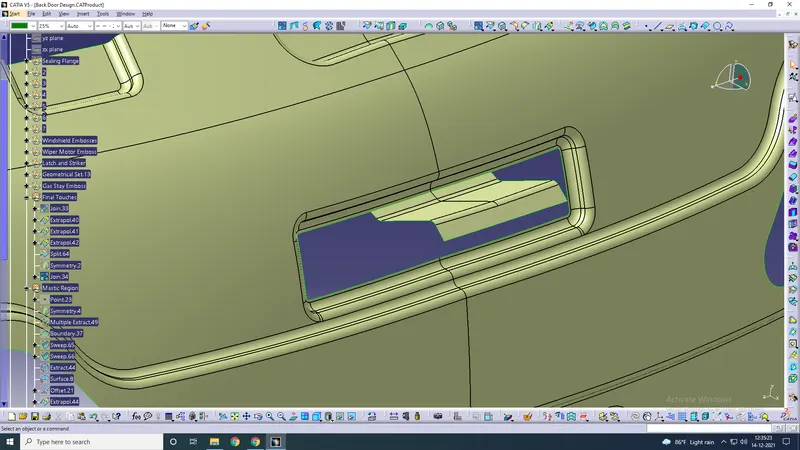
The hole at the top above the big emboss is where there will be a provision given for mastic point interjection between the outer panel and inner panel.
Holes and Embosses for Reinforcements
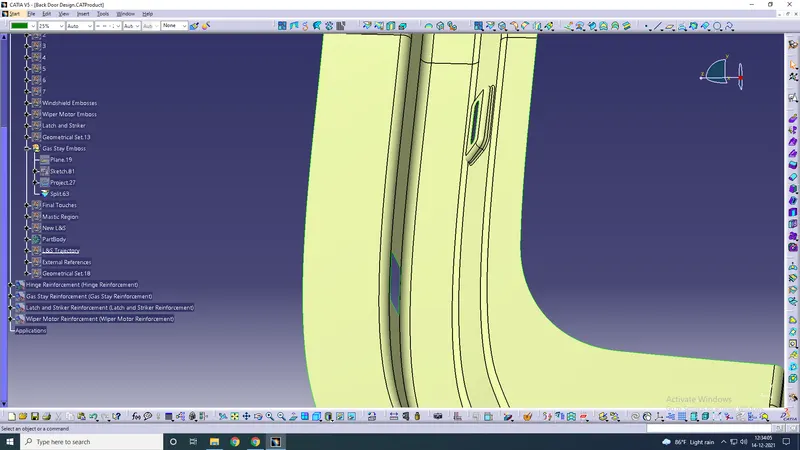
For Gas Stay Reinforcement
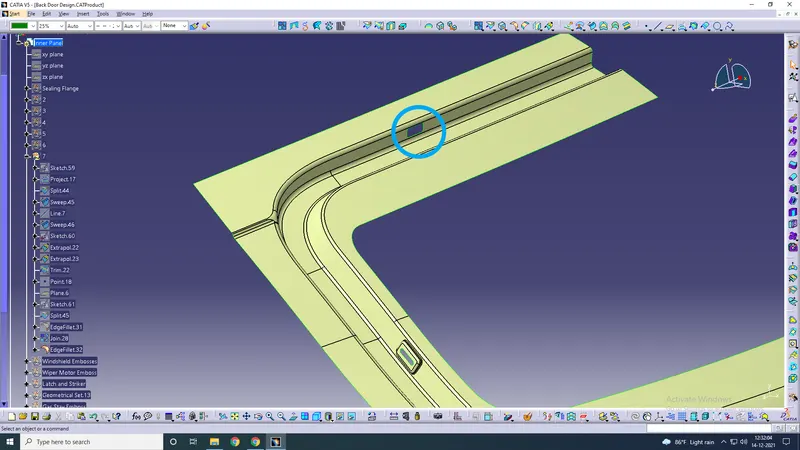
For hinge reinforcement
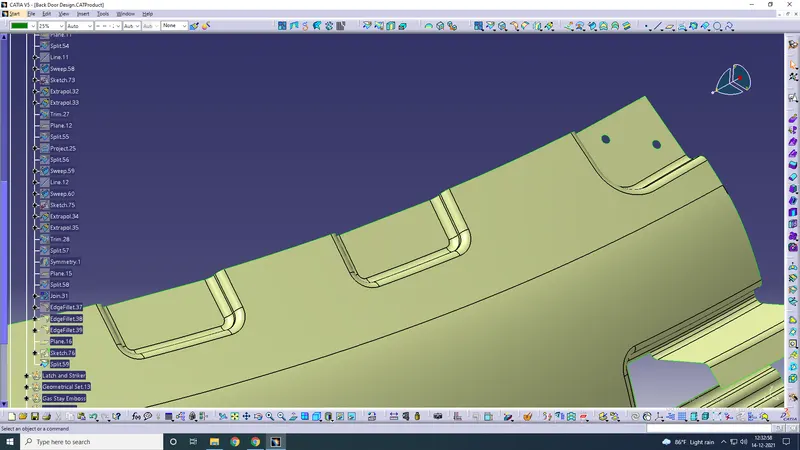
For Wiper Motor
For Latch & Striker
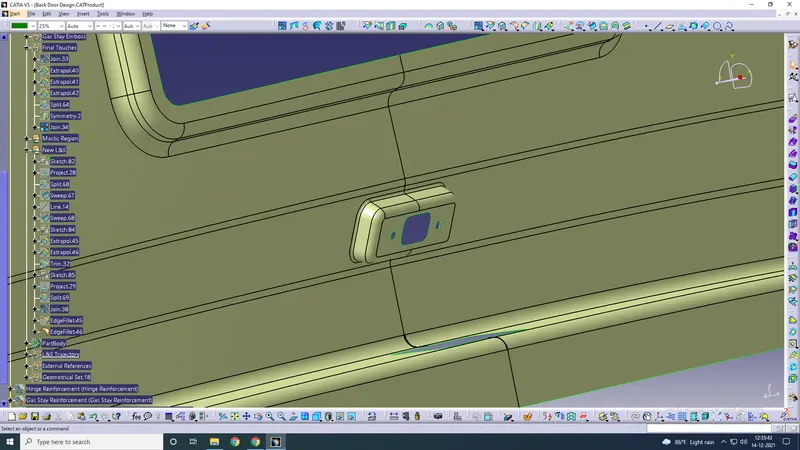
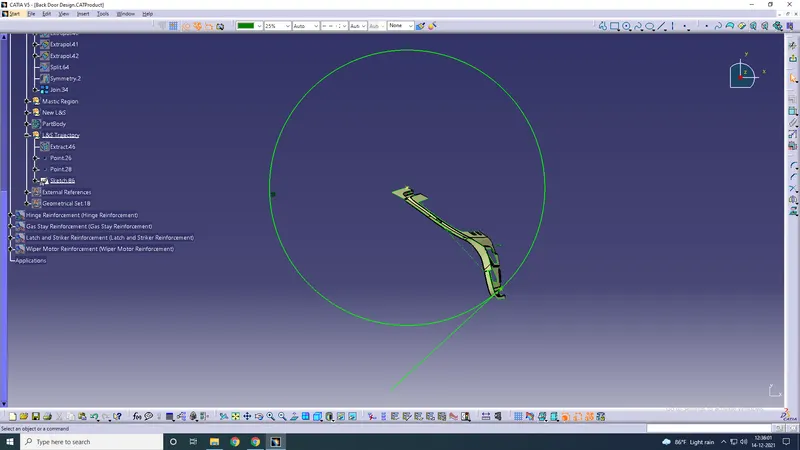
Latch & Striker Trajectory
Create one point on the latch and striker emboss and another one on the top centre point of the inner panel. Draw a line connecting these 2 points. Taking this line as radius and the 2nd point as centre, draw a circle. This is the trajectory that the back door/tailgate follows when it opens/closes.
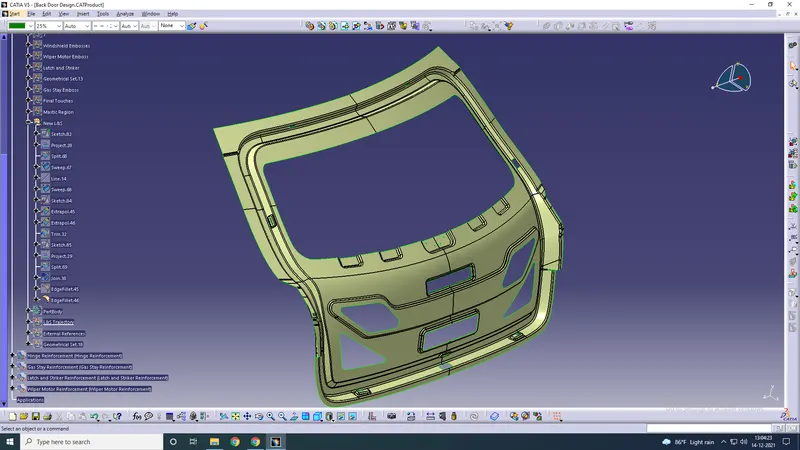
Final inner panel
Mastic Region Creation
Thickening inner panel outwards to 0.75 mm
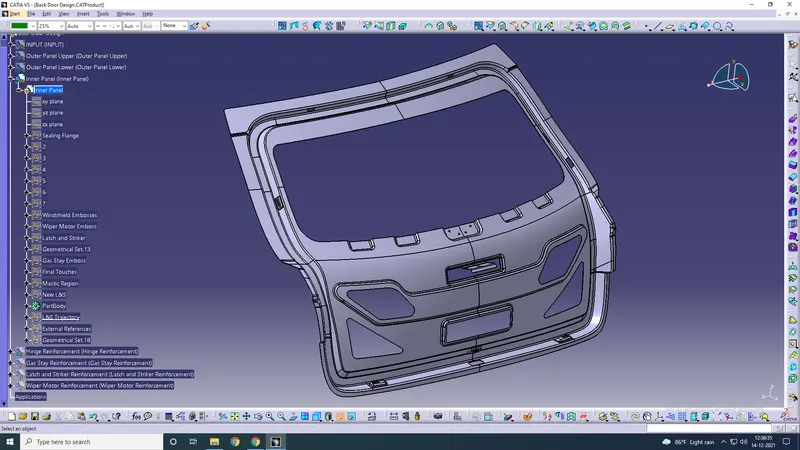
Making of Reinforcements
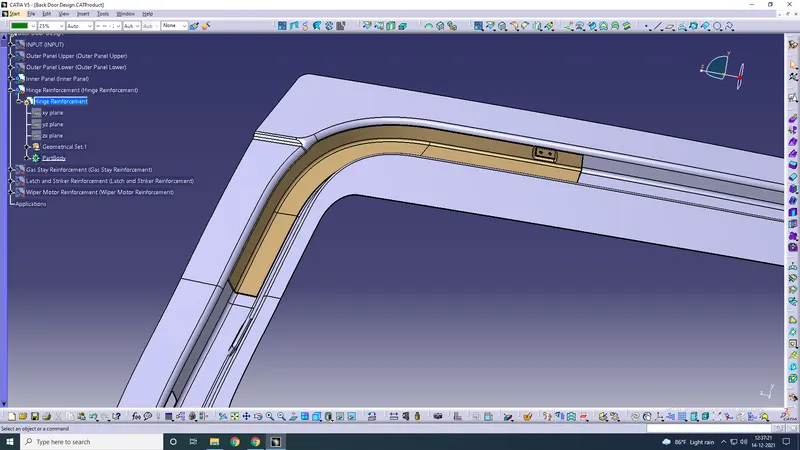
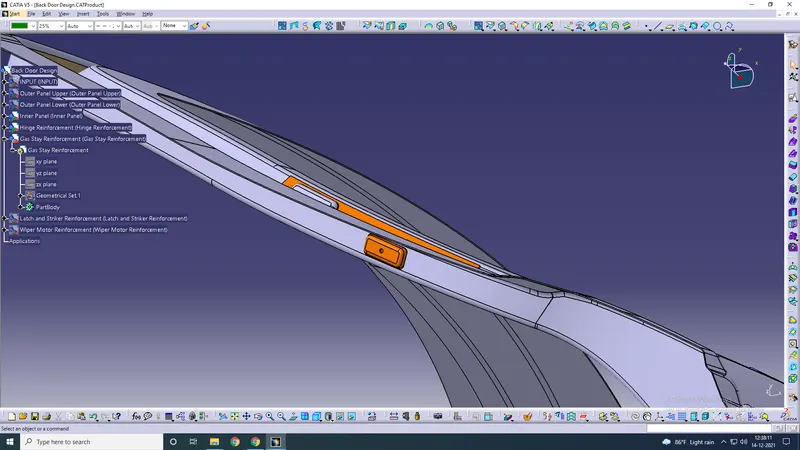
Reinforcements can be made by extracting the surface of the inner panel and thickening them to 1.5 mm.
Hinge Reinforcement
Gas Stay Reinforcement
Latch & Striker Reinforcement
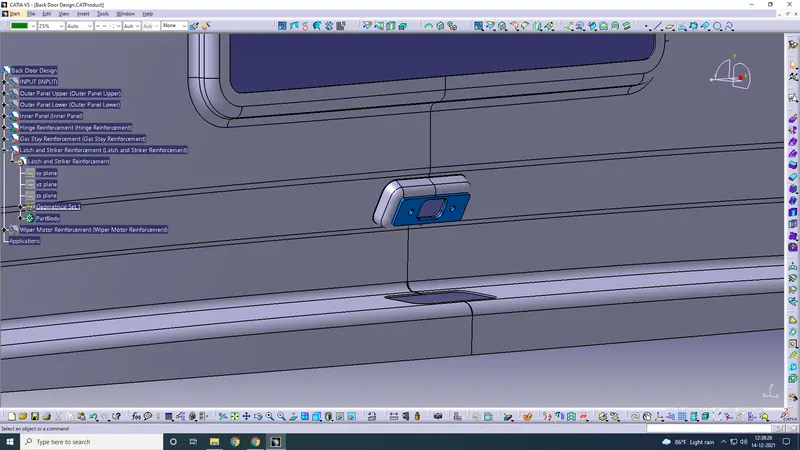
Wiper Motor Reinforcement
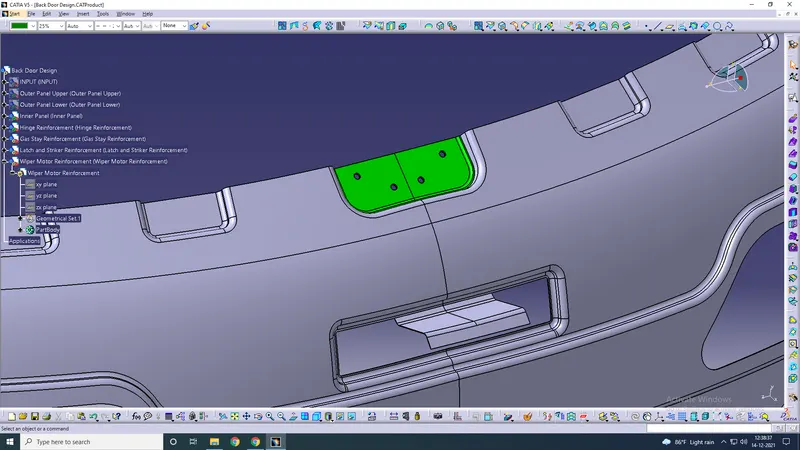
Final
Everything on the inner panel is now complete.
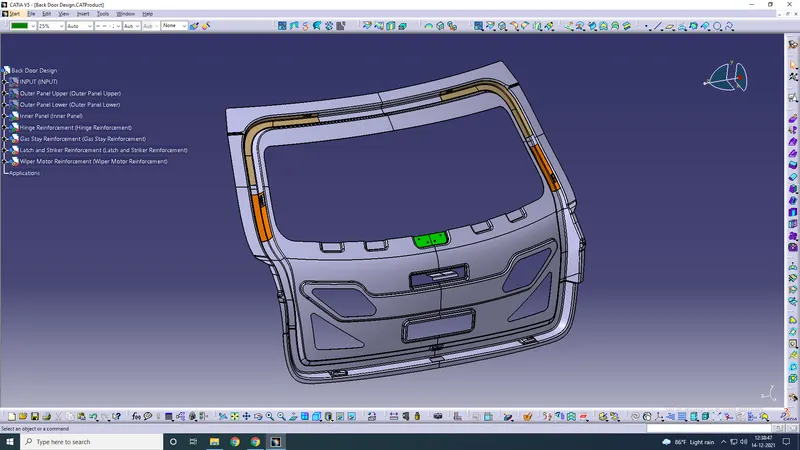
Hemming on the Outer Panel
The hemming was started by making an offset of 2.65 mm inwards. A sweep was made from the outer panel and these 3 surfaces were joined together using bi-tangent fillet (1.3 mm) command.
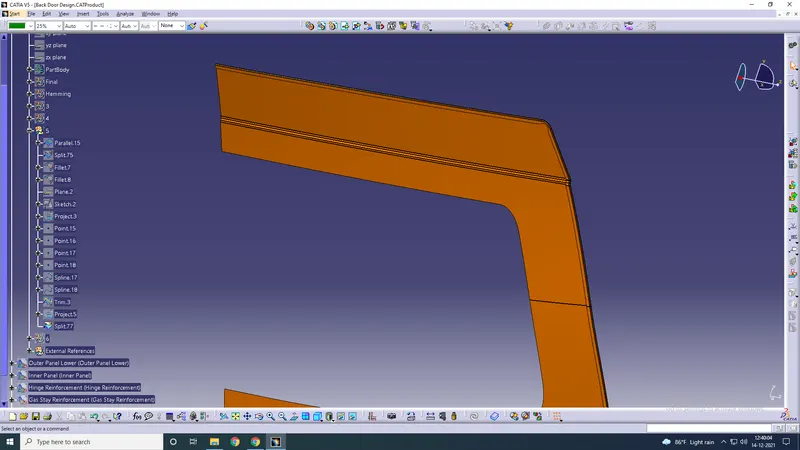
Relief for the hemming
Relief should be given on the corners to get a clean and smooth area. If no hemming is done here, there are chances for the metal there to crumple.
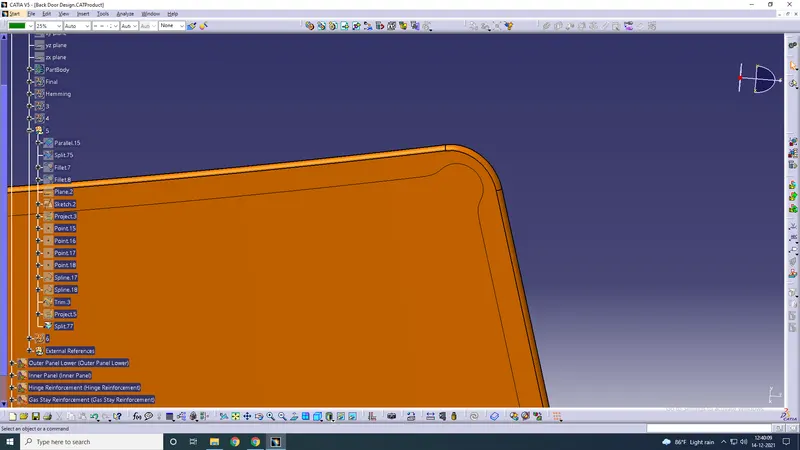
Thickened outer panel (0.75 mm)
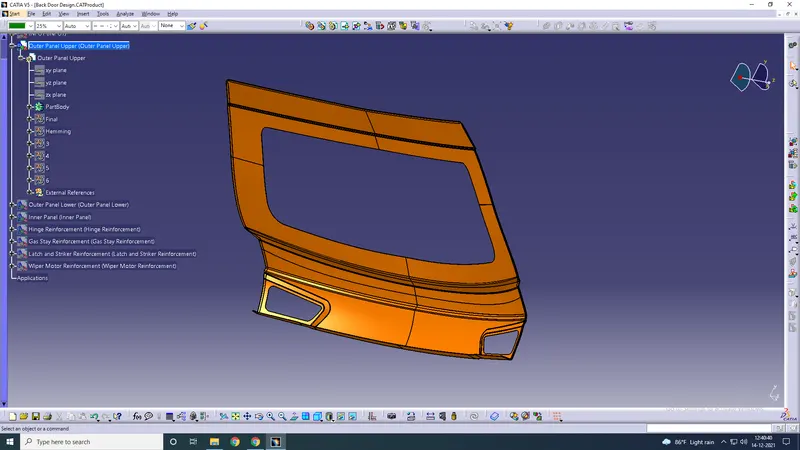
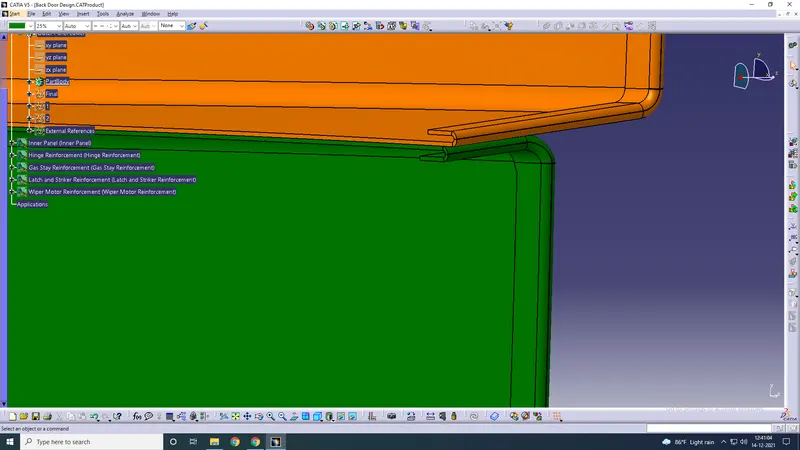
Similarly, the lower half of the outer panel has also been hemmed and thickened. The meeting point between the 2 panels has been shown below.
Final Product
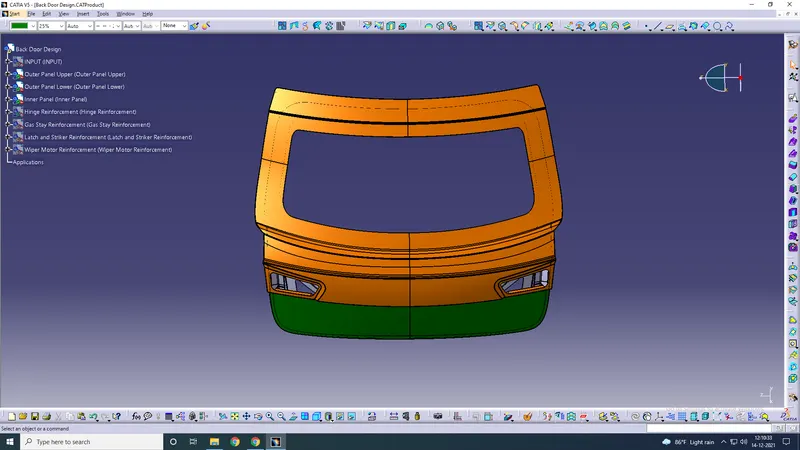
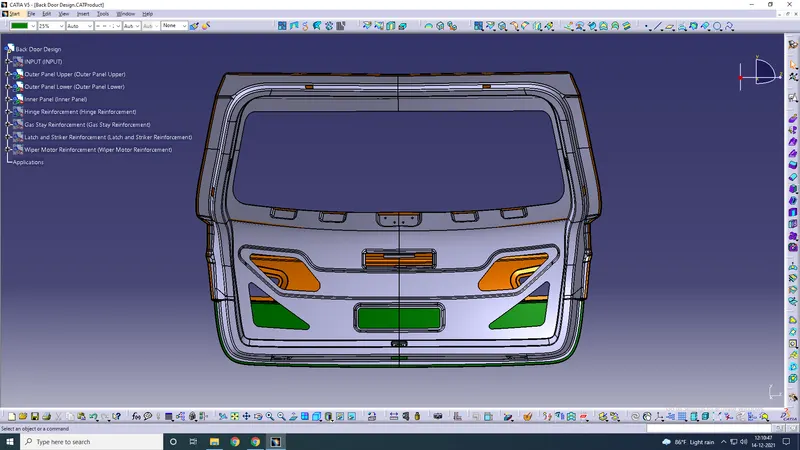
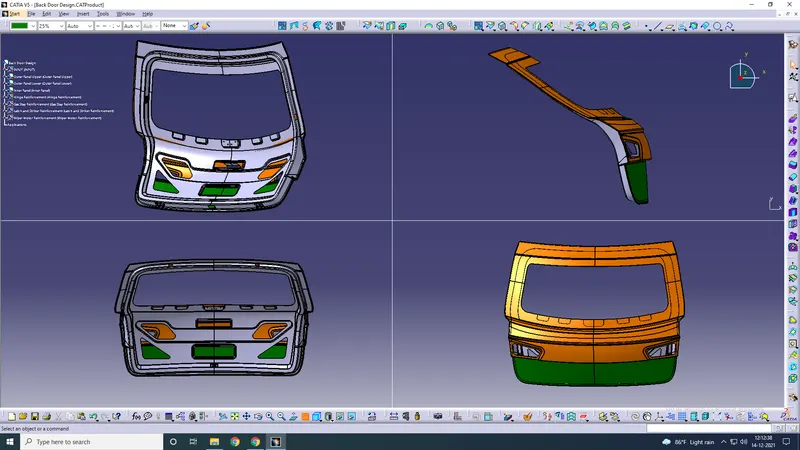
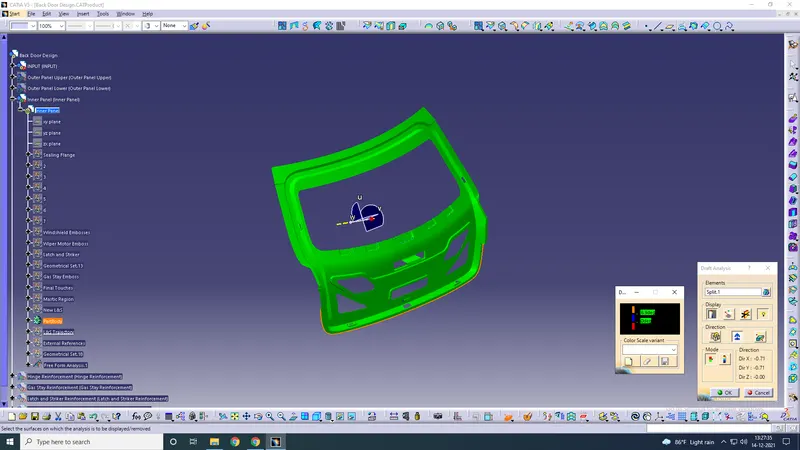
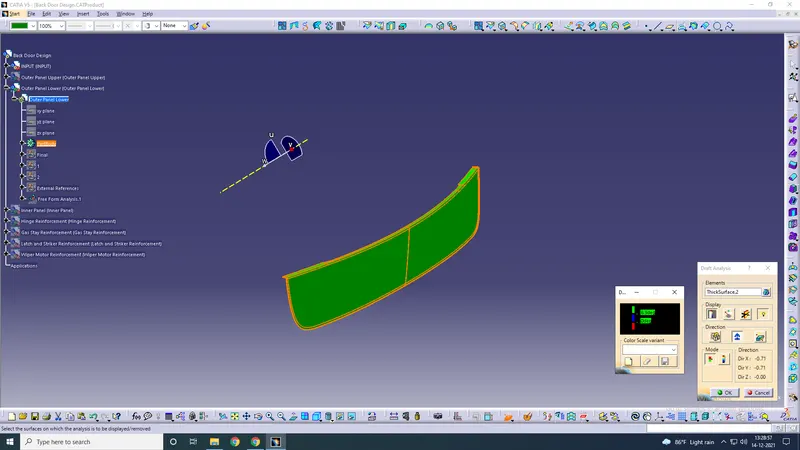
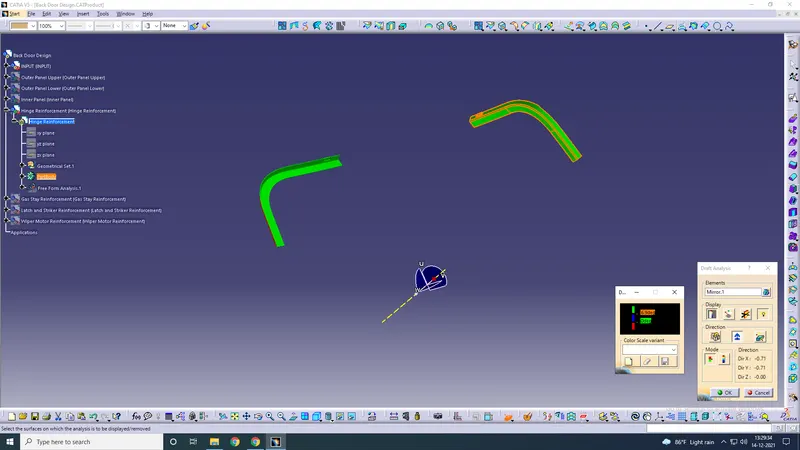
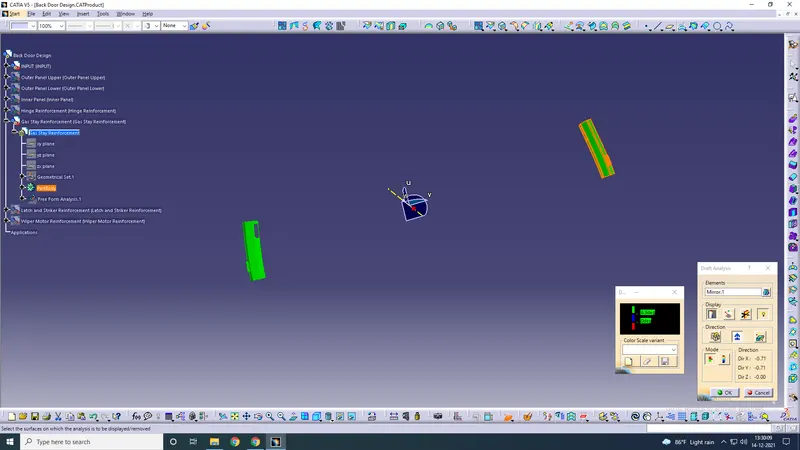
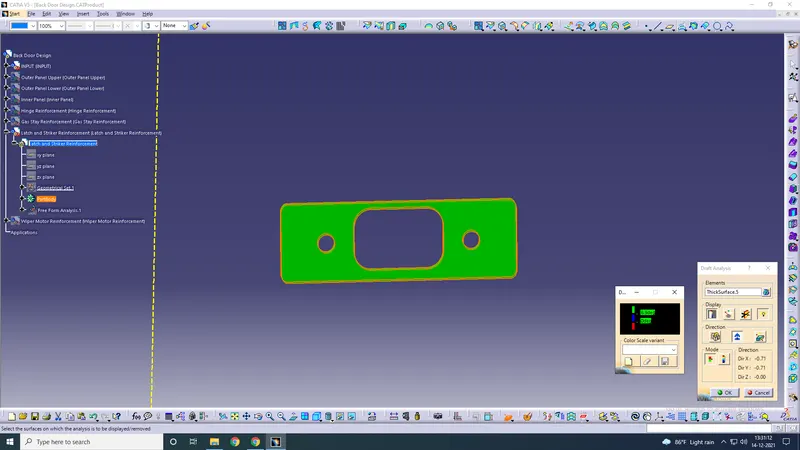
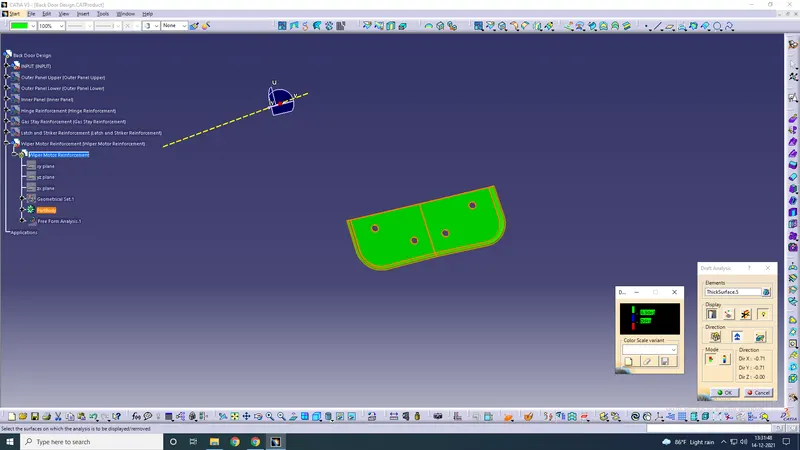
Draft Analysis
Inner Panel
Outer Panel Upper
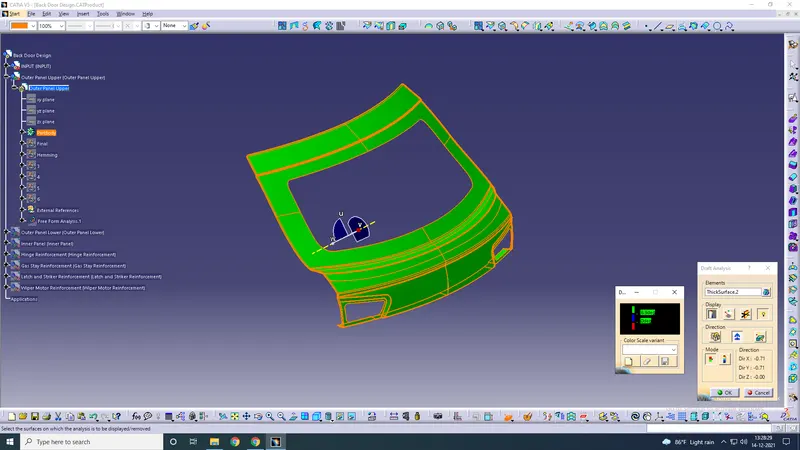
Outer Panel Lower
Hinge Reinforcement
Gas Stay Reinforcement
Latch & Striker Reinforcement
Wiper Motor Reinforcement
Conclusion: The back door inner panel with its various reinforcements was successfully made following the design rules and guidelines. Draft analysis was also done for each part.