Design of backdoor
PROJECT NAME: DESIGN OF CAR BACK DOOR :
AIM:
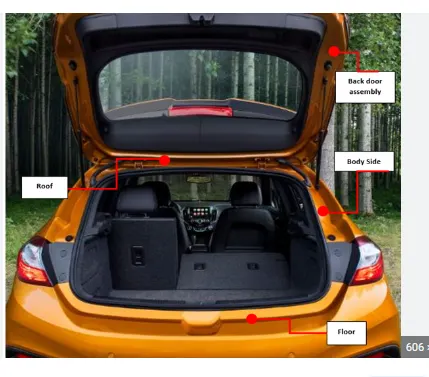
- Design of car back door panel for use appropriate design methodologies with necessary component (like: Inner panel ,Outer panel ( upper and lower) , Reinforcement ) and embosses.
What is Car Back Door?
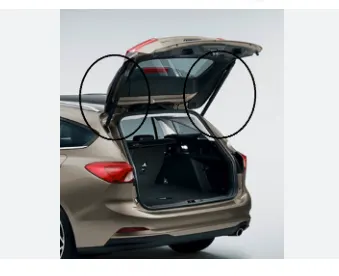
- Car Back door are tipically called as rear door which are located in behind of front doors.if standard sedan type cars are there in two rear doors are like left rear door,and right rear door.some perticularly certain type cars have one door.
-
car back doors are designed to allow the passangers enter and exit to the rear side seats of the vehicle.they contribute to the overall saftey of the vehicle by providing access to the interior and protecting occupants in the event of a collision.
Types of Back Door:
1.Conventional Back Door.
2.Sliding Back Door.
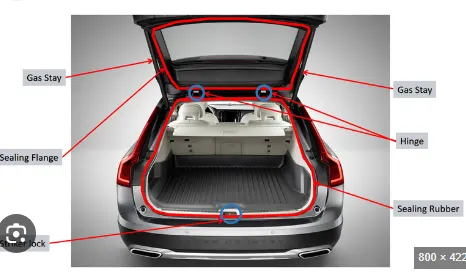
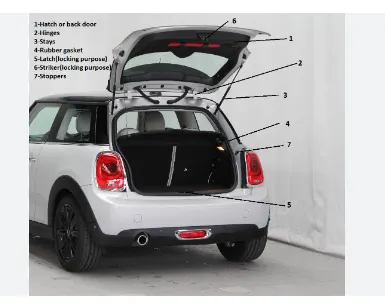
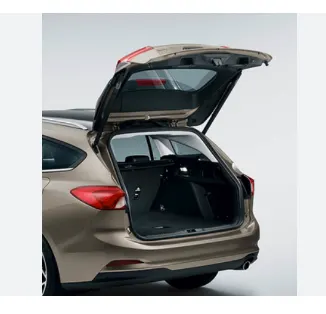
What is Design Consideration of Car back door:
- Back door designed with consideration of structural integrity,safety,Aesthetics,and functionality. And also incorprote the some features .Such as Reinforcement,Hemming,Side impact protection.
1.Structural Integrity.
2.Safety.
3.Aesthetics.
4.Functionality.
5.Reinforcement.
6.Hemming.
7.Side impact Protection.
8.Crashwortheness.
9.Material Selection.
10.Weather Sealing.
11.Windows Operation.
12.Noise and Vibration Control.
13.Weight Optimization.
14.Regurality Complaince.
15.Durability and longevity.
What are manufacturing Process in Car Back Door Panel:
- The manufacturing Process of a car door panel involes several steps,from design and material selection to forming assembly and finishing .
1.Design and engineering:
- This Process begins of the design space is engineers created in detailed specfication includes shape ,size,and feature of the door panel.
2.Material Selection:
- Choose the apporate material on the door panel base on strength,cost,weight and asethetics.commenly use in aluminium ,steel and composite material.
3.Sheet metal cutting:
- If the door panel is made on sheet matel cuttung on desired shapes by using cutting tools.like laser cutting,water jet machine,stamping dies.
4.Forming and pressing:
- The cut metal sheet are then shaped into three dimensional form pf the door panel by using forming pressing operation.This may involve stamping bending or deep drawing process
5.Welding:
- Join various components to the panel through the welding.They includes Welding seams, reinforcements and ensure the structral integrity of the panel
6.Surface Treatment:
- Apply the surface treatement of the panel they improve the apperience of the door and protect from the corrosion.this can involve process are priming ,painting and coating.
7.Assembly of components:
- Add additional component into the door such as side impact beams,insulation material,electronic items(windows motors) any other components required from functionallity and safety.
8.Quality and inspection:
- Perform rigorous quality control check and inspection at various stages of the manufacturing process to ensure that the door panel meet specifications and safety standards.
9.Trimming and Cut outs:
- Cut out openings for windows,handles,and other features.Trim the edges to achieve the final shape and smooth finish.
10.Testing:
- Conduct functional tests to esure that the door panel operates correctly.This may include window opertaion tests,latch tests,and checks for proper alignment.
11.Final Inspection:
- Performe a final inspection to verify the overall Quality of the door panel.This includes checking for any defets,ensuring proper alignment , and confirming that all companents are securely attached.
12.Packaging and Shipping:
- Package the finished door panels for shipment to the assembly line.Ensure proper packaging to prevent damage during transportation.
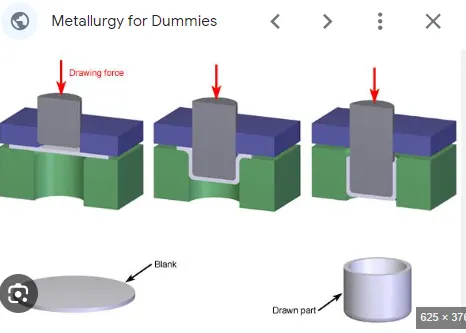
Deep Drawing Manufacturing Method:
- Deep Drawing method is sheet metal is radialy drawing into the dia by mechanical action of punch.It is called Deep drawing method.In this method work piece put on to the die and blank holder then interduce top on the work piece which is not deformed by the puch
.
What is Hemming:
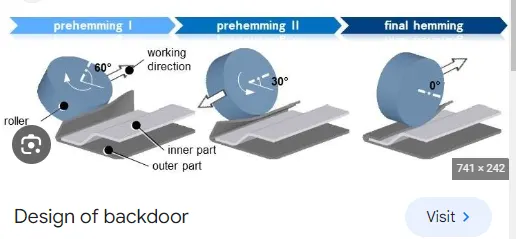
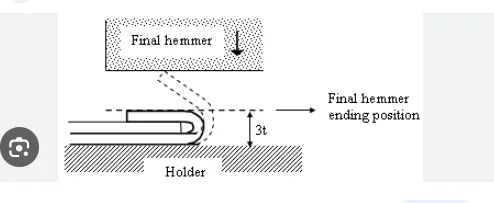
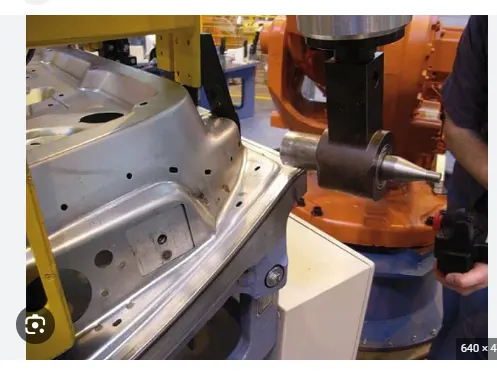
- Hemming in the context of sheet metal forming and automotive manufacturing ,refers to a process used to fold or bend the edge of a metal panel back onto itself.This is commonly done to create a reinforced edge, provide a smoother appearance and enchance the structural intearity of the panel.Hemming is widely used in the production of a car body parts,including doors,hoods,and trunk lids.
Two types of hemming are there,They are,
1.Roll Hemming .
2.Compression Hemming.
Severel type of hemming Process are there ,they are ,
1.Sealing and protection.
2.Enhanced structural integrity.
3.Aesthetic improvement.
4.Compatibility with joining process.
WHAT IS PANEL REINFORCEMENT:
- Car back door panel reinforcement refers to the addition of structural elementsor enhancements to the back door panel of a carto improve its strength,rigidity,and safety characteristics.Reinforcements are strategically placed to cnchance the overall structural integrity of the door panel,making it more robust and resistant to deformations or damage during various conditions,including collisions or accidents.
1.Crush safety.
2.Side impact protection.
3.Rollover protection.
4.Regidity and durability.
5.Integration with safety system.
6.Noise and vibration control.
7.Material compactability.
8.Weight Optimization.
STEP OF DESIGN PROCESS:
1.Inner Panel
2.Outer Panel Upper with Hemming
3.Outer Panel Lower with Hemming
4.Reinforcement.
CAR BACK DOOR INNER PANEL:
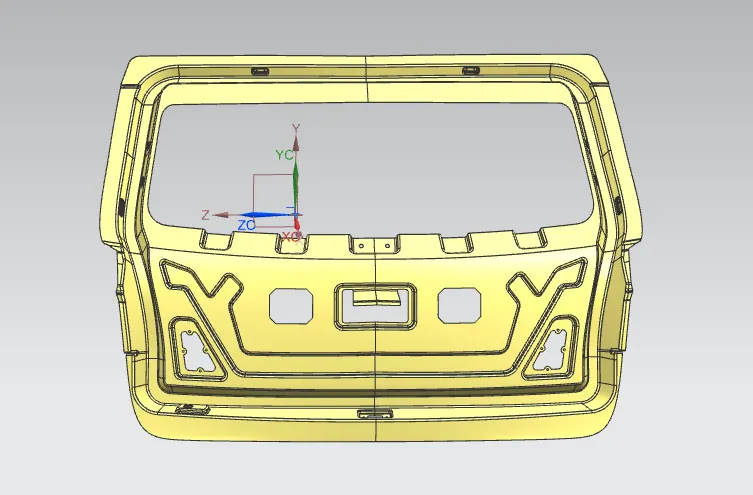
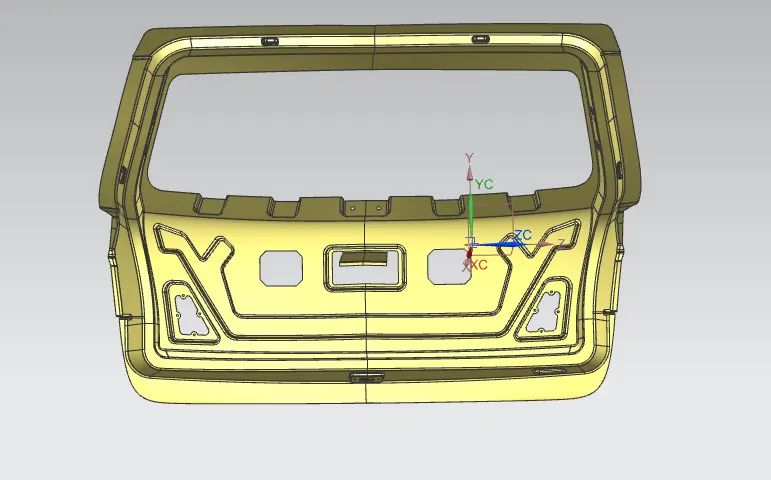
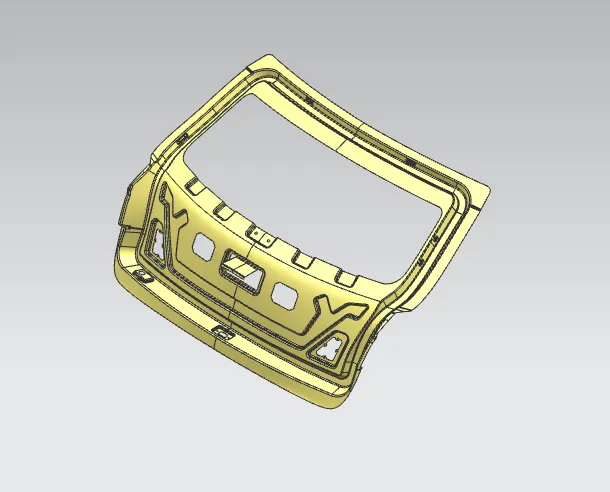
- In this Desiginig Process we have to downlode the Outer panel first create wave geometry linker and draw the Tooling Axis of the design ,then offset the panel in 1.7mm inner side.Then create the flange by using offset on the curve ,Bridge curve and sketch commands.
- After creating the flanges in required shape then create windsheeld glass area to join through the sealing flange by using law extension command , sweft,studio surface command.
- All sharp edge corners are make Blend by using face blend and edge blend.if we have to done the basice panel surface creation we will move in the embosses process on the panel surface .
- Normally we will create the Y Type or V Type Embosses.Because this type of embosses are avoid the vibration ,noise of the back door panel. And also we have to create the several shape of design embosess and openings,Hinge embosess ,gasstay embosses,Wiper Motor Embosess,Hatch & Striker Embosses.The embosess length 15mm at the Angle of 10mm
- All Embosses should be Blended in 5mm.Finally the Inner Panel would be Created.then we have done with one side of the panel only .so we took mirrod the panel will make on right on side also.before that we have extend the panel surfae and trimed in correct angle parameters then mirrord.because we have avoide joining issues.then select the sew option and select the both Sides (RHS & LHS ) the will create sucessfully.
- Click on the thicken command and select the outer panel upper input Value is 0.75mm and create in inner side .
Flange:
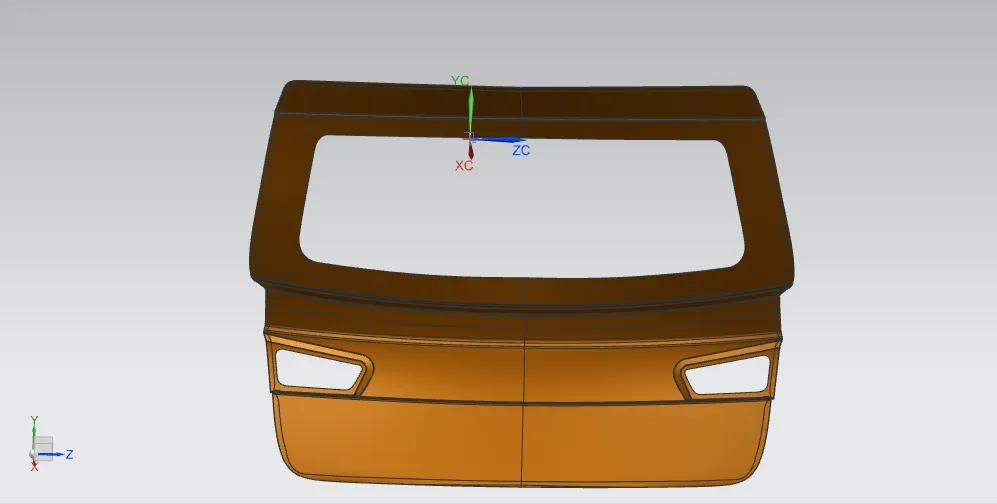
CAR BACK DOOR OUTER PANEL UPPER WITH HEMMING:
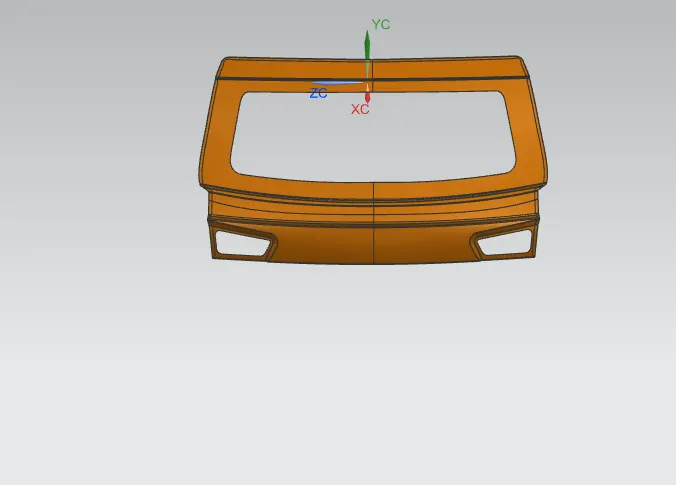
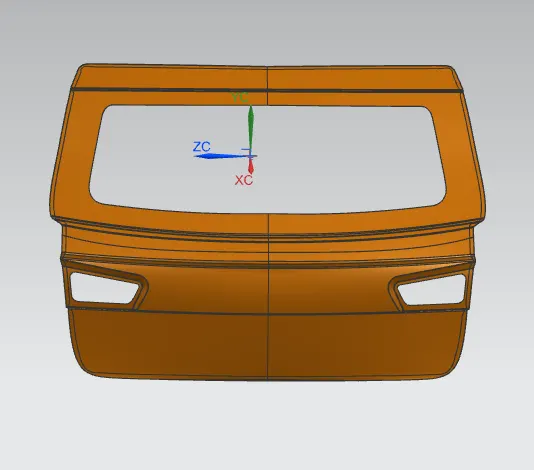
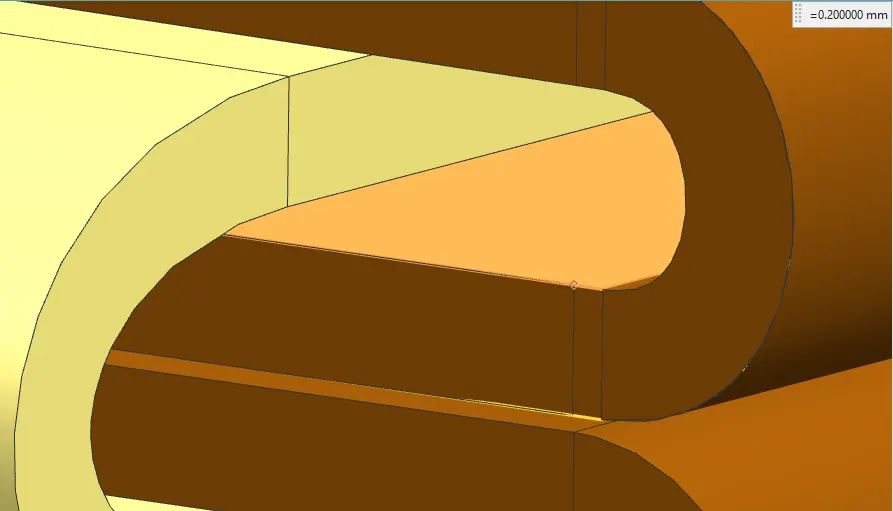
- Now we have been created to the Outer panel Upper Side Basically the outer Panel has converted in two parts.They are Upper Panel & Lower Panel.Dowlode the outer panel and create the tooling axis and offset the Panel in 2.65mm distance .Because the panel thickness has 0.75 mm inner panel to outer panel gap 0.2mm.
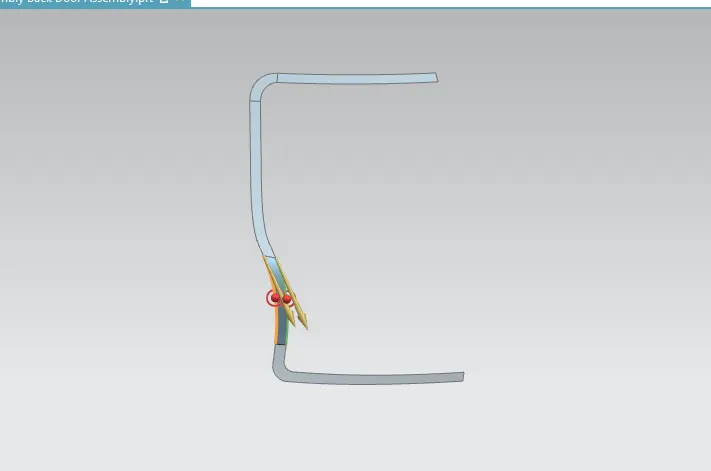
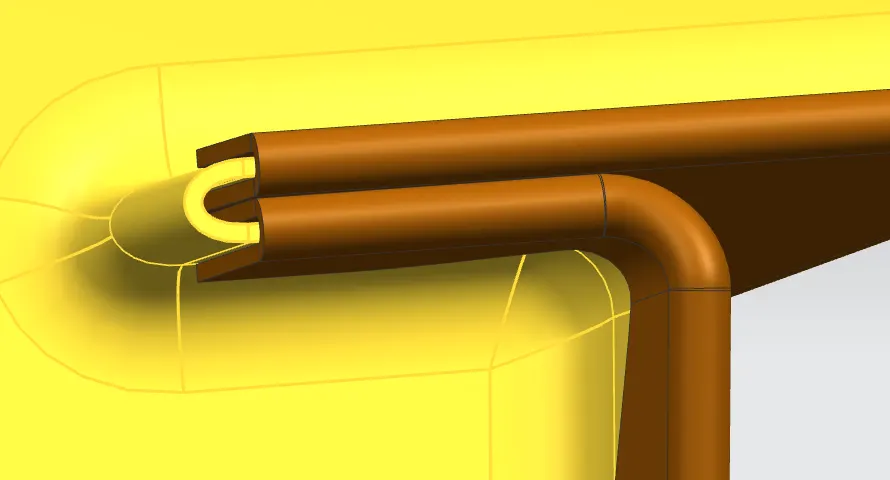
- After the offset we have been make flange by using offset curve and bridge curve commands ensure the breath of inner flange is 10mm to 15mm .now we will connecting outer panel to inner flange by using law extension or bridge curve ,sweft,studio surface and Through curve mesh command.This process is called hemming
- If we have using law extension commed to join the panel and flanges,will create the hemming process in the panel and flanges.So select the three face blend option and click the first ,second,and middle faces . the hemming will be happend .
- Now we have done with one side of the panel only .so we took mirrod the panel will make on right on side also.before that we have extend the panel surfae and trimed in correct angle parameters then mirrord.because we have avoide joining issues.then select the sew option and select the both Sides (RHS & LHS ) the will create sucessfully.
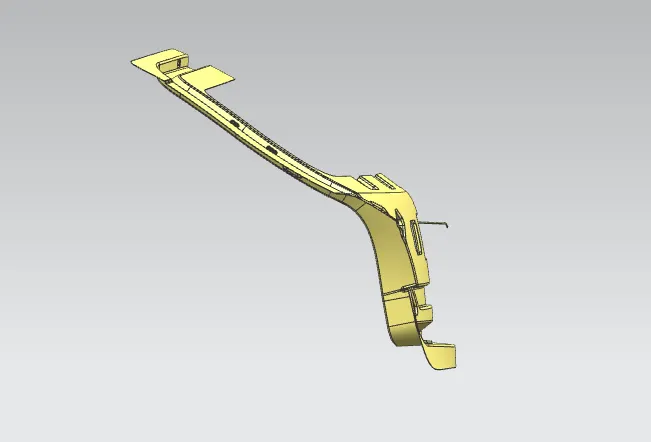
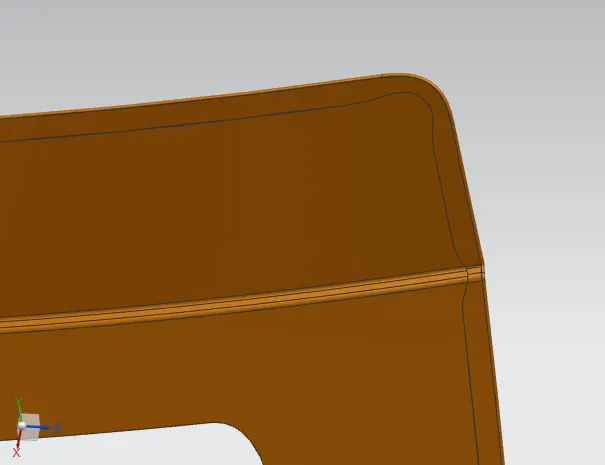
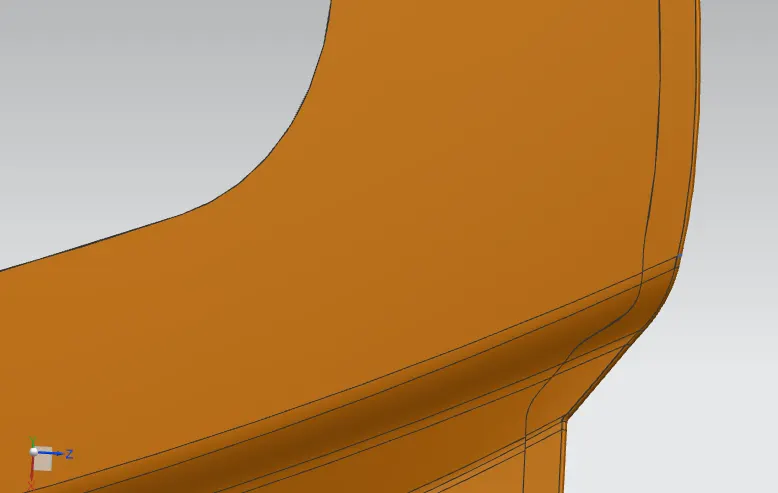
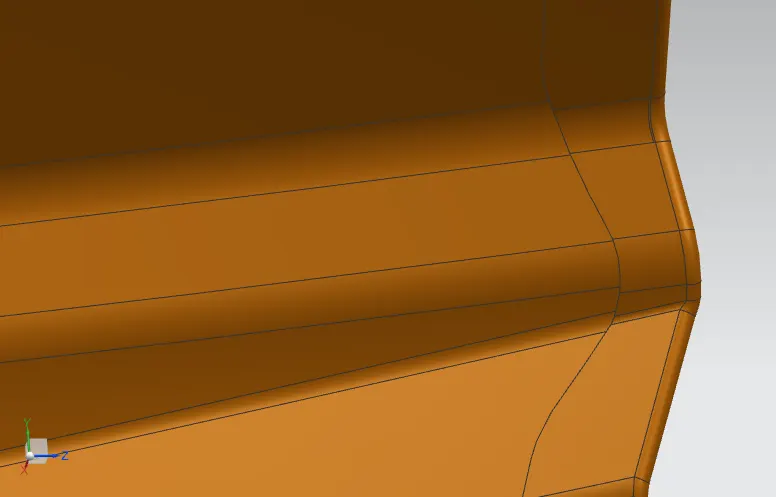
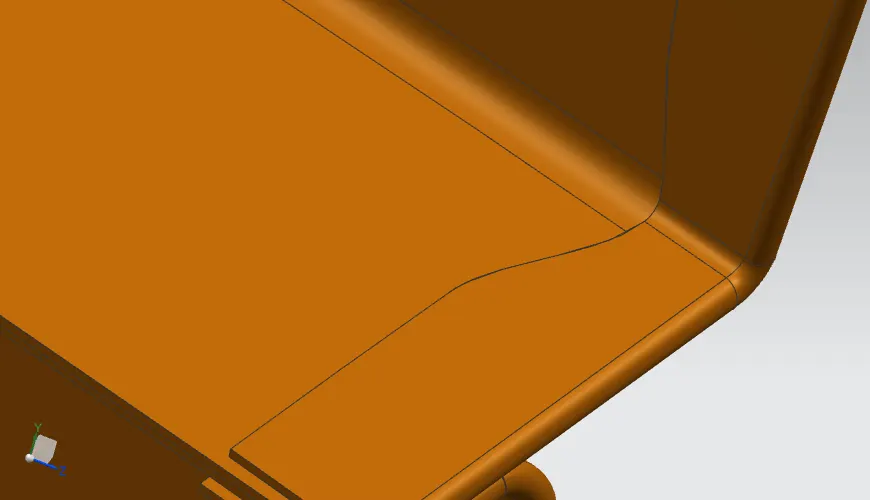
- Finally we have create the relief section in outer panel upper by using surface of curve command.Its has created by all corner side for panel. After that finally we will move on the thicken process on panel.Click on the thicken command and select the outer panel upper input Value is 0.75mm and create in inner side .
OUTER PANEL UPPER:
OUTTER UPPER PANEL RELIEF SECTION:
CAR BACK DOOR OUTER PANEL LOWER WITH HEMMING:
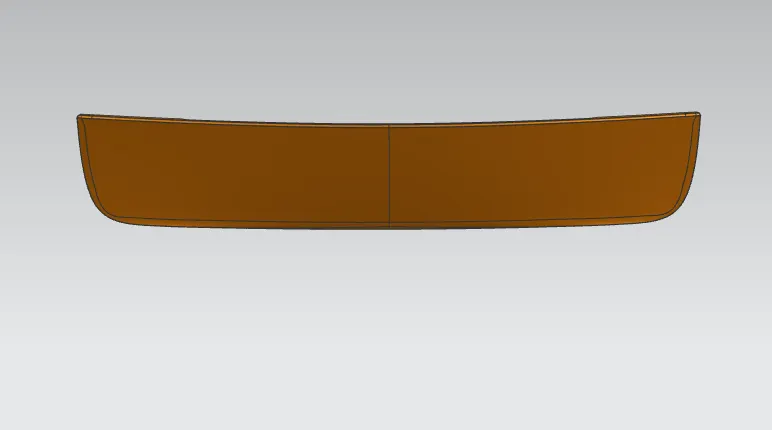
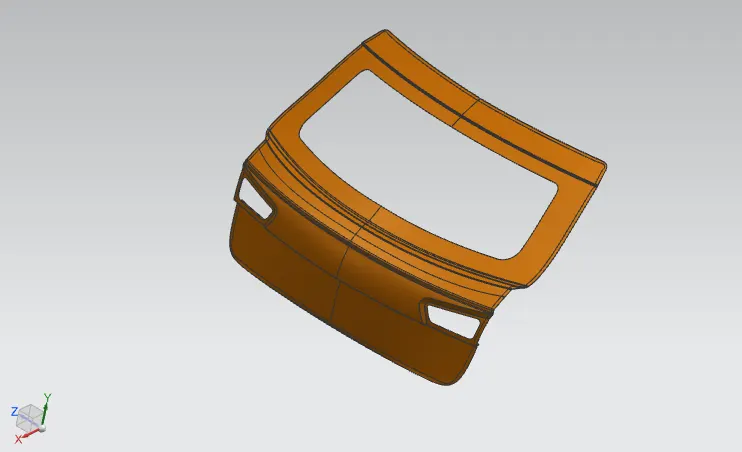
- And we have been created to the Outer panel Lower Side Basically the outer Panel has converted in two parts.They are Upper Panel & Lower Panel.Dowlode the outer panel and create the tooling axis then offset the Panel in 2.65mm distance .Because the panel thickness has 0.75 mm inner panel to outer panel gap 0.2mm.
- After the offset we have been make flange by using offset curve and bridge curve commands ensure the breath of inner flange is 10mm to 15mm .now we will connecting outer panel to inner flange by using law extension or bridge curve ,sweft,studio surface and Through curve mesh command.This process is called hemming
- If we have using law extension commed to join the panel and flanges,will create the hemming process in the panel and flanges.So select the three face blend option and click the first ,second,and middle faces ,the hemming will be happend .
- Now we have done with one side of the panel only .so we took mirrod the panel will make on right on side also.before that we have extend the panel surfae and trimed in correct angle parameters then mirrord.because we have avoide joining issues.then select the sew option and select the both Sides (RHS & LHS ) the will create sucessfully.
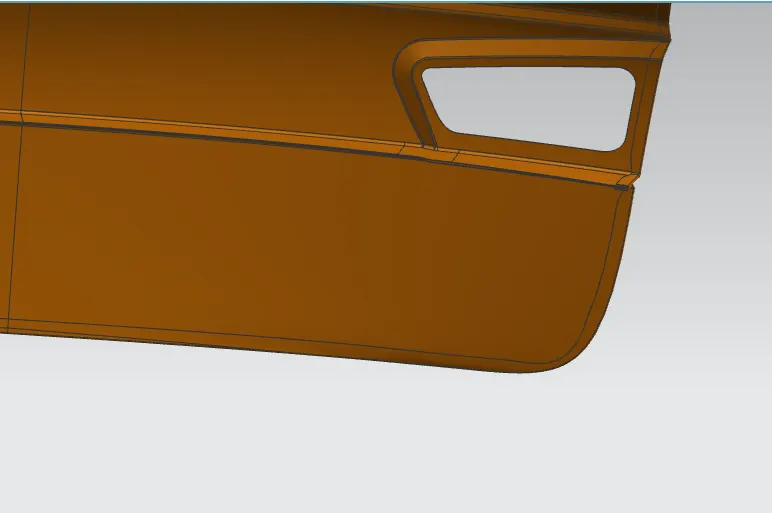
- Finally we have create the relief section in outer panel Lower by using surface of curve command.After that finally we will move on the thicken process on panel .Click on the thicken command and select the outer panel Lower input Value is 0.75mm and create in inner side .
OUTER PANEL LOWER:
OUTTER LOWER PANEL RELIEF SECTION:
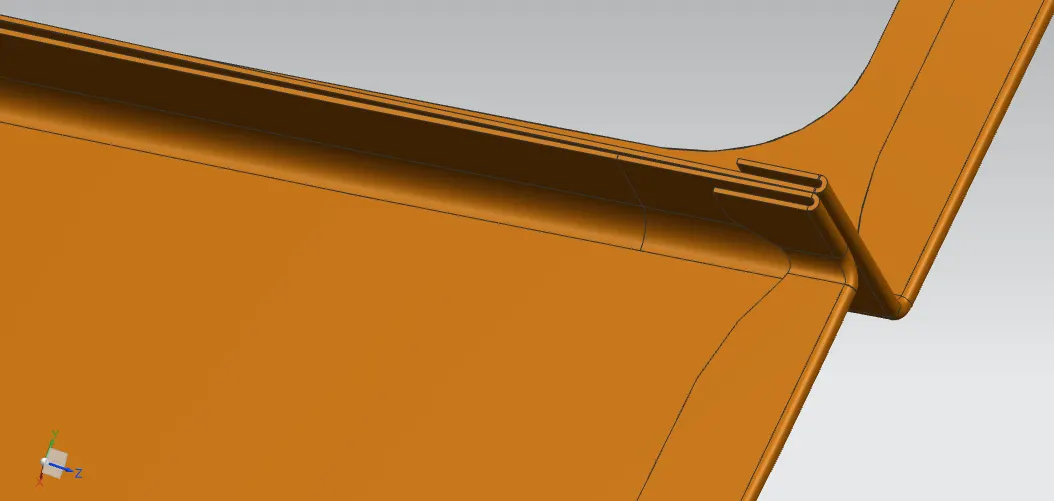
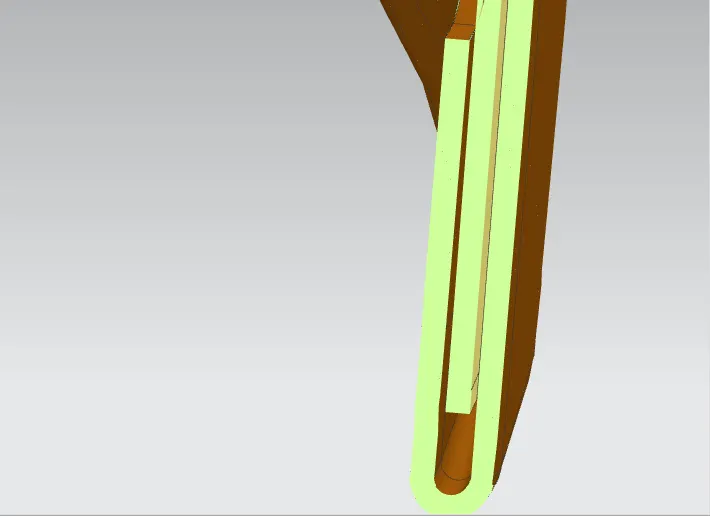
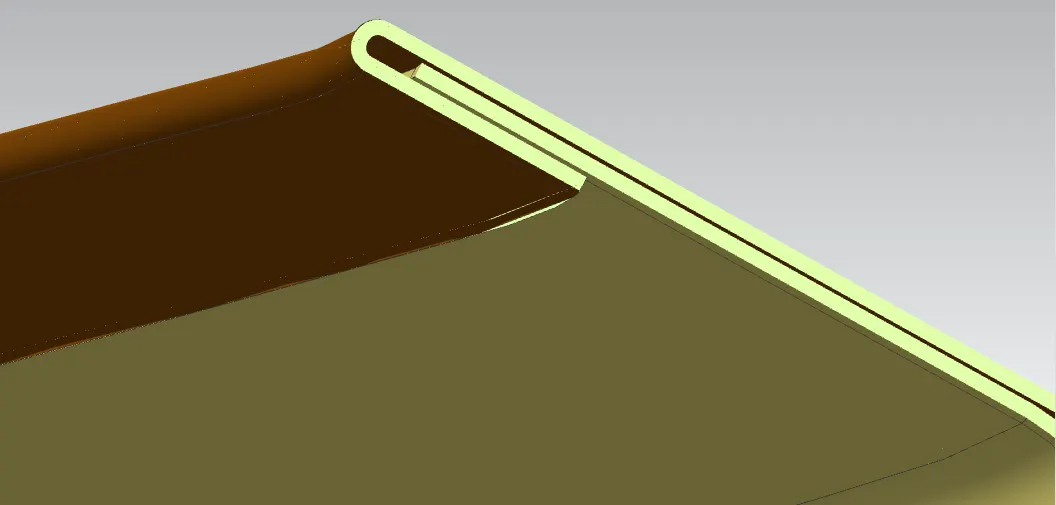
INNER PANEL AND OUTER PANEL GAP CLEARENCE:
THICKNESS : 0.75MM
INNER & OUTER PANEL GAP : 0.2MM
INNER PANEL TO OUTER PANEL SIDE GAP CLEARENCE: 2MM
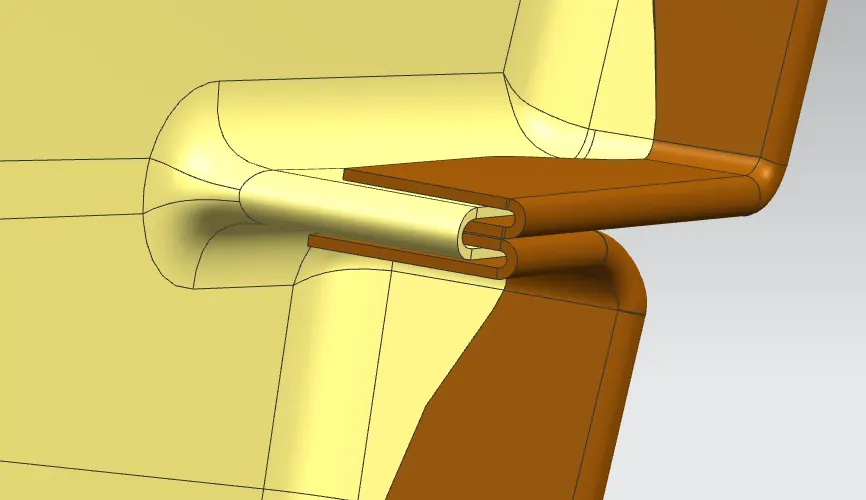
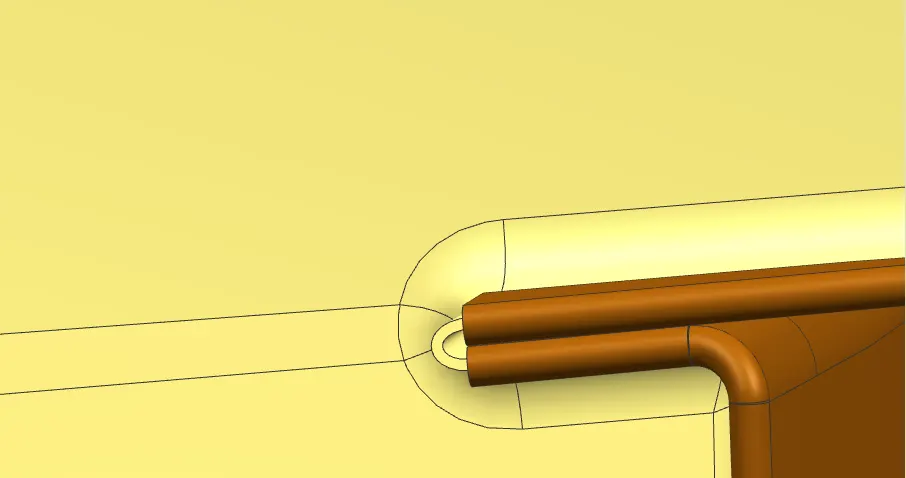
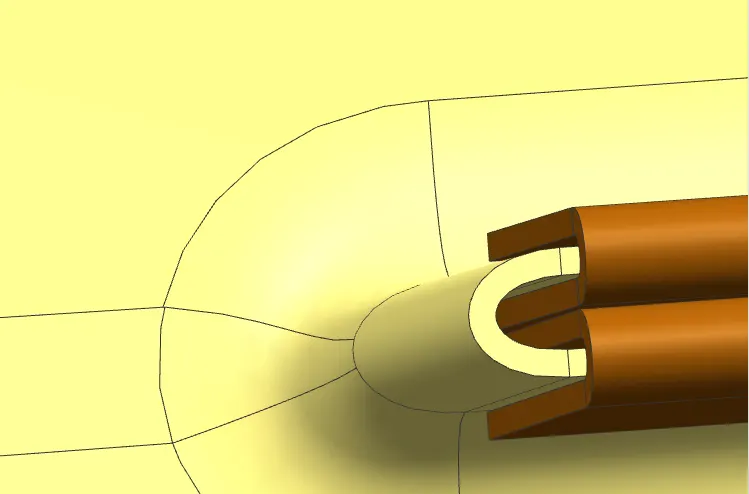
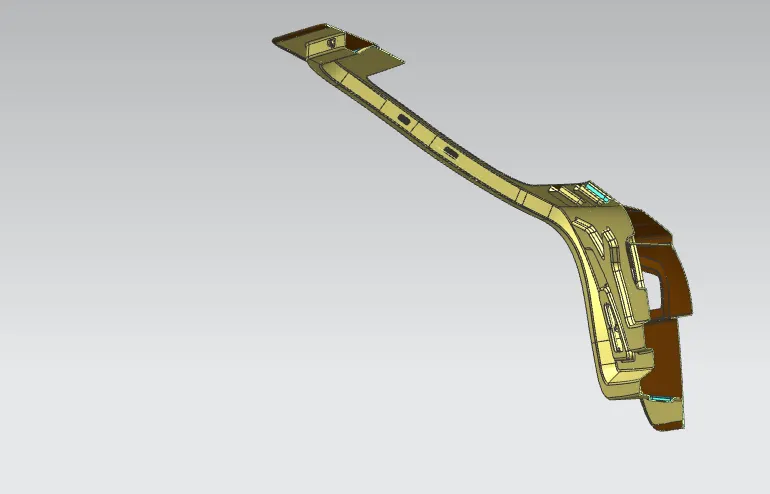
CROSS SECTION VIEW:
REINFORCEMENT:
- Car back door panel reinforcement refers to the addition of structural elementsor enhancements to the back door panel of a carto improve its strength,rigidity,and safety characteristics.
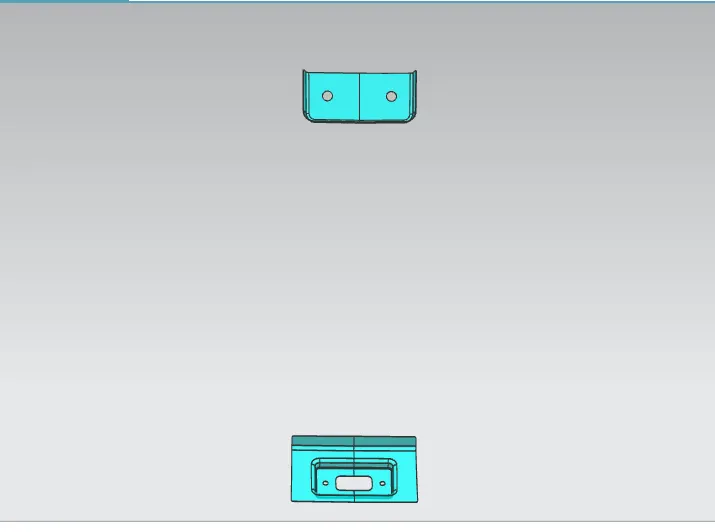
We have 4 type of reinforcement in this panel is placed on different areas of panel surface.
- Hinge reinforcement
- Gasstay reinforcement
- Wipermotor reinforcement
- Striker reinforcement
- create the wave geometry linker in inner panel and We have to create the reinforcement is above of the inner panel.so offset the inner panel in 0.1mm gap and pick the curve on surface option to create the curve on the offset innerpanel in which area you want to placed on the reinforcement.
- The hinge reinforcement is place on top hinge embosses area, the horizandal distance is 372 mm corner of panel and vertical distance is 238mm corner of panel include hinge embosses also.
- Gastay reforcement is placed on top side corner gastay area and the distance of 355mm in top corner of panel.The length of the reinforcement is 207mm in downside.
- Wipermotor reinforcement is placed on center of middle panel in wiperembosses area.
- Striker reinforcement is also placed on the center of down side of the inner panel.The reinforcement shape and size is refer only with mastic data or master section.when ever we will create the reinforcemet as per mastic data or master section .After that creating the curve has required shape and size by using curve on surface option.
- complet the desigining of reinforcement we will move on the thicken process on reinforcement .Click on the thicken command and select the reinforcement input Value is 0.75mm and create in outerside .
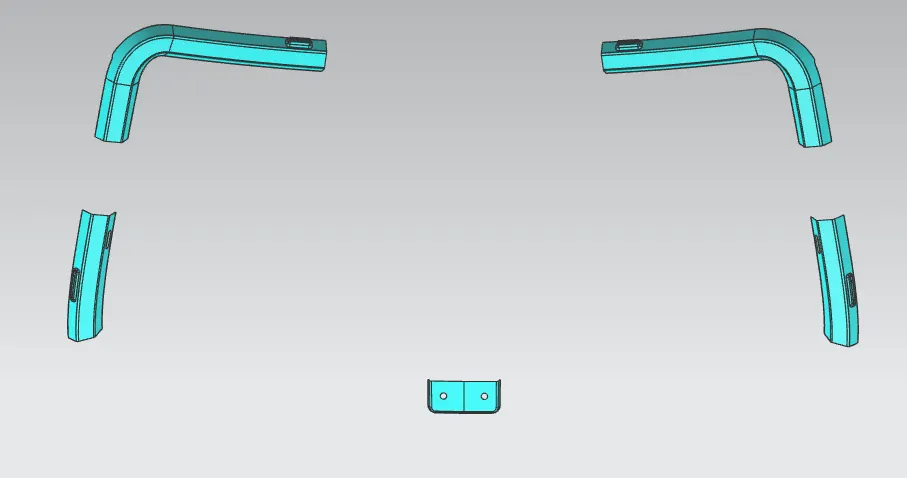
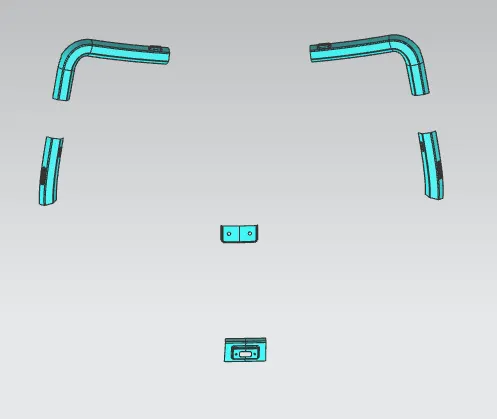
Hinge & Gasstay Reinforcement : Wiper Motor & Striker Reinforcement:
Draft Analysis:
- In automotive design,draft analysis refers to the examinization and evaluation of the angles or slopes of the surfaces on a three-dimensional model.Specifically ,it asseses the degree of draft ,ehich is the taper or the incline given to a surface . Draft is measured in degree and represents the angle between the vertical axis the surface. positive draft angle slope outward from the parting line,while negative draft slope is inward.
1.Parting Line:
- The partning line is the boundary betwwn two halves of a model used in manufacturing. Its separates the core and cavity halves of the mold.
2.Importance of the Draft:
- Draft is essential for ease of mold release during the manufacturing process.Its helps prevent undercuts and allows the molded part to be removed smoothly from the mold.
3.Positive draft:
- Surface with positive draft angles slope away from the partning line.Positive draft is commonly used to facilitate the release of molded parts,reduce friction,and prevent damage to the mold.
4.Nagative Draft:
- Surface with negative draft angles slope toward the parting line.nagative draft can make it challenging to release the part from the mold and may result in molding defects.
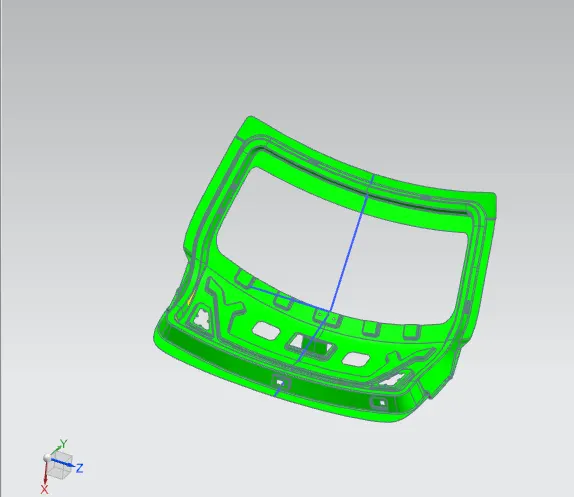
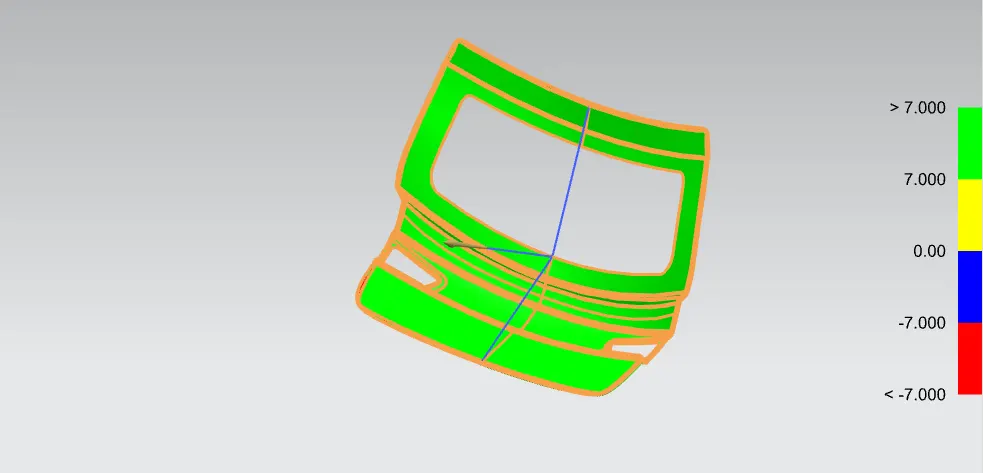
- Now i have select the inner panel and click on the draft analysis option and select the vector direction is tooling axis the full inner panel body has green color.because the green color has represented in positive is above 7 deg ,if 0 deg to 7 deg is represented in yellow color.incase 0 deg to -7 deg is blue and below -7 deg has represented in red color its nagative.
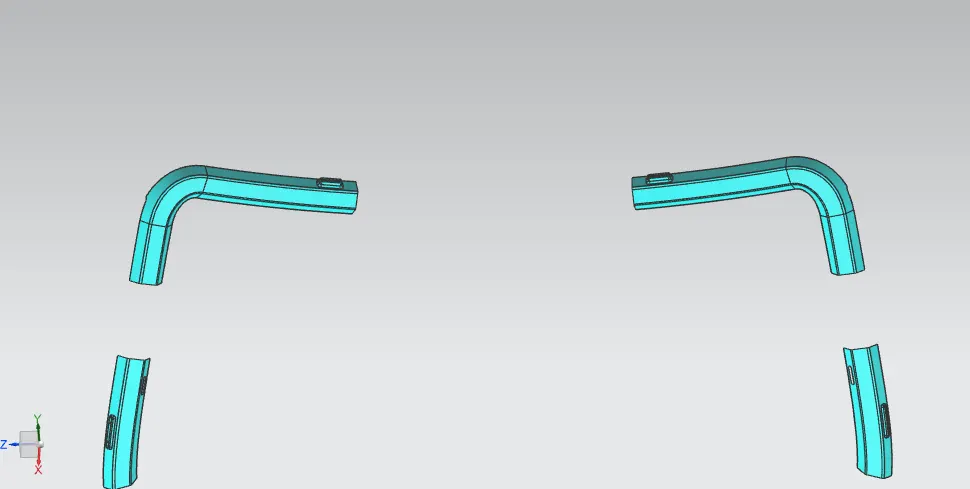
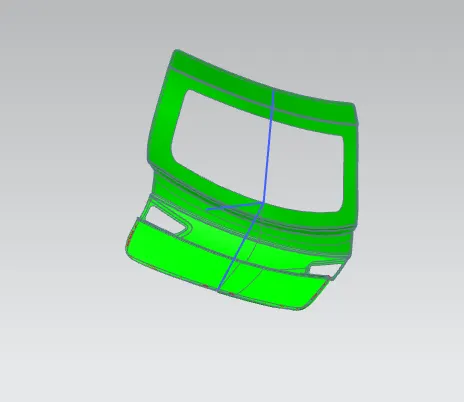
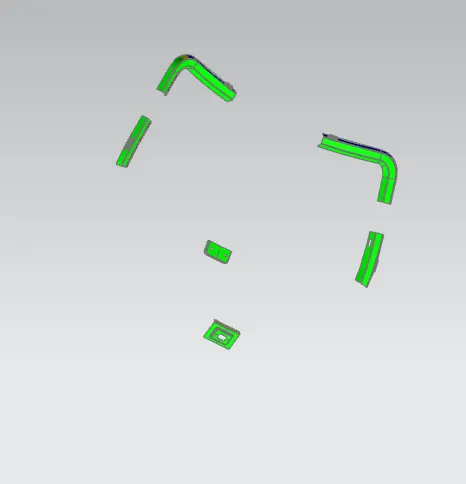
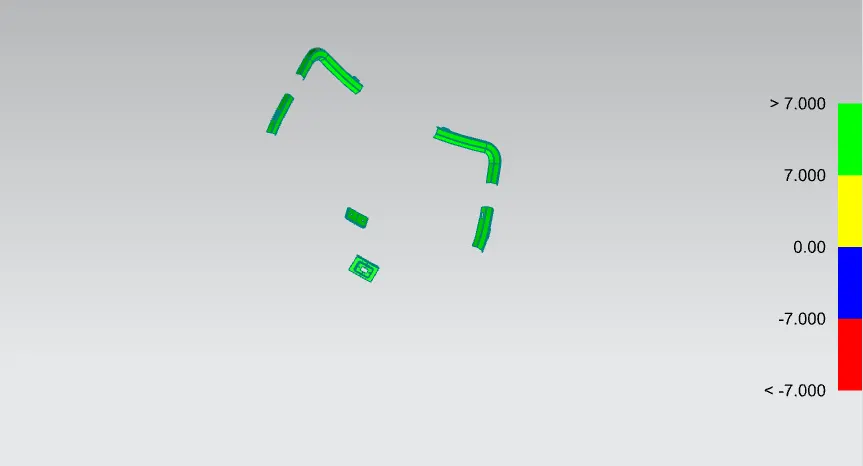
- The same process has doing on the outer panel upper and lower then vector direction is tooling axis the full outer panel upper and lower has gree color.some below 7 and -7 areas has represented in blue , yellow and red color.reinforcement also done with the same process but vector direction is y direction.and full reinforcement is freen color.
DRAFT ANALYSIS FOR INNER PANEL :
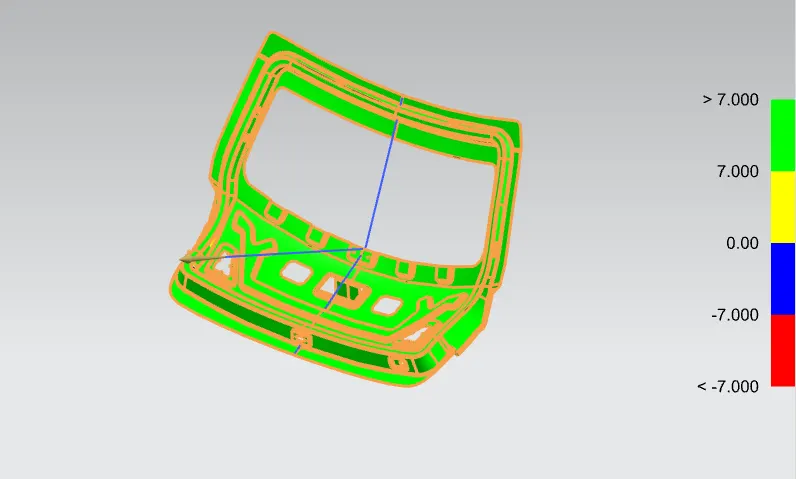
DRAFT ANALYSIS FOR OUTER PANEL UPPER & LOWER :
DRAFT ANALYSIS FOR REINFORCEMENT:
Striker Trajectory:
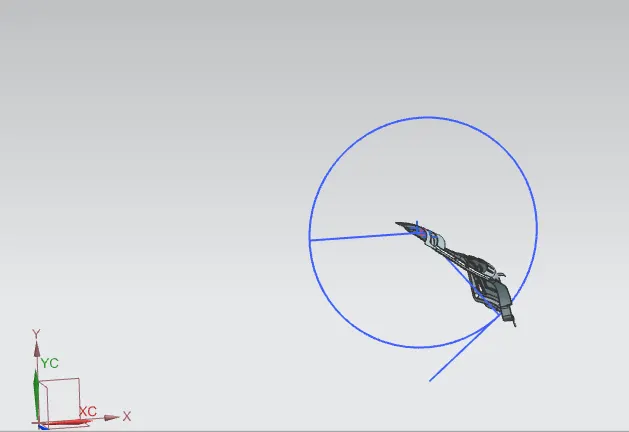
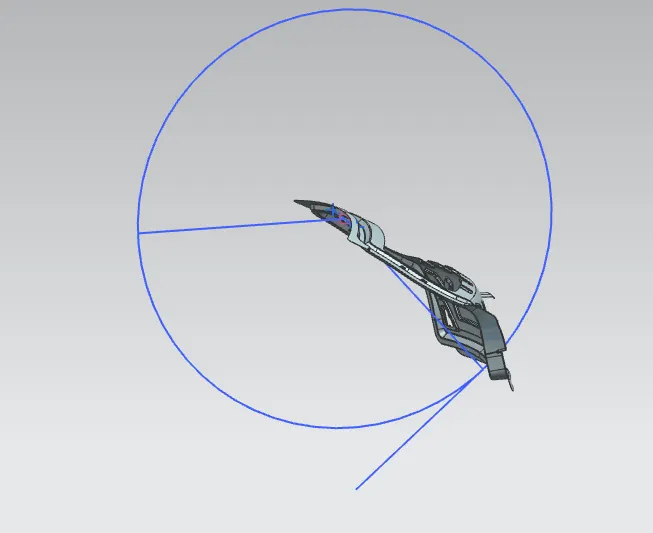
- Latch trajectory is path of striker with follow the back door is open and closed while povinting on the hinge axis.That is called latch trajectory.the latch trajectory is tacken as a circle with hinge axis as the center of the circle. The striker is placed on the 90deg such that it is trajectory of circle.
- Completing the mirror we have to placed on the striker as well as mounting also.So selected the wave geometry linker option and selected the circle curve in two hinge and created the point also.after that connect the point by using line option.now we have create the DATUM PLANE in ZC direction but Sketch direction was YX Direction.The datum plane was created in center of line .Next we would create the circle in 1,916 mm diameter the horizandal line is 1,327mm amd vertical line angle is 52.7 deg and intersect the tanjent line is 90 deg angle.
- Now select the parllel option and click the striker verticl line at staring point and select the intersect the tangent of the circle and apply the striked has been moved on the trajectory circle.then click on striker line and circle tangent line and apply the striker has placing on striker embosses position.
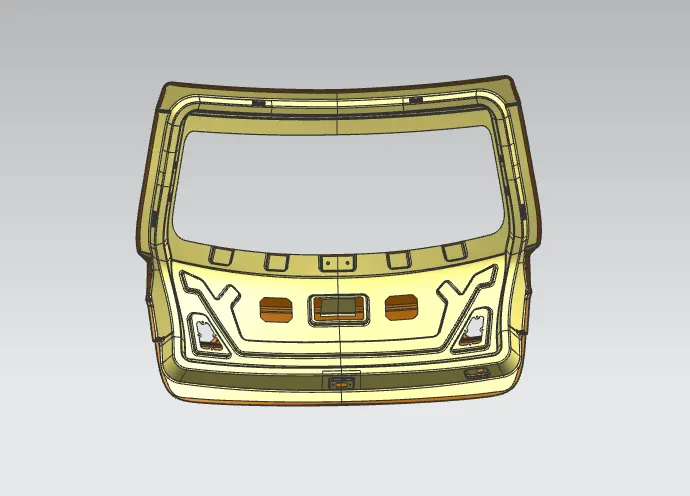
FRONT VIEW:
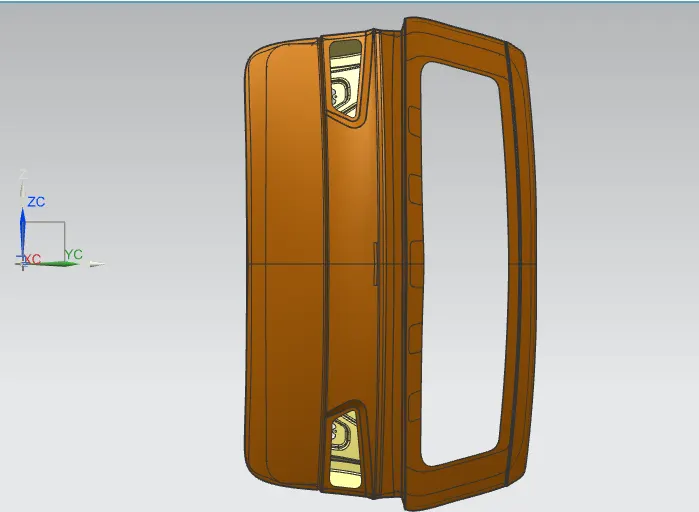
TOP VIEW:
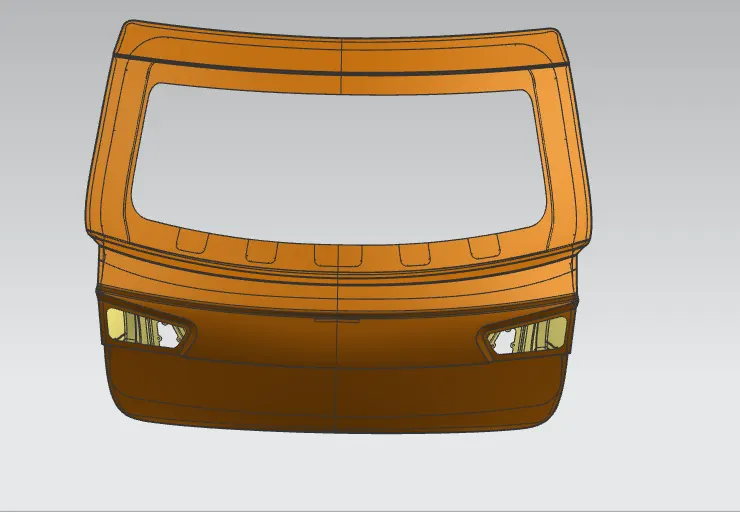
REAR VIEW:
ISOMETRIC VIEW:
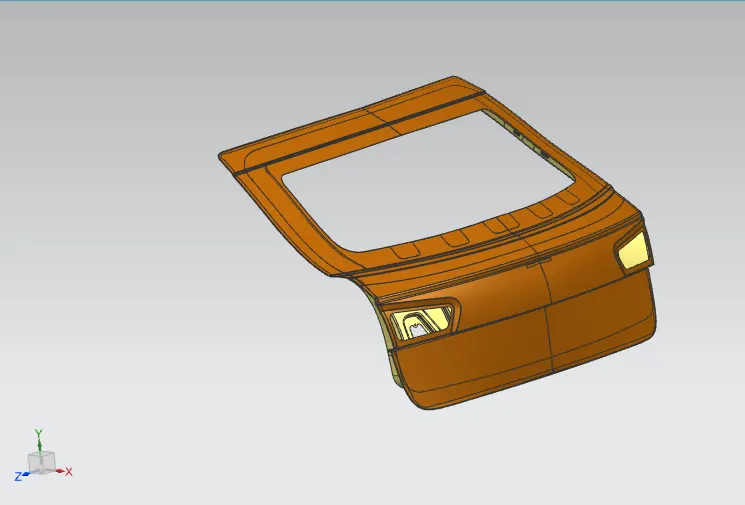
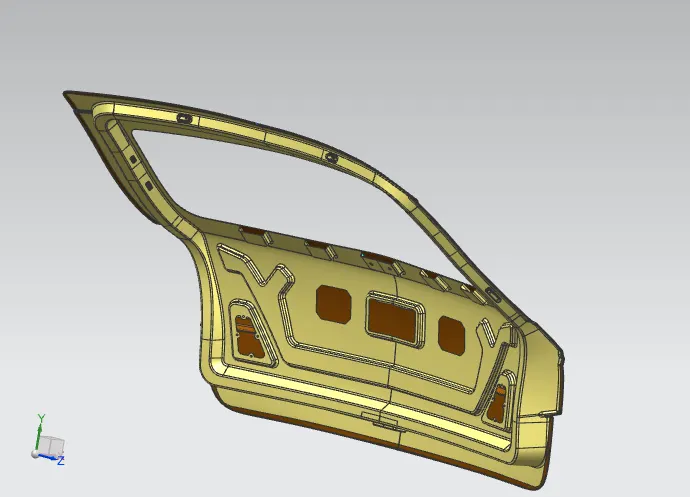
SIDE VIEW:
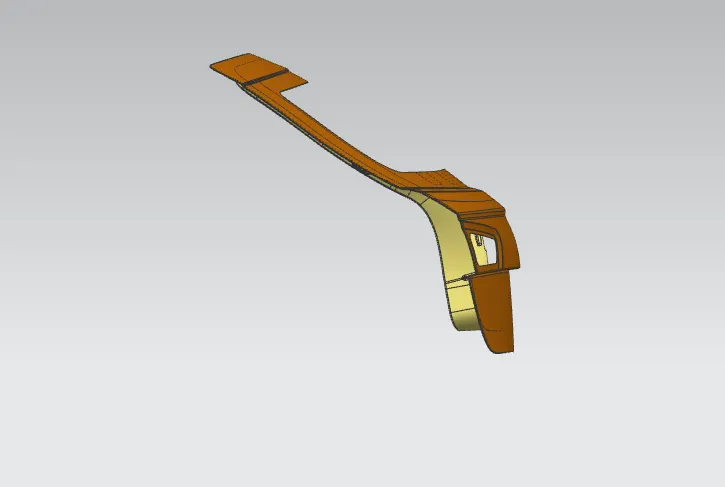
CROSE SECTION VIEW:
Conclusion:
- We have to Sucessfully designed the back door design with appoprate components like inner panel ,Outer panel upper and lower and Reinforcement also