Design of backdoor
DESIGNING OF BACK DOOR OF CAR
Back door or tail gate is a main component of a car in which passengers or lugguages can be accessed inside the car by opening tail gate. it can be opened by upward swing or side swing or split doors are also seen.
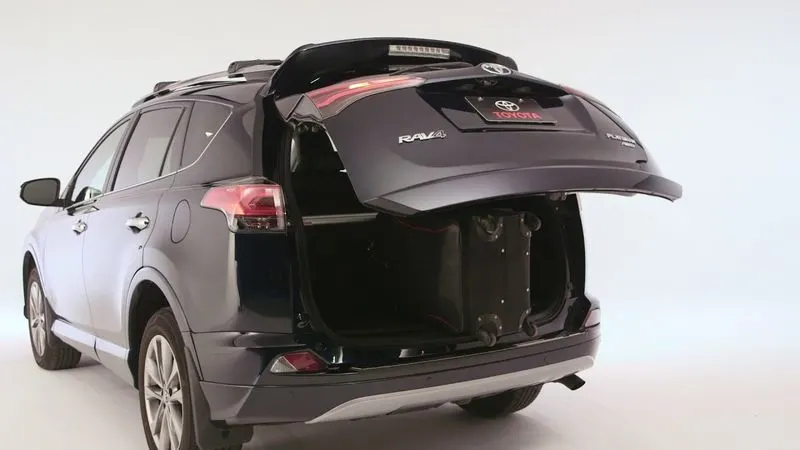
so we have the part file given with the question, and so we can work on the file
but the back door uuter panel given is not properly finished one in geometrical, so we can fix it correctly.
so open nx and open the part file of back door outer we have, and fix the issues.
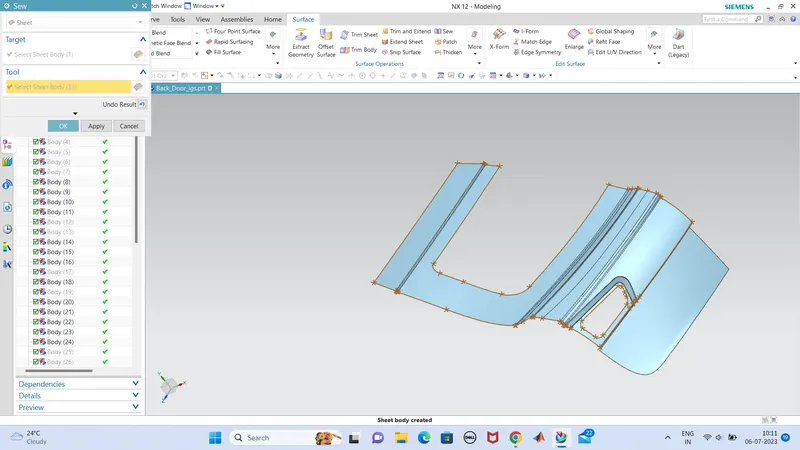
some edges are not joined together, so we fix it, and sewed so its ok now.
th back door is of two sections , one is back door upper and other one is back door lower.
there joining portion of these two sections is by welding process.
Edge blends can be done in this part.
A tooling axis can be created to this model which can be used as the reference in upcoming steps.
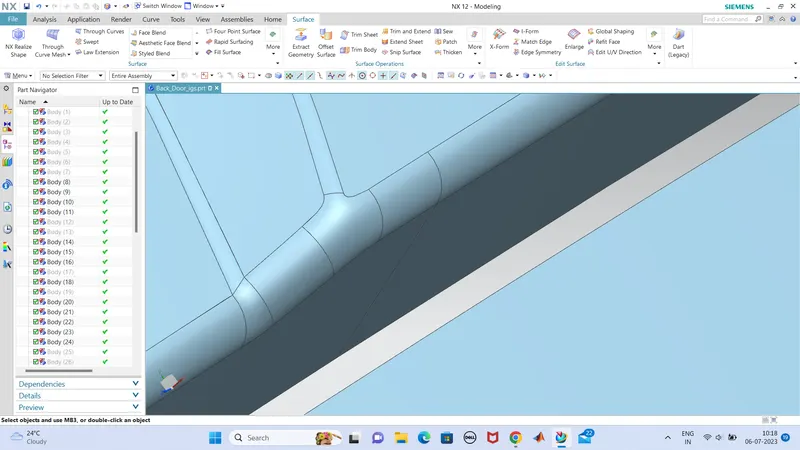
now we can do make the inner panel for each sections,ie upper and lower.
so first we extract the upper part and lower part and we can use it as a reference geometry.
so hide the outer part. and we can work in the extracted face of opper and lower part of back door.
there should be a gap of 2mm between outer panel and inner panel and the thicknes is .75mm for both. and in edges, hemming is done and in centre portions we use mastix for the stability and reduce NVH. bcz in centre portion we cant use weld ,it reduces the overall appearance of the part.
so firstof all we can design the sealing flange which attach to the rubber beading portion in the back body side, sealing will provide a good tightening and prevents water entering to the boot.
so we are making the sealing flange which is at a offset distance of 25mm from the inner panel surface and of width some of around 30mm at 40mm offset distance from the dge of inner panel.
for that , offset set surface and mark the border of flange by offseting tool and finally trim the portion we dont want to use, so the sealing flange surface id formed .
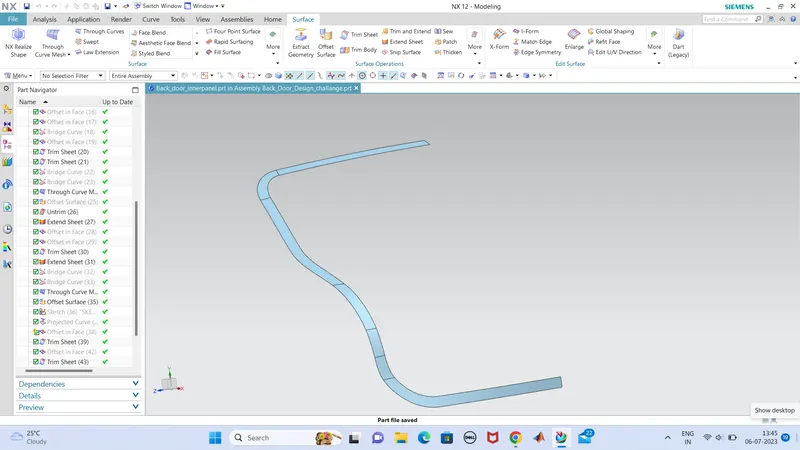
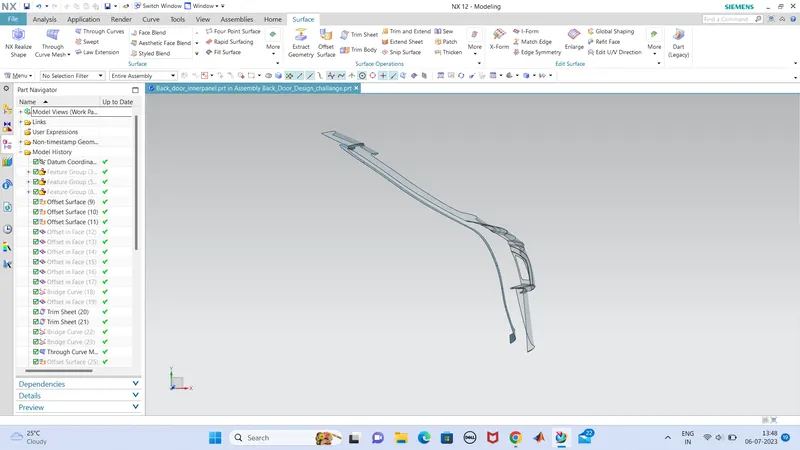
so the flange flat surface is made.next step is connect the sides of this flange to the innerpanel by extending the sides at a minimum angle of 7degree outward,then only tool can be worked easier and properly.
for that we use law extension to the two edges.first create one side of flange.
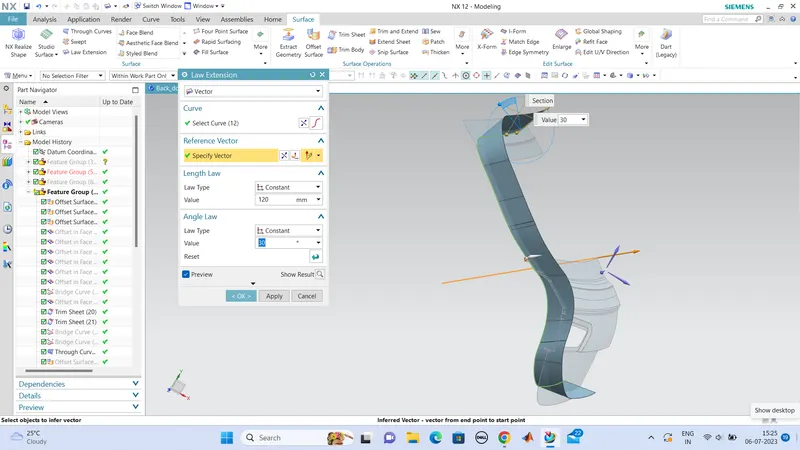
the extension can be trimmed after,so we can extend it to the outer body of the inner panel surface.it is shown in the figure above.
i used this flange of angle 35degree, so that its woks good. after we can trim the over extended part by 'trim and extend tool'.
and also w ecan blend the edges of this flange by 5mm.
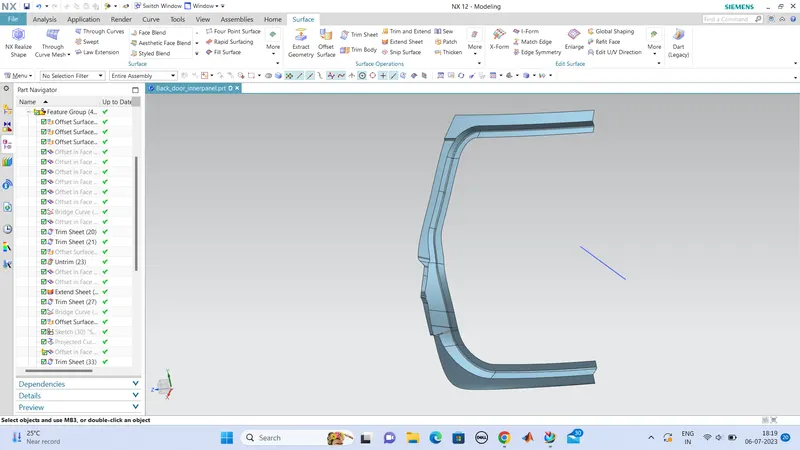
the joining portion of the upper part and lower part is shown below,
we made a copy part of the flange made ,so that at the two sections, once it is trimmed off, we can generate from onother.
at the joining section, we developeed as like this shown below,
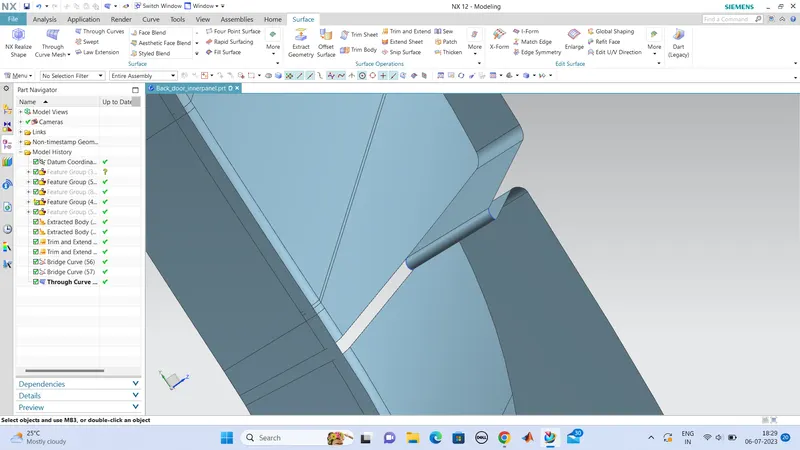
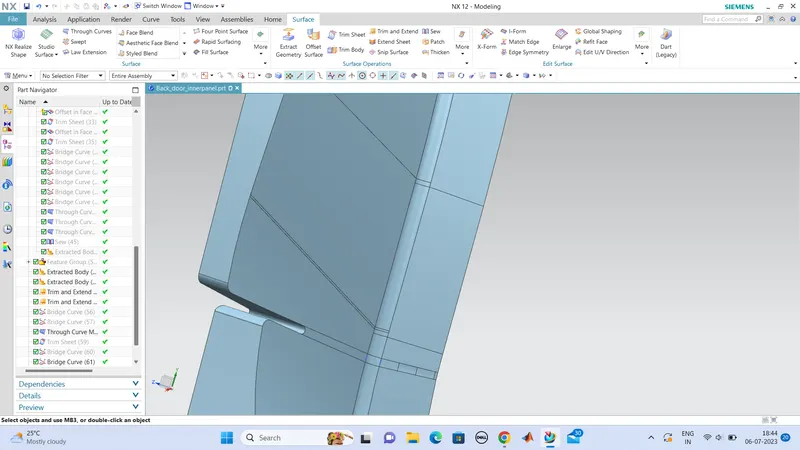
so the sealing flange is created as per the proper dimensions.and now we have to join the second edge of this flange to the inner panel itself.
so we again extract the inner panel of upper to extend the flange side, and law extension s again used to extend the side flange to the inner panel of back door.the angle here used is 15degrees outward and which is good at all.
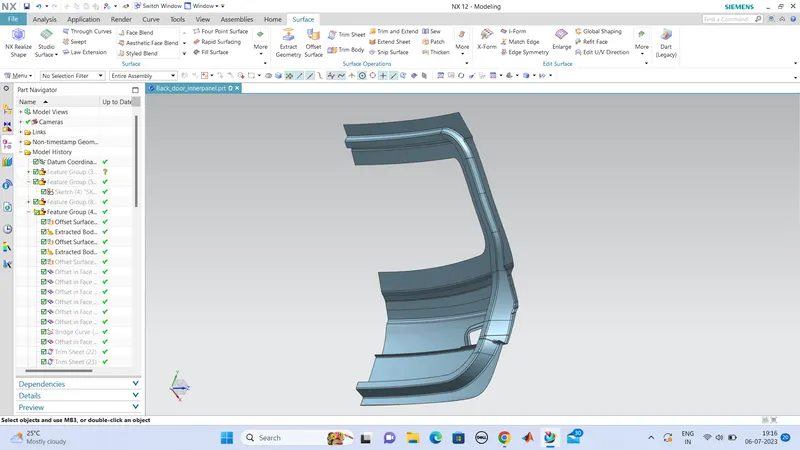
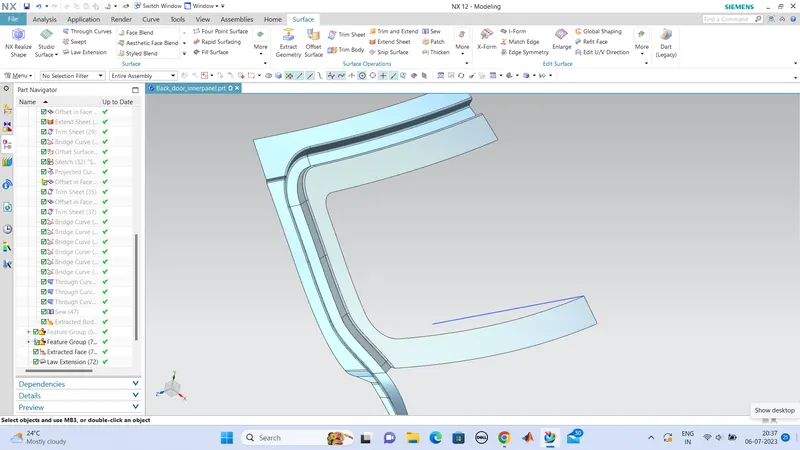
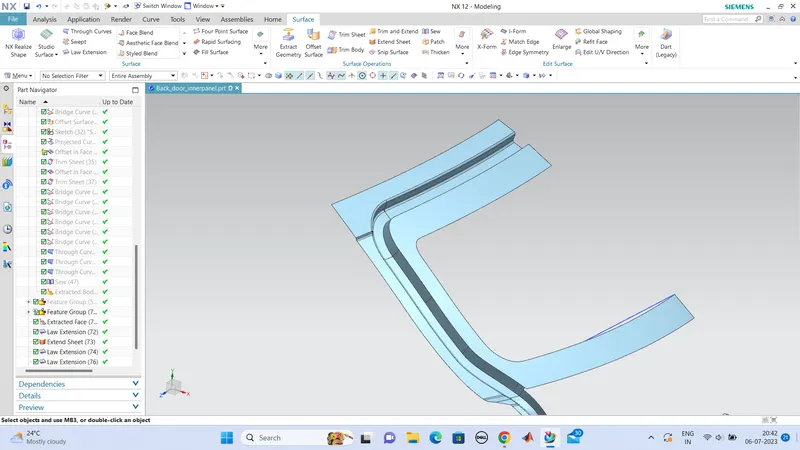
after we can do the same in the lower portions, but in lower portion we need some gap btw the inner panel and outwer panel, bcz there would be wiper motor to be placed and installation purpose of lights, we need a minimium gap to acccomodate, thereby we are creating the surface, we use bridge curve to join the inner point of the outer panel and the point at which the glass mounted at a minimum curvature, we done on the other end also.and created a surface in between these two curves using 'studio mesh' , so the inner panel surface is ready.
this is the surface of inne panel of back door in which we creates the cutouts for acces to the gap between and we create the main part is that the mastix mounting to the outer panel.bcz the only wat to join the outer panel is by mastix ,no welding or riveting is done.for that we create a stay for mastix and embosses are created in this surface to increase the strength of the inner panel.
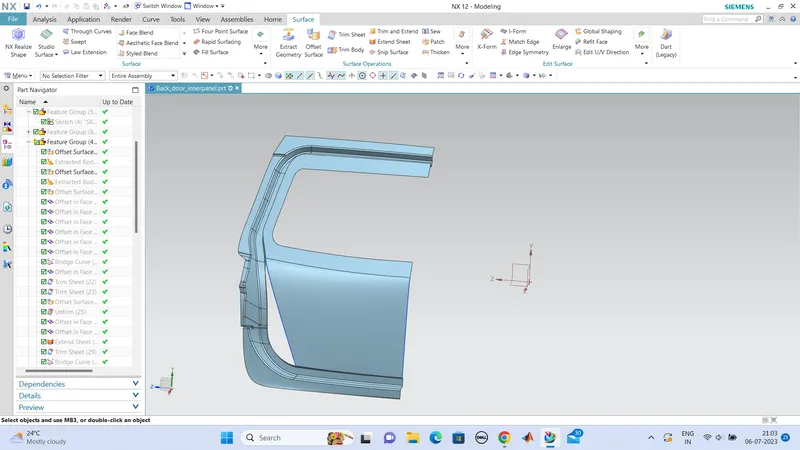
extend this surface to the flange and trim the unwanted part.
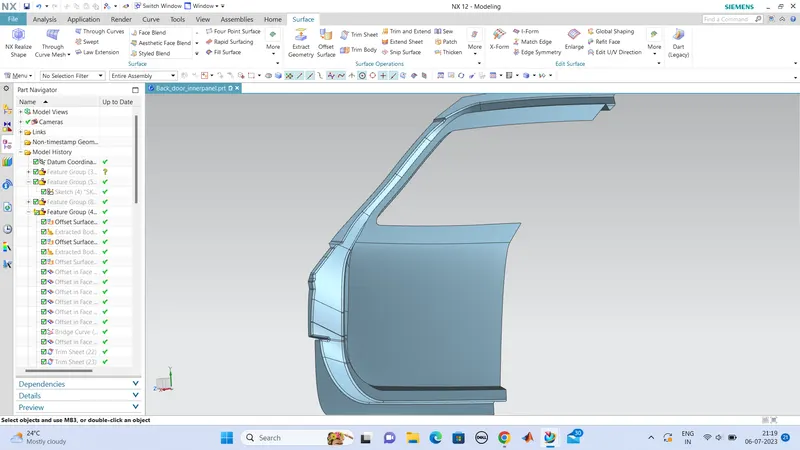
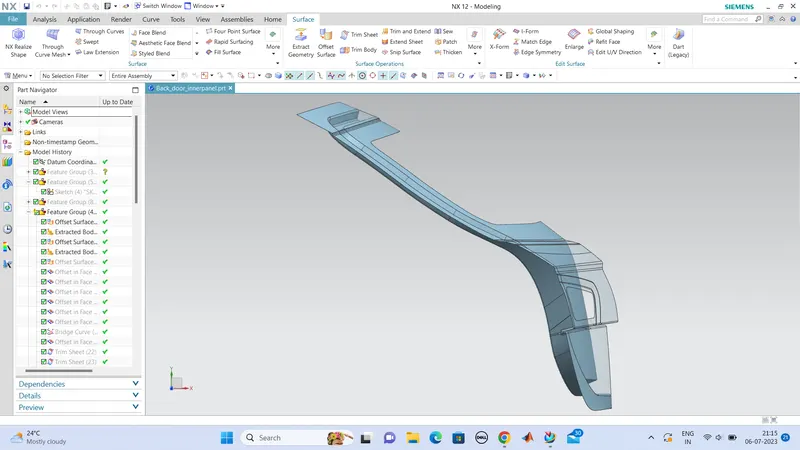
so the sealing flange has been created, and the inner panel surface also created. so the face development is done for the inner panel.
next we want to make some cutouts and embosses and some reinforcement at the portion where we are fixing some components like, wiper motor, latch and stiker . for that we should make some
reinforcement to equalize the streght of the panel. which the strength have lost due to the cutting area.
so forst we can create a mastix stay and for that we create a reactangukar cutout and the stay must be developed from the cutted region of sheet.the mastix is having a thickness of 5mm so the stay we are creating is 5mm away from the outer panel.(thickness of sheet considered).
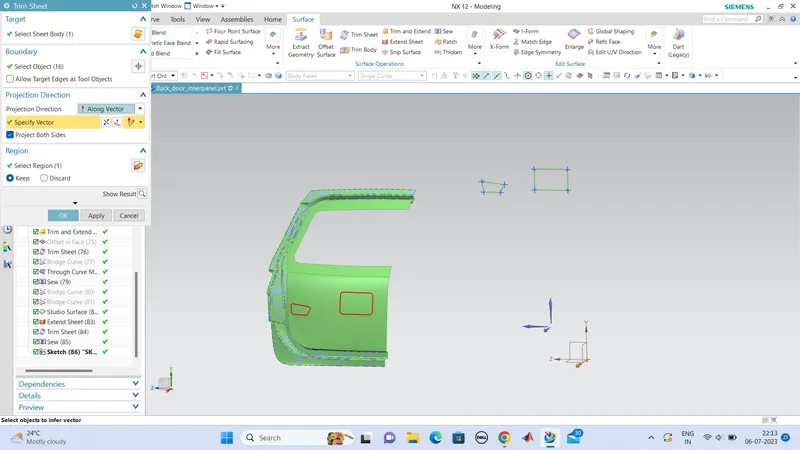
i sketched the portion where the mastix stay to be and also sketched a portion to be trimmed off where the tail lights are situated.so that we can access to tail light commodites.
then trim the sketch by trim sheet,.
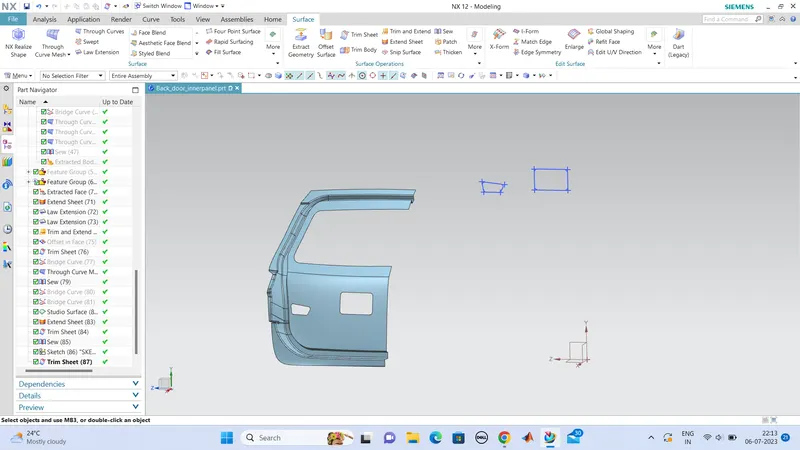
next we can design the mastix stay part ,which can be done by law extension forn any of the edges of the cutted portion and satisfyies the legth of cutout and at a proper distance to the outer panel, then only
the inner panel is rigidly supportedto outer panel of back door.
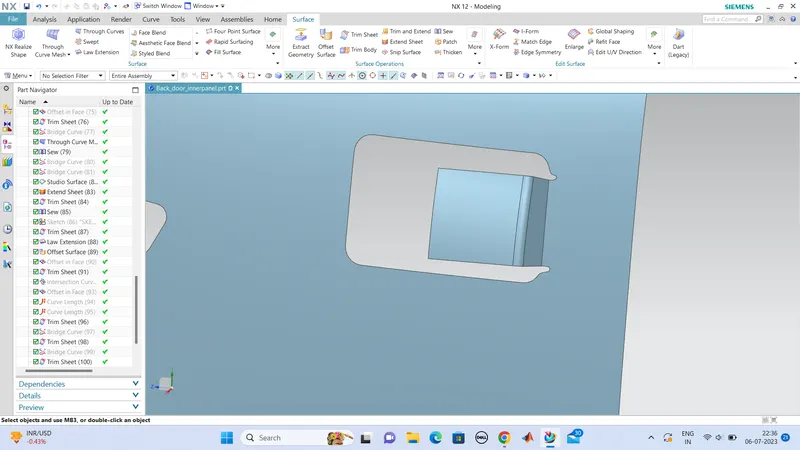
the total width of the cutout measured is 170mm, so the stay should stay inside 170mm of length, then only the cutted area can be utilized for the stay.
so used70mm mastix area and the projection is up to the 5mm apart of outer panel. for the reference we created a offset surface of outer panel towards inward about 5mm ( uncluding thickess of sheet),
and extended the portion to the offsetted surface and trimme it off. and the mastix surface is created from that edge . edges are blended, so it acquires a additionsal strength.
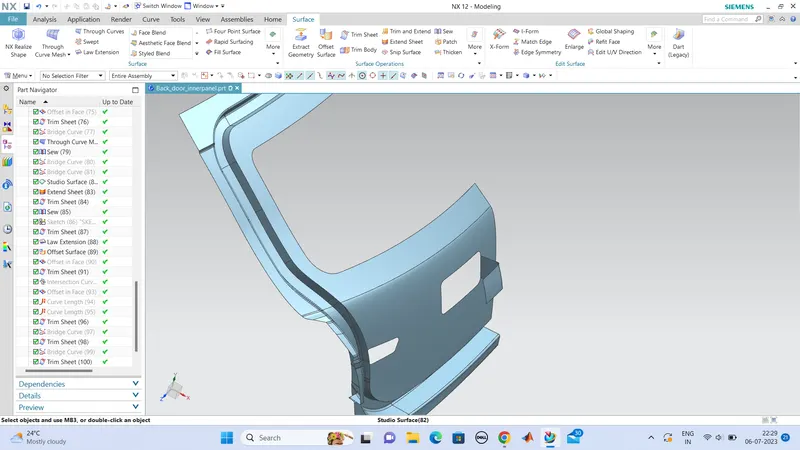
next is that, there should be some embosses to strength and to distribute the impact to sideward of door,so we use embosses in that manner,
emboss is of projection 5mm and angle of 20degrees and projected outward ,so that while colliding to the back door, embossed region is first carry the load and then only to the panel surface.
first we create the sketches of the embossed that we want to design.and project it to the surface we want.
these are the embossed i have made and i hope its plays a good role in strength as well as force distribution.
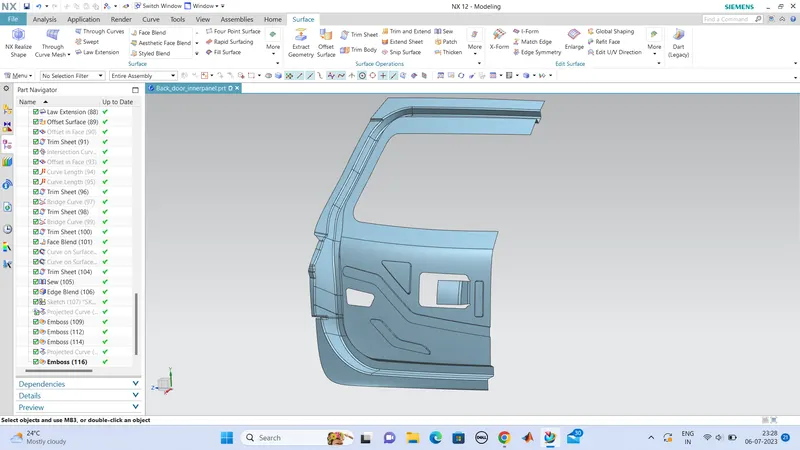
and the latch should be placed below of back door so we want to crete a reinforcemnt there to withstand the strength lossed while fixing the unit.
but in this time the reinforcemnt emboss should be in the direction towards the inside of car, so that striker can be mounted properly.
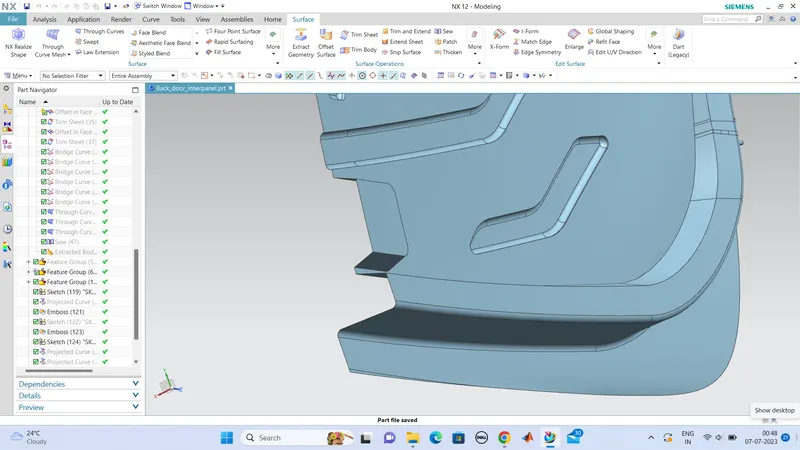
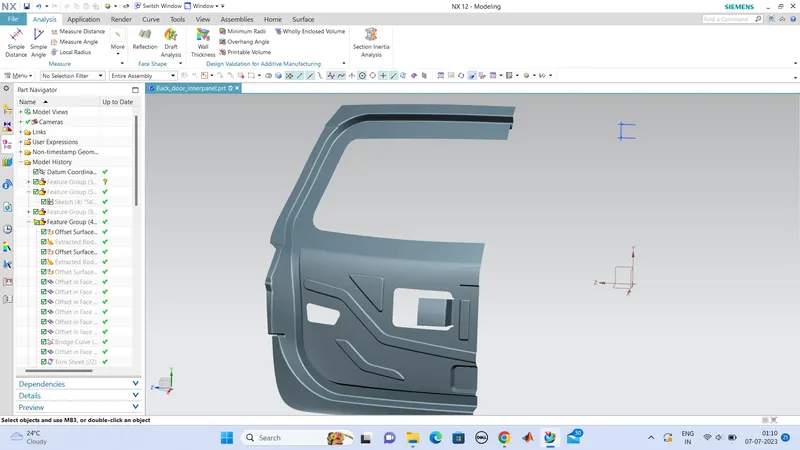
other reinforcement points that we want to make is in the portion of hinge and in the gas stay.
hinge is in the upper edge of the door, and gas stay is in the side.
so create it by sketching and project it on the surface where i want to be and emboss it in the direction towards inside of car, then only it can be fixed properly.
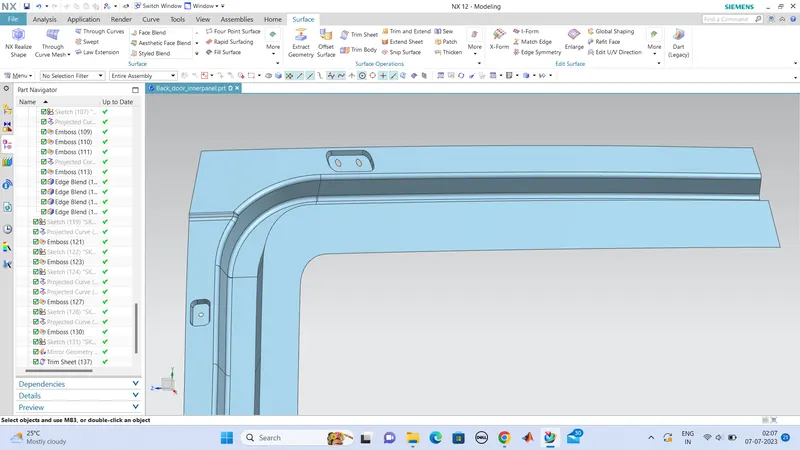
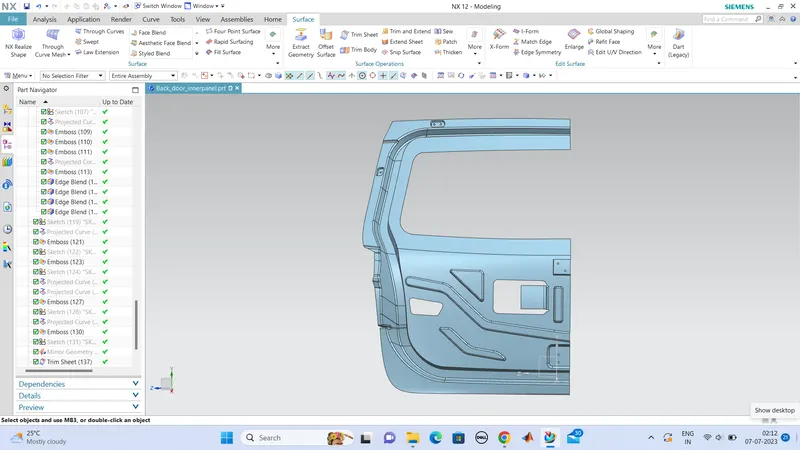
so all the parts in the inner panel is hence completed designing.
now we can attach the outer panel to inne panel by hemming operation.
for that unhide the outer panel and extend the edge to be hemmed about 2mm and offsetted the same surface downward about 2.65mm
and on the offsetted surface offset a curve of 6mm from the end this is the portion which hold the inner panel.trim the onwanted area.
bridge the curve between these two surfaces and make surface in between wirth studio surface.
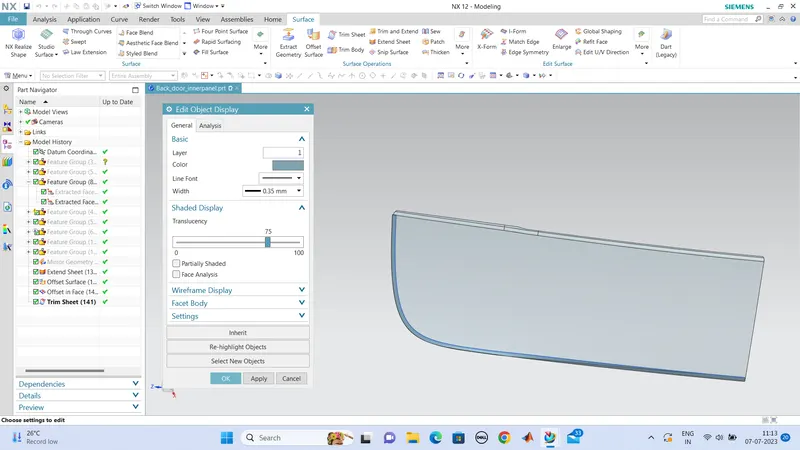
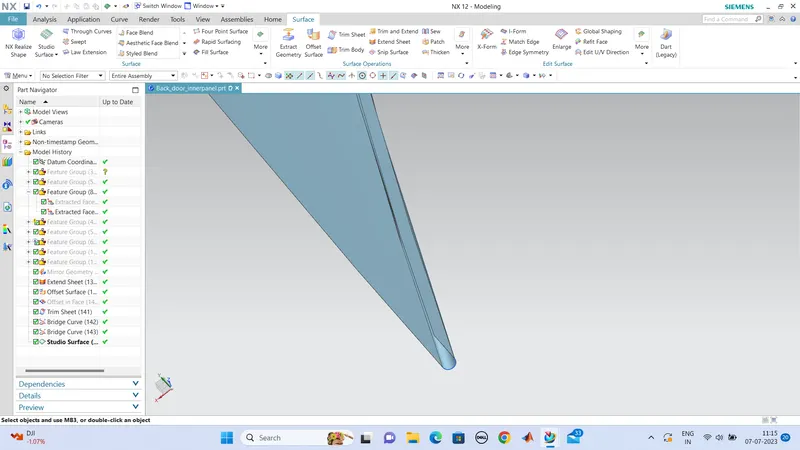
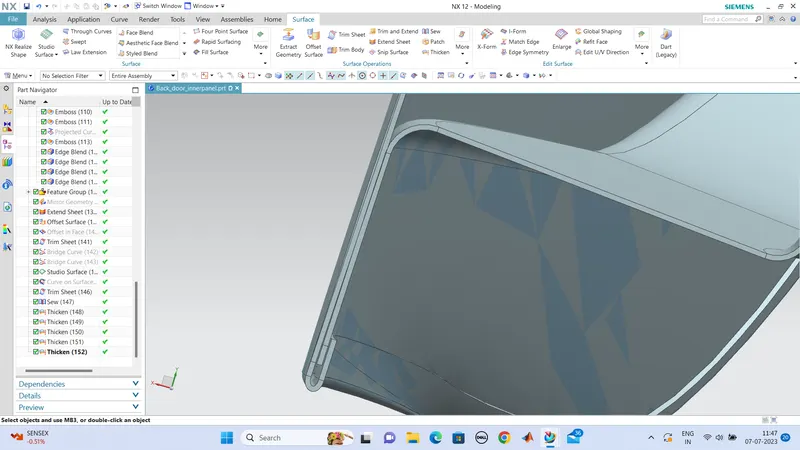
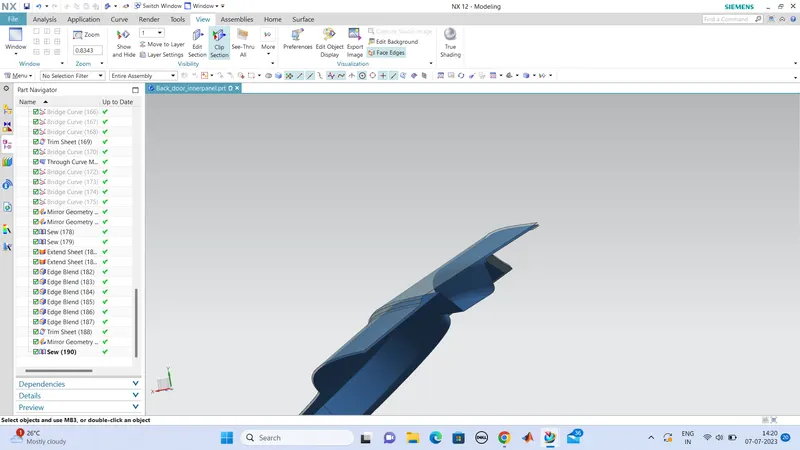
this is the hemmed region , which i thickened the sheet this time for a reference only.
and the edges must be reduced radius so that the stress concentration is reduced and also attain a smooth edge bend.
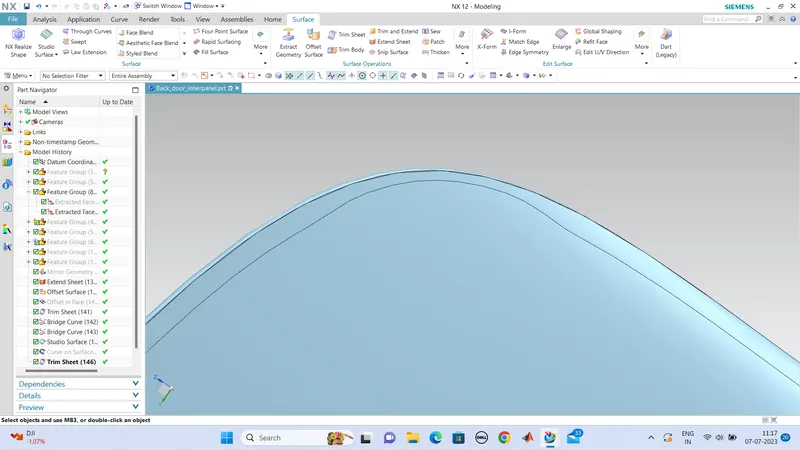
so the hemming also done. there is a gap of 2mm between each plate excluding the thickness of plates.
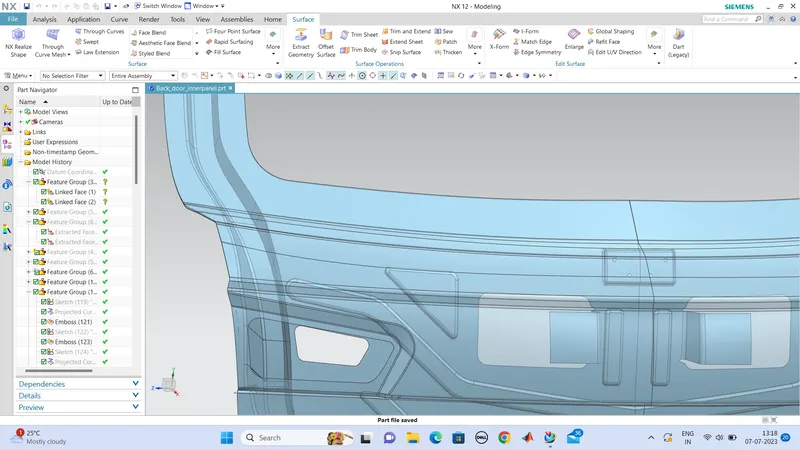
so now we can mirror the entire part with the corresponding plane.
and next step is to sew the parts, we can ckech whether if it is finely sewing or not,
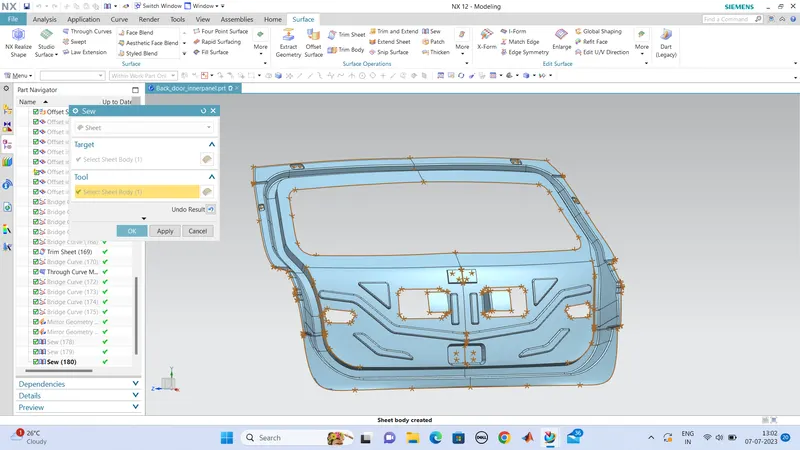
at first it got some error in sewing, bcz ed joining edges have gaps, so to fix it, we need to extend the sheet edge to a small extend and trim it againt the vertical plane and repeat the sew operation.
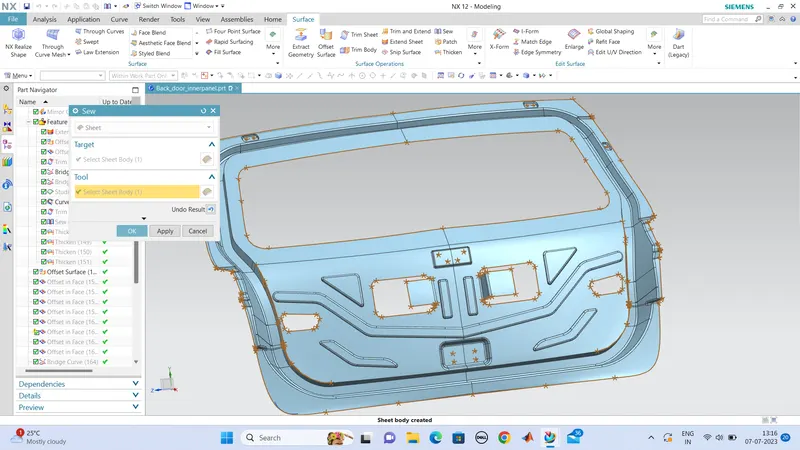
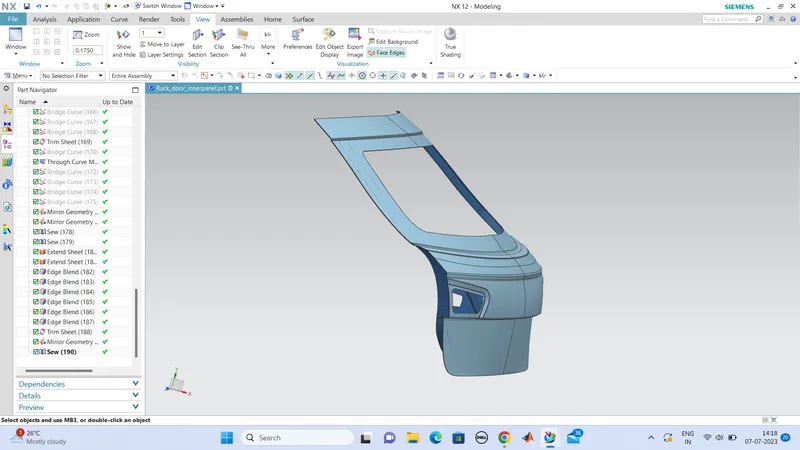
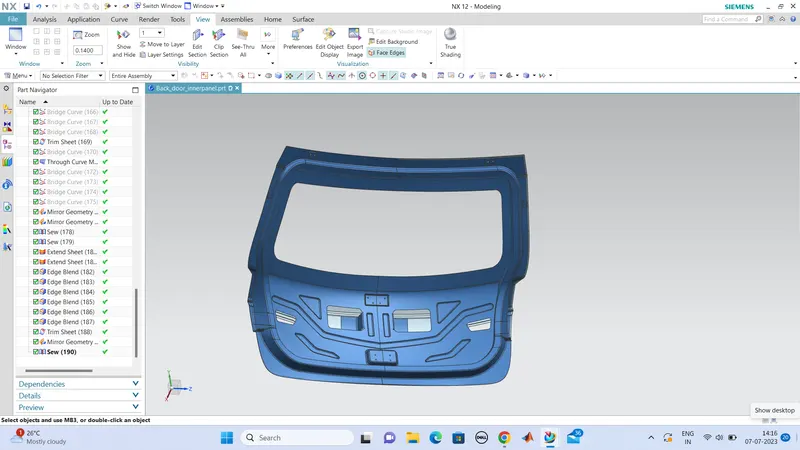
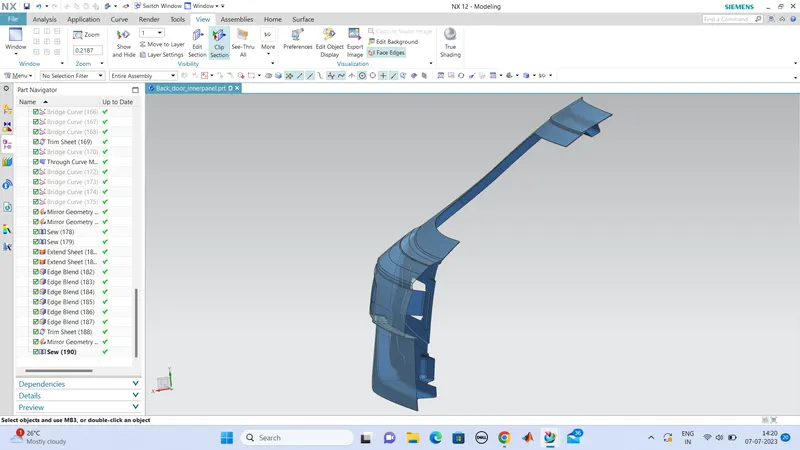
now its perfectly sew'ed. so we can sew the outer panel as well. hence the designing is completed.
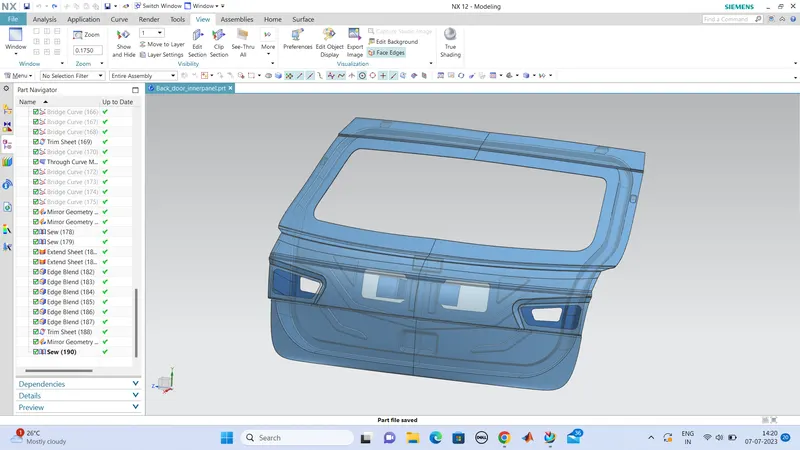
we have changed the colour for the bodies,
DRAFT ANALYSIS
so the designing is done, next we can pass this part for draft analysis,
select the body in which draft analysis to be done , using 'draft analysis tool' in analysis.
we can see the result of draft alanysis.
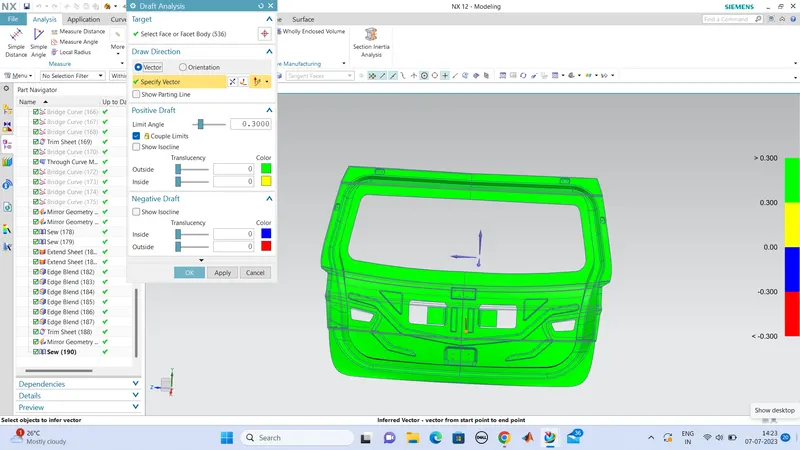
this shows that the part is overall good, which indicated the green colour. green colour means that structure is good, a minor portion of red is also seen.
CONCLUTION
So the back door design of car is done with proper dimentions.