Creating Walls, Partition walls and Floors for a residential layout using REVIT
- Question no.1
- Aim - To use project file in week 2 and create ground floor. Use material property and suitable thickness to layout.
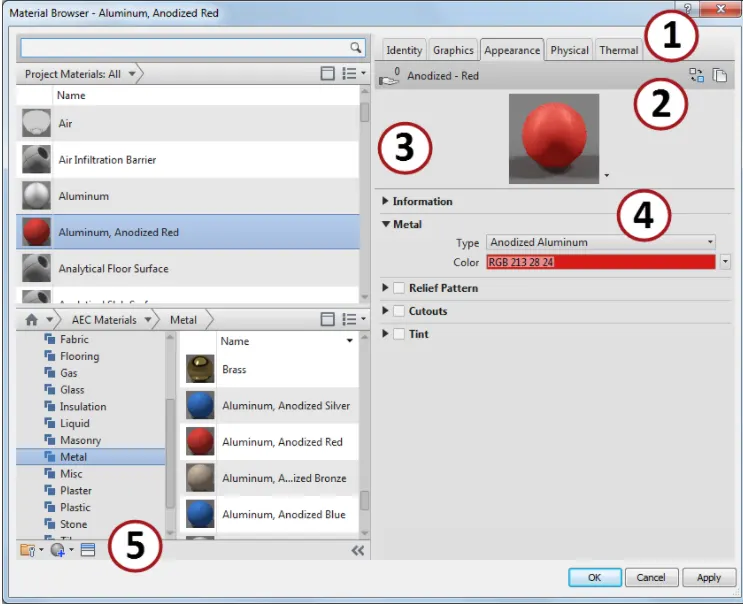
- Introduction - In this we can use material property to create ground floor. Here we use the architecture toolbar and use for create the floor. The properties that define a material are organized into assets. Assets are groups of properties that control certain characteristics or behaviors of an object. Revit uses the following asset types to define materials Graphics (Revit only). These properties control how the material looks in non-rendered views.
- Appearance - These properties control how the material looks in rendered views, Realistic views, or Ray Trace views.
- Physical - These properties are used for structural analysis.
- Thermal (Revit only) - These properties are used for energy analysis.
- The right pane of the Material Browser dialog is sometimes referred to as the Material Editor panel, or just the Material Editor. Use the Material Editor panel to review or edit the assets and properties of a material. Only materials in the current project can be edited. When you select a material in a library, the Material Editor panel properties are read-only.
- Process -
- Open week 2 layout file.
- Select or add grids and levels properly.
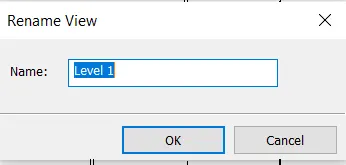
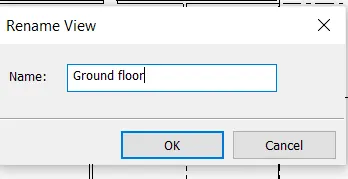
- Rename the level 1 as ground floor.
- Go floor tool bar
- Select architectural tab.
- Select boundary using pick line option.
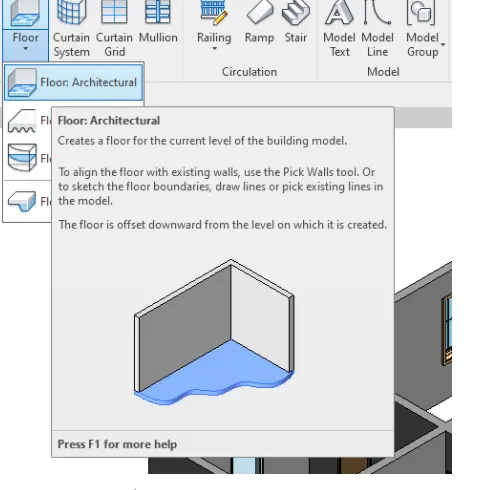
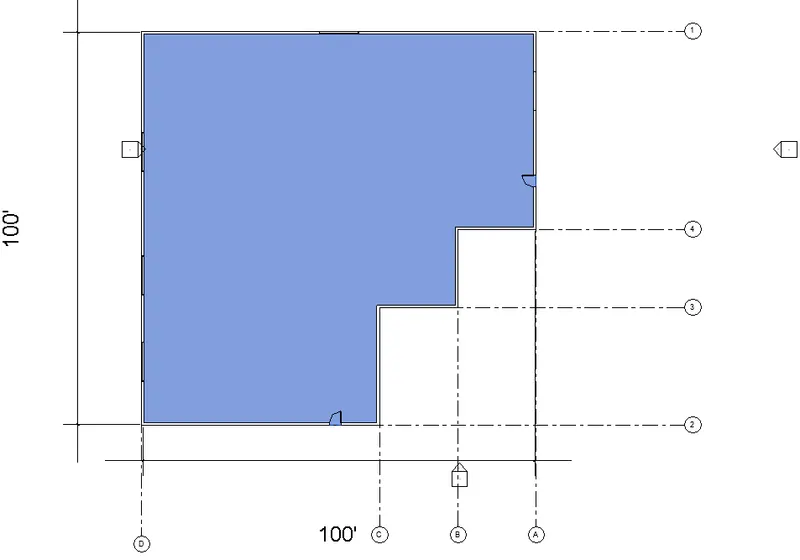
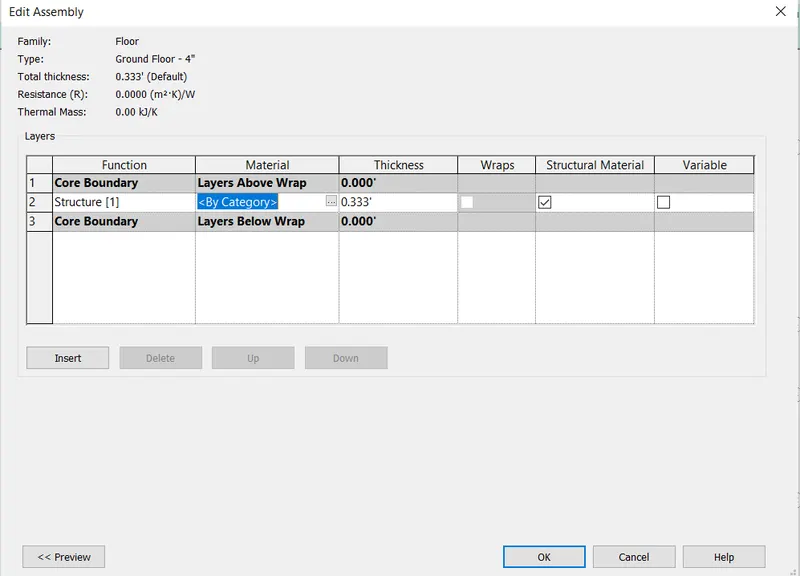
- Select the material property with suitable materials.
- Select edit rename as ground floor.
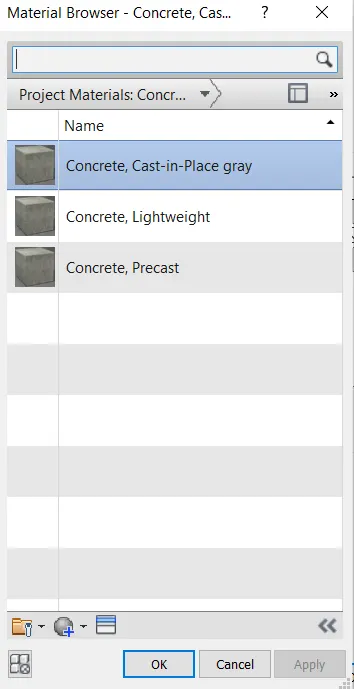
- Go properties select material.
- Add material.
- Then go realistic selsct it.
- See the floor acts as material.
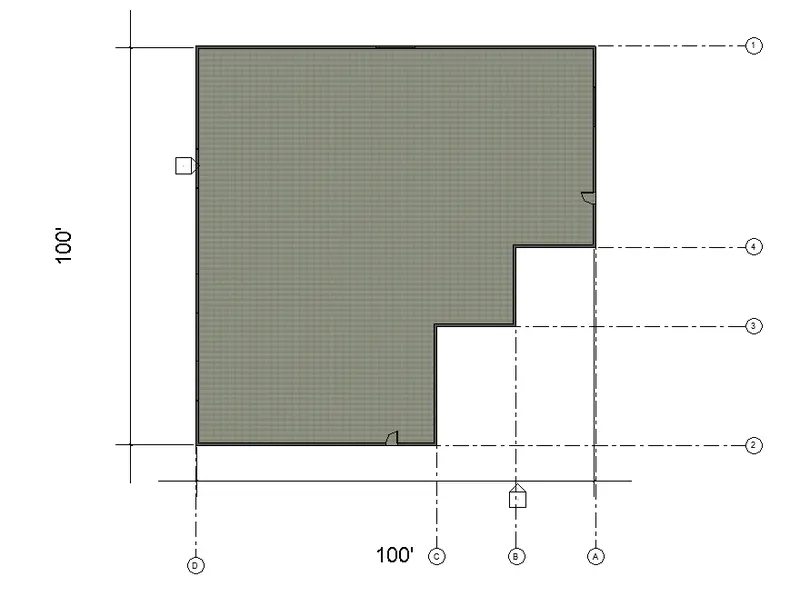
- Question no.2
- Aim - To provide walls in the layout with boundary lines.
- Introduction - Here we define the wall using architecture toolbar. Walls are nothing but the create the rooms. Walls are used for separator. Walls are used for partition. Like other basic elements in a building model, walls are instances of predefined system family types, which represent standard varieties of wall function, composition, and thickness.
- Use a Wall tool to create a non-bearing wall or a structural wall in the building model.
- Non-bearing walls: Click
 (Wall: Architectural) on the
 - Architecture tabBuild panelWall drop-down.
- Structure tabStructure panelWall drop-down.
- Structural walls: Click
 (Wall: Structural) on the
 - Architect tabBuild panelWall drop-down.
- Structure tabStructure panelWall drop-down.
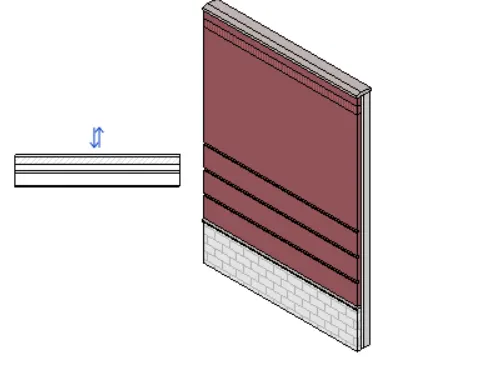
- Process -
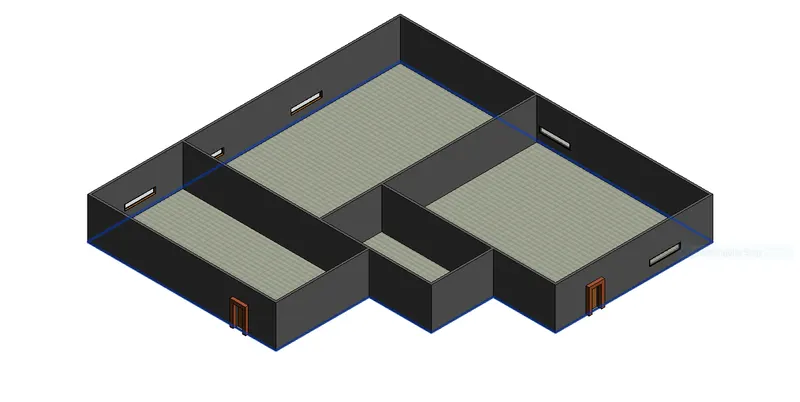
- Select wall architecture tab and use it create walls.
- Go to unconnected height.
- Select up to level 2 or 10' height.
- All walls can be done by this way.
- See the top and bottom constraint in constrains.
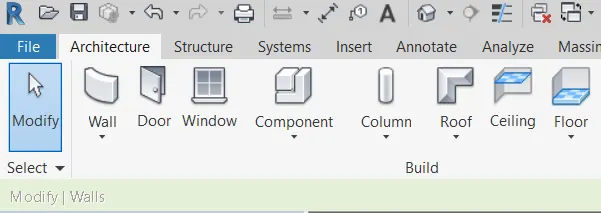
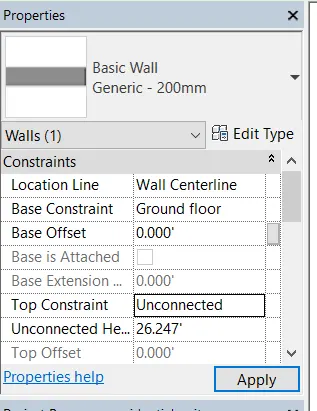
- Based on observation that there no any proper option to connecting walls with associated levels rather than being Unconnected.
- Unconnected height gives the proper height to level the all walls but it change individually.
- All exterior and interior walls are in level or change done by height repsective levels.
- The option both are proper and suitable to model walls.
- But in height option there is chance to go create height at certain height on floor.
- In depth there is negative values are also used.
- In depth we create depth below the floor also.
- Its better to model heigth option to model walls.
- Question no.3
- Aim - To use modify tab to utilize copy and paste option to align elements to different levels.
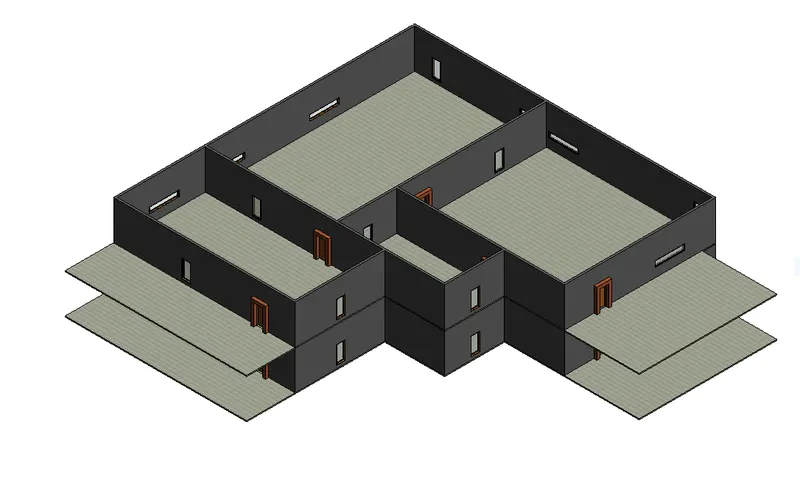
- Introduction - In this we copy and paste the ground floor to first floor. There different options to copy and paste the model. But in revit we use copy to clipboard as a option. Open the file that you want to copy items from. Select the first item that you want to copy, and press CTRL+C. Continue copying items from the same or other files until you have collected all of the items that you want. The Office Clipboard can hold up to 24 items.
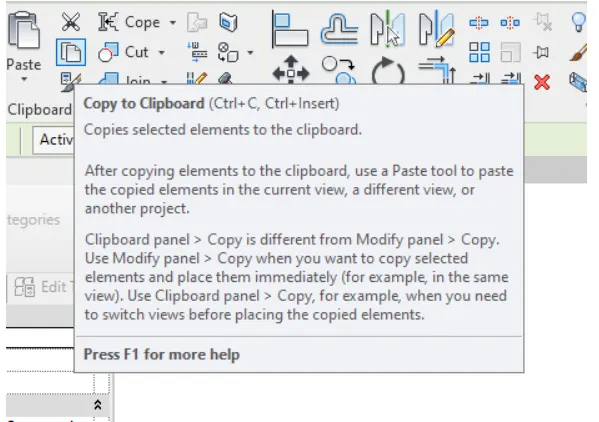
- The Copy to Clipboard tool copies one or more elements to the clipboard. You can then use the Paste from Clipboard or Paste Aligned tools to paste copies of the elements in the drawing or in another project.
- The Copy to Clipboard tool is different from the Copy tool. Use the Copy tool when you want to copy a selected element and place it immediately (for example, in the same view). Use the Copy to Clipboard tool, for example, when you need to switch views before placing the copies.
- Process -
- Select the ground floor layout.
- Go copy clipboard option.
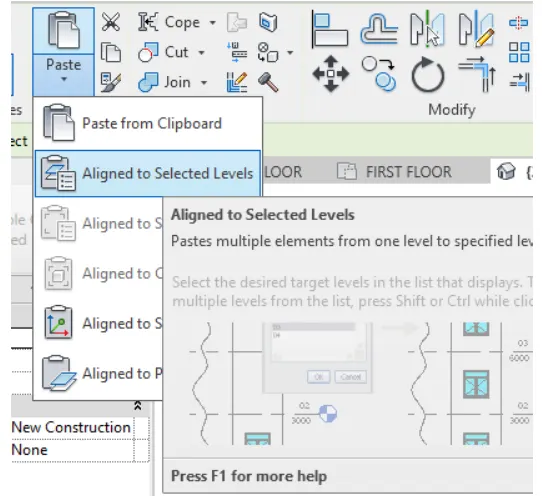
- Go level 2 and paste alingned to current view.
- See the layout was copied.
- Select one or more elements in the drawing area.
- Click Modify tabClipboard panel
 (Copy).
 -
Note: When editing text notes, click Modify.Text Notes Clipboard panelPaste the elements using either of the following tools: (Copy).
- Paste from Clipboard: To copy the elements to another area of the drawing, or to another project. See paste the element from the clipboard.
- Paste Aligned: To copy the elements to another level exactly above or below the original location of the elements. See paste the alingned element.
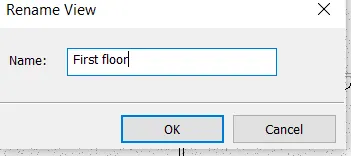
- Rename it as first floor.
- Question no.4
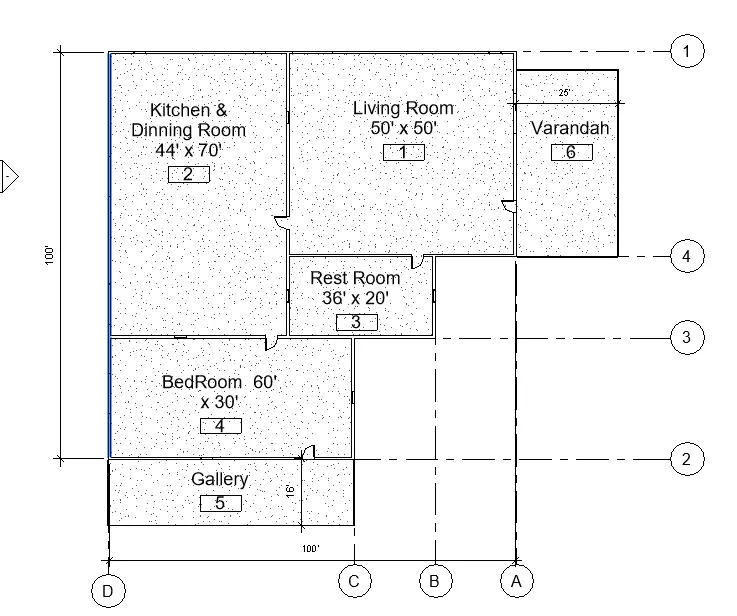
- Aim - To Use interior partition walls to create separate rooms in residential unit.
- Introduction - Here we create rooms in residdential unit. The rooms sizes are given in question or we have to use our own credentials. To create rooms the interior walls are used. Here we put interior and exterior walls are same sizes.
- Rooms are nothing but enclosed space on all sides. Rooms are space to used for occupants for different purpose.
- Living room - A living room is a room in a home that's used for entertaining friends, talking, reading, or watching television. If you're a couch potato, you most likely spend lots of time in your living room.
- You can also call a living room a lounge, a sitting room, a front room, or a parlor. It's distinguished from other rooms in a house by what it's used for. There's the dining room for eating, the kitchen for cooking, and the bedroom for sleeping. The living room, on the other hand, is for relaxing. It's an early 20th century invention, an offshoot of the old-fashioned formal parlor.
- Dinning room - a room in which meals are eaten, as in a home or hotel, especially the room in which the major or more formal meals are eaten. Informal. the furniture usually used in a dining room and sometimes sold as a matching set, as a dining table, chairs, and sideboard; dining room suite: a sale on dining rooms.
- Bed room - A bedroom is a room in a house for the bed, so it's mainly used for sleeping. If your home has three bedrooms, you can describe it as a "three-bedroom house." While you might do homework, watch TV, or even entertain friends in your bedroom, it probably has a bed in it, and the main purpose of the room is sleeping.
- Rest room - a room or suite of rooms in a public space providing toilets and lavatories : a public bathroom. Rooms or a room having a sink, toilet, and other facilities for use by employees, visitors, etc., as in a store, theater, or office.
- Kitchen - A kitchen is a room or part of a room used for cooking and food preparation in a dwelling or in a commercial establishment. The main functions of a kitchen are to store, prepare and cook food (and to complete related tasks such as dishwashing).
- Process -
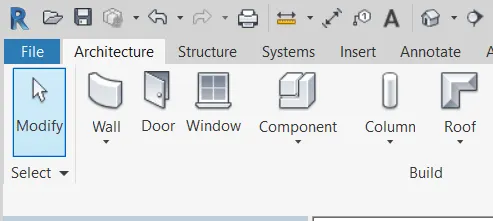
- Go to architectural wall tab create interior walls.
- Go to Room tabs.
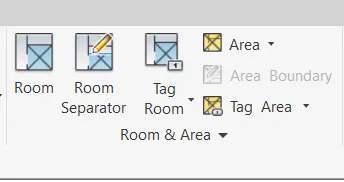
- Add rooms in layout.
- Rename the rooms with dimension as living, bed, kitchen, rest rooms etc.
- Same was done first floor.
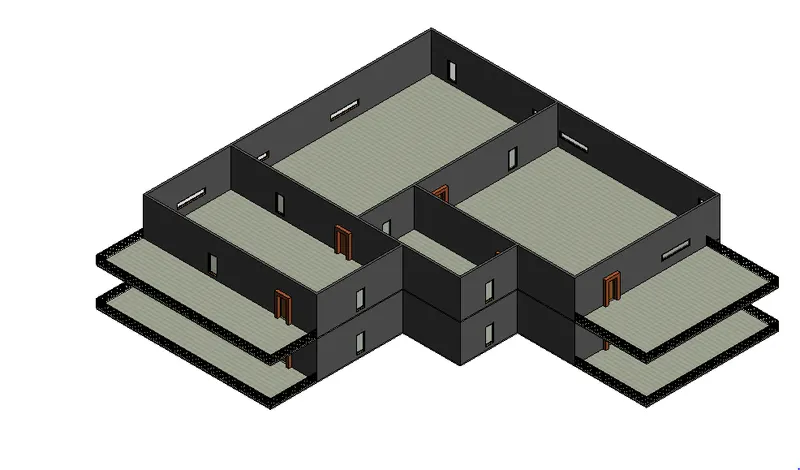
- Question no.5
- Aim - To add or provide components in residential unit.
- Introduction - Here we can include components in model such as doors, window and all other elements in revit family.
- Door - It is opening provided in residential unit to go in or out in rooms.
- Window - It is opening provided in residential unit to cool the rooms and avoide moisture. It is also used to bring sunlight in rooms.
- The components such as chair, table, bed, lamp etc are provided in room using revit family.
- Chairs used for seating the peoples.
- Table used for puting thing or use for doing any work on it.
- Bed is used for sleeping purpose and to take rest on it.
- Lamp used for lightning purpose in rooms.
- Bath tub used for bathing the peoples.
- Shelves gives to store things or various elements.
- Process -
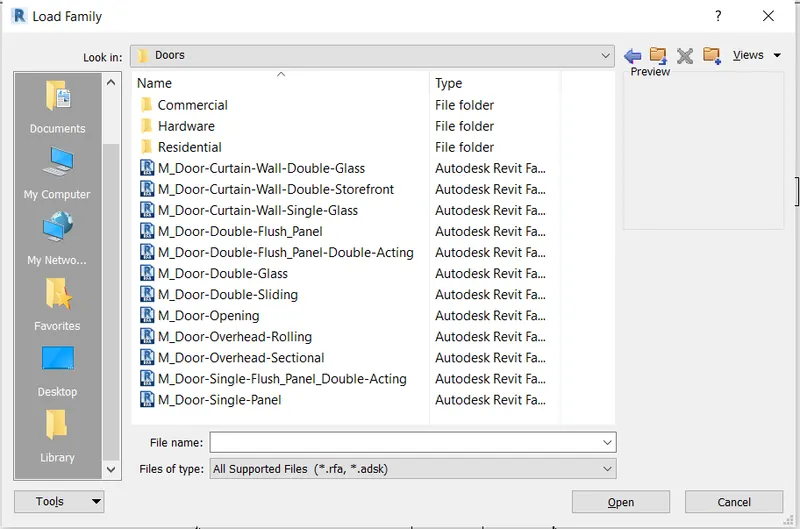
- Go to insert load family.
- Add family element such as furniture, doors and windows etc.

- Go to view Camera option.
- Seen the included components in rooms.
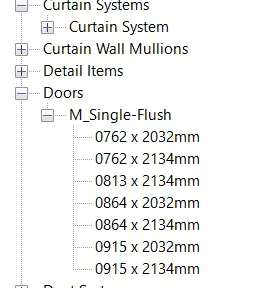
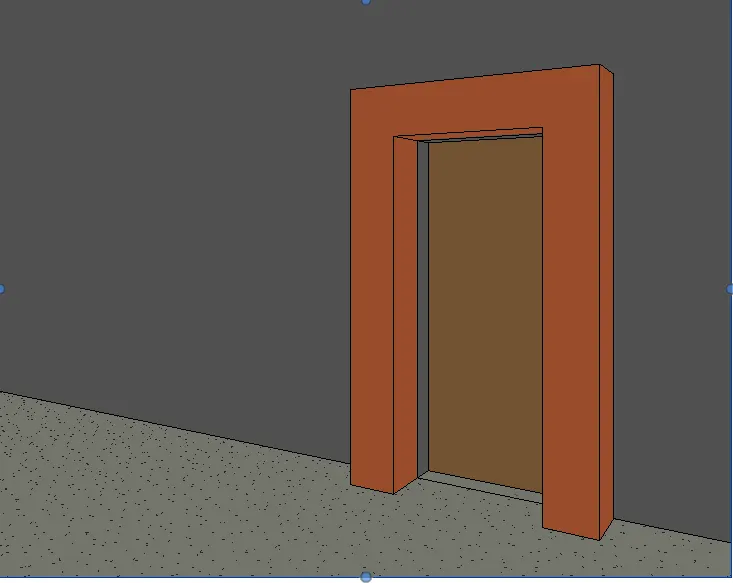
- Place Doors and windows in the wall at appropriate locations.
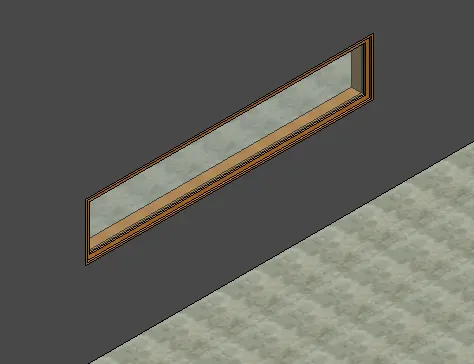
- The Living Room must include furniture set, couch table and TV desk and shelf cabinets.
- Sofa.
- TV.
- Shelf.
- Go to insert option.
- Load family.
- Use revit library in that revit family.
- Add family in the floor.
- Go to view Camera option.
- Seen the included components in rooms.
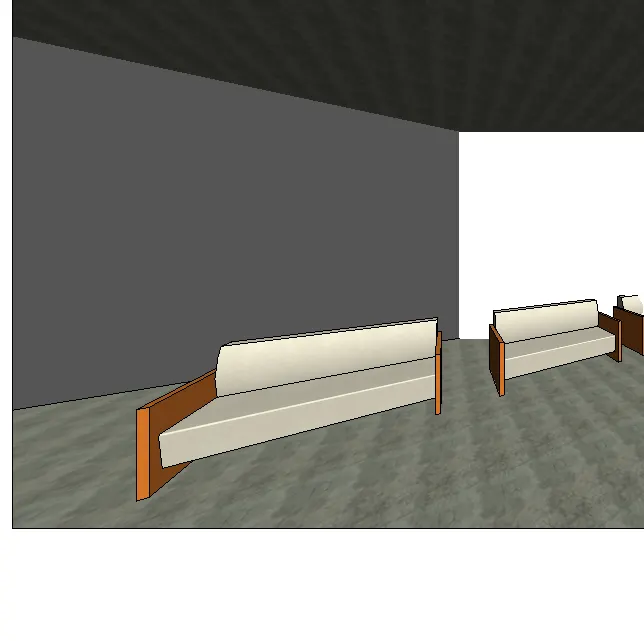
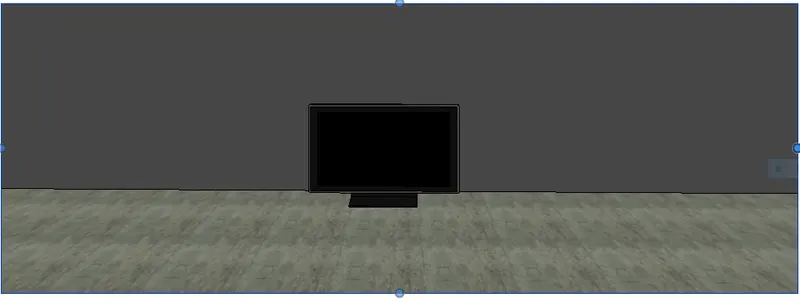
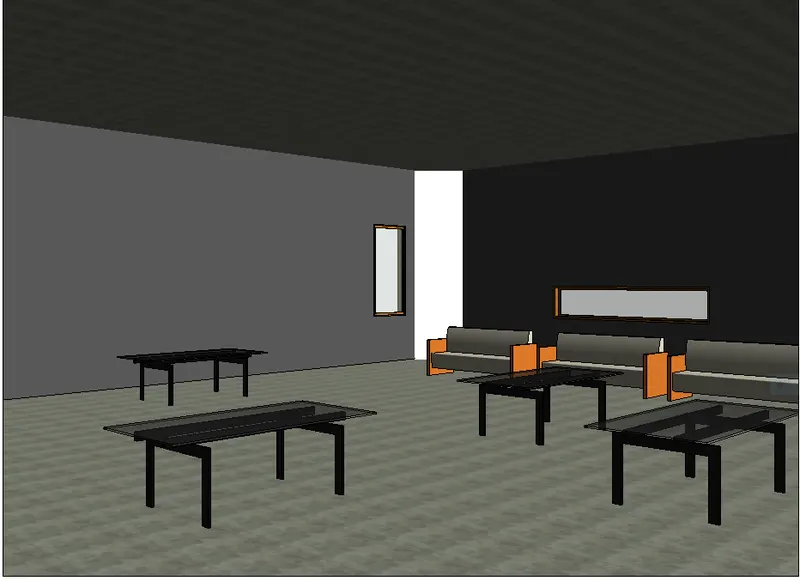
- The Dining Room must include a table and chairs serving the purpose of eating.
- Go to insert option.
- Load family.
- Use revit library in that revit family.
- Add family in the floor.
- Go to view Camera option.
- Seen the included components in rooms.
- Dinning table.
- Chairs.
- Shelfs.
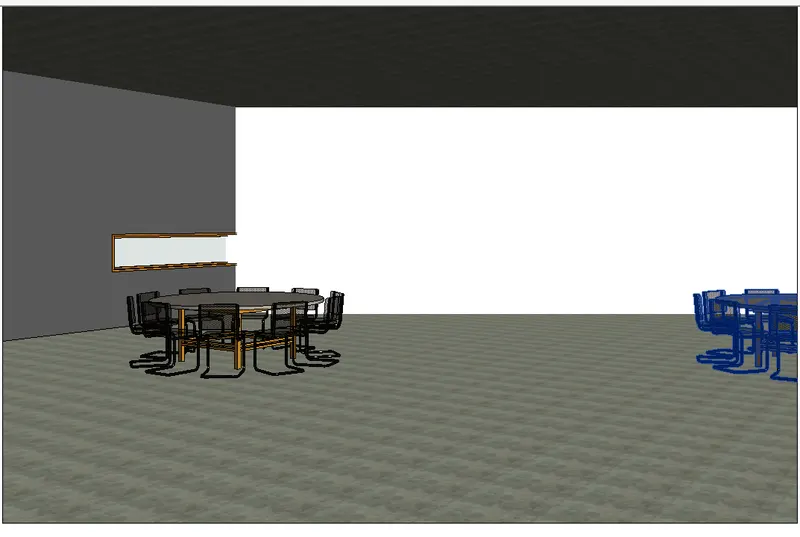
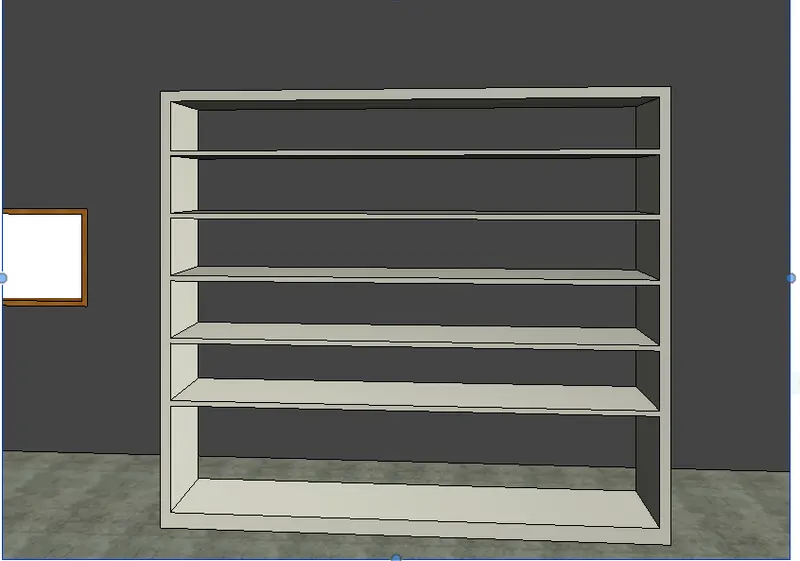
- Bed Room must include a bed set, shelf, lighting and individual study desk and chair.
- Go to insert option.
- Load family.
- Use revit library in that revit family.
- Add family in the floor.
- Go to view Camera option.
- Seen the included components in rooms.
- Bed.
- Shelf.
- Lightning.
- Chair.
- Study desk.
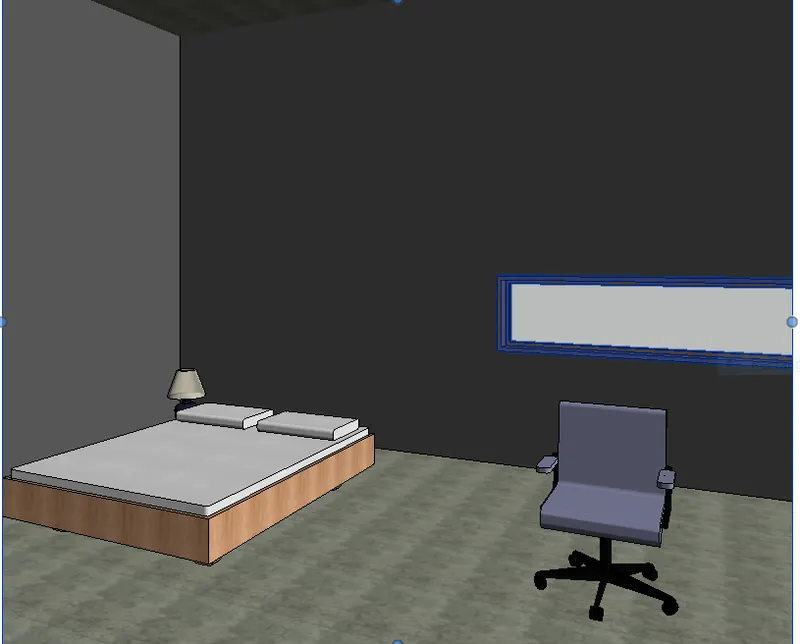
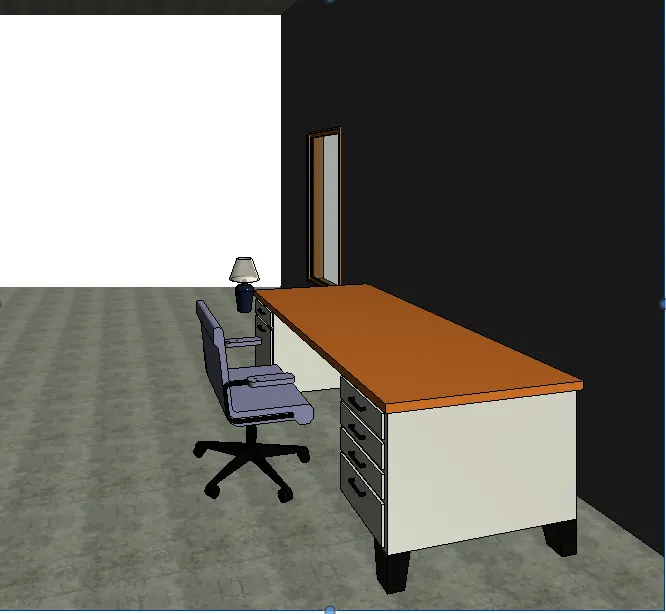
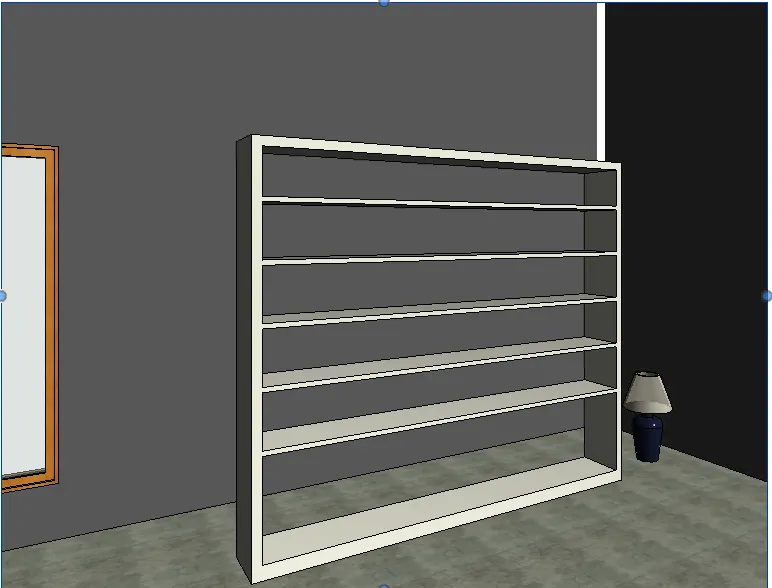
- Rest room should include bath tub and plumbing fixtures discussed in class.
- Bath tub.
- Plumbing fixtures.
- Water tap.
- Shower.
- Sink.
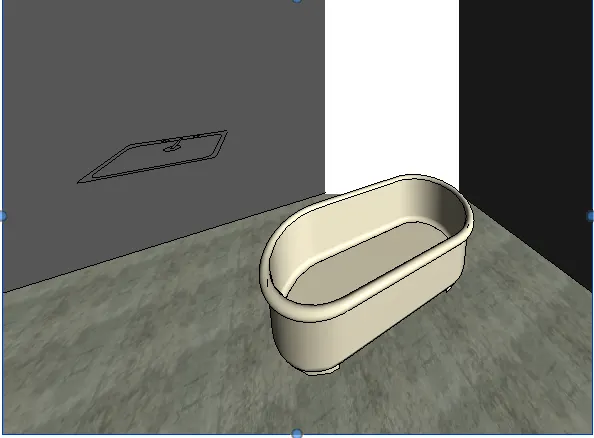
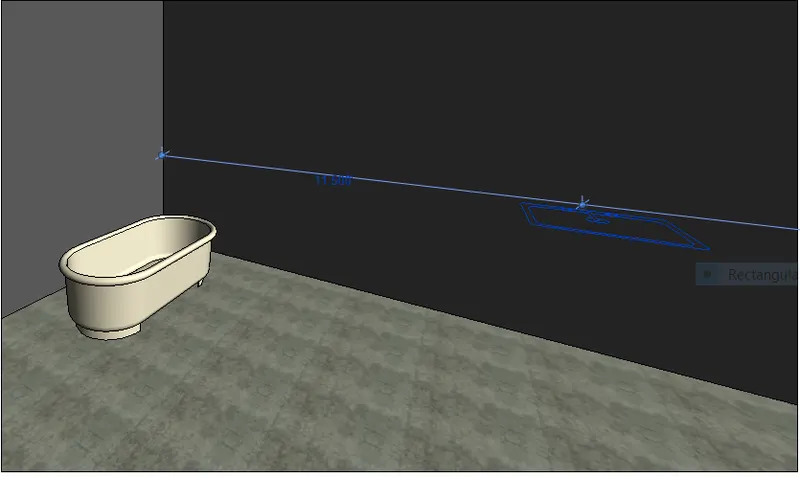
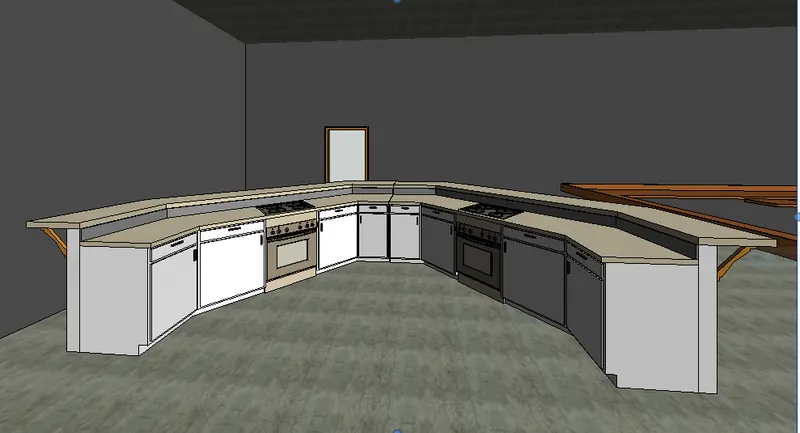
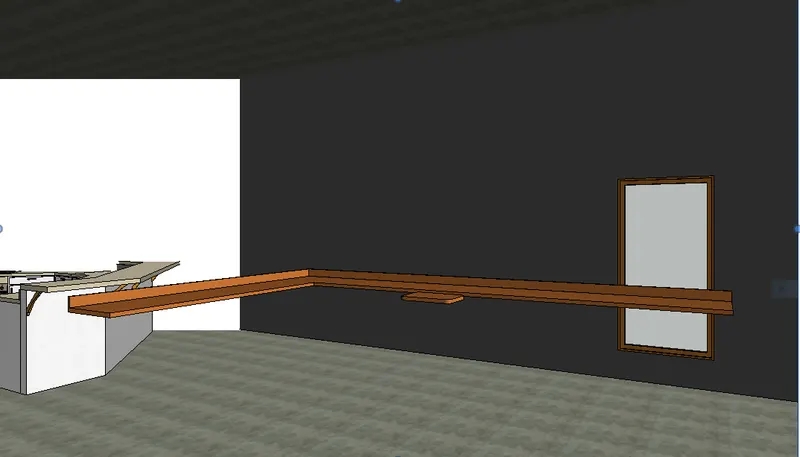
- Kitchen should include countertops, gas stove cabinet and shelves to store food items.
- Coutertops.
- Gas stove cabinet.
- Shelves.
- The wash/storage room can include washing machines and shelves to store clothes.
- Washing machines.
- Shelves.