Creating Levels, Grids, Layout and model elements for a residential unit using REVIT
AIM
To create a simple plan view,grids,levels and then to place the component in the plan view
Procedure
1 BIM- Building Information Modelling
Bim is a visual representation of the physical and functional characteristics of a facility inception onwards. as a shared information repository for the collabration throughout a facility's life cycle
Building Information Modeling (BIM) is the foundation of digital transformation in the architecture, engineering, and construction (AEC) industry. As the leader in BIM, Autodesk is the industry's partner to realize better ways of working and better outcomes for business and the built world.
Features of BIM
Easy access to information
Making the process more expensive
Comprehensive view of the project
Benfits of BIM
Complete representaion
Instant bupdates
Time constraint
Resource tracking
BIM is a multi resouce type which allows all type of works such as structural,electrical,mechanical etc
2 To understand the concepts of categories,families,elements,instance at first the component is to be selected by creating a plan and then in the revit at the top of the ribbon bar architecture is available by clicking component and by selecting place a component we have to load some components in that toolbar in the ribbon toolbar doors and windows are available by selecting that doords and windows are created for editing the doors and windows click the edit tool in the property box and then select the different types of doors and windows
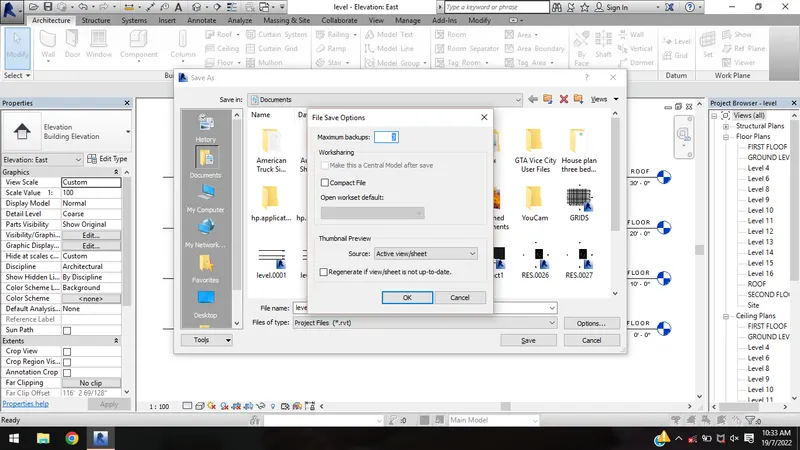
3 After creating the plan we have to save the project once we saved the project by clicking save us in the revit and then by clicking save us in that menu click the options and then by clicking the maximum amount of backups we have to save the project with 99 backups in the revit
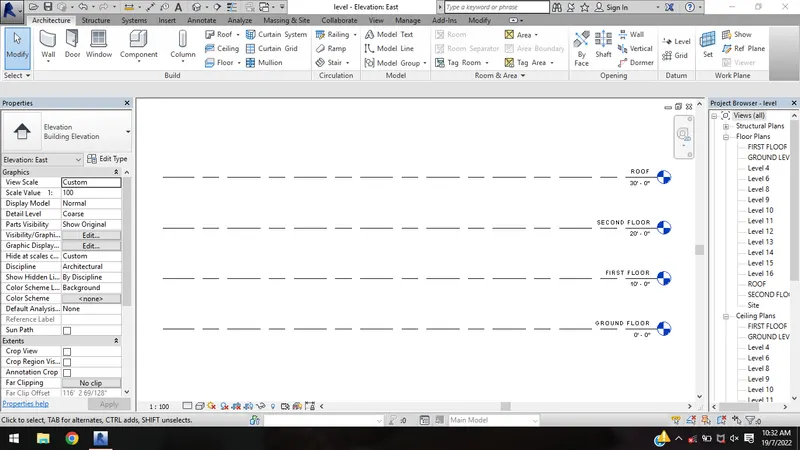
4 By creating the level click the level option in the ribbon and then by using two way can create level by selecting the line option and then by selecting pick line option in the toolbar
After creating the levels we have to rename the levels as ground floor ,first floor,second and roof by editing the level in the option
To create the grids by clicking the grids we have to create the grids transverse as well as longitudinally by selecting grids we create the grids in two ways one is by clicking the line and the other one is picking the line and then mention the offset distance by selecting the offset distance we have create the grids transverse as well as longitudinally
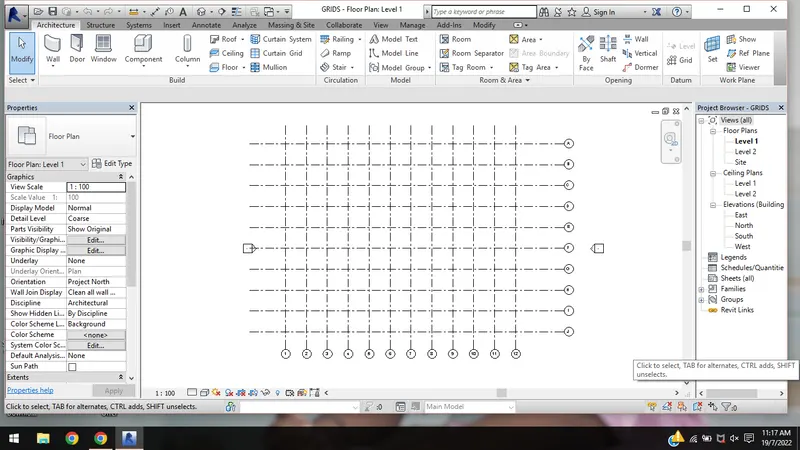
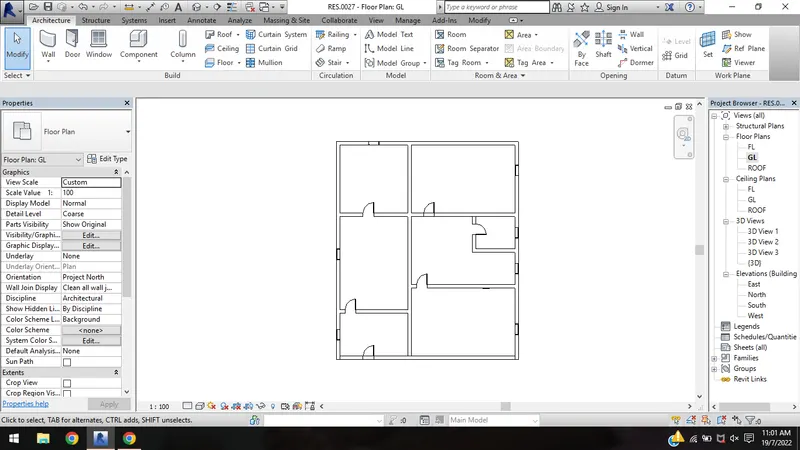
5 To create a plan by clicking the architecture by selecting the wall we have to create the plan and for changing the wall thickness select the thickness level in the property box and then we have change the wall thickness
After creating the wall we have to separate the rooms each and indivitual after creating the plan we have create the doors and windows in the floor plan
after creating the doors and windows we have to mention the wall type there are different wall types such as oak,wood,glass,marble etc
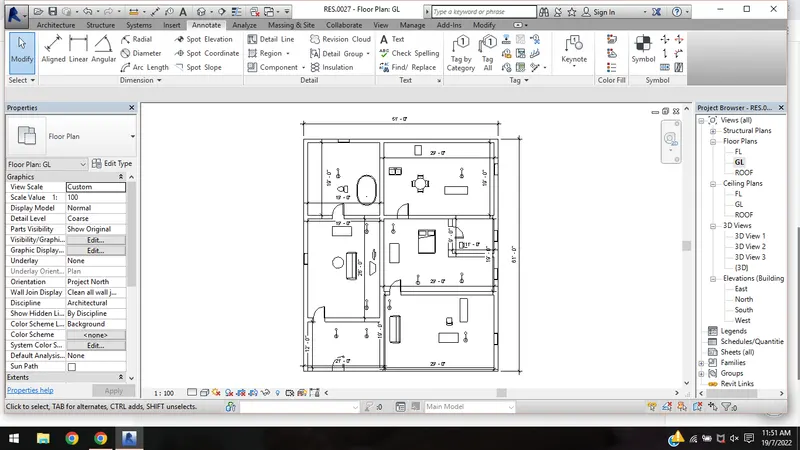
And then by clicking bthe place a component we have to place the every object in the residential building
After creating the plan we have to create the dimensions in the plan view by clicking the annotate tab and then by selecting the dimensions either linear/angular based on the plan view
After placing the component we have to choose the family in the load component by selecting the load options and then there are different types of components are available