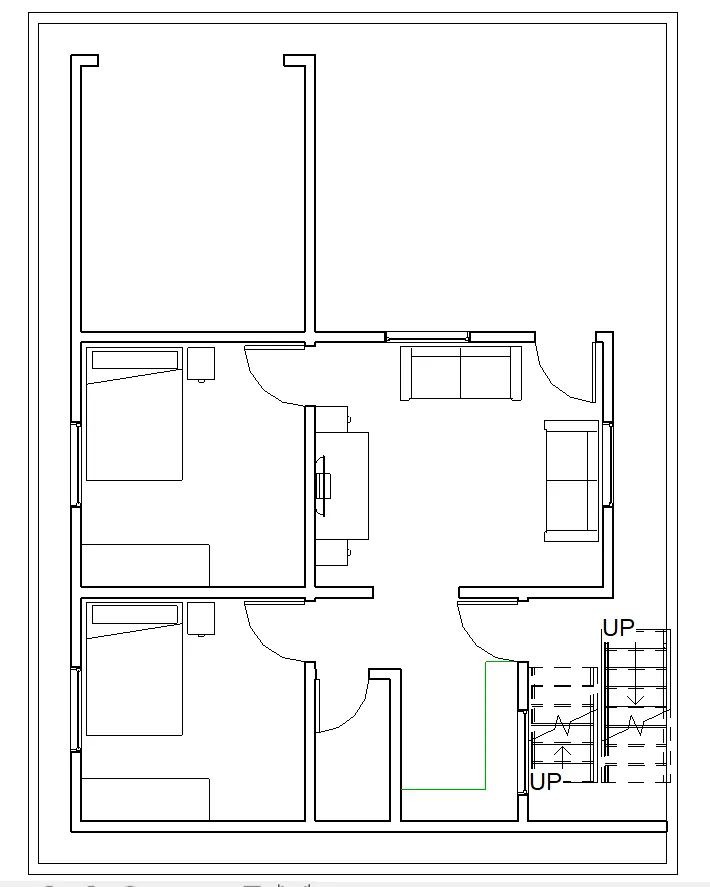
Creating Levels, Grids, Layout and model elements for a residential unit using REVIT
1) What is BIM? Summarize the features of BIM and the benefits of using BIM over 2D CAD tools.
Answer: BIM is the Building Information Modelling. BIM is the combination of Coordination and computation which help as a part of project and modeling purpose.
coordination is nothing but is to achieve multiply discipline between different groups of engineer on a single project like an architect, Mechanical engineer and structural engineer can work on a single project. It’s a key feature of BIM.
BIM helps in computation such as Building material schedule, quantity schedule, or energy analysis/ evaluation
So BIM has an enormous benefit over 2D CAD tools. SO whenever we are changes in the model it is reflected real-time on the drafting view, quantity, or your computation. It means if we change anything in the plan view and changes will reflect in the elevation or 3D view but this not reflect in the 2D AutoCAD, so it minimizes time in changes repetitively.
2) Understand the concept of Categories, Families, Elements, Instances in Revit. Go to Insert Tab, choose a category. Pick a family and element. Understand the instances and insert it to the Revit model
Answer: Categories are:- Wall, Door, Window, Floor, Roof etc
Families are:- Different types of walls, doors, and windows, etc we will get in families. For example- a door has a double door, single door etc
A group of an element that shares common properties.
Element:- Element are nothing but the different size of individual families. For example- a single door has 810x2110, 910x2110, 101x2110 etc and double door are different element like 1510x2110,1810x2110 etc.
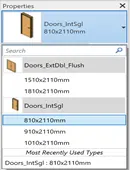
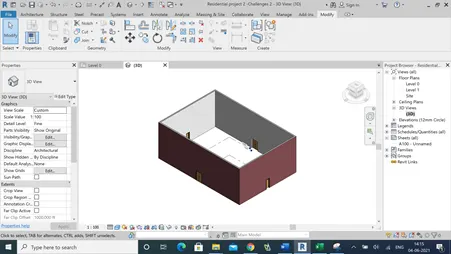
In the above image Categories, Families, Elements it added
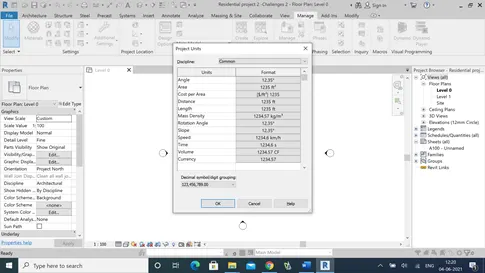
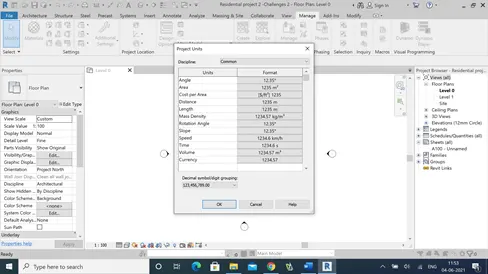
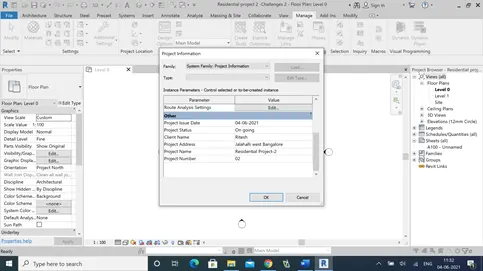
3) Setting up a Project – Open a project file with architectural template. Save the file with appropriate name. Set up the project units to Imperial / Metric based on your convenience of modelling. Complete the project information under Manage tab. Set up the maximum backups for project file to 3
Aim: To create the architectural template and set the project unit with the project information
Procedure:
Step 1: Open the Revit software with architectural template and then select the project and press the “ok” button
Step 2: Saved the project in the name of Residential project-2 Challenges-2
Step 3: Type the “UN” in the Revit software and selected the project unit to “feet”/ “Meter”
Step 4: Then select the Manage tab and fill in all the information about the project.
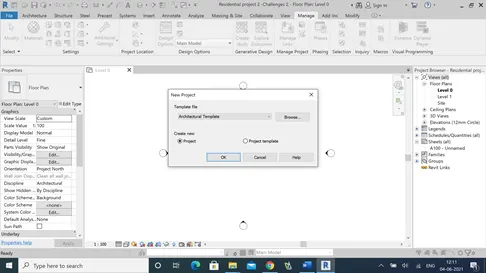
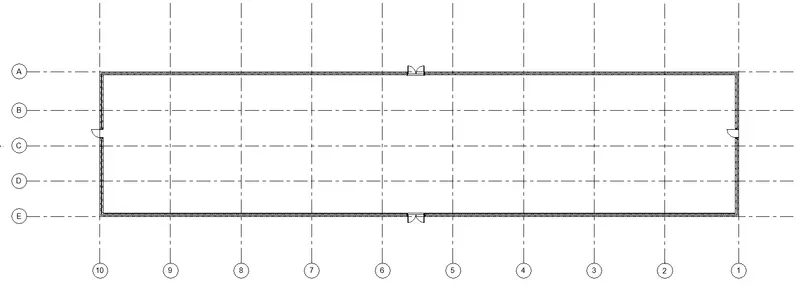
4) Understand the concept of Levels and Grids. Follow the naming and conventions. Create the following Levels: ( Convert to metric equivalents if metric is your units)
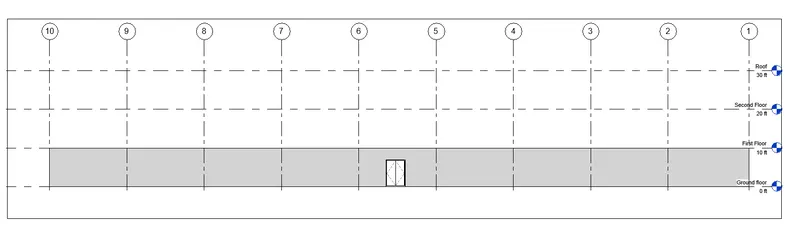
Ground Floor @ 0’
First Floor @ 10’
Second Floor @ 20’
Roof @ 30’
Grids Transverse Grids A, B,C,D, E @ 10’ spacing
Longitudinal Grids from 1 to 10 @ 20’ spacing
Aim: To understand and Level and Grids and perform the same on the Revit software for the given data.
Procedure:
Step 1: First to the elevation view and select EAST face
Step 2: Then go to the architectural template and click the grid symbol and place the grid as per the given height from bottom to top.
Step 3: Then change all the different level names to Ground floor @ 0', First floor @ 10', second floor @ 20', and Roof @ 30'.
Step 4: Then go to the ground floor view and from the architectural template select grid button.
Step 5: For longitudinal grid start from right to left and for transverse grids start from top to bottom
Step 6: We can change the grid name by clicking on the grid circle, so we can represent longitudinal grid by 1,2,3, etc, and transverse grids as A, B, C, etc.
5) 3D modeling of the residential unit – From looking at your house / or a place you aspire. Create a conceptual layout of the residential unit. You can measure using tape or you can access your residential plan to create a similar layout.
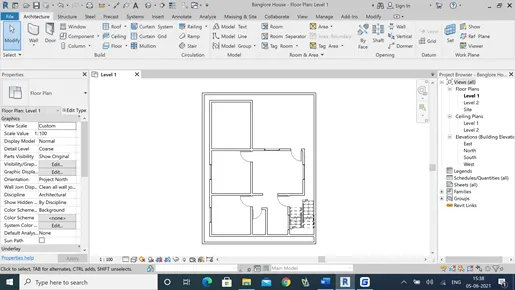
Aim: To Create a conceptual layout of the residential unit.
Procedure:
Step 1: Get the layout of your residential building and plot the same in your Revit software
Step 2: For making layout need to work with wall, door, window, and stair.
Step 3: Measure the site/building layout plot in the same on the Revit software.
Step 4: For placing window select the window and select the particular families from the property table and bring the mouse pointer and place the window.
6) In the layout created draft the level of details you are planning to include – Dimensions of room, components you plan to add in the residential unit.
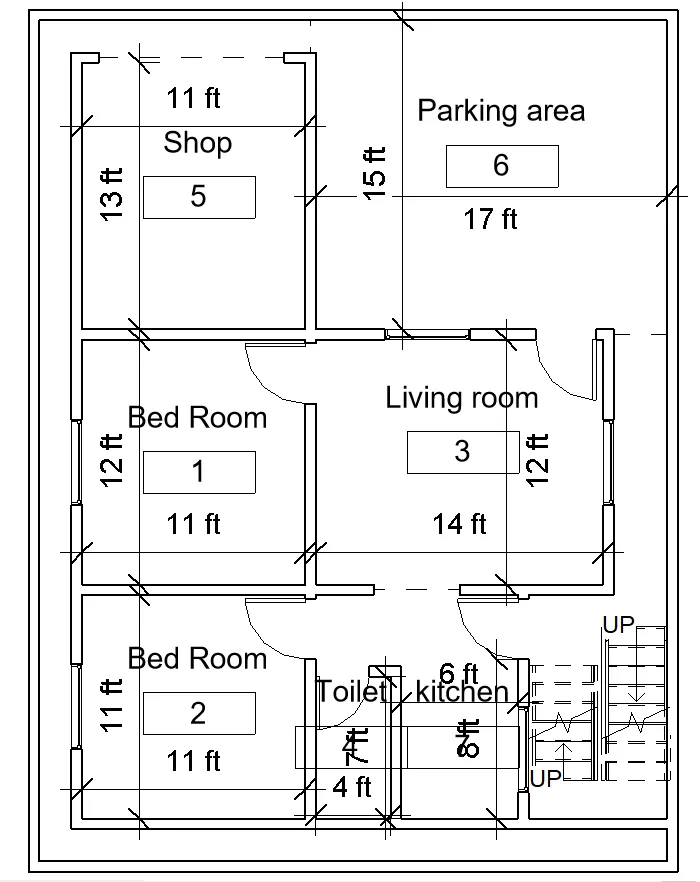
Aim: To add the dimension room and other components in the Layout
Procedure:
Step 1: For the dimension of the room go to Annotate and select the linear/Aligned.
Step 2: After selecting linear/aligned change the place dimension to wall faces and start measuring all the room walls.
Step 3: For room & area tag go to architecture and select the room tag and area tag and make all the rooms.
Step 4: At few places, we have used a room separator to separate the room to get the clear area of each rooms.
7) Identify the residential model elements such as Door, Windows, Tables, Chair, Couch, Bed, Lamps from the library and insert them to the model. Save the project for use for Assignment 3
Aim: To Insert the model element from the library
Procedure:
Step 1: For adding the elements go to the architecture and select the component button and added all the elements.
Step 2: For adding new families go to the component button and click on load family in your properties.
Step 3: Once you select the element to place them directly to your layout and same the project for Assignment 3