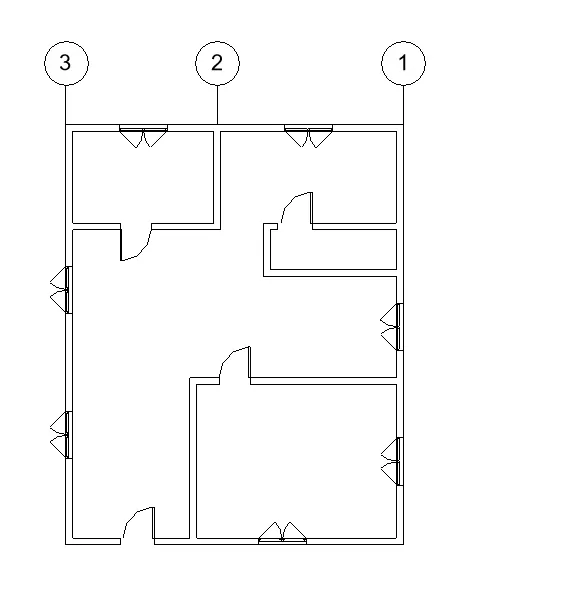
Creating Levels, Grids, Layout and model elements for a residential unit using REVIT
1. what is BIM ?
Buliding Information Modeling is the holistic process of creating and managing for a bulding assest. Based on a inteligent model and enabled by cloud platform, BIM Integrates structured, multi-displinary, data to produce a digital representation of an assets across its lifecycle, from planning and designing to construction and operations.
BENFITS OF BIM
- Cost and resource savings.
- Greater efficiency and shorter project lifecycles.
- Improved communication and coordination.
- Higher quality results.
- More opportunities for prefabriction and modular construction.
2. Understand the concepts of categories,families,elements,instance in Revit.
The concepts of families and elements , are the objects of the specific family in furniture family beds, chairs, tables, etc,.. These families available under the insert tab load families and the we can select the families and insert in the required drawing.
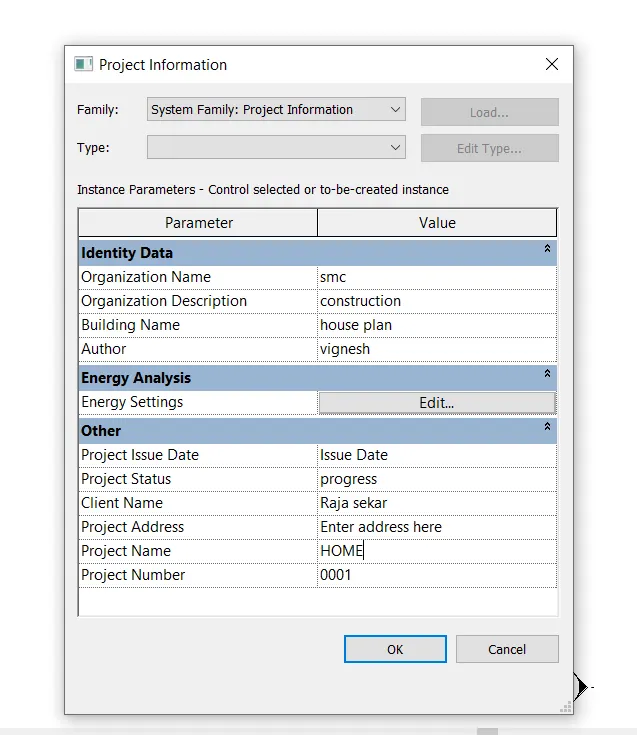
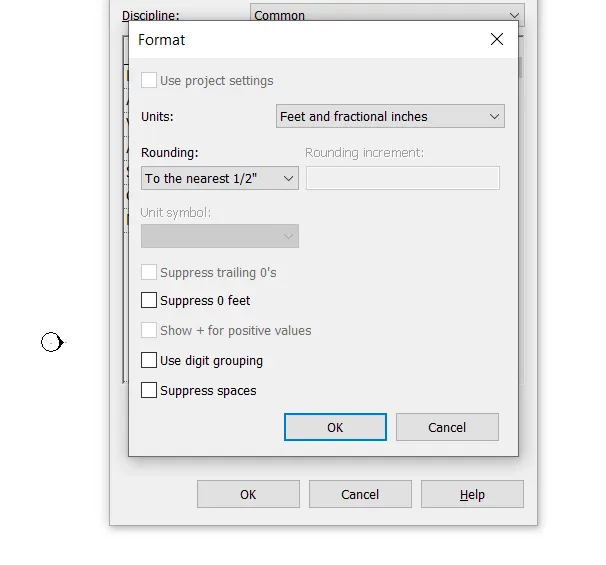
3. Setting up a Project – Open a project file with architectural template. Save the file with appropriate name. Set up the project units to Imperial / Metric based on your convenience of modelling. Complete the project information under Manage tab. Set up the maximum backups for project file to 3
- select architecture template
- command units to set metric based value
- select the manage tool
- click project information and fill the project information with details
- click save option and save the file in selected folder
Results:
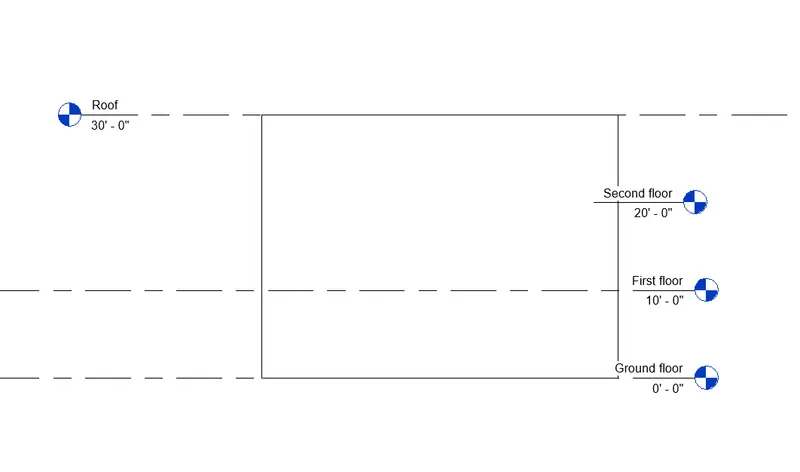
4) Understand the concept of Levels and Grids. Follow the naming and conventions. Create the following Levels: ( Convert to metric equivalents if metric is your units)
Ground Floor @ 0’
First Floor @ 10’
Second Floor @ 20’
Roof @ 30’
Grids Transverse Grids A, B,C,D, E @ 10’ spacing
Longitudinal Grids from 1 to 10 @ 20’ spacing
Ans:
- Select the architectural template
- Draw the wall with designed size
- Select the level 1 in project browser
- Select the level and name as a requires height of the level
- Select architectural and click the grid option
- Draw the grids and name it any alphabets or numbers
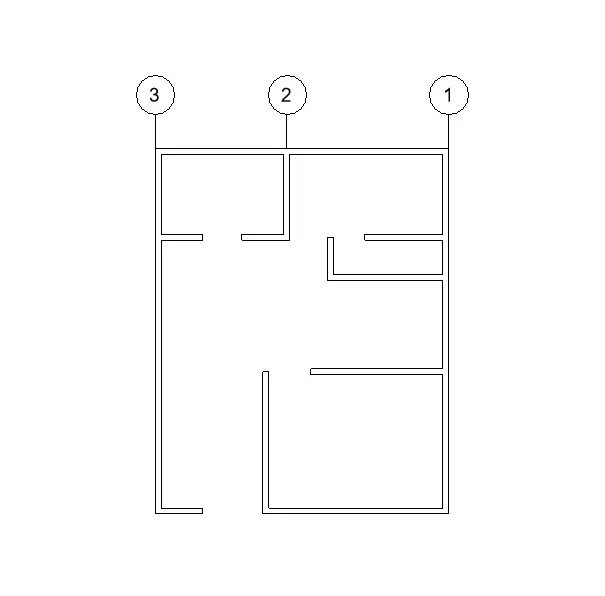
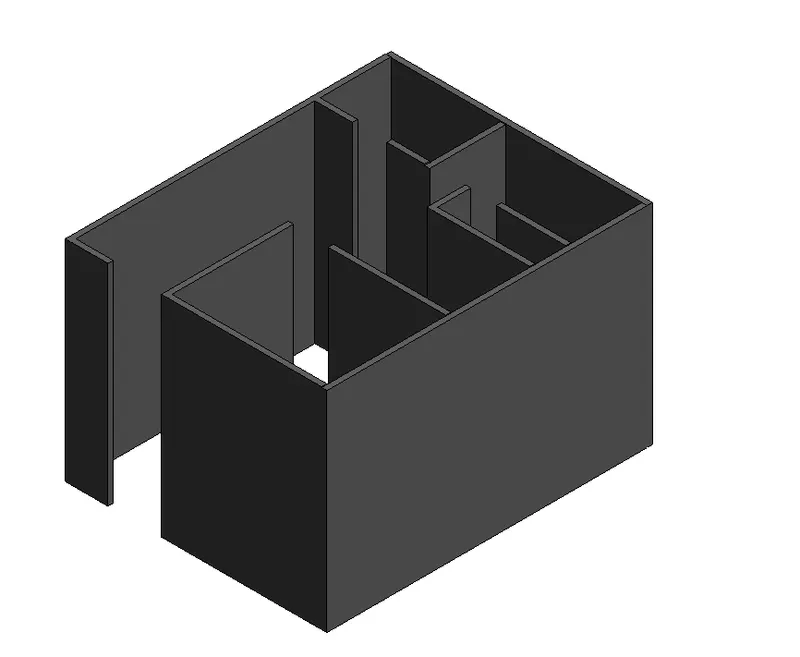
5) 3D modelling of residential unit – From looking at your house / or a place you aspire. Create a conceptual layout of the residential unit. You can measure using a tape or
you can access your residential plan to create a similar layout.
Ans:
Procedure:
- select architectural template
- select the wall and click on architectural wall
- draw the wall
6) In the layout created draft the level of details you are planning to include – Dimensions of room, components you plan to add in the residential unit.
Aim: Dimension of room and components
procedure:
- select door in the ribbon and place the cursor where it requried.
- select the annotate and click linear and then place the cursor at the corner of the wall to known the dimension
- select tag room and do the tagging.
7) Identify the residential model elements such as Door, Windows, Tables, Chair, Couch, Bed, Lamps from the library and insert them to the model . Save the project for use
Aim : To insert the elements such as Door, windows, tables, chair, bed ,lamps to the model
command used
- Inserts
- load families
- doors
- windows
- chair
- tables
procedure:
- select the door where it needed
- select the windows with various size and place it where it requried.
- select the loaded families and select the furniture in the folder and add it the residential building.
- And also select the bed and lamps place it where it requried..