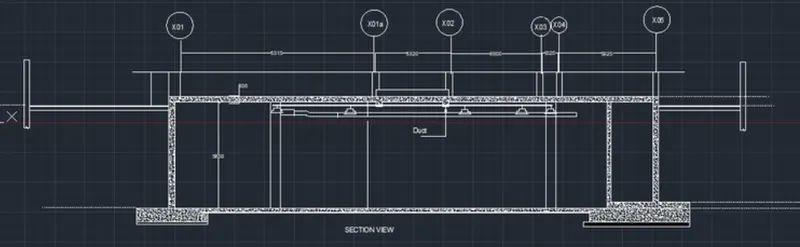
Creating Kitchen layout, Hatching of Architectural elements and sectional view of an Industrial Building in AutoCad
Aim:
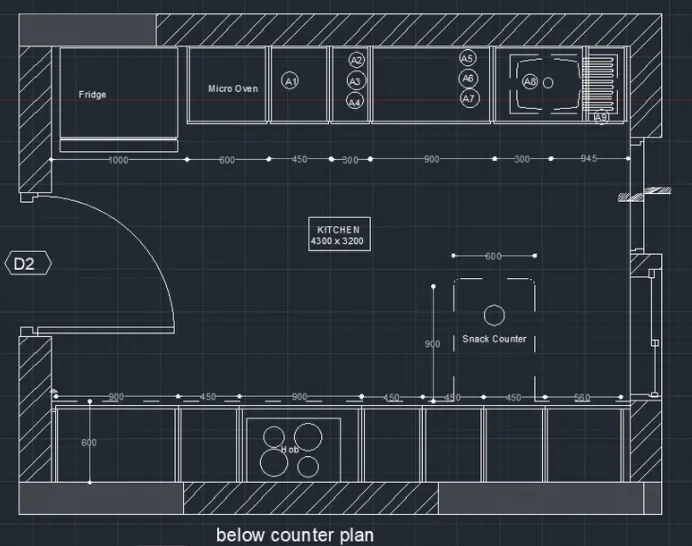
To Create the Kitchen Layout and to Also, use proper dimension techniques to dimension the kitchen layout. Also, insert text wherever required. All dimensions are in mm.
Procedure:
step 1:
- units are set to mm
- limits and limax are also set
- zoom comand is also used
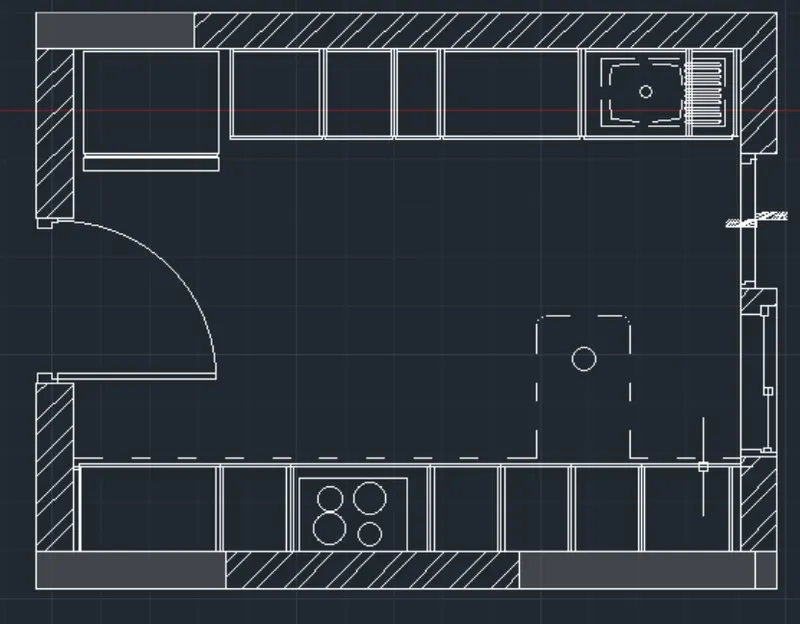
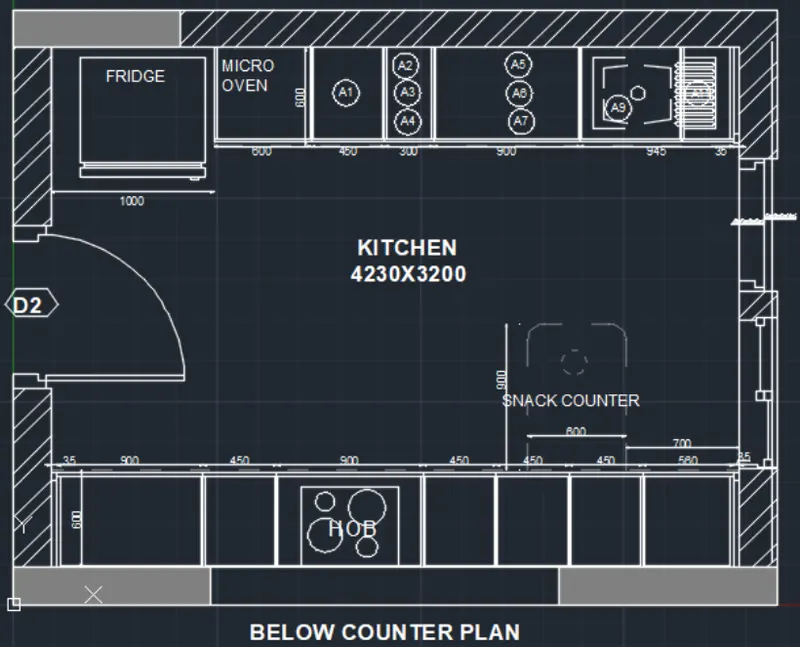
How to create a below-counter plan in steps
- Launch Auto Cad, type UN (units command) in the command box, and select decimal as the type.
- Draw a line with a length of 4300 in the X direction and a length of 3200 in the Y direction using the line command to finish the rectangle.
- The rectangle outside the illustration is offset 230 in the direction of each side.
- Trim all the angled edges.
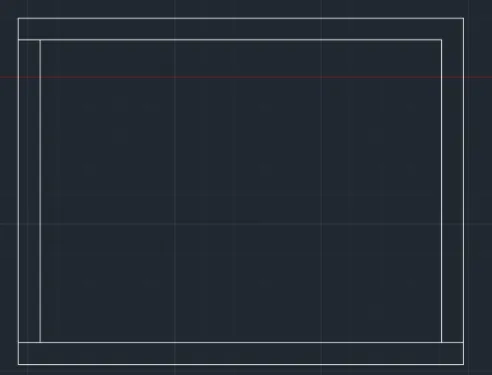
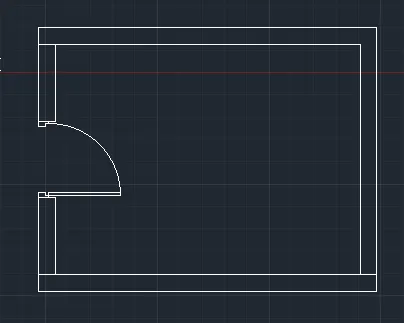
- The kitchen platform and otta are drawn at a 600-offset angle from the room's top.
- Provide the offset starting at 90mm from the left side, 1000mm for the refrigerator, 600mm for the microwave, 450mm for component A1, 300mm for parts A2/A3/A4, 900mm for parts A5/A6/A7, and 35mm, 945mm, and 300mm offsets.
- Offset 12 mm to both sides in each corner of the room.
- offset 600 mm from the kitchen's central bottom to the drawing platform.
- The offset should now be entered as 900, 450, 900, 450, 450, 560, 35.
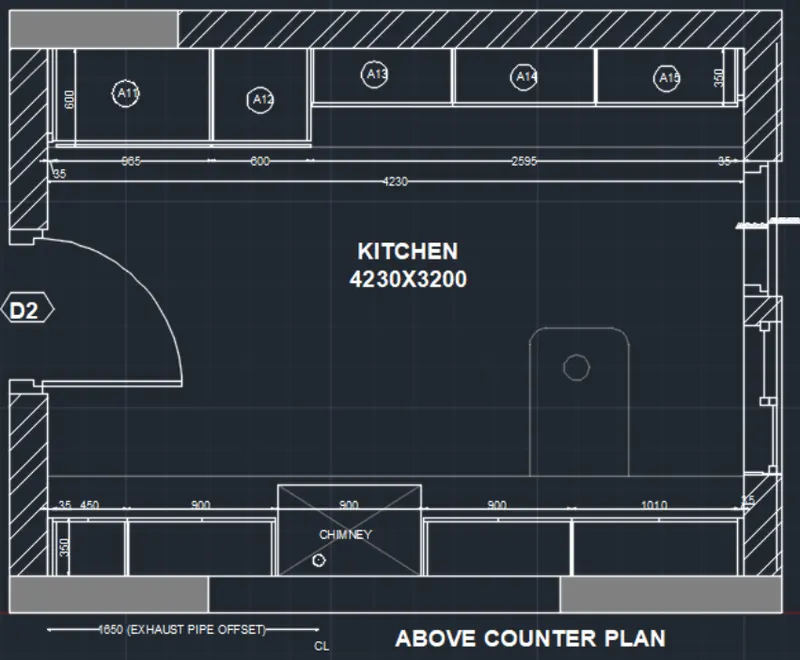
Steps for drawing Above Counter Plan
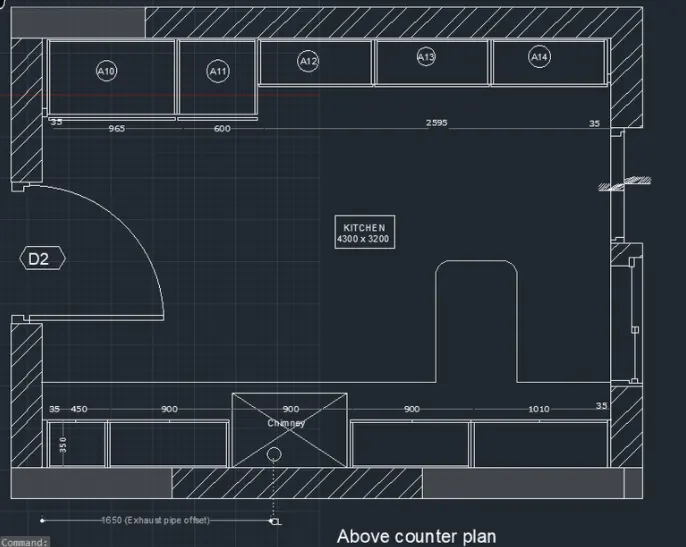
- Open Auto Cad and enter UN (units command) in command box and make the type as decimal.
- Select line command and draw a line of 4300 in X direction and a line of 3200 in Y direction and complete the rectangle.
- Offset 230 towards all sides of the rectangle outside the figure.
- Fillet all the offset edges.
- Offset of 600 from top of the room to draw the kitchen platform ink and otta.
- Give the offset as follows from left side 35 as first offset and again the offset as 965, 600, 2595.
- Offset 12 mm to both sides in each corner of the room.
- Offset 350 mm from bottom in middle of kitchen to draw platform.
- Now enter offset as follows-35, 450, 900, 900, 900, 1010, 35.
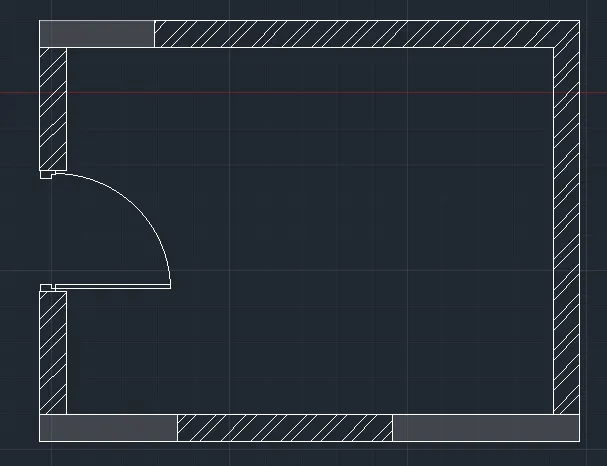
Hatching of objects
- Click Home tab-Draw panel-Hatch.
- On the Properties panel Hatch Type list, select the type of hatch that you want to use.
- On the Pattern panel, click a hatch pattern or fill.
- On the Boundaries panel, specify the how the pattern boundary is selected:
- Pick Points. Inserts the hatch or fill within a closed area that is bounded by one or more objects.
- Select Boundary Objects. Inserts the hatch or fill within a closed object.
- The selection method is retained until you change it.
- Click an area or object to be hatched.
- On the ribbon, make any adjustments as needed:
- On the Properties panel, you can change the hatch type and colors or modify the transparency level, angle, or scale for the hatch.
- On the expanded Options panel, you can change the draw order to specify whether the hatch and its boundary are displayed in front of or behind other objects.
- Press Enter to apply the hatch and exit the command.
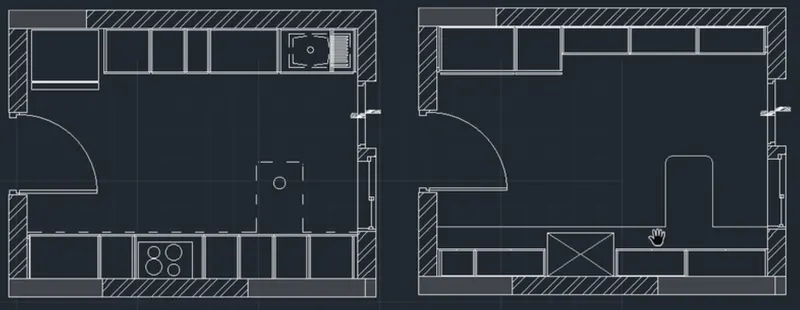
- Hatch the brick wall with hatch type as ANS132 and hatch other part as solid and grey colour.
RESULT:
AIM: TO CREATE ELEVATION AND HATCHING THE STRCTURAL AND NON-STRUCTURAL ELEMENTS OF THE BUILDING LIKE WALLS, COLUMNS ETC.
PROCEDURE
STEPS FOR DRAWING SECTION
- To build projections, choose the line command and extend the plan's lines downward.
- 150 millimetres away from the ground.
- On the ground floor, add 2450.
- For the second floor, offset 2850.
- For the second floor, offset 2850.
- For the third floor, offset 2850.
- 1000 offset for the parapet wall.
- Set the mumty at a 2500 offset from terrace level.
- For the mumty's parapet wall, offset 450 from the mumty.
- For O.T.H., offset 600 and offset 1200.
- For the design of the staircase, the tread is offset by 1250, and the riser is offset by 143.75.
- Set the slab at 125 below floor level
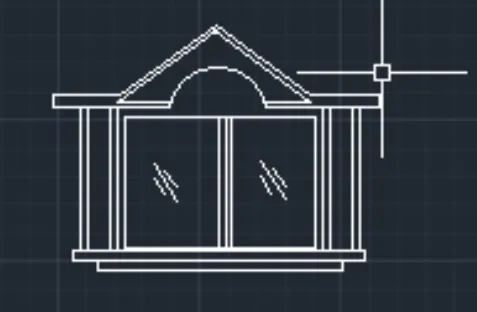
- Design the windows and chajjas in accordance with the norms and considered sizes.
Create the stair railing in dashes using the layers, then switch the layer to
Hatching of objects
- Draw panel—Home tab—Hatch: Click.
- Choose the type of hatch you wish to use from the Hatch Type list on the Properties tab.
- Choose a fill or hatch pattern from the Pattern panel.
- Indicate how the pattern border is chosen on the Boundaries panel:
- Choose Points. the fill or hatch is inserted inside of a closed space that is enclosed by one or more items.
- Then choose Boundary Objects. the fill or hatch is inserted within a closed item.
- Unless you choose another, the current selection technique is used.
- To hatch an area or item, click it.
- Make any necessary modifications to the ribbon:You may adjust the hatch's type, colours, transparency level, angle, and scale using the Properties panel.
- Then enlarged
- On the expanded Options panel. you can change the draw order to specify whether the hatch and its boundary are displayed in front behind other objects.
- Press Enter to apply the hatch and exit the command.
- Hatch the brick wall with hatch type as brick and hatch other part of concrete as air conc.
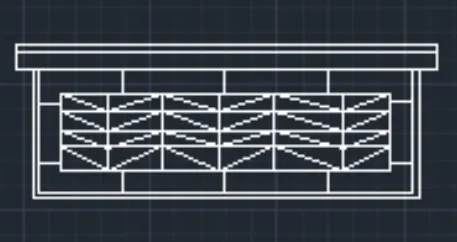
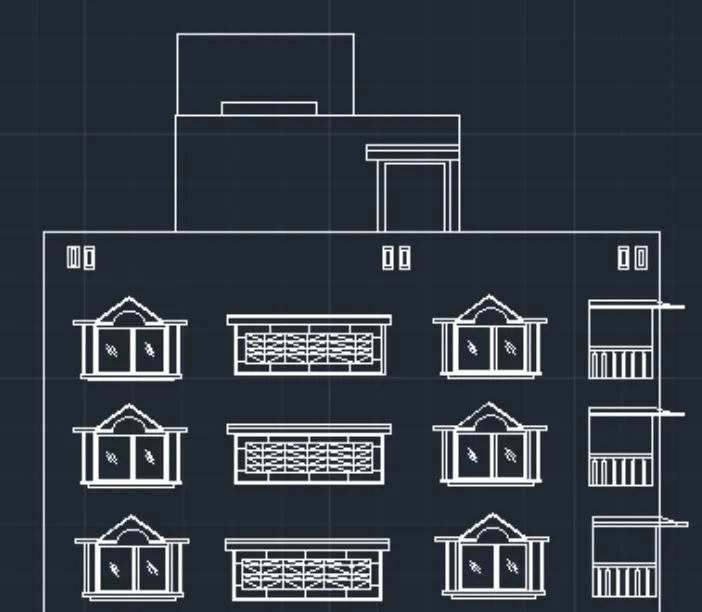
AIM: To create the section view of an industrial building.
PROCEDURE:
- In the command prompt type I to draw the lines.
- In the Ribbon bar > Hatch > AR.CONC.
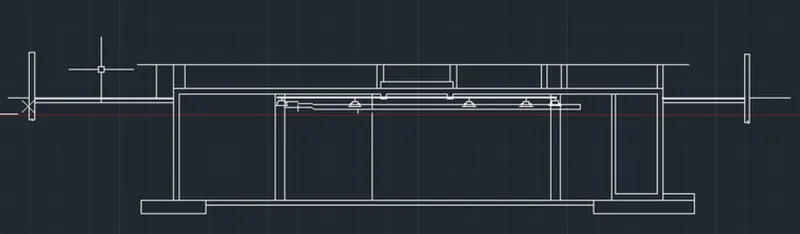
- In the command prompt type rec to draw the rectangle.
- In the command prompt type LT to get the dotted line
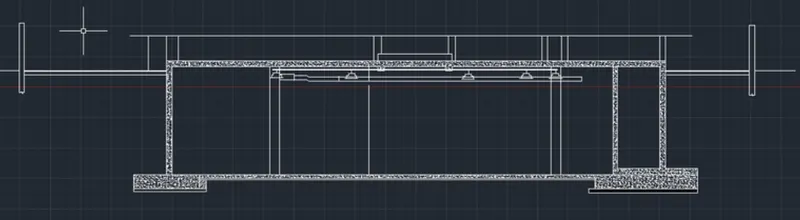
- In the command prompt type Mt to draft the text
- In the command prompt type c to draw the circle
- In the command prompt type dim to draft the dimensions
RESULT: