Creating Architectural and Structural model with 3D rendering using REVIT
1 ANSWER:
I want to built Multi-Unit Residential Apartment from the given three types.
2 ANSWER:
Assumptions for geographic and location details are
I am assuming my project location in residential area ,Eluru.There is a road with width of 40 feet.
All are built according to NBC Group 1,2 and 3 i.e., for development,bulding planning and related aspects
for structural design and related aspects
for construction related aspects respectively
3 ANSWER:
AIM:The purpose is to create the structural model
PROCEDURE:
- Open the structural model created in previous challenge and the set the collaborate settings and save the model
- Now draw both horizontal and vertical grids properly
- Then click on columns and set them at the grids
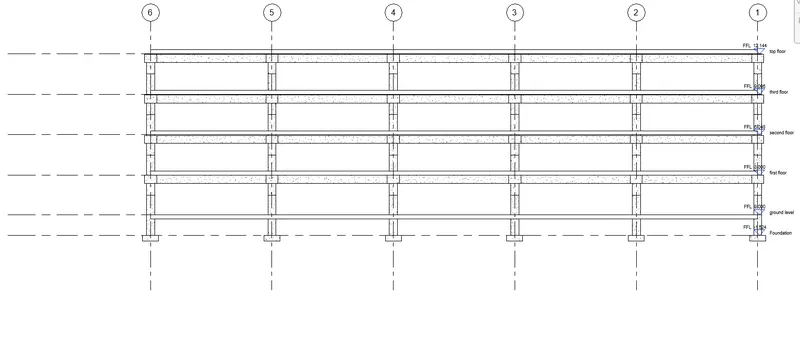
- Also set the levels as footing ,ground floor, first floor , second floor,..,roof
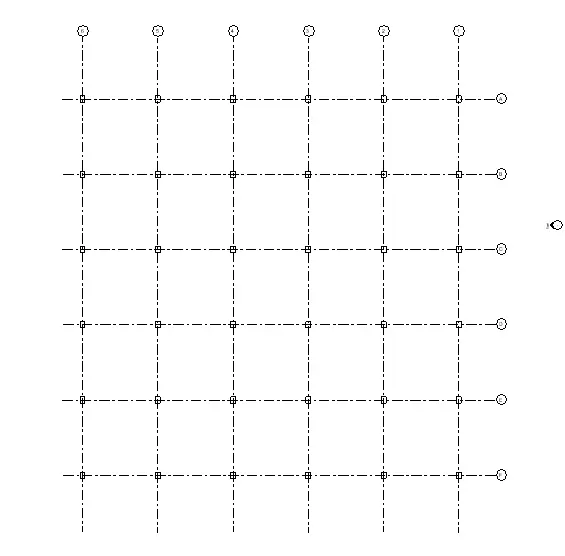
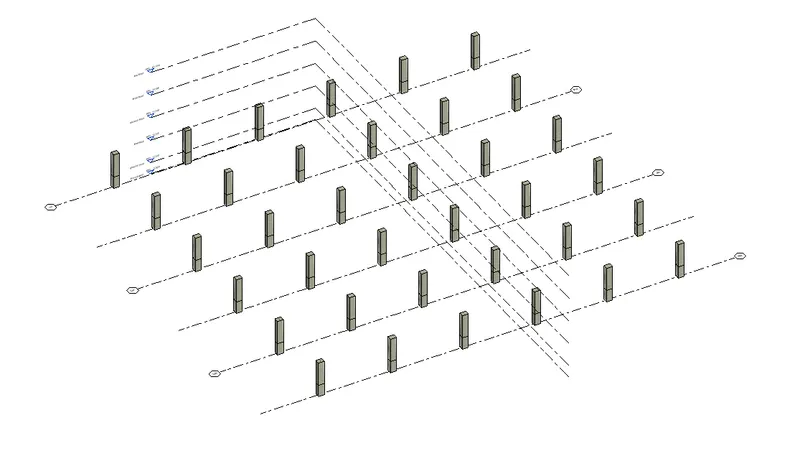
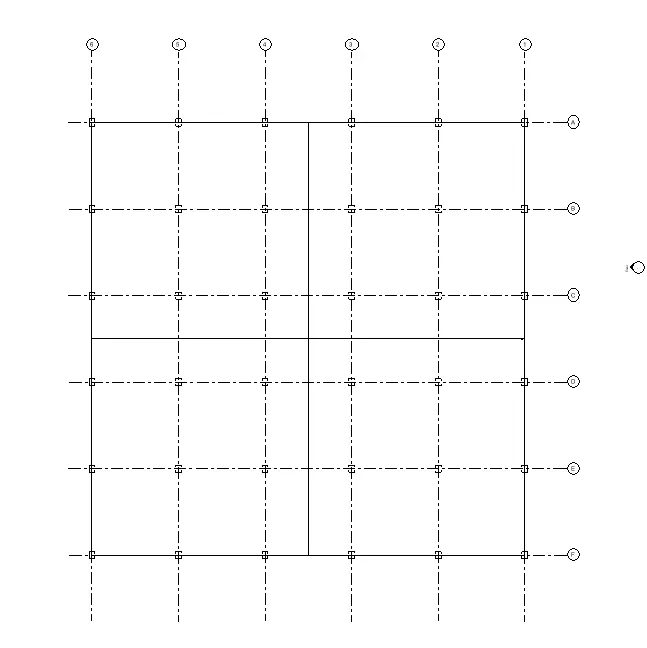
- The column sizes can also be selected from properties browser
- The constaints are set to selected levels .
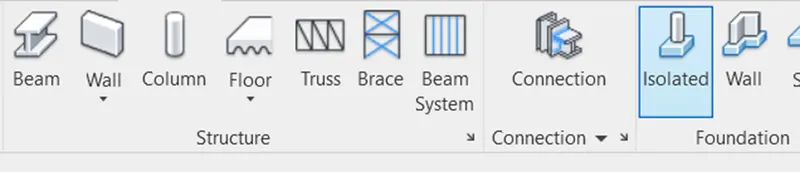
- Now click on isolated footing under structure tab and click on the columns to set the footing in foundation level
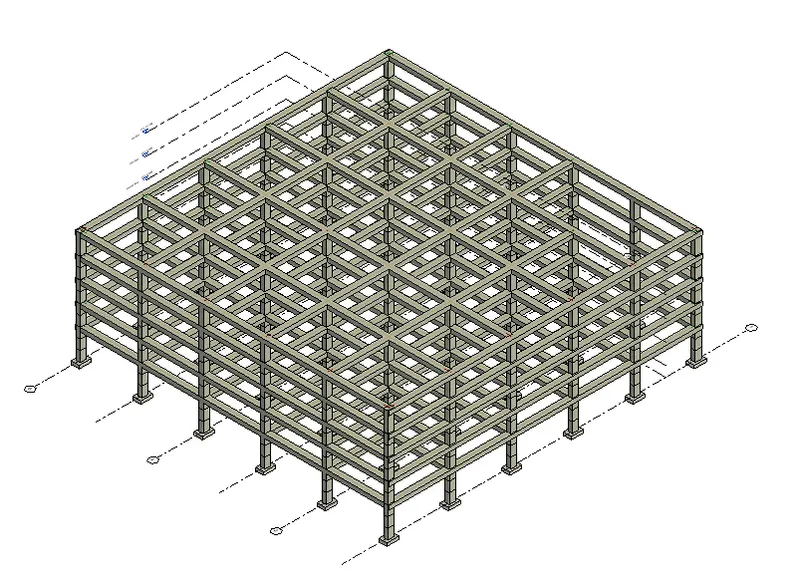
- Now click on the beams and draw them between the columns
- Then go to the ground floor view draw columns and beams and use copy paste option to copy them to selected levels
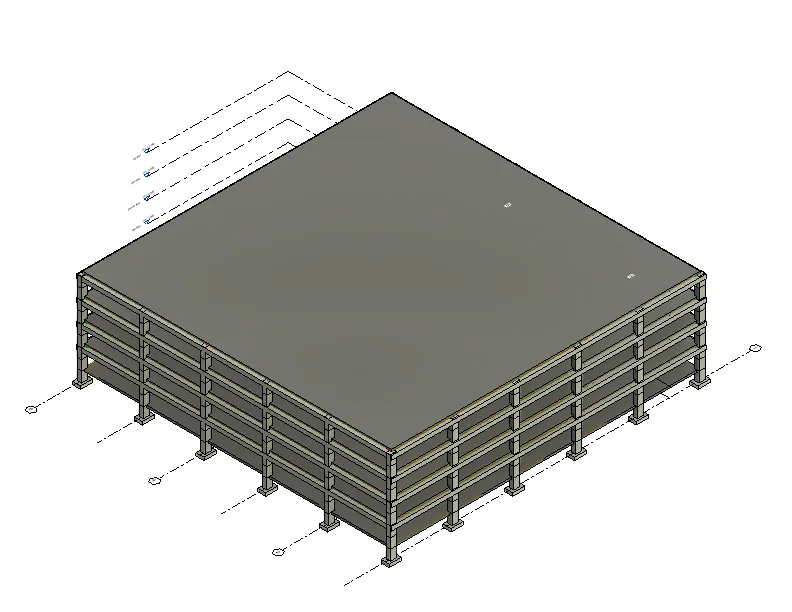
- Click on floor and draw the floor in ground floor and copy them to the selected levels
- Trusses can also can be added to the model by clicking on truss and truss system,similarly beam system and brace
RESULT:Hence structural model is created
4 ANSWER:
AIM:The purpose is to create architectural model
PROCEDURE:
- Open the architectural tab that is created in previous challege
- Set the collaborate settings in architectural model
- Now click on architecture walls and add walls to the layout created .
- Change the wall properties and their visibilty from properties tab to set a fancy finish
- Copy the grids of structural model to architectural model and aslo copy levels of structural model to architectural model
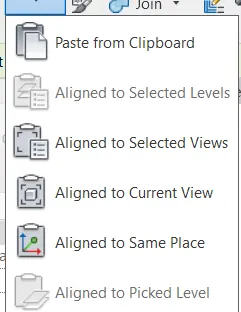
- Select ground floor view and draw the walls ,windows add partition walls and draw internal rooms and all the other components and copy them to other levels
- Also add plantings to make the model look fancy
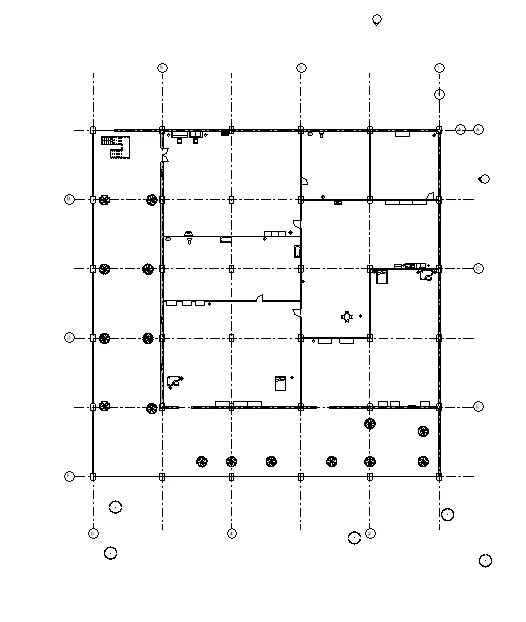
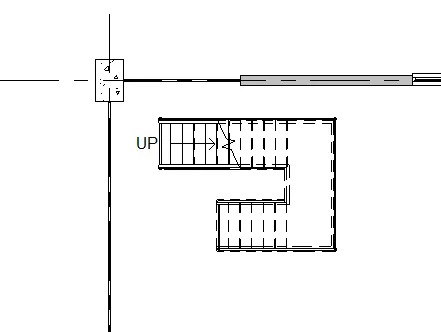
- Draw the stair case in 1st floor and connect it to other levels and click on wall openings and draw them to set the openings in staircase
- Create shaft opening and set curtain walls around stair case to get fancy finishes
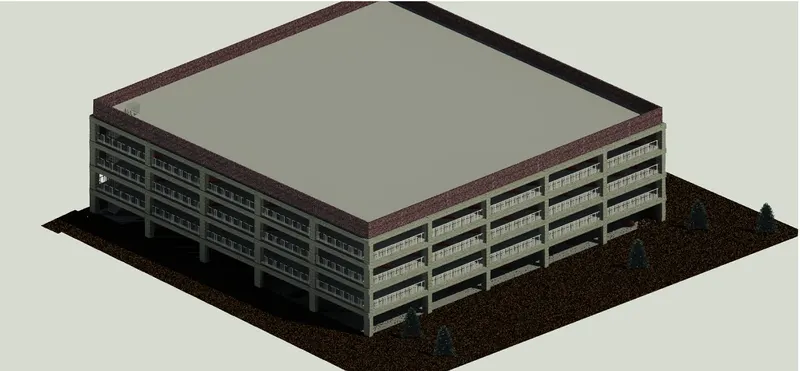
RESULT:Hence architectural model is created
5 ANSWER:
AIM:The purpose is to add Floor plans ,Elevations,and secttional views to sheets
PROCEDURE:
- Select view tab and click on sheets and create new sheet
- Now set the sheet properties from properties browser or from sheet itself
- Then right click on the sheets from properties browser and click on add view and select the views that need to be added
- Similarly crete new sheets and add necessary views to them as shown
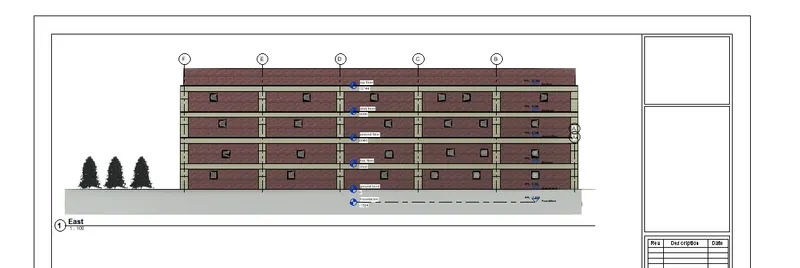
- East elevation
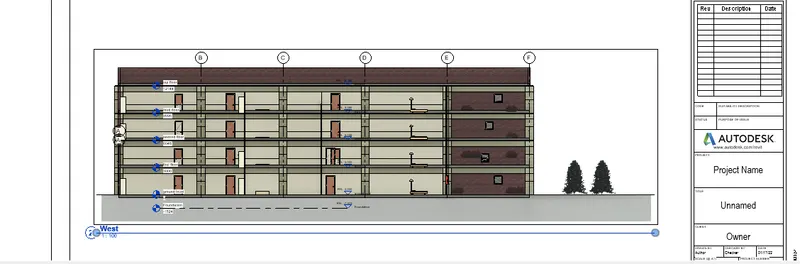
- West elevation
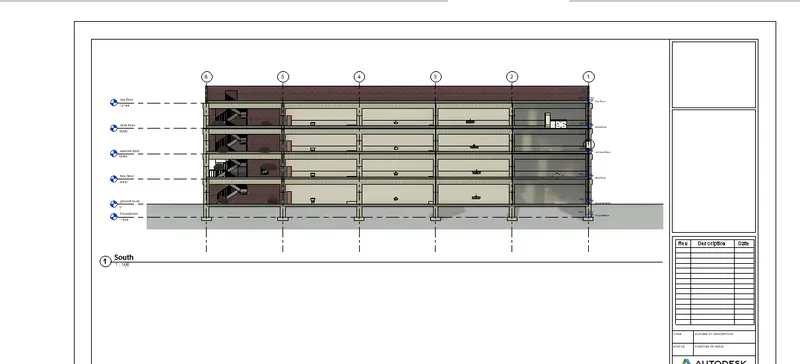
- South elevation
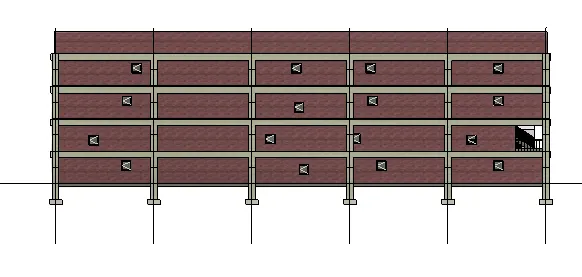
- North elevaton
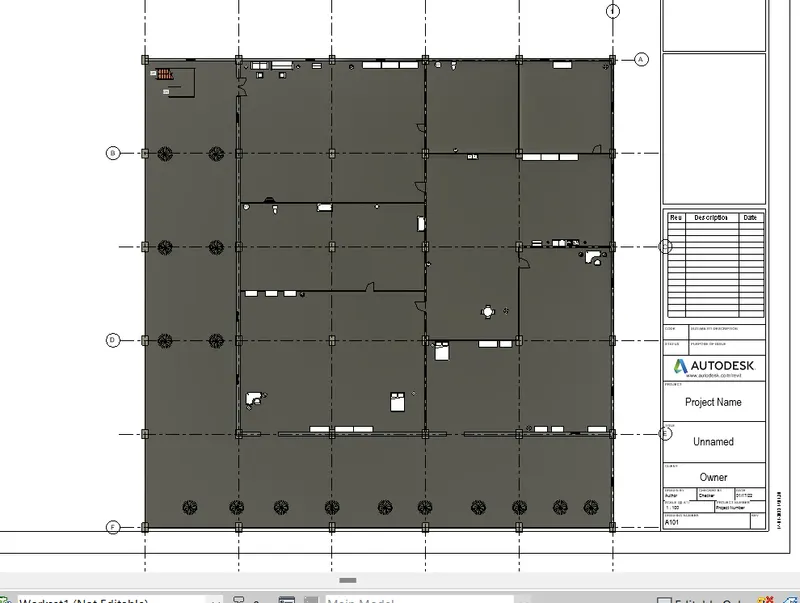
- Sructural plan structural
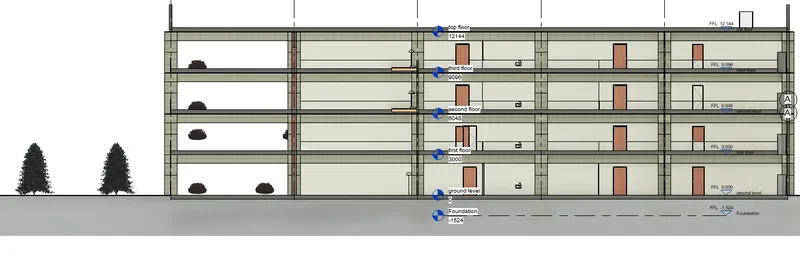
- Structural plan architectural
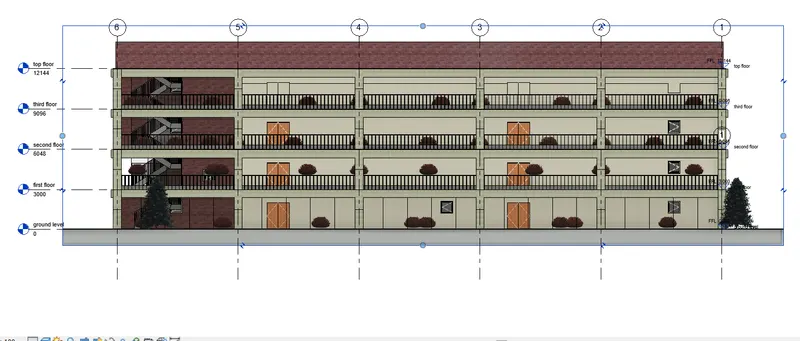
- sectional view-1
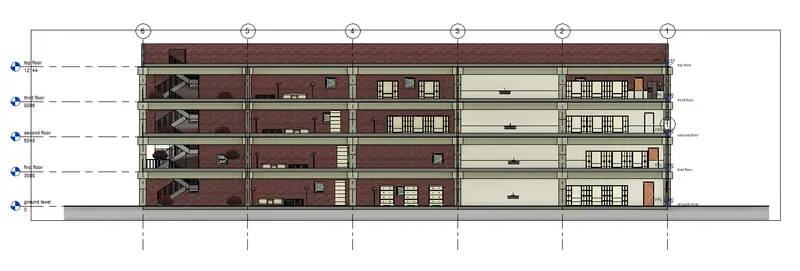
- sectional view 2
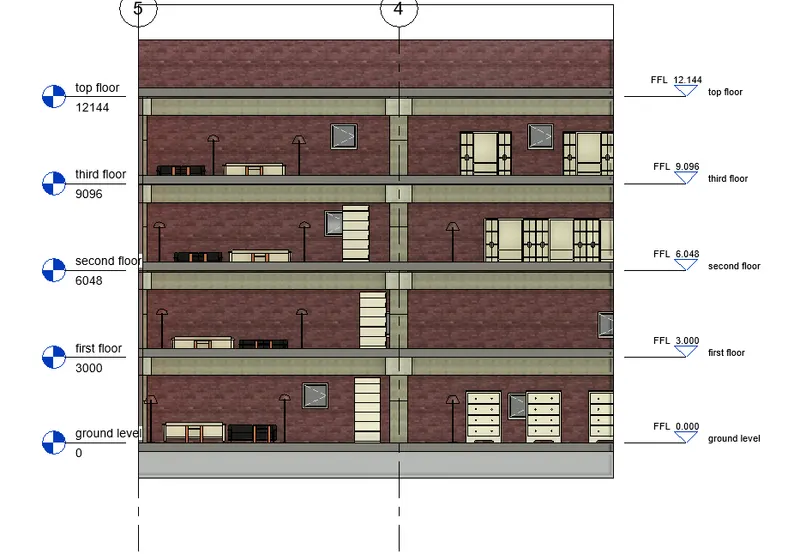
- sectional view 3
RESULT:Hence Floor plans ,Elevations,and secttional views added to sheets
6 ANSWER:
AIM:The purpse is to add Rendered views to our sheets
PROCEDURE:
- Select view tab click on camera in 3 d view
- Place the cameras in different rooms
- Now go the respective view and render the views and add them to sheets
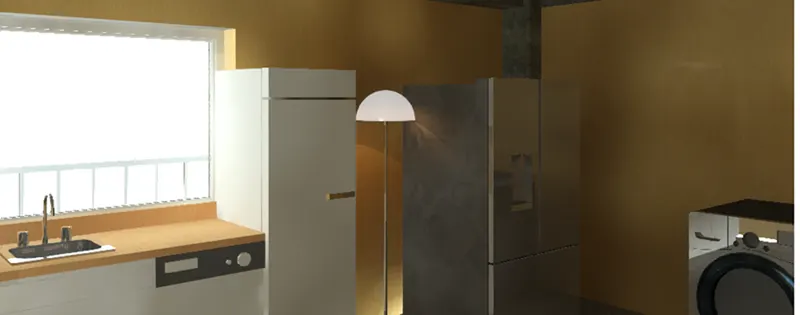
- kitchen
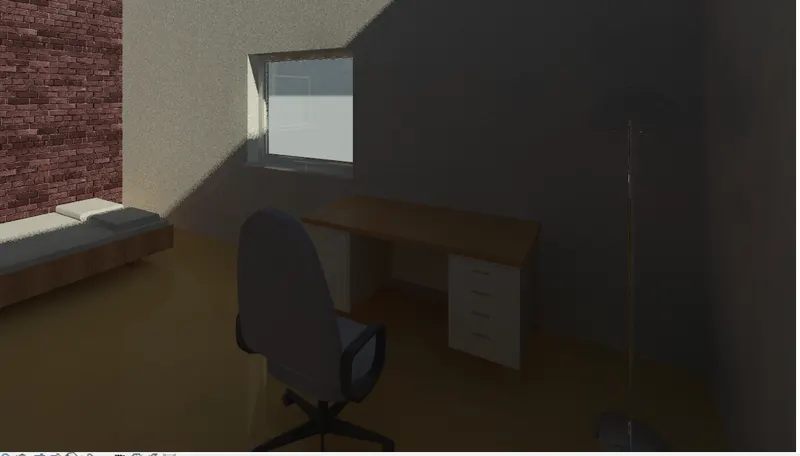
- bed room
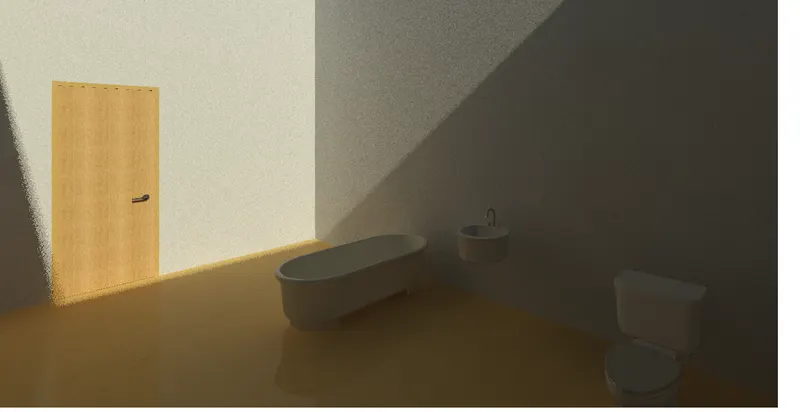
- bath room
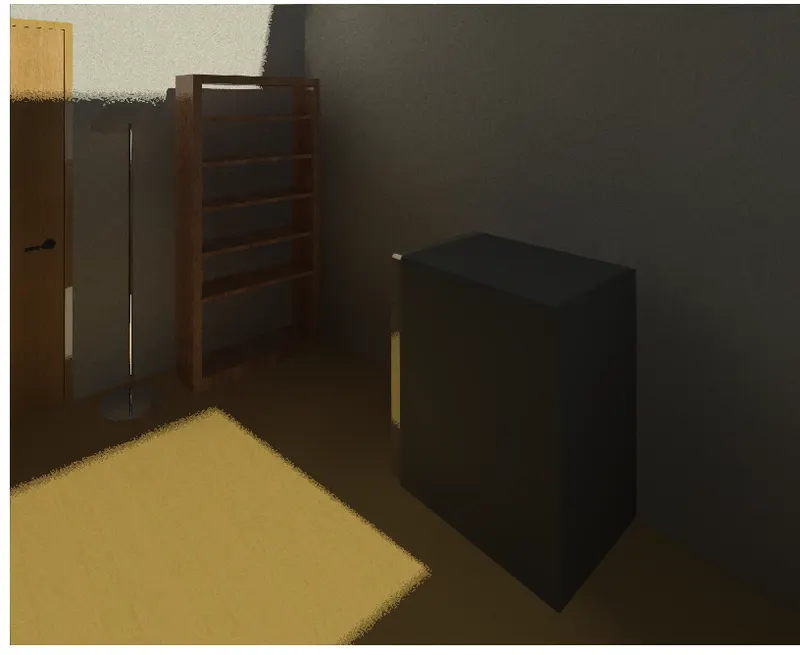
- washing area
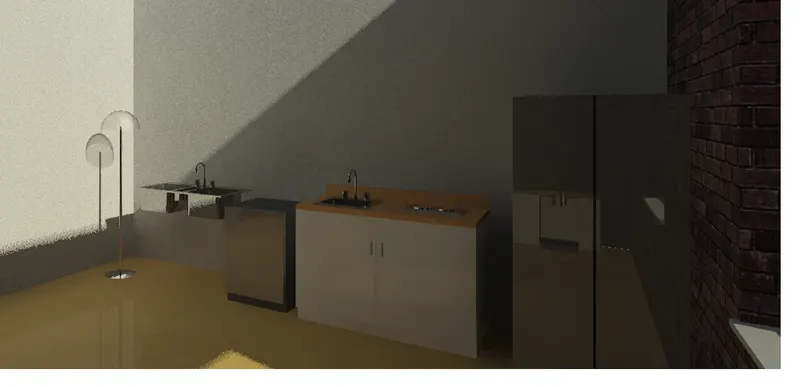
- kitchen
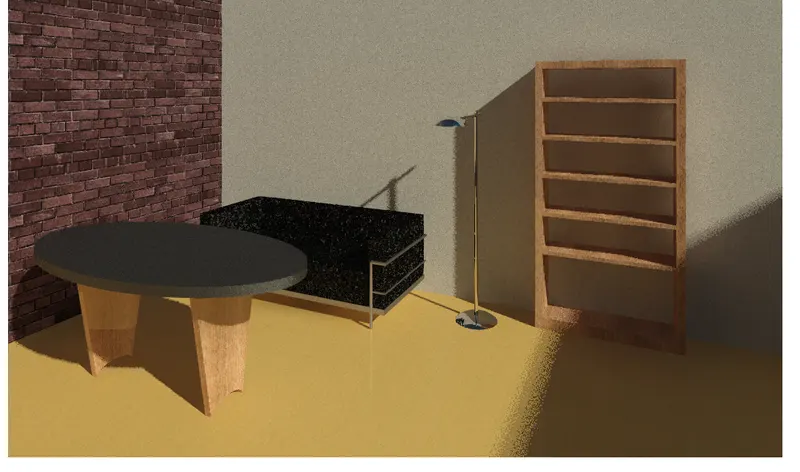
- living area
- topographic view
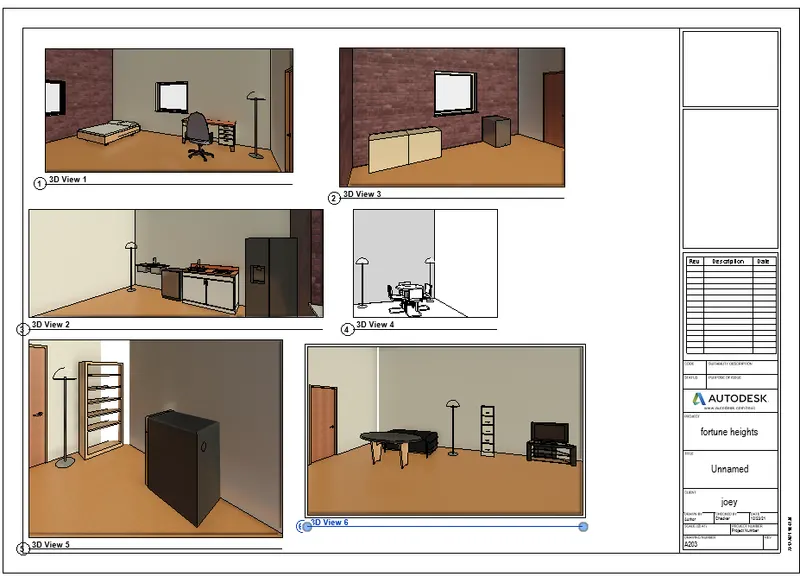
RESULT:Hence views are rendered and added to sheet
7 ANSWER:
AIM:The purpose is to Print the set of drawings created and submit the drawings from our models
PROCEDURE:
- Open the sheets that are created and click control + p
- Adjust the print settings and click ok
- Similarly Print all the sheets from the model
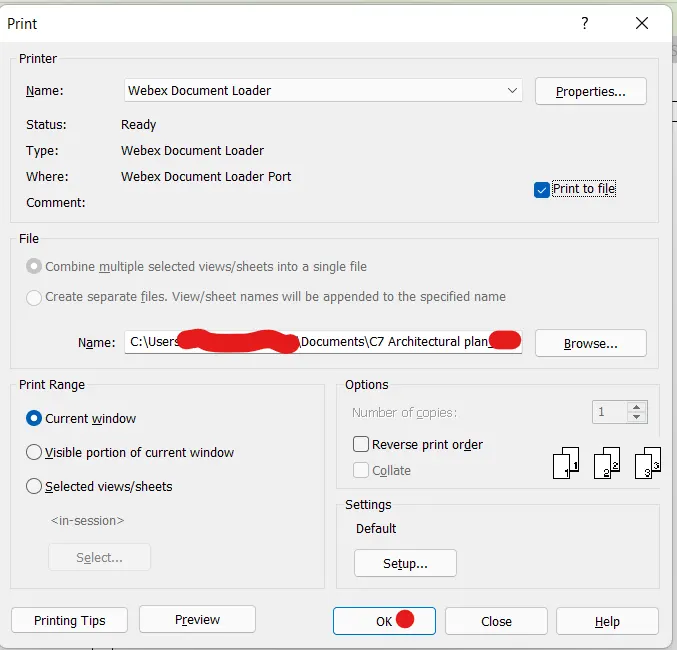
RESULT:Hence the sheets are printed and ready to submit