Creating a Residence Layout, Seating plan, Toilet and Utility room plan using AutoCad
1.
AIM: to draw the gven residential plan in detail
INTRODUCTION:
Residential layout is ideal for students and practitioners of urban design, planning, engineering , architectureand landscape seeking a comprehensive guide to the theory and practice of designing and laying out residential areas.
COMMANDS USED:
- limmax command
- limits command
- zoom command
- line command
- dimlinear command
- dimstyle command
- units command
- text command
- LW command
- extend command
PROCEDURE:
- first open the autocad, then we have to select the limmax command tor max limit of the autocad drawing screen
- and select the limits command for min limit of the autocad screeen
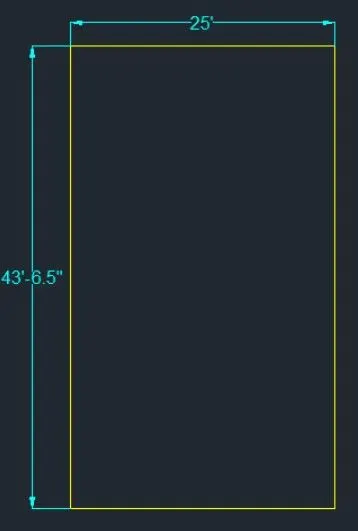
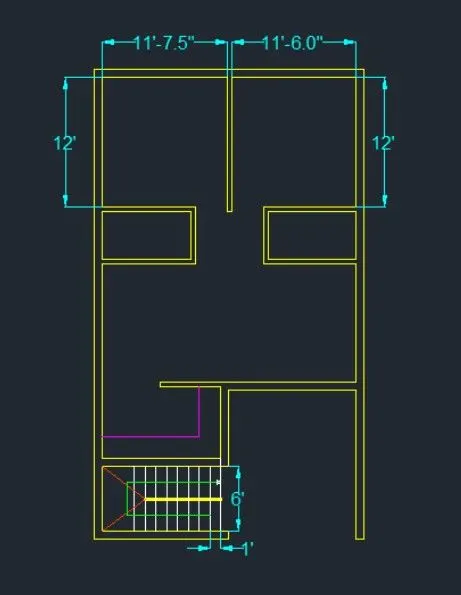
- first we have to enter the line command and draw the line in y direction of length 43'-6.5"
- next draw the line in x axis with the length of 25'
- next continue in -ve y axis of length 43'-6.5"
- join the line in -ve x axis of length 25'
- CLOSE
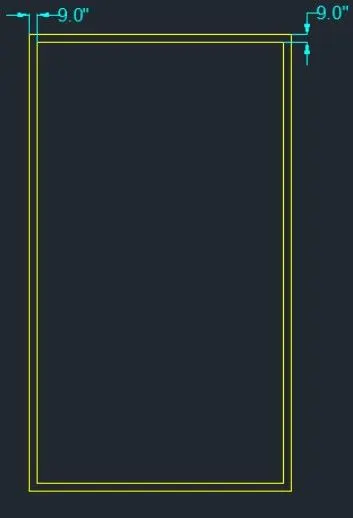
- command offset: select the lines of drawn rect and offset to 9"
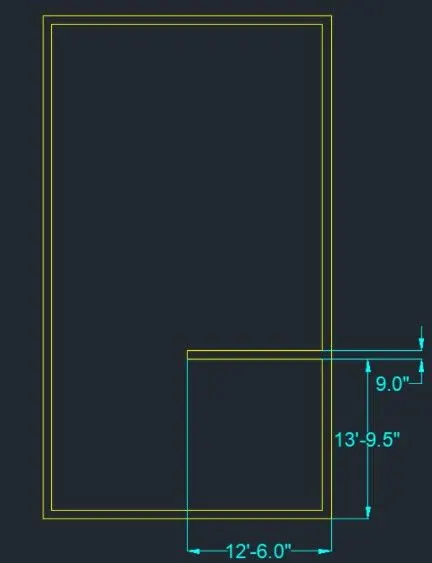
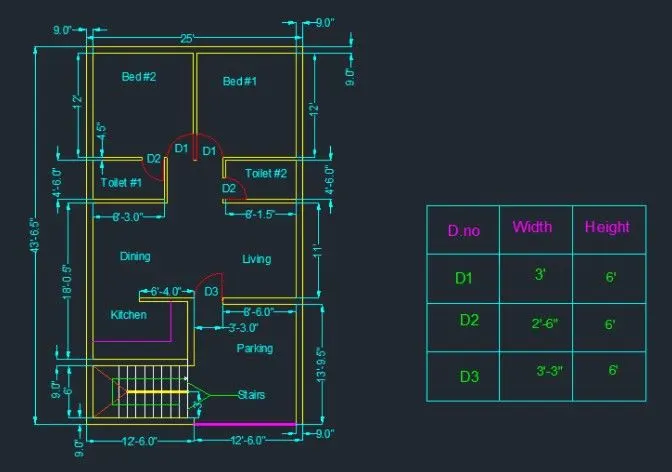
- next mark lines for the portigo area or parking area of length 11'9" and width 13'-9.5" from the dist of 12'-6" from left
- command trim: select trim and trim the entrance part for 12'-6"
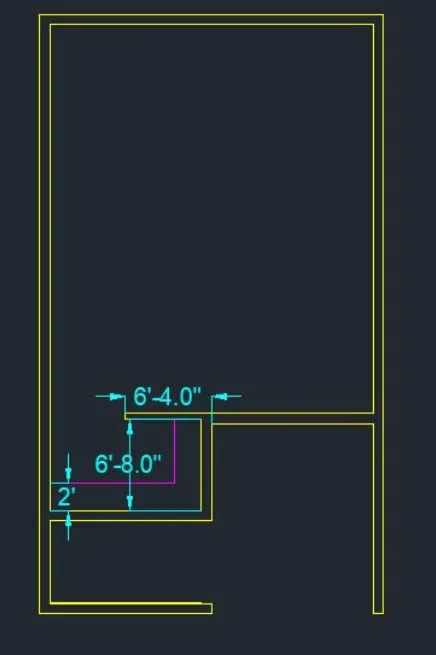
- next offset the wall up to length 6" and offset the line to 9.0"
- draw a vertical line of length 6'-8.0" from previous line and drae line in -ve y axis of length 6'-4.0" to create the kitchen ronom
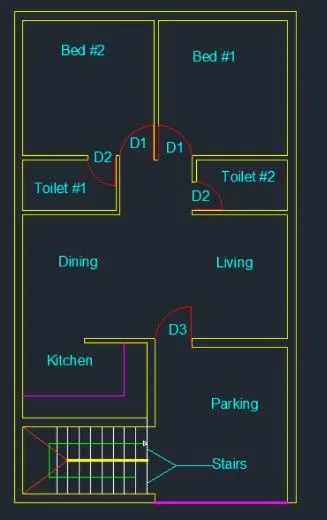
- draw the toilet room of length 8'-3" and width 4'-6" wuth line cimmand and offset command
- draw another toilet room with length 8'-15" and width of 4'6"
- draw the bed room 1 of length 11'-7.5" ad widgth of 12'-0" using line command and offset command
- next draw the another bedroom 2 with length of 11'-6" and width of 12'0"
- draw stairs at left of portigo with 1' tread and 6" raiser
- next draw the doors with the given dimensions D1,D2,D3
- and name the rooms using text command tool
- after completing doors mark all the dimensions using dimension command tool in autocad
RESULT:
The given residential plan is drawn successfully in autocad
2.
AIM:
To draw the given seating plan for an outdoor canopy in detail
INTRODUCTION:
- A canopy is an overhead roof like structure over which a fabric or metal covering is attached , able to provide shelter from weather conditions.
- a canopy can also be a tent, generally without a floor
- the sesating plan of outdoor canopy is placed in many places in hotels, reception and restaurant
COMMANDS USED:
- limmax command
- limits command
- zoom command
- line command
- dimlinear command
- dimstyle command
- units command
- text command
- LW command
- extend command
- ARC COMMAND
PROCEDURE:
- open the autocad and select the limits of lower lef and upper right corner
- unit command: select the unit command and set the units to decimal and precision 0.00
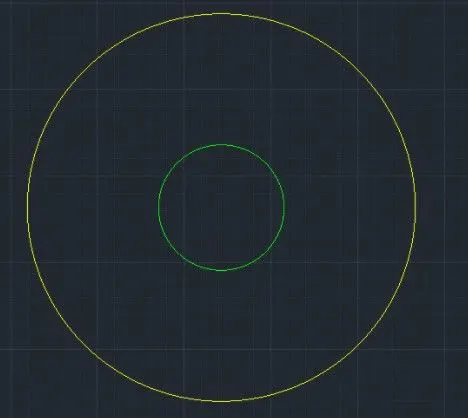
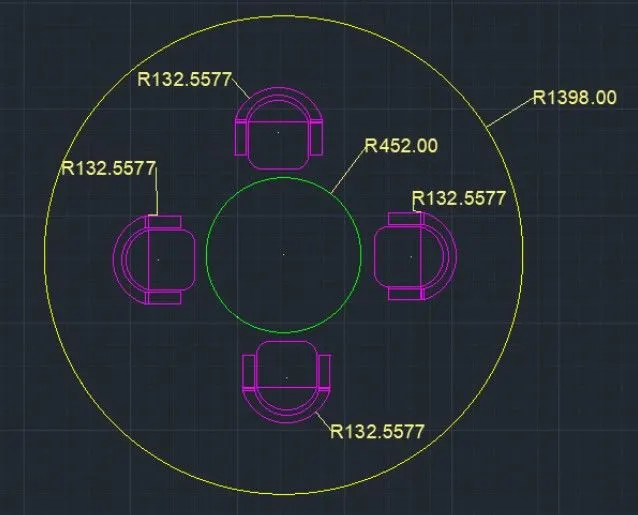
- command circle: draw a circle of radius 1398.00
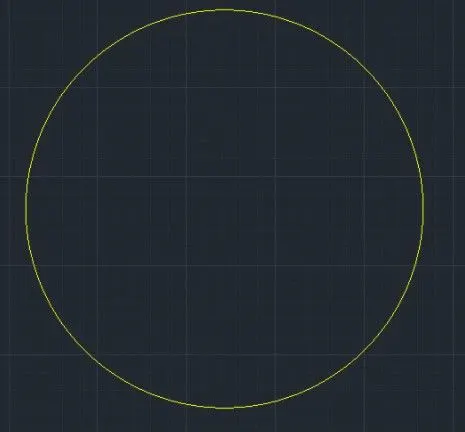
- command circle: draw a circle of radius 435.00 inside the circle
- create a rect inside the first circle , then we have to enter the fillet command and select the rect corner
- create an arc at the left corner of the rect
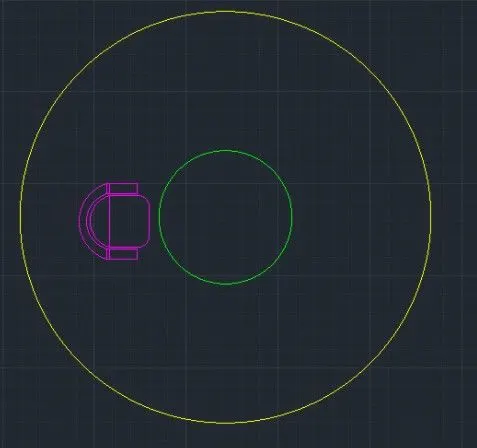
- create two rect at both sides of previus rect
- draw an rect at left side of rect, make an arch with the third rect
- finally the seating was created
- mirror command: select mirror command and select the object to be mirrored
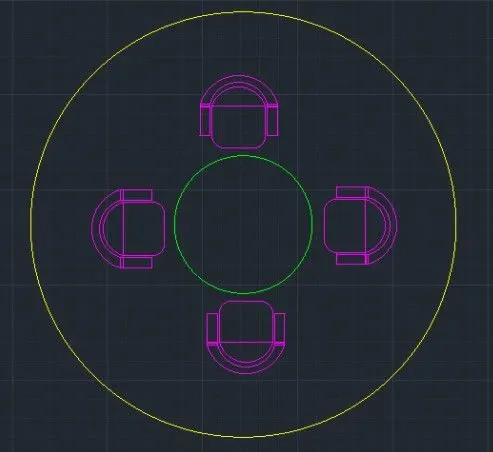
- by selecting the reference point at center of the smaller circle enter number of times the object to be mirrored as 4
- command dimension: mark the dimensions for all the drawn objects
- CLOSE
RESULT:
the given seating plan for an outdoor canopy is drawn successfully in autocad
3.
AIM:
To draw the part for the toilets and utilities in detail
INTRODUCTION:
- a toilet room usually consists of obviously a toilet, lavatory, and all small accessories, such as grab bars and dispensers
- there are many layouts of this type but we will explore one very simple design and the code requirements for ech aspect
- the utility room has several uses but typically functions as an area to do laundry
- this room contains laundry equipment such as washing machne, tumble dryer, ironing board and clothes iron
- the room is also used for closet organisation and storage
- the room would normally contain a second coat closet which is used to store seasonal clothing such as winter coats or clothing which are no longer used daily
COMMANDS USED:
- limmax command
- limits command
- zoom command
- line command
- dimlinear command
- dimstyle command
- units command
- text command
- LW command
- extend command
- ARC COMMAND
PROCEDURE:
- select the limits to lower left and upper right corner
- next select the unit command for setting the units as decimal and precision as 0.00
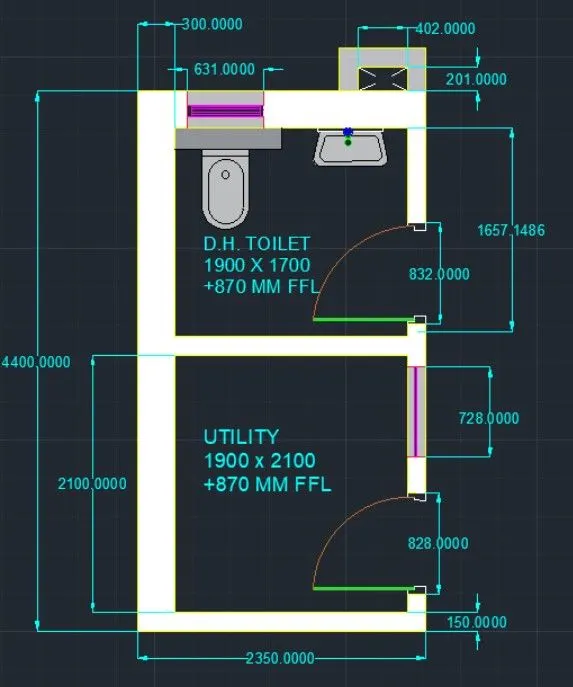
- line command/; draw a line of length 2350mm at x axis
- then draw a line in y axis with the length of 4400mm
- draw a line in -ve x direction with the length of 2350mm from previous point
- now draw a line in -ve y direction from previous point with length od 4400mm and close the rect.
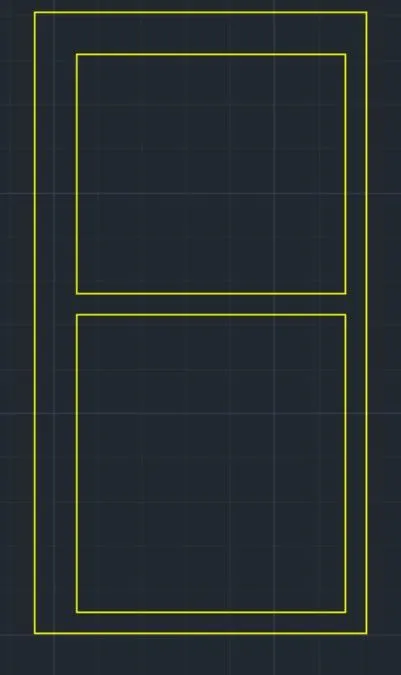
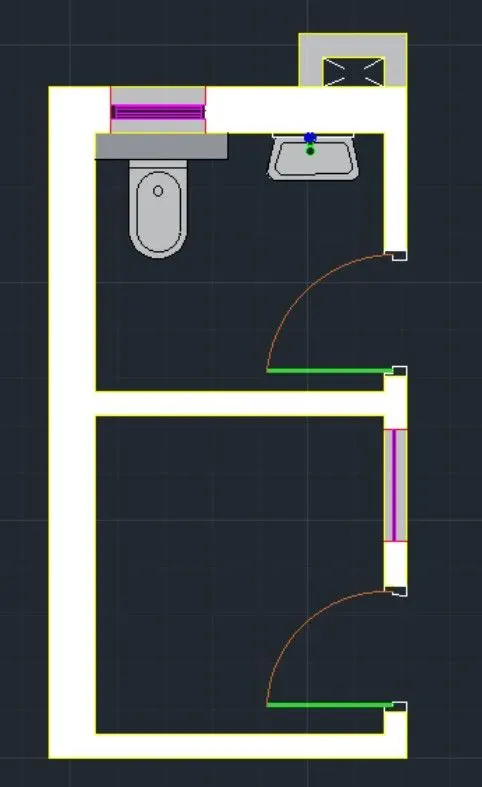
- next create the door and window in utility room
- we take the length of the door in utility room is 828mm and width of 828mm
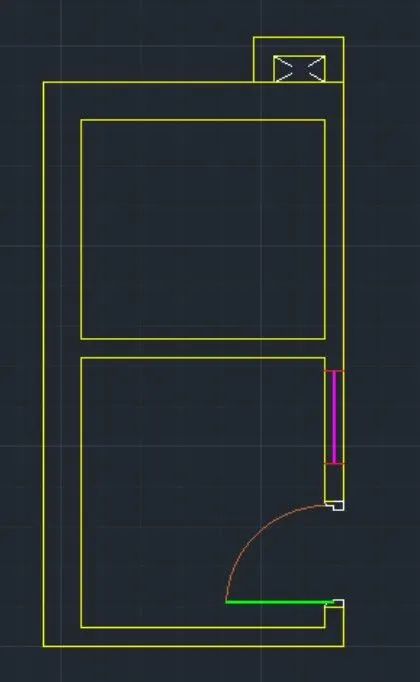
- create a window in utility room of dimnsion 728mm
- now create door and ventilator in toilet room
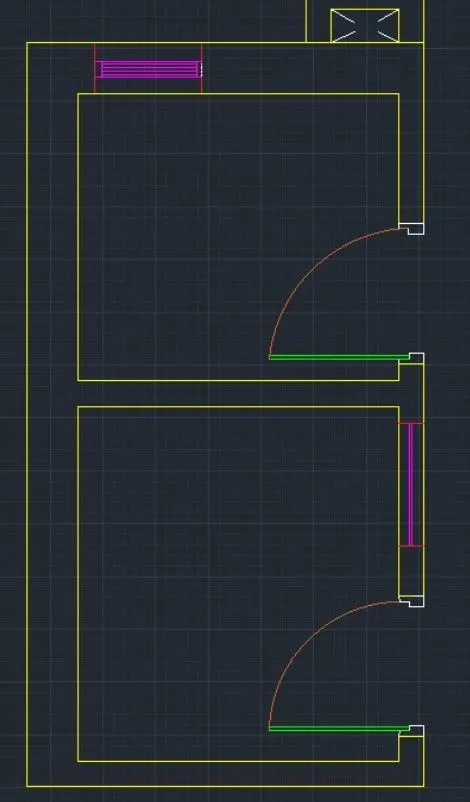
- take length of the door i toilet room as 832mm and width is 832mm
- create the ventilator in the toilet room of length 631mm
- draw the toilet basins and wash sink in the toilet room
- using rect, fillet, and arc command create basins and wash sink required
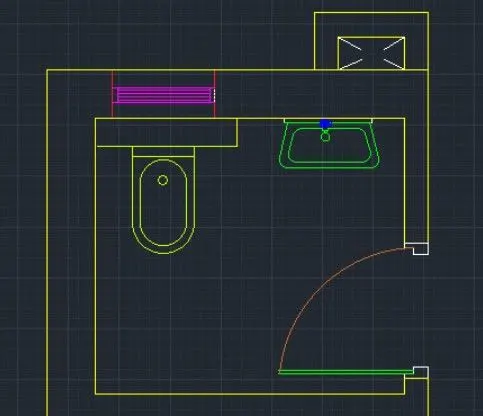
- hatch command: using hatch command hatch the walls and windows for highlighting it.
- after completing all the required objects using domension tool mark all the dimensions of drawn object to know their values easily
- CLOSE
RESULT:
The given part plan for the toilets and utilities room is drawn successfully in autocad.