Challenge 9 : Project : Technical Surfacing Kia Sportage
- Title:
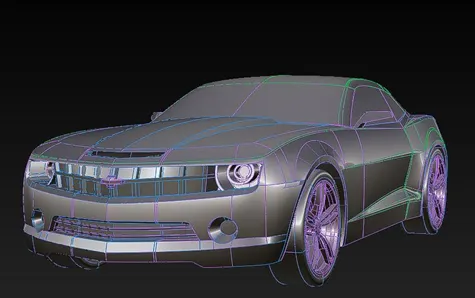
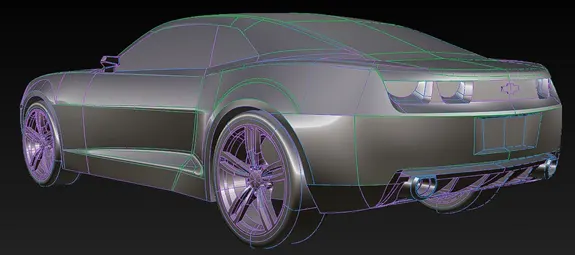
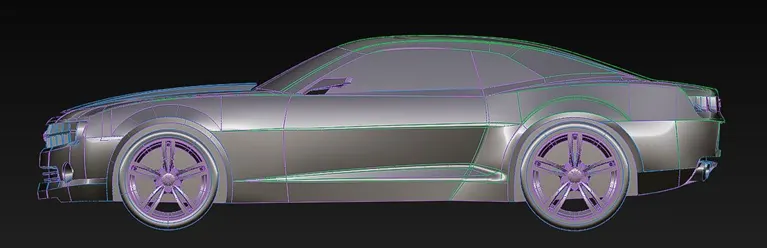
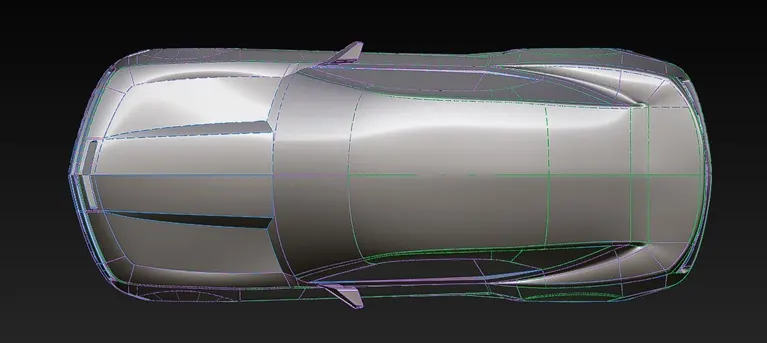
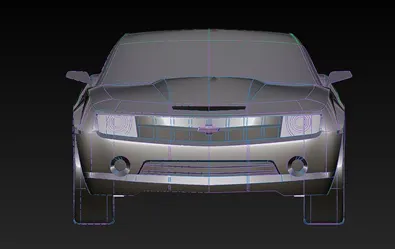
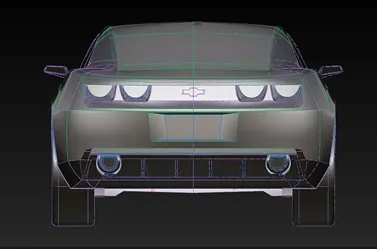
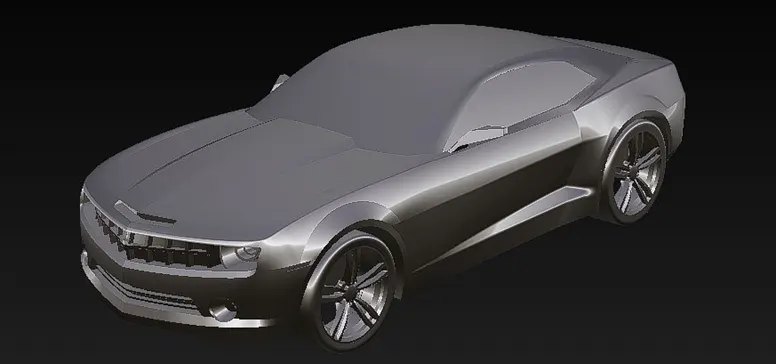
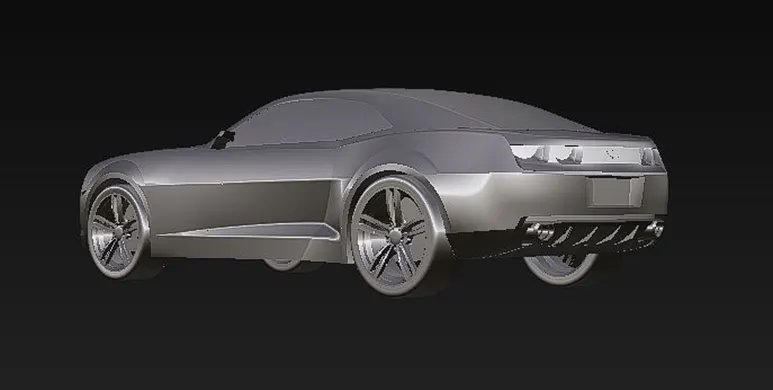
Modelling of Chevrolet Camaro SS (2010)
- Objective:
Surfacing a Car using Side, Top, Front, Back view image and prospective view as a reference
- Introduction:
Firstly, we have to setup the blueprint images and understand the prospective image and imagine it in 3d, then to create a surface in Autodesk Alias we have to use sone command like Skin, Rail, Profile, Square. To use these commands, we need some curves or lines. By tracing the prospective view and edit those curves for 3d view we create a curve network and then surfacing it. Then to Create details wo create a patch and then edit to those. At last, to soften the edges we filleting the surfaces.
- Design methodology:

- Description:
In this assignment for surfacing a Bugatti Veyron I used different types of tools, those are
- Skin Command –

In this Command we use two (or more curves but to select more curve than two we have to select all curves holding down the shift button) curves to generate a surface. We can give crown on surface generated.
- Rail Command –

In this Command there are different types of option
- One generation curve following one rail curve
- One generation curve following two rail curves
- Two generation curves following one rail curve
- Two generation curves following two rail curves
- More than two generation curves following one rail curve
- More than two generation curves following two rail curves
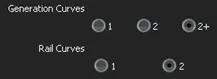
# generation curve is from which the surface will follow its path and rail curve is on that surface will generate
- Square command –

In this Command we use Four curves to generate a surface. All the curves must be connected and we can control the blend and tangency in surface generated
- Project Command –

In this command we project a previously drawn curve to a surface for trimming or detaching it from the surface.
- Trim Command –

In this command we remove unwanted surfaces from a surface by using curves on surfaces. Here we have option for project also.
- Align Command –

In this command we align a surface with its conjugate surface keeping a tangency (G0, G1, G2, G3).
- Surface Continuity Command –

In this command we check continuity between two surfaces it could be G0, G1, G2, G3.
- Intersect Command –

In this command we project a surface to another surface and create a curve on surface to trim it or detach it.
- Surface Fillet Command –

This command creates transitional surfaces between two or more surfaces. We can control the amount the transition and the continuity of the surfaces.
- Draft Command –

This command creates one or more ruled surfaces (called draft) from one or more edge. We can control the length of the surface and angle of the surfaces needed.
- Trim Convert Command –

This Command trimmed a surface and changes its CV structure in 3D
- Conclusion:
We have to maintain the surface flow in the model by visualisation and edit it wherever needed. At last, it should flow smoothly. And for detailing the surface we can create a new patch or edit the old one.
- Work Samples: