Challenge 4 : Concept Modelling of Alloy Wheel
Concept Modelling of Alloy Wheel
Objective: To Design and analyze the surface geometry of a Car wheel alloy
Introduction:
In this project, i will be modelling an alloy wheel of a car using alias using curve structures and continuous surface approach. It will help to practise surface generation from a 2d figure by assuming the depths and overall shape of the object. For a typical type of alloy, we can see that they are a combination of multiple similar shapes also known as spokes. So the modelling part mainly includes the generation of a single spoke of the required shape followed by symmetry and copying the shape in a revolving manner.
Design methodology/approach:
setting up the workspace > importing of the canvas image into alias > generating simplest geometries and setting them according to assumed depth > tracing out the structure of wheel > surface generation and alignment correction > mirroring and symmetrical copying > analyzing and finishing.
ASSIGNMENT 1
Description:
For a Shape like wheels, it almost includes less work compared to other types of objects because of the symmetrical behaviour of the shapes. In this particular design, i use a reference of a car wheel as shown here.
Step 1: Arrange the workspace to orthographic view and selecting the front view as my point of view to create the shape. Then importing the reference image as a canvas image and setting it's transparency as .5 using the marking menu, plane editor.
Step 2: in this phase, i'm trying to study the overall proportions of the wheel and then making some circles with a common pivot point that is assigned to the centre point of the grid. By looking into the reference we can see that the alloy is a combination of 5 similar shapes and each shape can be split as symmetrical half portions. so i will be making a single half of that shape. For that, two lines are placed on the view, one is at an angle of -54 degrees from horizontal.
Step 3: Generating a curved surface on the assumed curvature in between the circles. then trimming the required part only from the surface as shown.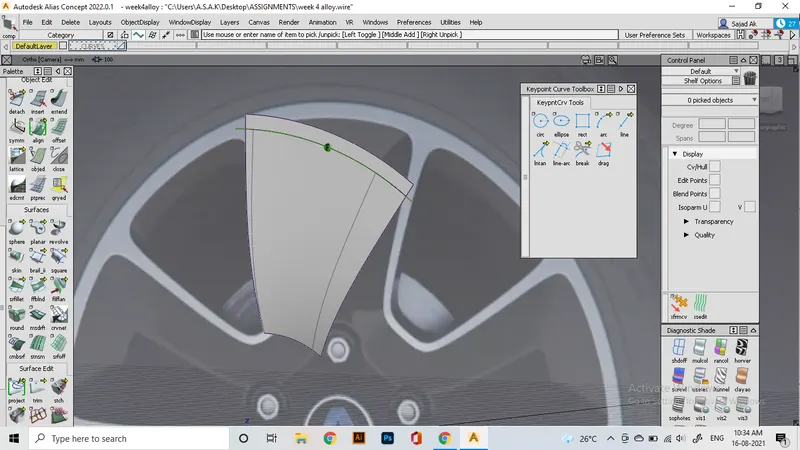
Step 4: This part will be used for tracing out the white region shown in reference. It uses the tools such as cvcurve, project, blend, detach, trim, etc. After that will make a single element of the inner surface.
Step 5: Next step is to connect the edges of each outline curves in order to make the slanted faces. normally we can use surface creation tools like skin, rail. But in order to get exact G2 curvature, it's difficult when using these tools, and also there will be problems of producing too many spans at curved surfaces.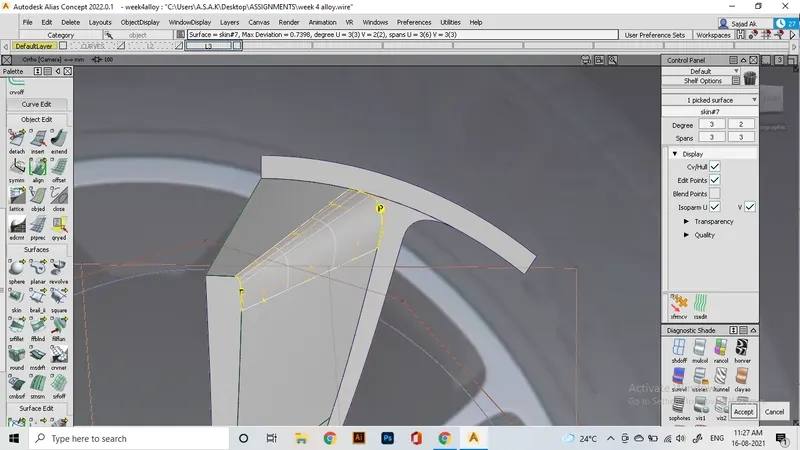
In this work i tried to minimize the no.of spans created, and i'm able to achieve 3 span curves at all possible regions without too much edge distortion.
Step 6: For the slanted faces, use align and ffblend tools to get g2 curvature with fewer spans. When using this feature, there will be disconnecting of the edges at outlines, So for correcting that, we need to do a series of processes like extending the edges of the face, untrimming the main circles, intersecting the faces, trimming the exessive areas. Check the edge alignment using srfcon tool in evaluate tab and ensure continuity.
Step 7: After that area is completed, Move on to the slanted region at the right side and repeat the processes to make similar inward surfaces. Then the required region is made as per the reference.
Step 8: use symmetry option to mirror the region about a selected axis. maybe need to use the set plane. then use layers>symmetry>create geometry to make the symmetry into a shape.
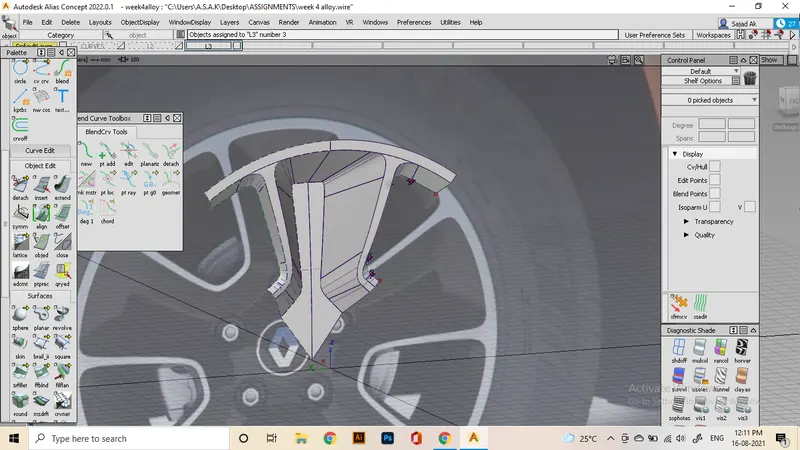
Step 10: Pick all the surfaces and assign them to a single layer. then use edit> duplicate> object to create mirrored geometry. Before that make the pivot point of all surfaces into the origin point, which our shape is going to revolve around. The angle, in this case, is 60 degree about the y-axis and we generate 5 more copies to complete the shape. Hence, the required wheel shape is achieved.
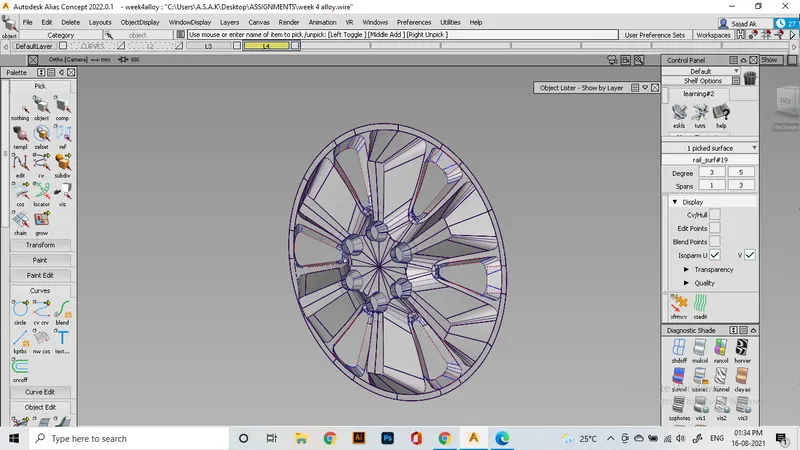
ASSIGNMENT 2
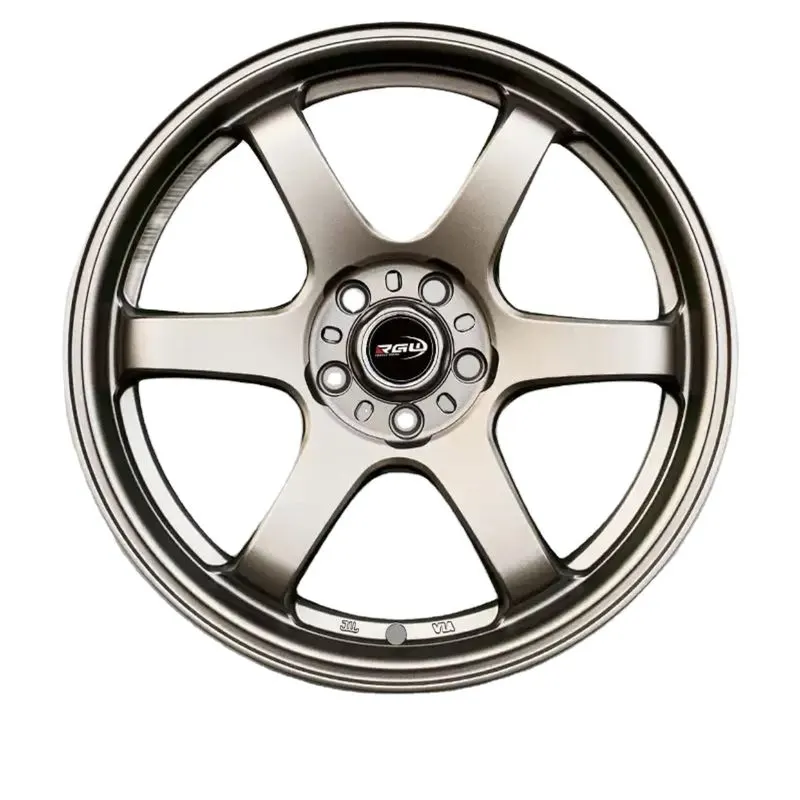
This is done for further practicing the wheel design on another type of wheel. Since Work is done for the study purpose, i'm only making the important parts of the alloy. The method used is similar to that of the above one. This is the reference i took:
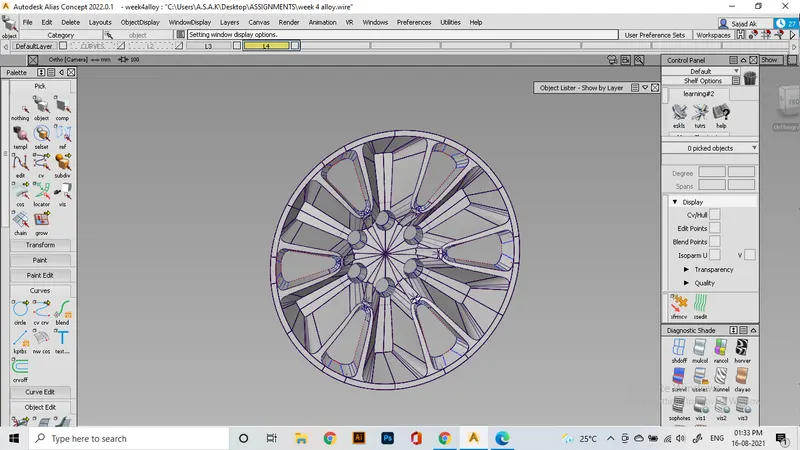
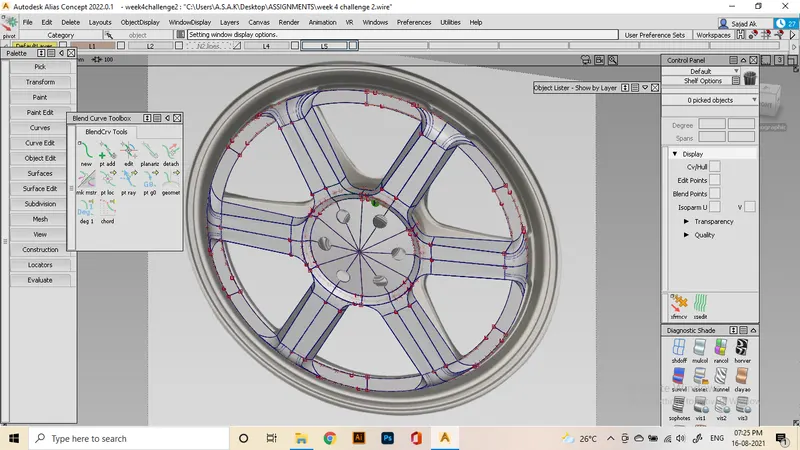
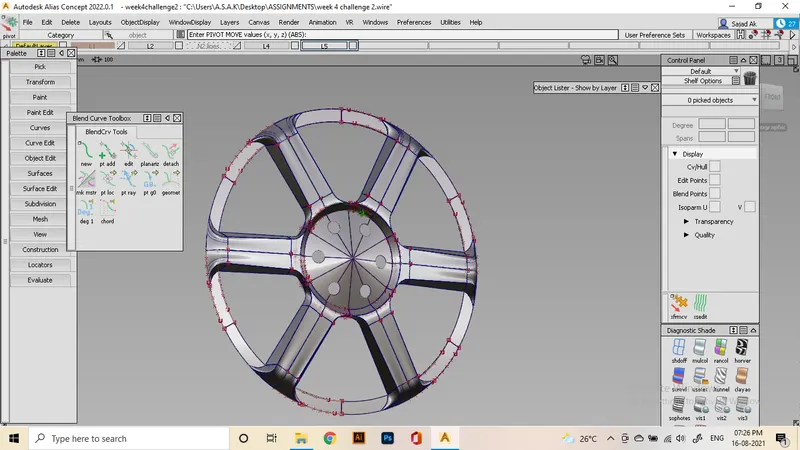
The curve structure and and surfaces i'm able to achieve is this:
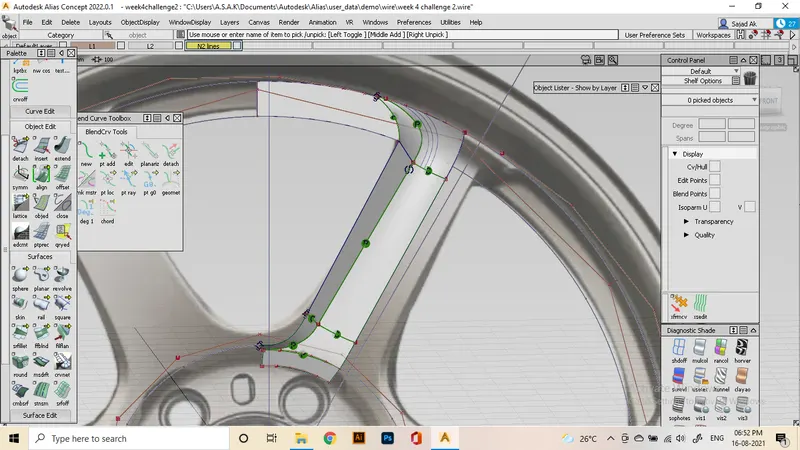
Even though it got 3 spans at a region, i can ensure the edges as positional and aligning edges as g2 continuity.
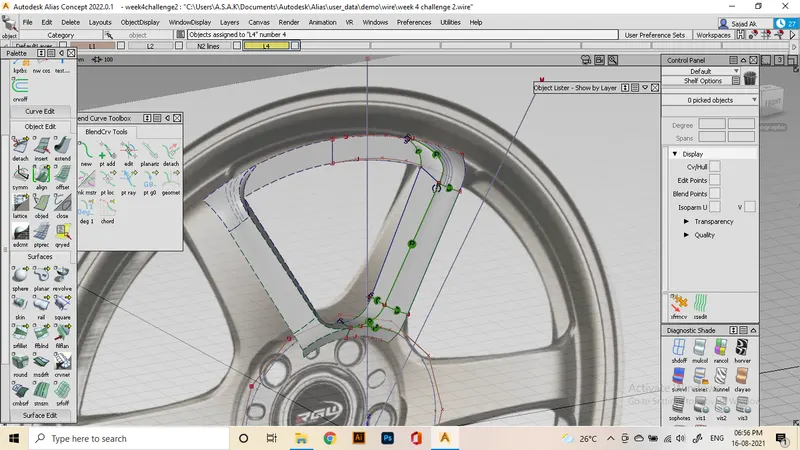
This is the final render:
CONCLUSION:
Aligning the edges of the surfaces for ensuring G2 curvature is the most time taking and destructive activity in the alias, Other than some parts of that process, Making a wheel is comparatively simple and efficient using alias. I studied the important tools and features including revolving geometries for the making of these type of objects.