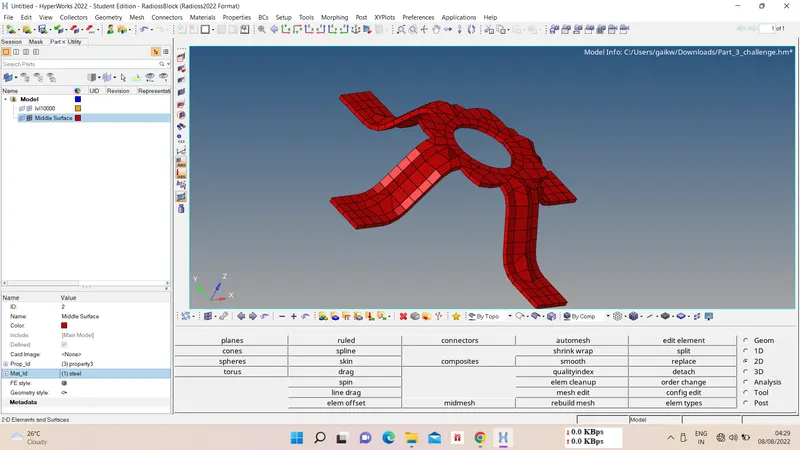
Assignment 1-2D Meshing Challenge
Aim :-
Geometry Cleanup Exercise:
Carry out the geometry cleanup operation on the given 3 files.
- Practice
- Clip Repair
- Mounting Bracket
There should not be any free edges, convert all of them into refine geometry.
- Clean the geometry.
- Extract midsurface.
- Clean midsurface geometry.
- Ignore holes less than dia 5mm.
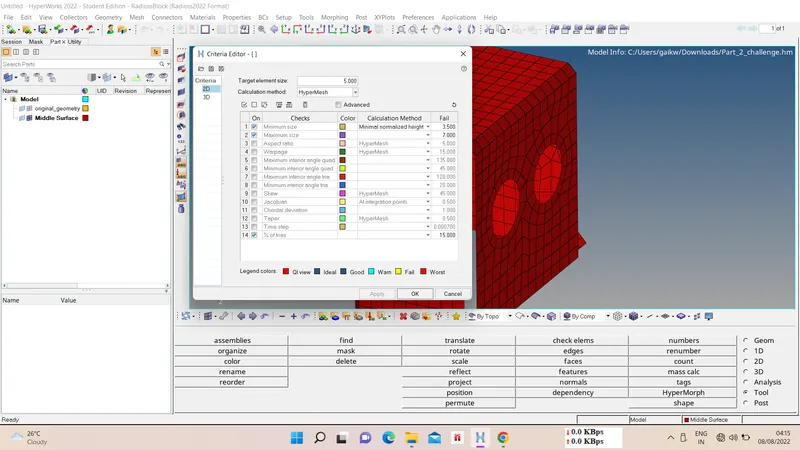
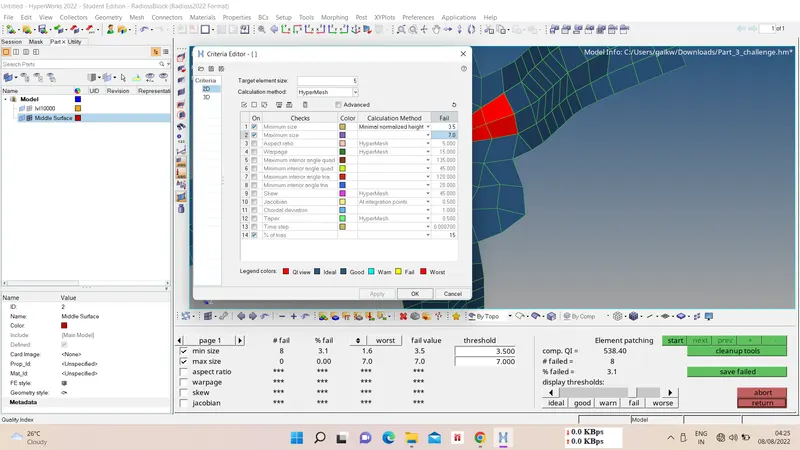
- Create 2D mesh with target length 5mm, min 3.5mm max 7mm.
- And assign proper thickness, by creating a generic property.
- Then Save in .hm format.
Ans :-
I) Part 1 :-
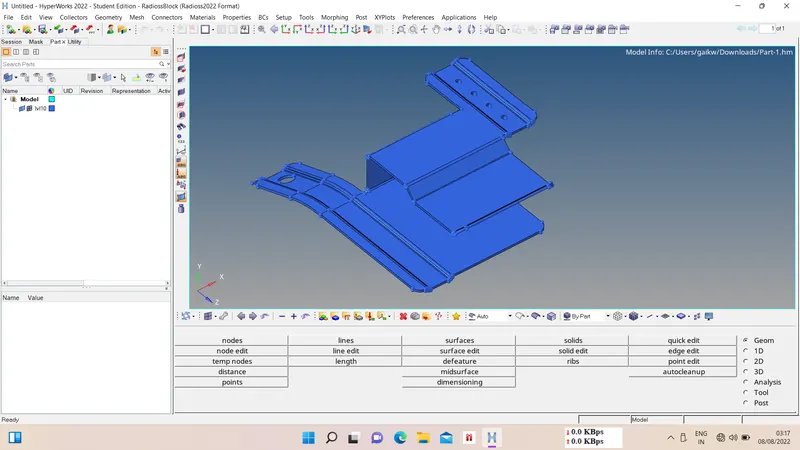
1) Model Import -
First import the model using import option from Menu.
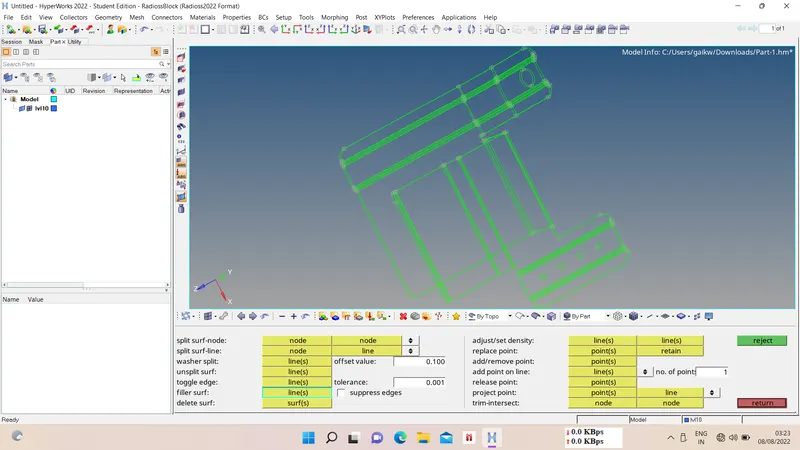
2) Geometry Check and Cleanup -
Now we have to check and cleanup the geometry for midsurfacing. For geometry cleanup we can use Quick edit panel option and Autocleanup option.
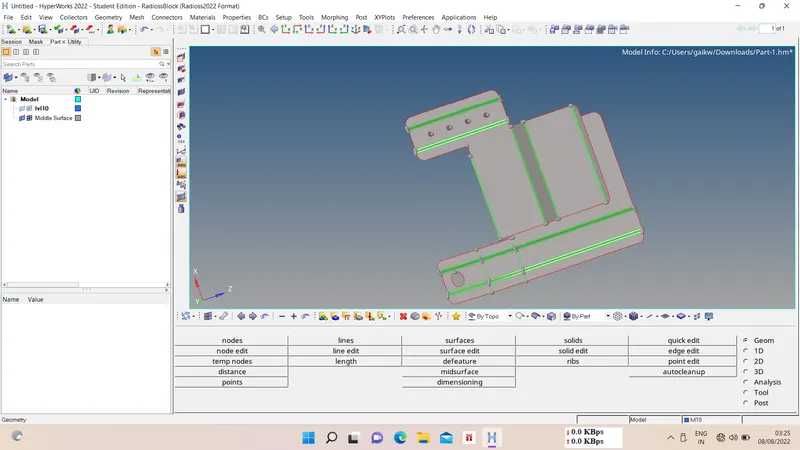
3) Midsurfacing -
Now we have to take midsurface of given geometry using automid option from midsurface option panel, we used skin+offset option here.
4) Quality Criteria -
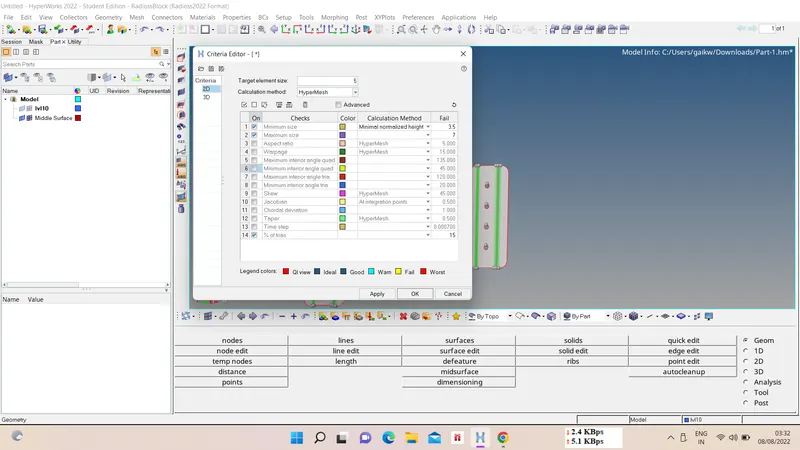
Now we have to apply given quality criteria for elements check using Criteria quality panel from preference menu option.
5) 2D Meshing -
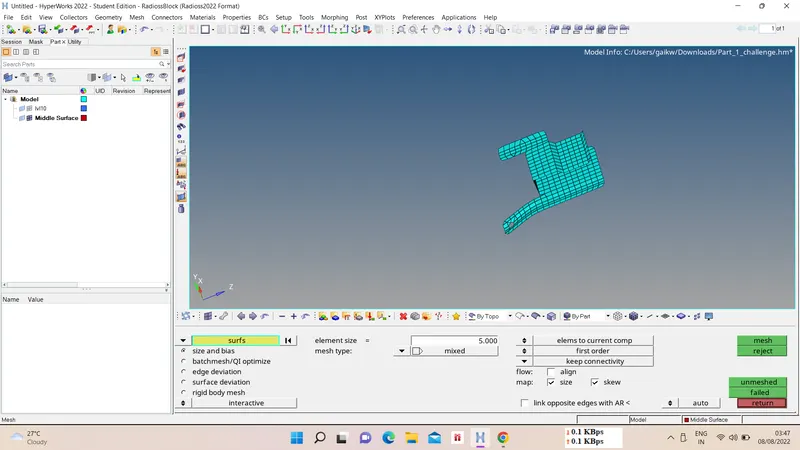
Now we gonna mesh the midsurface for element length of 5mm, for midsurfacing we gonna use automesh option from 2D panel.
6) Elems. Quality Check -
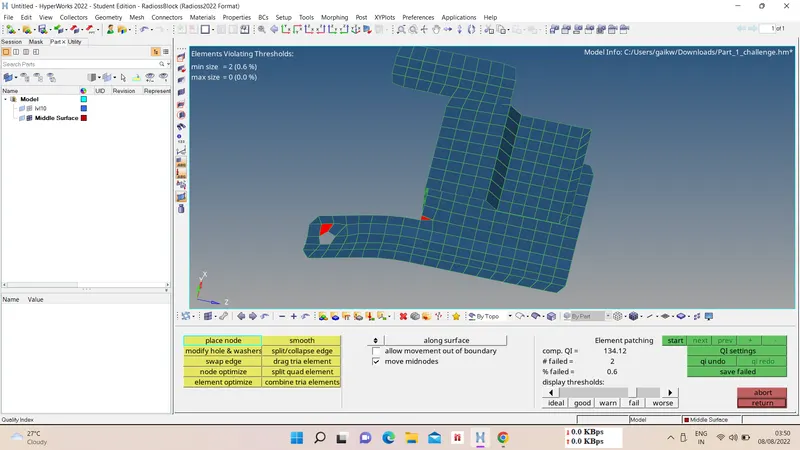
For elem. check we use quality index option form 2D menu panel, there are few elems. failling for quality cause of features.
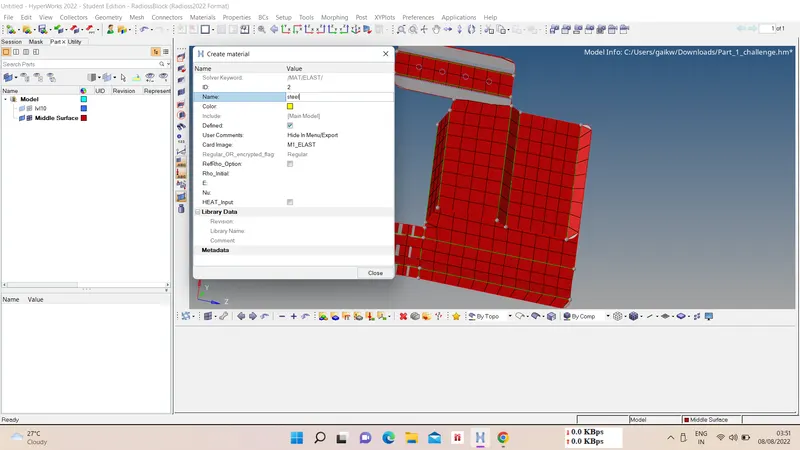
7) Material, Property and Thickness assigining -
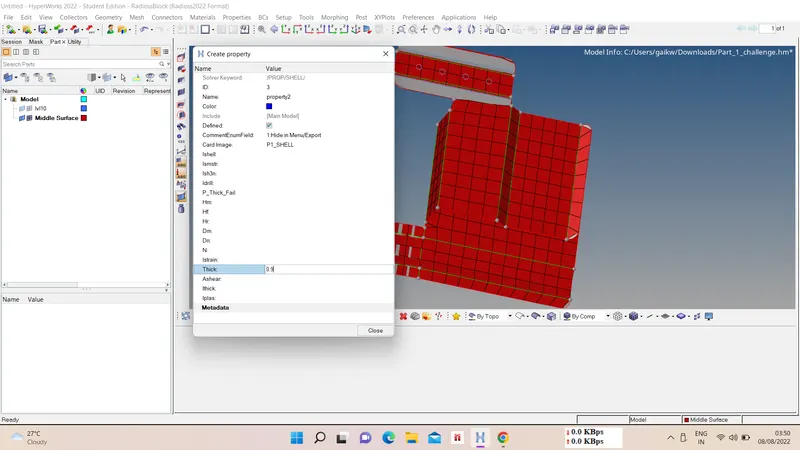
Now we will assign material, property and thickness to the meshed surface using create option.
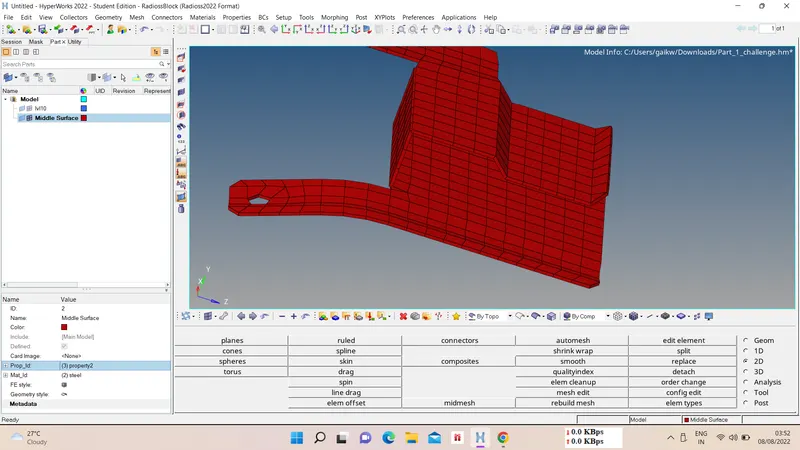
8) Final Result -
II) Part 2 :-
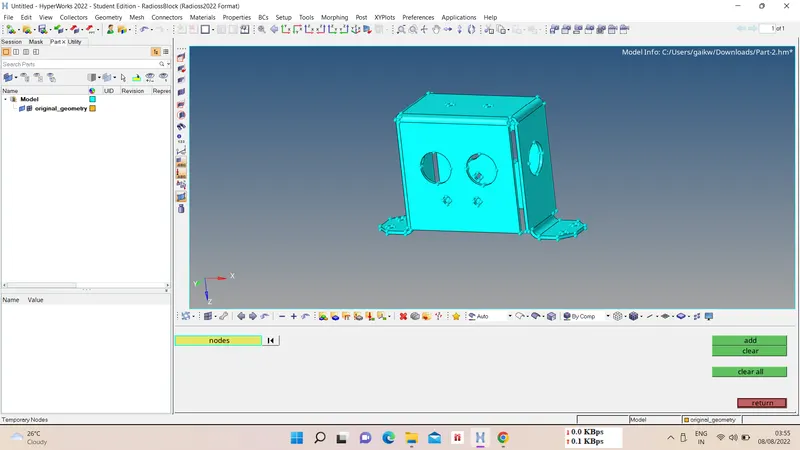
1) Model Import -
First import the model using import option from Menu.
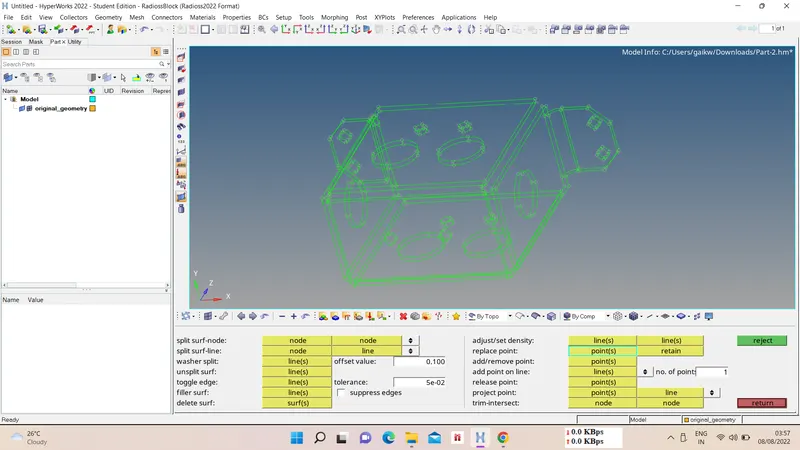
2) Geometry Check and Cleanup -
Now we have to check and cleanup the geometry for midsurfacing. For geometry cleanup we can use Quick edit panel option and Autocleanup option.
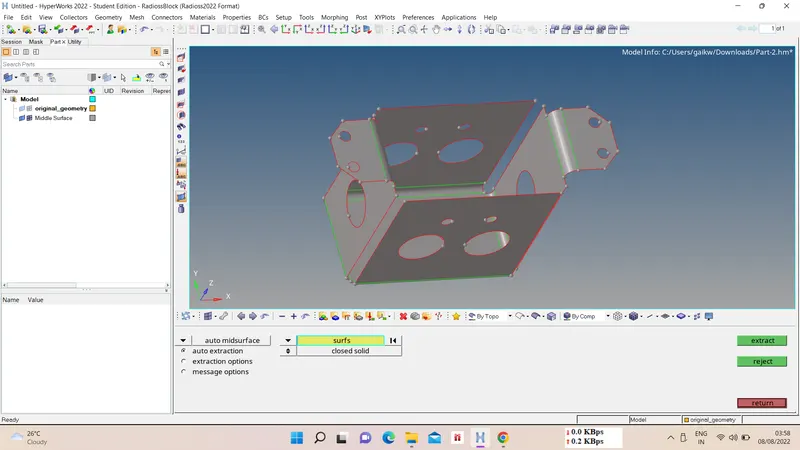
3) Midsurfacing -
Now we have to take midsurface of given geometry using automid option from midsurface option panel, we used skin+offset option here.
4) Quality Criteria -
Now we have to apply given quality criteria for elements check using Criteria quality panel from preference menu option.
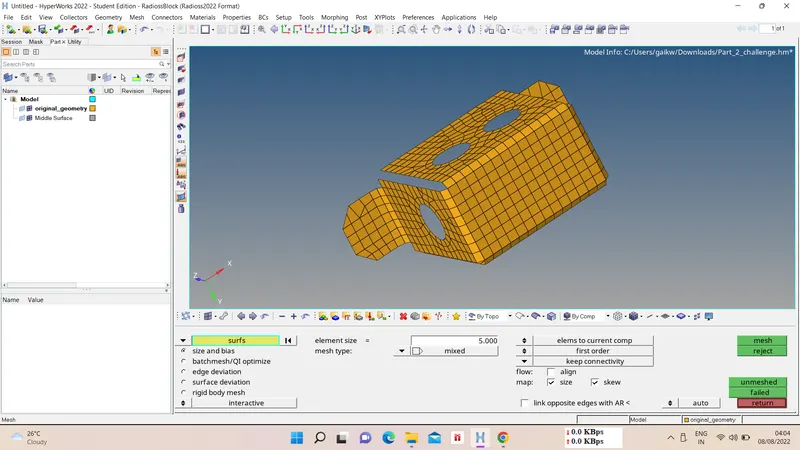
5) 2D Meshing -
Now we gonna mesh the midsurface for element length of 5mm, for midsurfacing we gonna use automesh option from 2D panel.
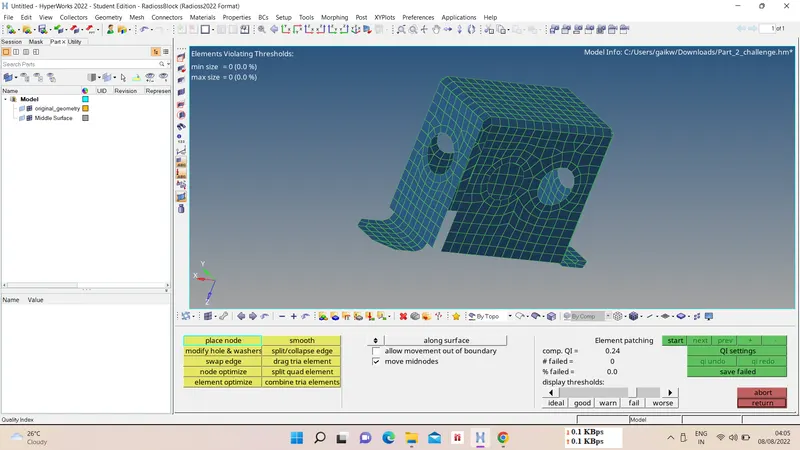
6) Elems. Quality Check -
For elem. check we use quality index option form 2D menu panel.
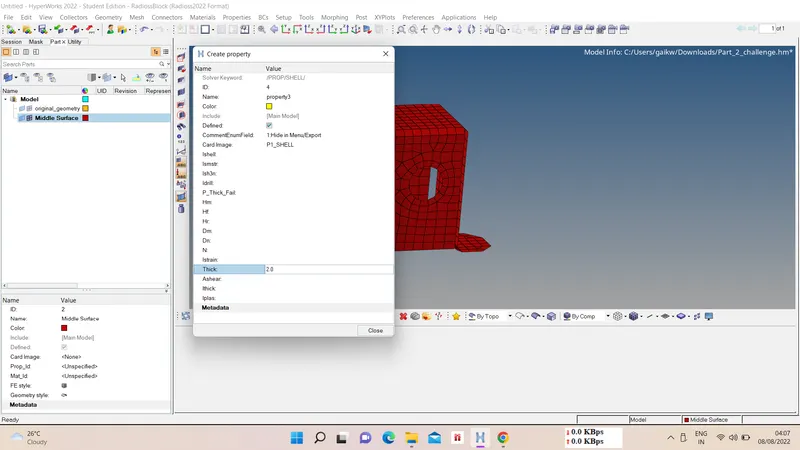
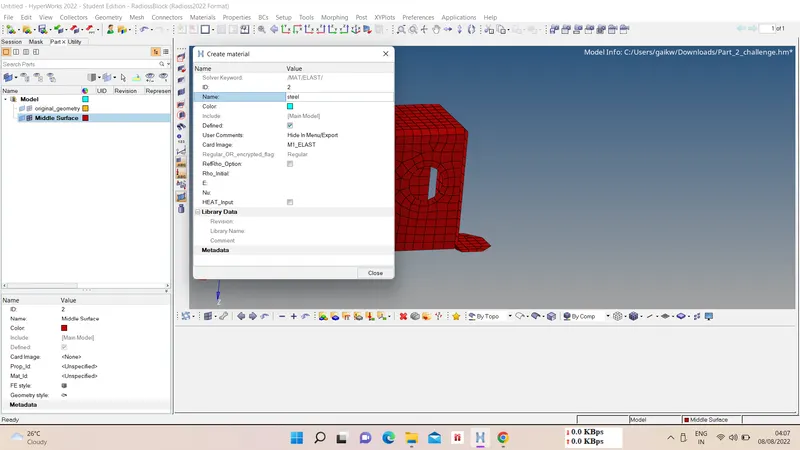
7) Material, Property and Thickness assigining -
Now we will assign material, property and thickness to the meshed surface using create option.
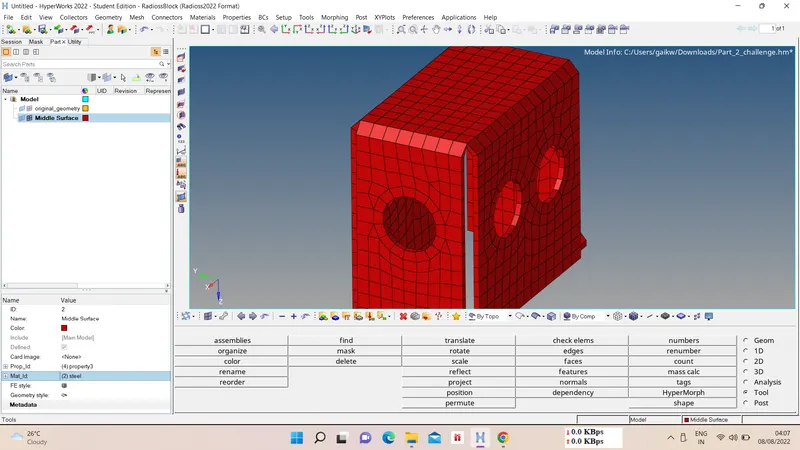
8) Final Result -
III) Part 3 :-
1) Model Import -
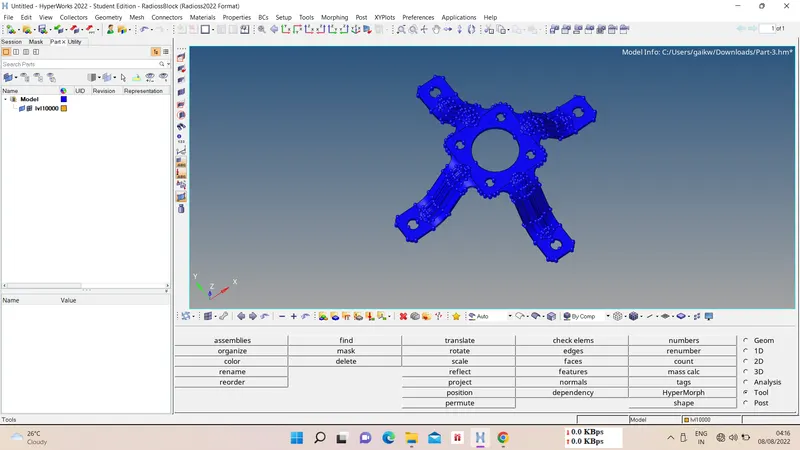
First import the model using import option from Menu.
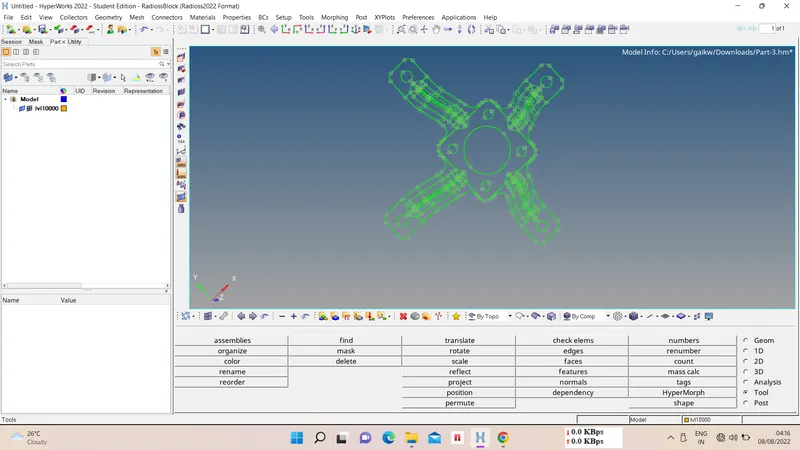
2) Geometry Check and Cleanup -
Now we have to check and cleanup the geometry for midsurfacing. For geometry cleanup we can use Quick edit panel option and Autocleanup option.
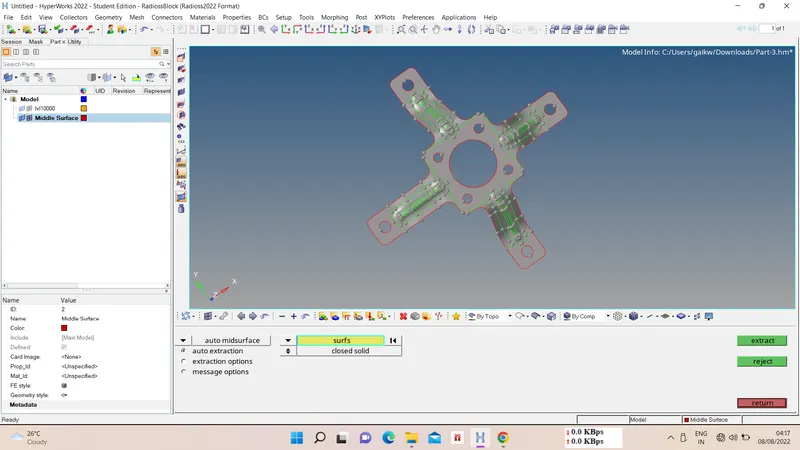
3) Midsurfacing -
Now we have to take midsurface of given geometry using automid option from midsurface option panel, we used skin+offset option here.
4) Quality Criteria -
Now we have to apply given quality criteria for elements check using Criteria quality panel from preference menu option.
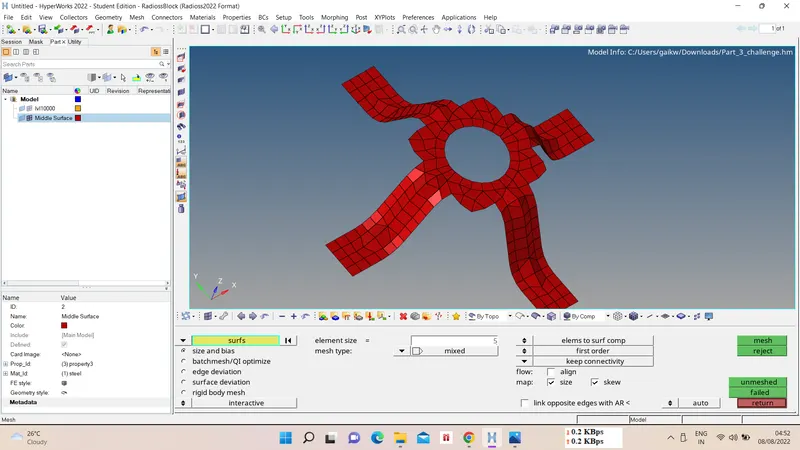
5) 2D Meshing -
Now we gonna mesh the midsurface for element length of 5mm, for midsurfacing we gonna use automesh option from 2D panel.
6) Elems. Quality Check -
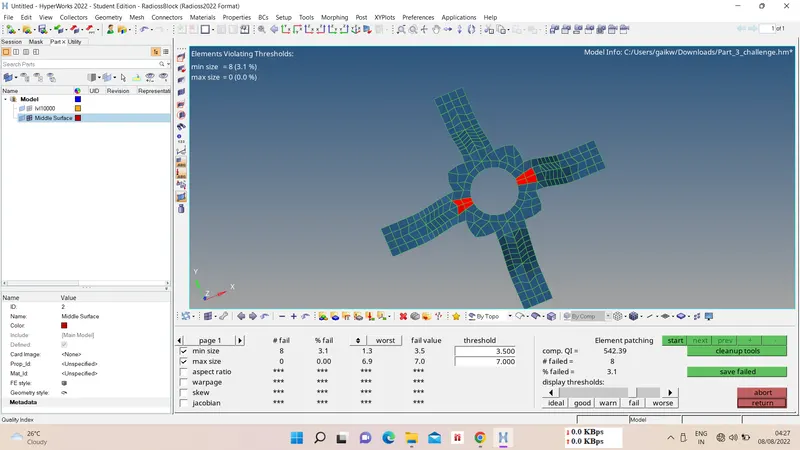
For elem. check we use quality index option form 2D menu panel, there are few elems. failling for quality cause of features.
7) Material, Property and Thickness assigining -
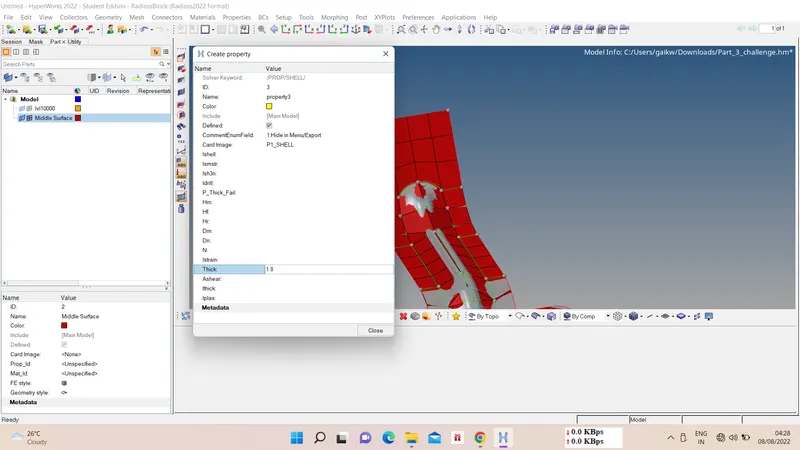
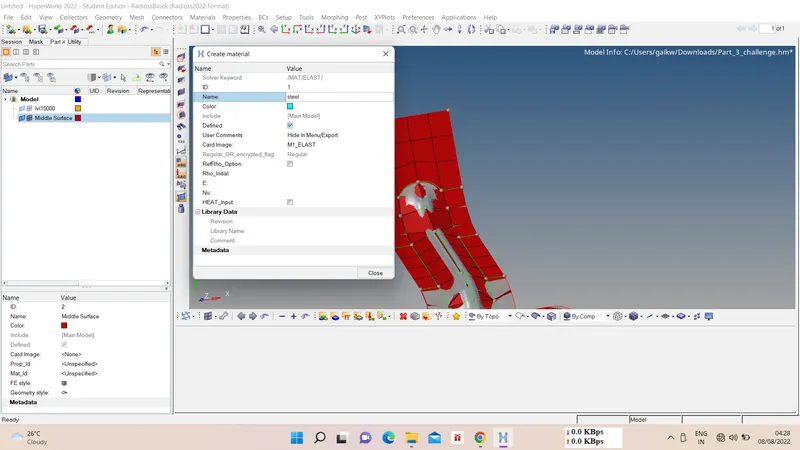
Now we will assign material, property and thickness to the meshed surface using create option.
8) Final Result -