Assignment 1-2D Meshing Challenge
AIM: To mesh the given components as per given element qulaity criteria.
Objectives:
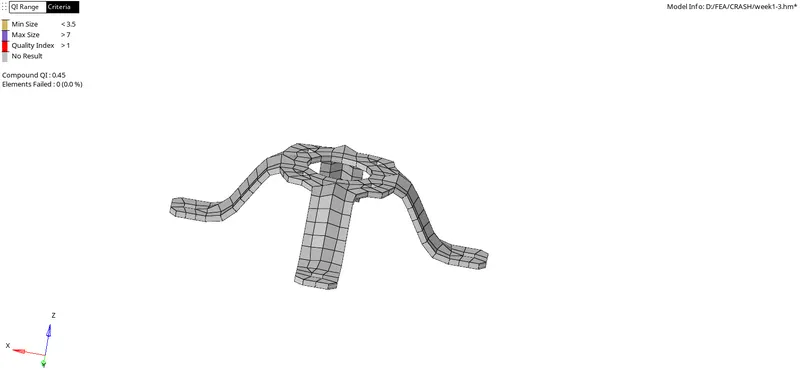
1. To perform the geometry cleanup of three different components Practice, Clip repiar and mounting bracket.
2. To extract mid-surfaces of three given components from their parent geometry and cleaning up geometry from their mid-surfaces as well.
3. To perform 2D-meshing as per given element quality criteria and target element size as 5 units, min size as 3.5mm and max size as 7mm.
4. Assigning thickness to meshed elements by creating propoerty.
Procedures:
For Practice model
Step 1: Import the given component and cleanup the geomtery without any irregular free edges.
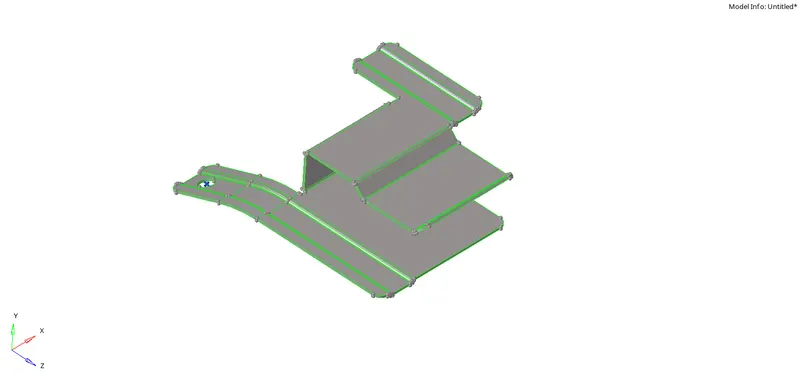
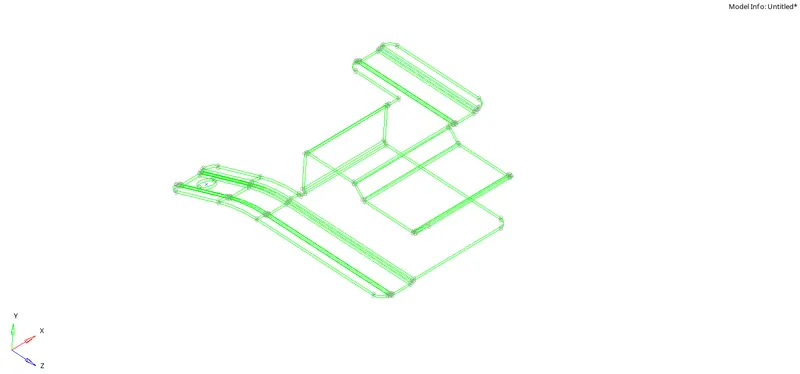
Step 2: Extract the mid-surface by auto mid-surface and by default extraction options.
Step 3: Clean up the geometry even in Auto-midsurface if there are any irregular free edges.
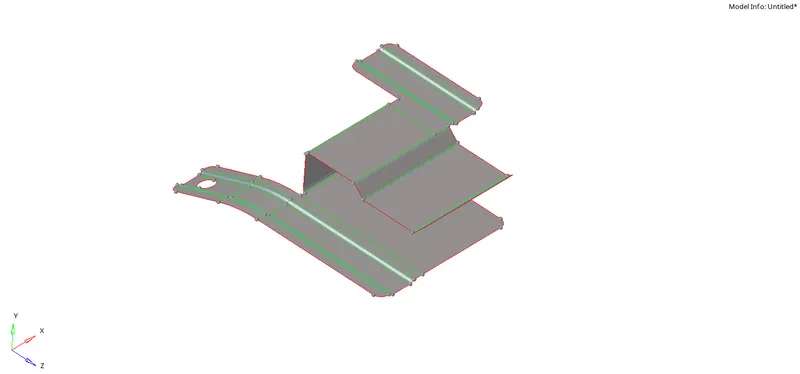
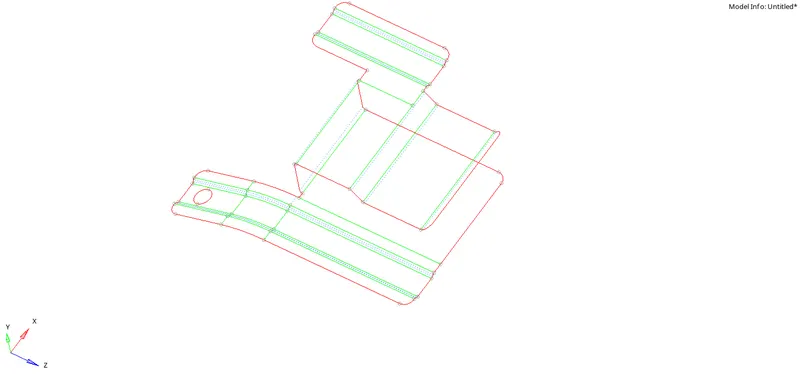
Step 4: Meshing the component by given element quality criteria. Select mid-surface of component to be meshed and go to 2D panel.
Step 5: For generating the mesh go to 2D>Auto mesh>set target element size 5 and type of mesh as mixed>click on 'mesh'. for better mesh flow quality it is suggested to mesh with maximum of 5 surfaces at a time which are adjacent to each surfaces.
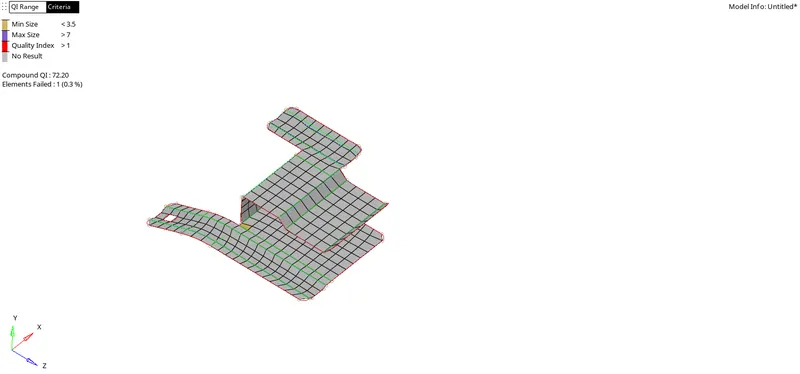
Step 6: To find free edges between meshed elements for connectivity.For finding of free edges press shift+f3 buttons and select component in which free edges has to be found.if the free edges are present press f3 and replace the nodes with nearest nodes where connectivity has to be done.Delete the free edge in left panel and try again if any free edges are present.
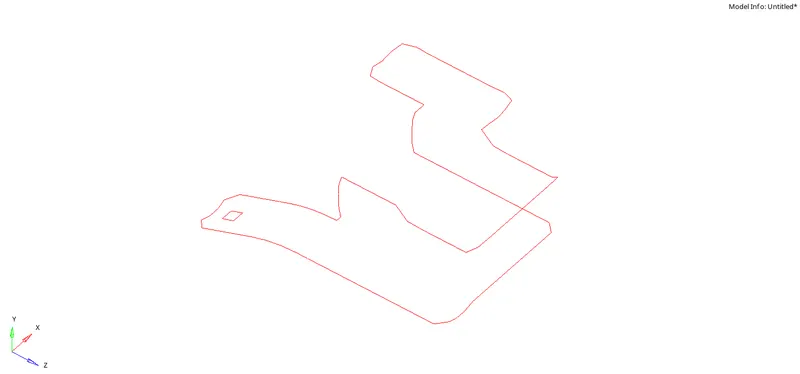
Step 7: Assigning thickness to the meshed elements by creating material,property and thickness in it. for assigning right click on mid-surface component and select assign and choose material and its property card.
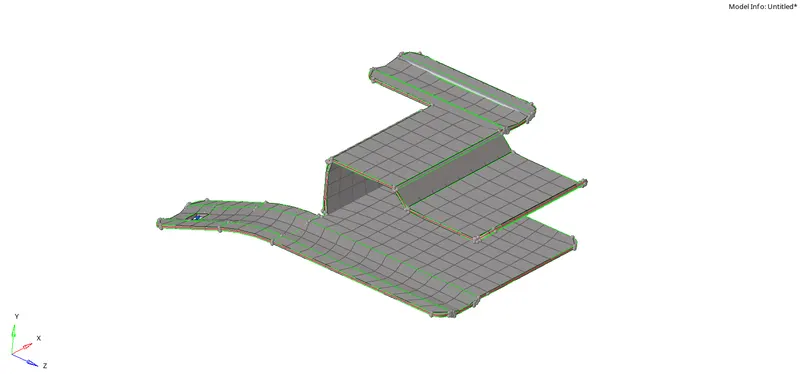
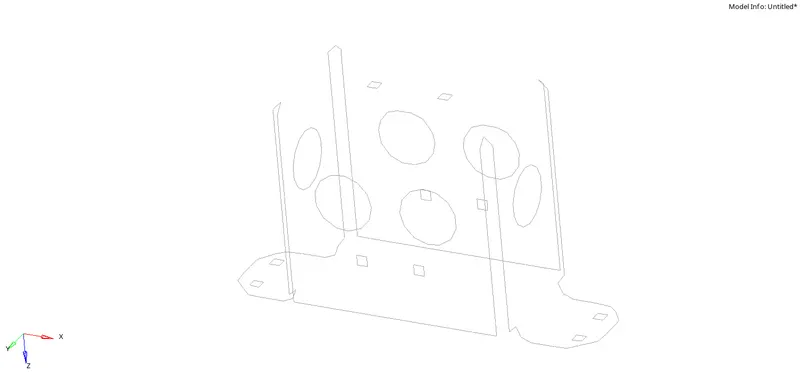
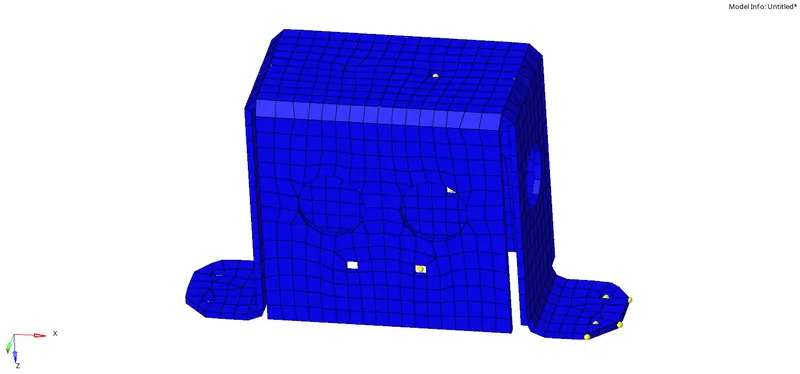
For Model - Clip Repair
Step 1: Import the given component and cleanup the geomtery without any irregular free edges.
Step 2: Extract the mid-surface by auto mid-surface and by default extraction options.
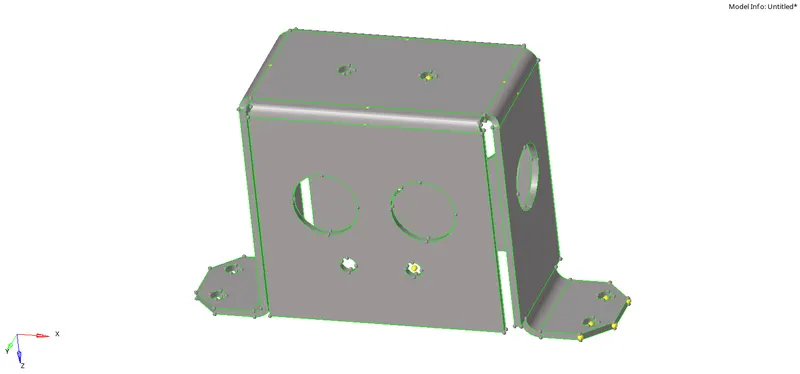
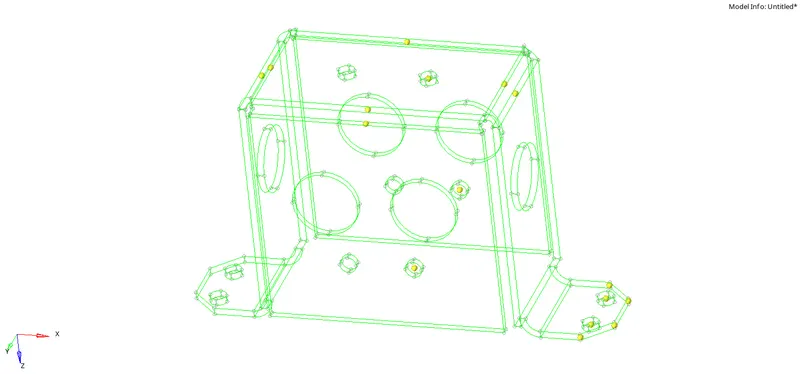
Step 3: Clean up the geometry even in Auto-midsurface if there are any irregular free edges.
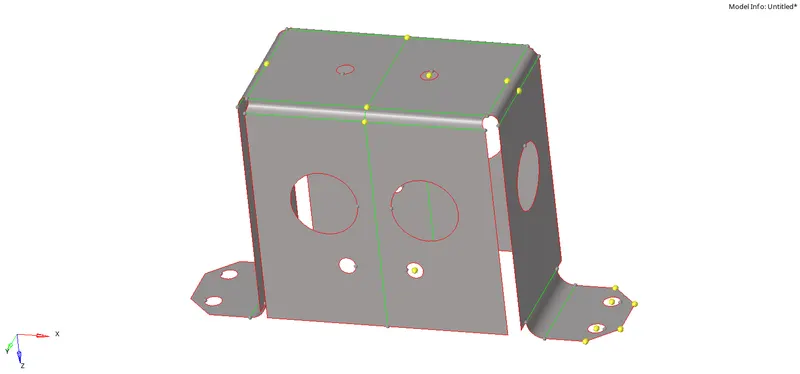
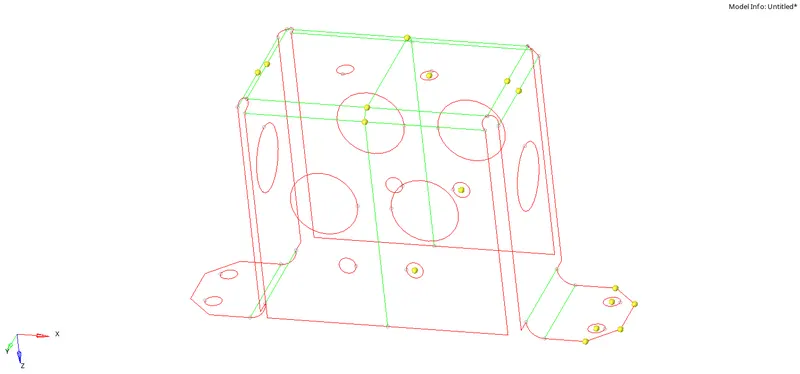
Step 4: Meshing the component by given element quality criteria. Select mid-surface of component to be meshed and go to 2D panel.
Step 5: For generating the mesh go to 2D>Auto mesh>set target element size 5 and type of mesh as mixed>click on 'mesh'. for better mesh flow quality it is suggested to mesh with maximum of 5 surfaces at a time which are adjacent to each surfaces.
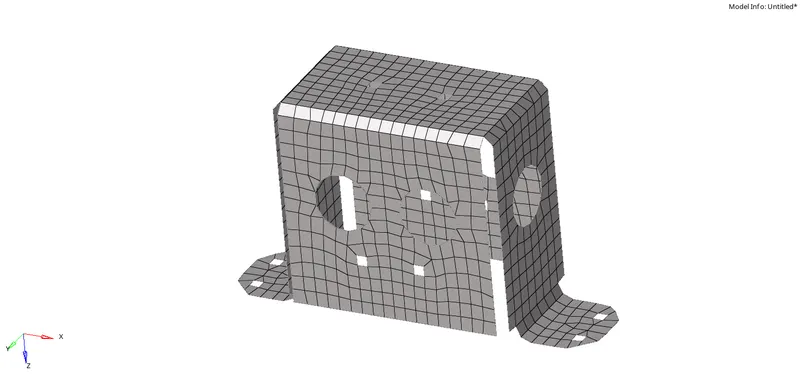
Step 6: To find free edges between meshed elements for connectivity.For finding of free edges press shift+f3 buttons and select component in which free edges has to be found.if the free edges are present press f3 and replace the nodes with nearest nodes where connectivity has to be done.Delete the free edge in left panel and try again if any free edges are present.
Step 7: Assigning thickness to the meshed elements by creating material,property and thickness in it. for assigning right click on mid-surface component and select assign and choose material and its property card.
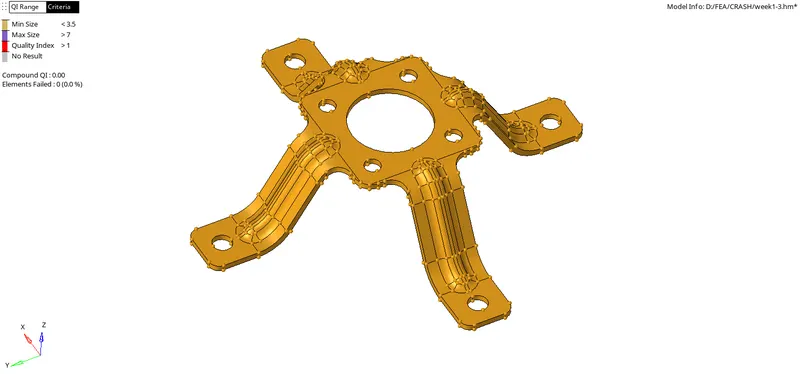
For model - Mounting Bracket
Step 1: Import the given component and cleanup the geomtery without any irregular free edges.
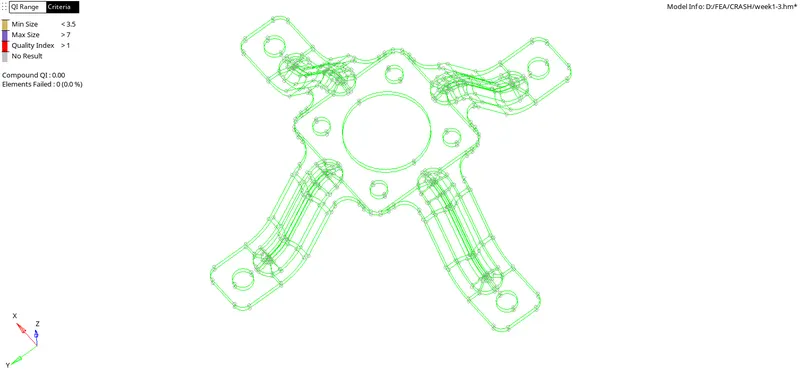
Step 2: Extract the mid-surface by auto mid-surface and by default extraction options.
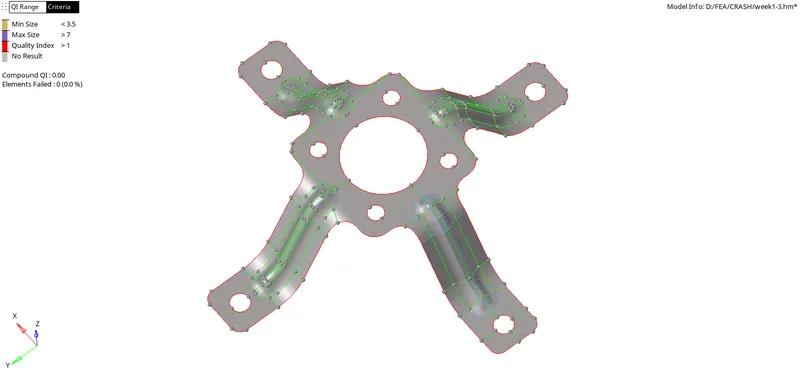
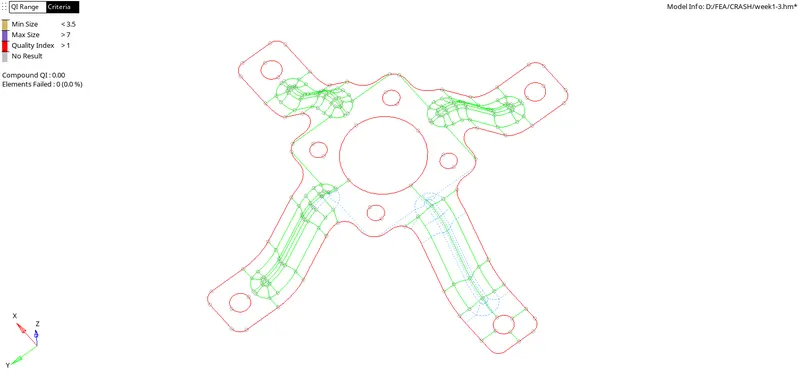
Step 3: Clean up the geometry even in Auto-midsurface if there are any irregular free edges.
Step 4: Meshing the component by given element quality criteria. Select mid-surface of component to be meshed and go to 2D panel.
Step 5: For generating the mesh go to 2D>Auto mesh>set target element size 5 and type of mesh as mixed>click on 'mesh'. for better mesh flow quality it is suggested to mesh with maximum of 5 surfaces at a time which are adjacent to each surfaces.
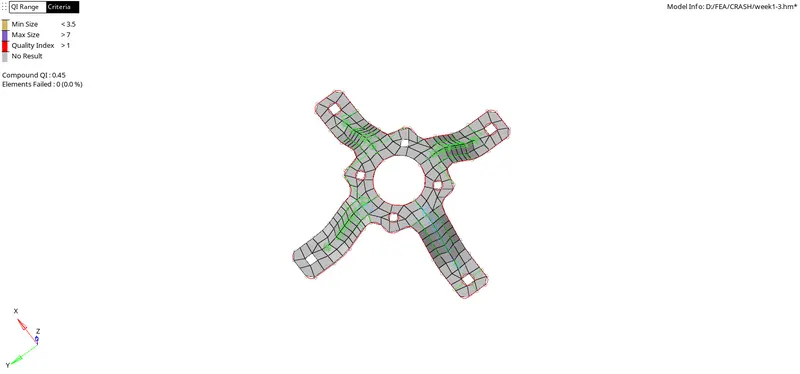
Step 6: To find free edges between meshed elements for connectivity.For finding of free edges press shift+f3 buttons and select component in which free edges has to be found.if the free edges are present press f3 and replace the nodes with nearest nodes where connectivity has to be done.Delete the free edge in left panel and try again if any free edges are present.
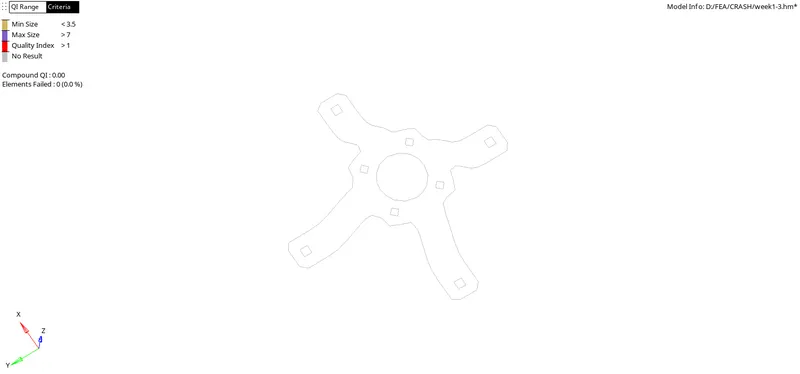
Step 7: Assigning thickness to the meshed elements by creating material,property and thickness in it. for assigning right click on mid-surface component and select assign and choose material and its property card.
CONCLUSION:
1. Mid-surfaces of all three components are extracted successfully.
2. Geometry cleanup for all the parts have done as per the required for better flow of mesh.
3. 2D- Shell meshing has been done as per the gievn element quality criteria.
4. All parts have been assigned with specific thickness after meshing.