Assembly of Yacht
radarmast
https://drive.google.com/file/d/1Z5cJ2TYtX4LHBI8KmH5W6Kud9HVYWt49/view?usp=sharing
top view
https://drive.google.com/file/d/1VvmsYe6OQBhtKw6gmzwVnbr38Ri_kkp9/view?usp=sharing
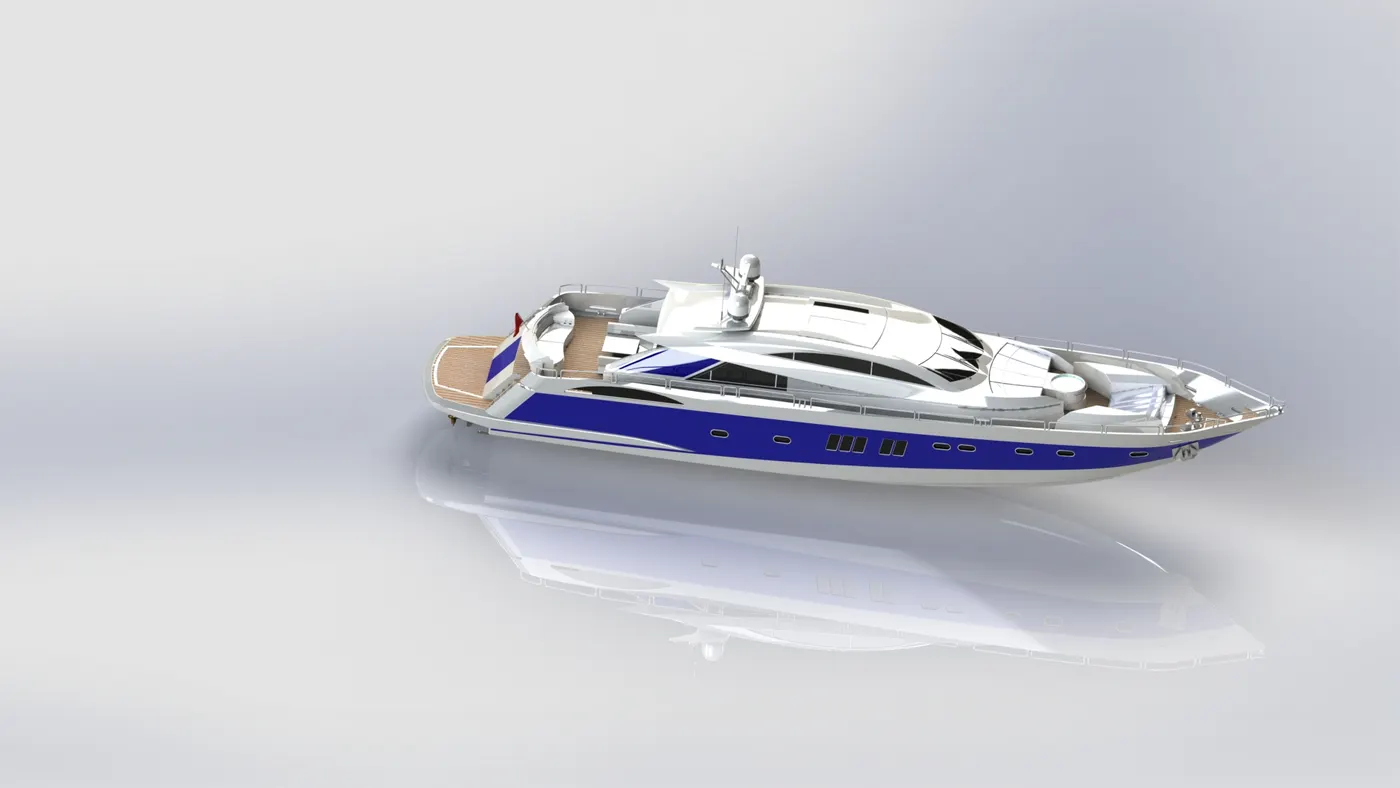
side view
https://drive.google.com/file/d/1QE7uNQKIOkIgLYKUXRf1iCgCZazIRW0V/view?usp=sharing
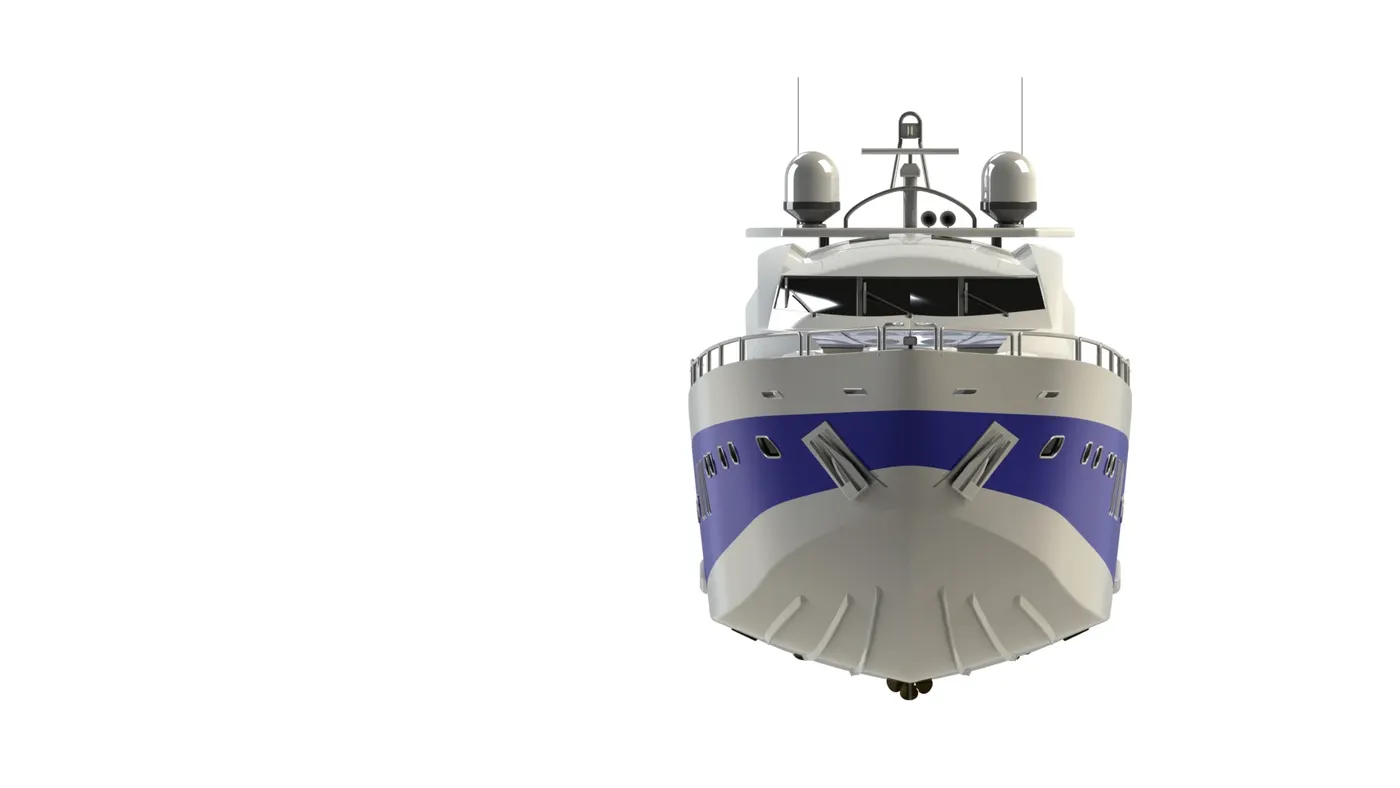
front view
https://drive.google.com/file/d/1TXCNWqyofO1Iuh1cntNT9xRg4yRD40iJ/view?usp=sharing
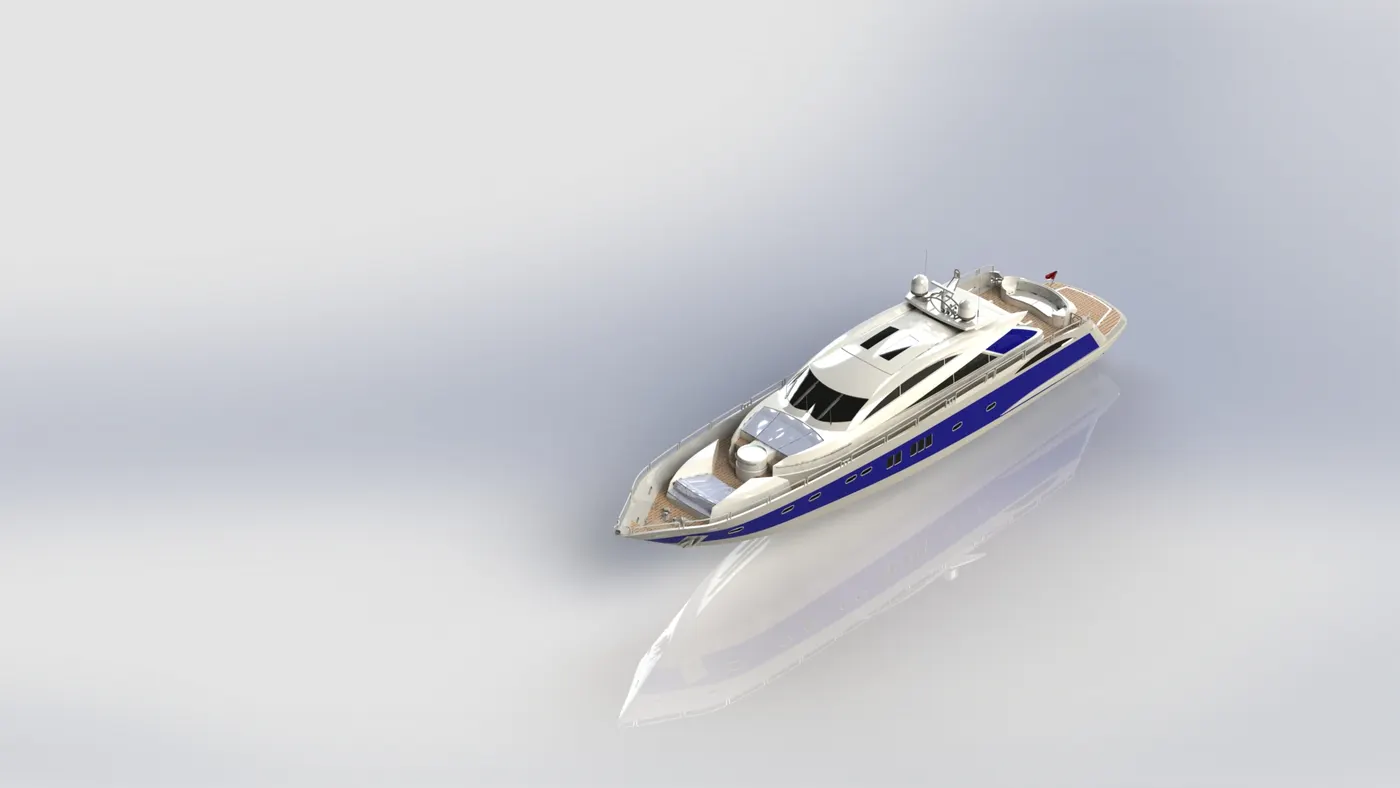
isometric view
https://drive.google.com/file/d/1FyMm0_bFXqjnvqT5fhsvUzu4PHVDLRrY/view?usp=sharing
camera set up view
https://drive.google.com/file/d/1pYxw7HV38o7-bLdGaeM0MC2vI6cf01JJ/view?usp=sharing
assembly of yacht with parts (zip file)
https://drive.google.com/file/d/11l7x8GqvuwDj3ZQWNHW0sfW7uhn3zie5/view?usp=sharing
assembly
https://drive.google.com/file/d/1xi_Lrtz5SfVO0s3TzLmS3lq_Wvkt9Nx-/view?usp=sharing
report:
MODELLING OF SUNSEEKER PREDATOR YACHT
OBJECTIVE:
- To model a sun seeker predator yacht in solidworks
- To learn part surface and assembly workbenches of solidworks from scratch
- To gain hand on experience in modelling a complex design like that of the sun seeker predator yacht and get an overall idea on how the computer aided design software works.
What is modelling, part modelling, and surface modelling?
Modelling is to build realistic computer models and assemblies.
Part modelling is to create a part from a conceptual sketch through solid feature based modelling ,as well as build and modify parts through direct and intuitive graphical manipulation.
Surface modelling is the method of showing or presenting solid objects. The process requires to convert between different 3D modeling types, such as converting the 3D objects to show procedural surfaces, validate imperfections, and apply smoothness.
Parts to be modelled for sun seeker predator yacht:
- Hull
- Superstructure
- Radar mast
- Rear seat
- Middle seat
- Front seat
- Radar
- Garage door
- Propeller
DESIGN METHODOLOGY
The process for creating yacht is as follows:
| 1. | modelling of propeller |
| 2. | modelling of radar |
| 3. | setting up of blueprint |
| 4. | modelling of hull |
| 5. | modelling of garage door |
| 6. | modelling of front seat |
| 7. | modelling of middle seat |
| 8. | modelling of rear seat |
| 9. | modelling of superstructure |
| 10. | modelling of radar mast |
| 11. | assembly of yacht |
| 12. | rendering of assembly |
Now let see each part in detail:
- PROPELLER: the propeller pushes the water backward and thus propels the yacht forward,yacht propeller rotates, the blades push water down and backwards - much like the action performed by hand when swimming.
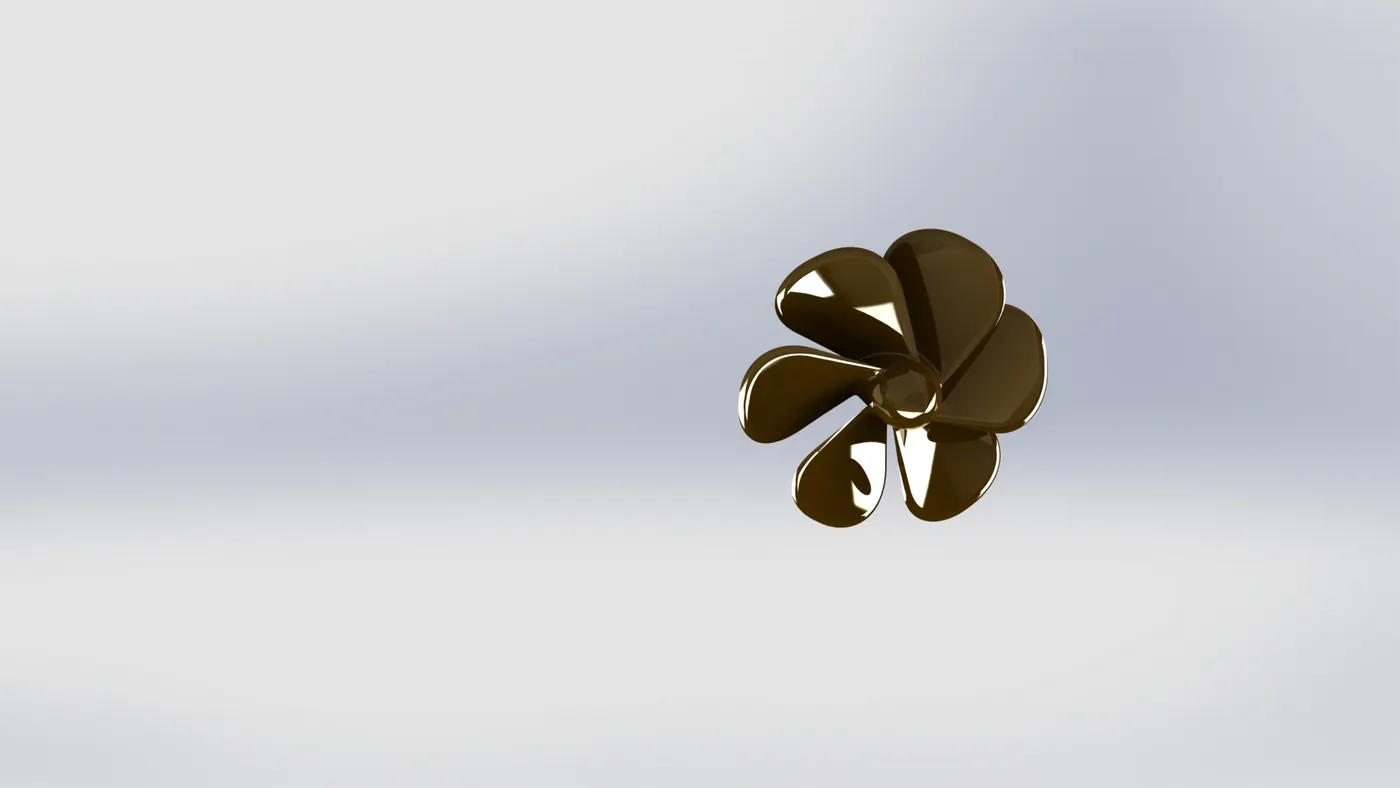
Features used to create propeller
- Sketch
- Revolve
- loft
- Fillet
- Extrude cut
- Circular pattern
- Appearances
Whereas,
Sketch: A collection of lines and other 2D objects on a plane or face that forms the basis for a feature such as a base or a boss. A 3D sketch is non-planar and can be used to guide a sweep or loft.
Revolve: Revolves add or remove material by revolving one or more profiles around a centerline.
We can create revolved boss/bases, revolved cuts, or revolved surfaces. The revolve feature can be a solid, a thin feature, or a surface.
Loft: Loft creates a feature by making transitions between profiles. A loft can be a base, boss, cut, or surface. We can create a loft using two or more profiles. For a solid loft, the first and last profiles must be model faces or faces created by split lines, planar profiles, or surfaces.
Fillet: Fillet/Round creates a rounded internal or external face on the part. We can fillet all edges of a face, selected sets of faces, selected edges, or edge loops.
Extrude cut: The Extruded cut operation allows to easily remove material from a solid by extruding a profile along the normal to its plane.
Circular pattern: A circular pattern is a radial array of objects around a center point in a sketch, axis in a part or assembly.
Appearances: appearance defines the visual properties of a model, including color and texture. It does not affect physical properties, which are defined by materials. Every material is assigned a default appearance that emulates the look of the material.
- RADAR: Radio Detection and Ranging, is used to detect objects and their position relative to your current location. ... it acts as a major navigation aid helps in detecting boats, birds, landmasses, and weather systems - even if the visibility is less than usual.
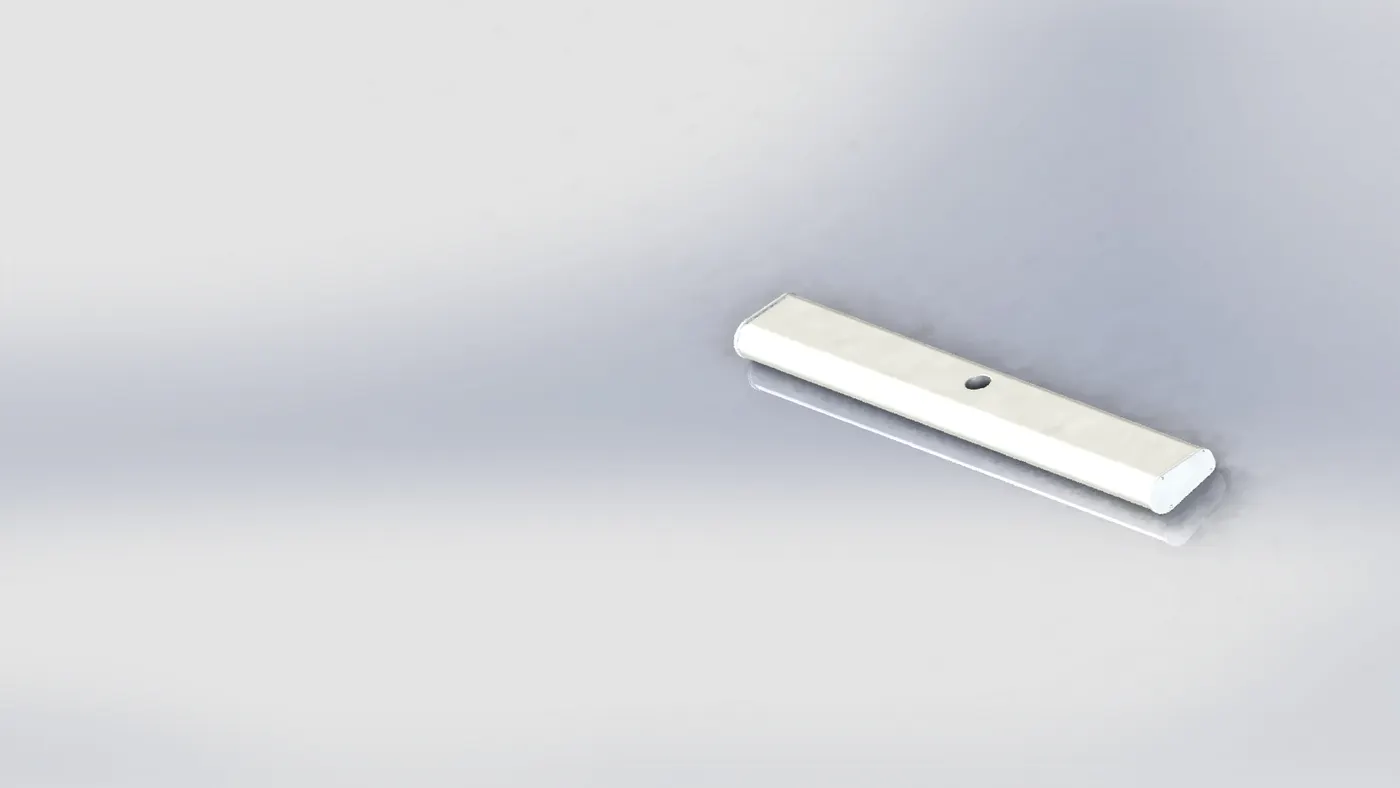
Features used to create radar
- sketch
- extrude
- fillet
- extrude cut
- mirror
- split line
- appearance
Whereas,
Extrude: Creates a 3D solid from an object that encloses an area, or a 3D surface from an object with open ends. Objects can be extruded orthogonally from the plane of the source object, in a specified direction, or along a selected path.
Mirror: Mirror Feature is used to mirror features. In parts, you can mirror faces, features, and bodies. In assemblies, you can mirror assembly features.
Split line: the Split line is used to divide parts into multiple bodies. You can use the Split line feature to save the new bodies when you split the part or use the Save Bodies to save them after the split is complete.
- HULL: hull is the watertight body of a ship or boat. The hull may open at the top (such as a dinghy), or it may be fully or partially covered with a deck.
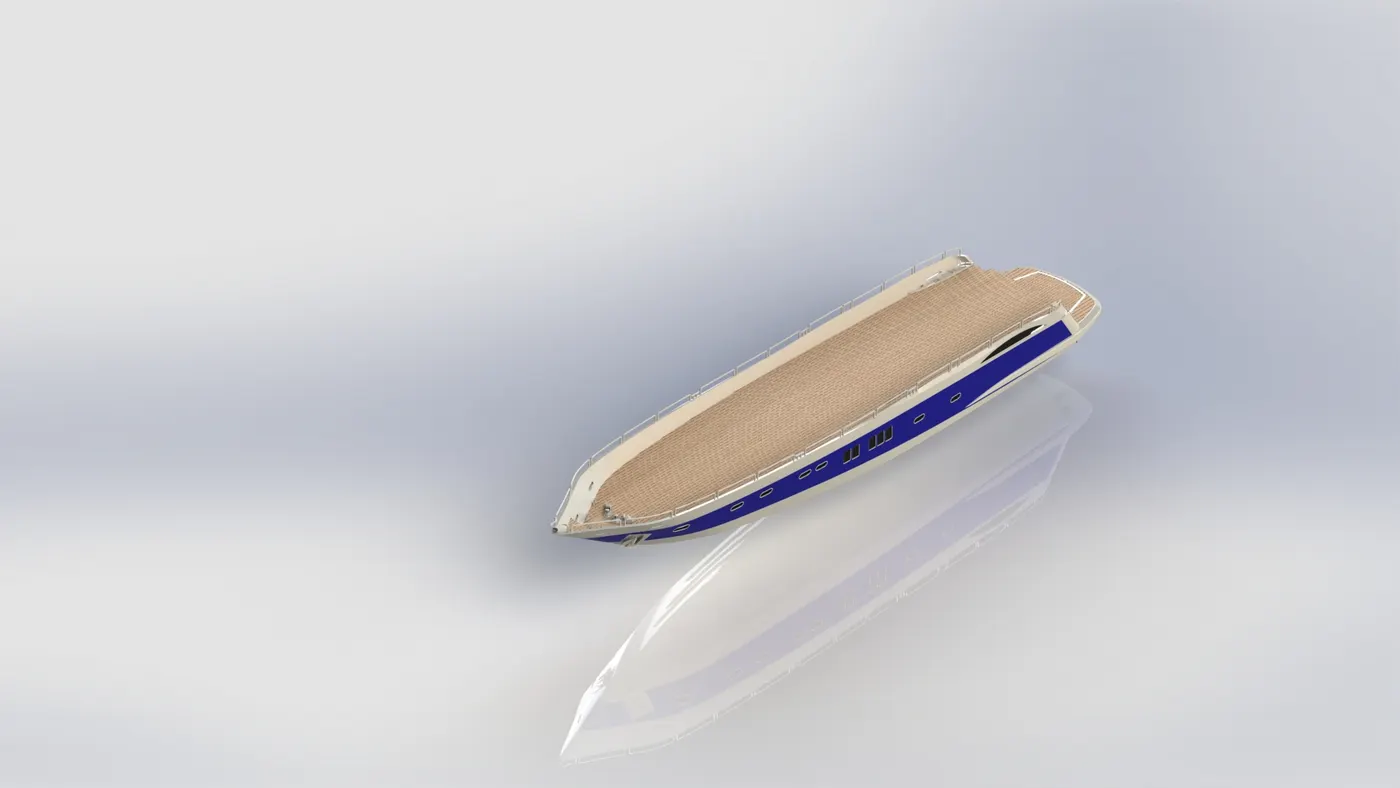
Features used to create hull
- Sketch
- Projected curve
- loft
- trim
- extrude
- Knit
- Surface fill
- Shell
- Offset
- Extrude cut
- Fillet
- Chamfer
- Linear pattern
- Slot
- Copy
- 3D sketch
- Sweep
Whereas,
Projected curve: Project curve, a tool used to form 3D curves from two 2D curves from two different planes.
Shell: The shell tool hollows out a part, leaves open the faces you select, and creates thin-walled features on the remaining faces.
Knit: the Knit Surface tool is used to combine two or more faces and surfaces into one. ... Knit surfaces absorb the surface bodies you used to create them. Create a solid body when the knit surfaces form a closed volume, or leave as a surface body.
Fill: The Filled Surface feature constructs a surface patch with any number of sides, within a boundary defined by existing model edges, sketches, or curves, including composite curves. We used this feature to construct a surface to fill a gap in a model.
Trim: it is used for trimming intersecting surfaces. Trims surfaces using surfaces, sketch entities, curves, planes, and so on.
Chamfer: The chamfer tool creates a beveled feature on selected edges, faces, or a vertex.
Linear pattern: The Linear Pattern appears when you pattern one or more features along one or two linear paths.
Sweep: Sweep is the one feature in Solidworks that helps sweep a closed profile along a closed or open path.
Dome: creates a dome like structure on surface.
Helix: we can create a helix or spiral curve in a part. The curve can be used as a path or guide curve for a swept feature, or a guide curve for a lofted feature.
- GARAGE DOOR: it is just a door for garage.
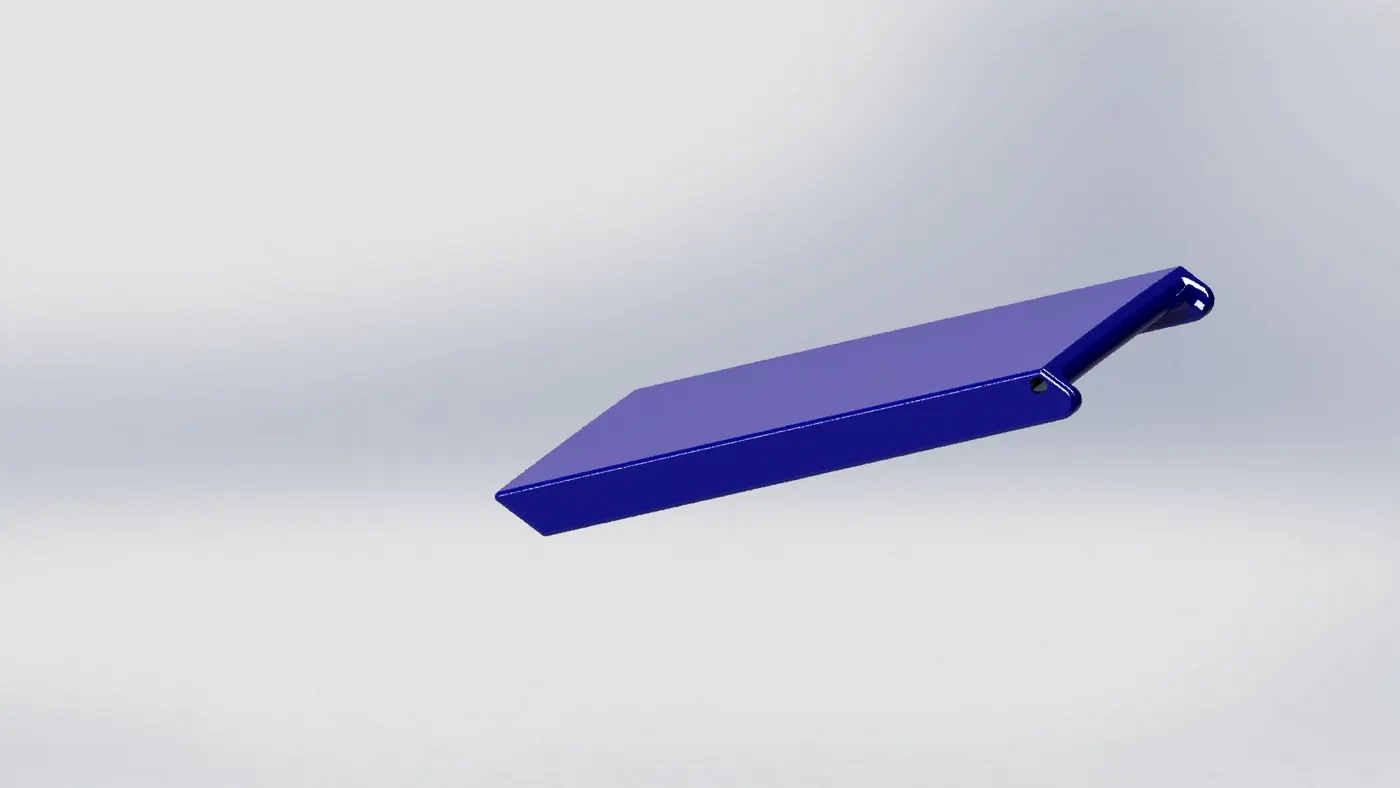
Features used to create garage door
- Sketch
- Extrude cut
- Shell
- Fillet
- Mirror
- Appearance
- FRONT, MIDDLE AND REAR SEAT: these are just arrangement for sitting on yacht placed on deck surface.
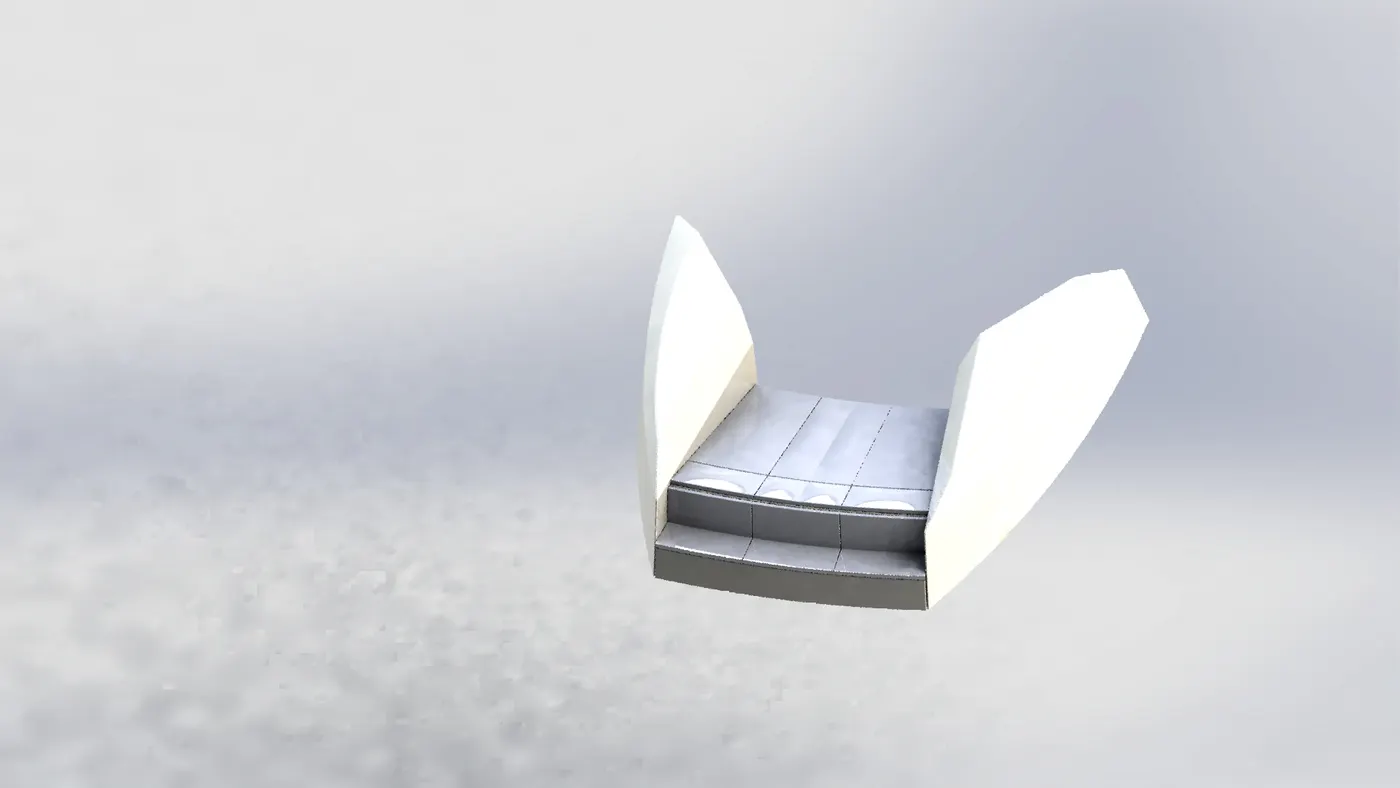
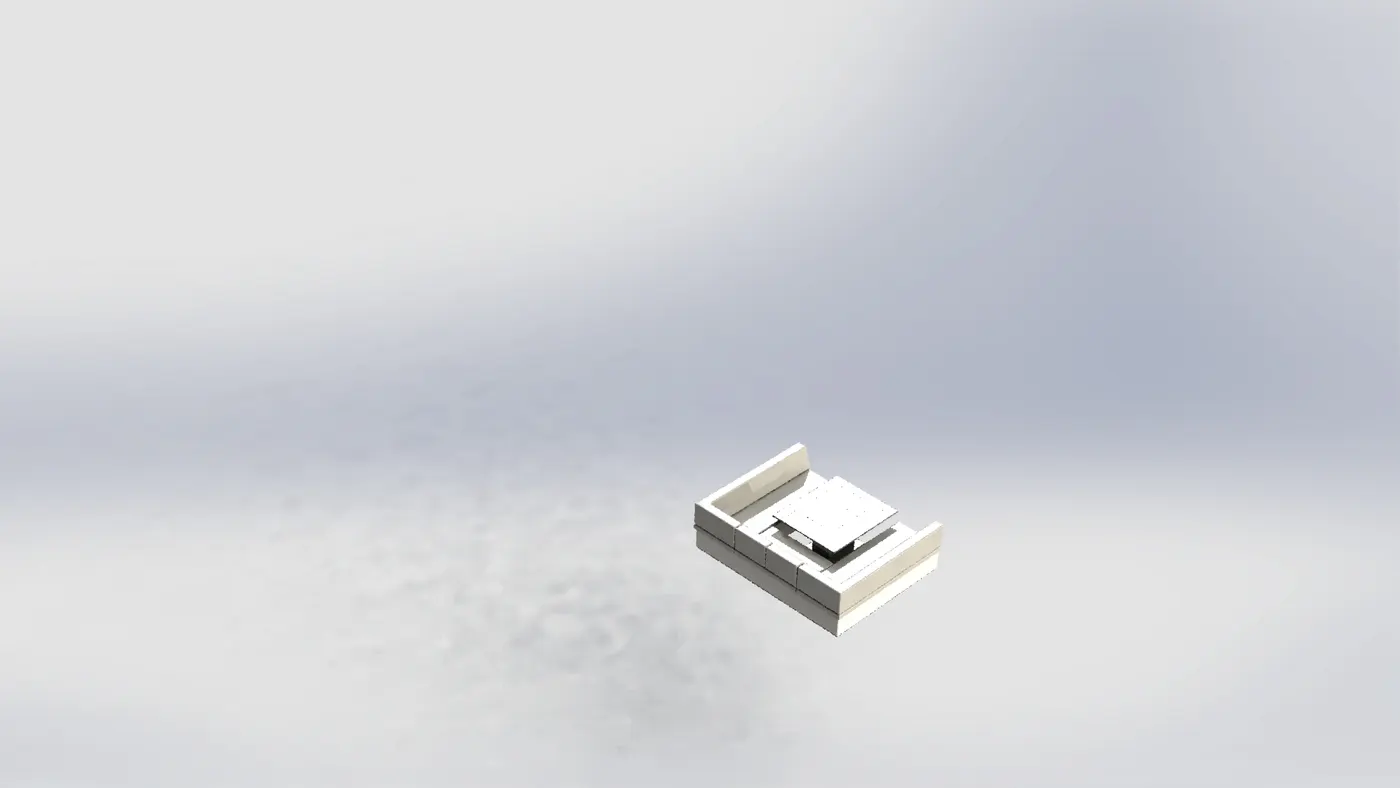
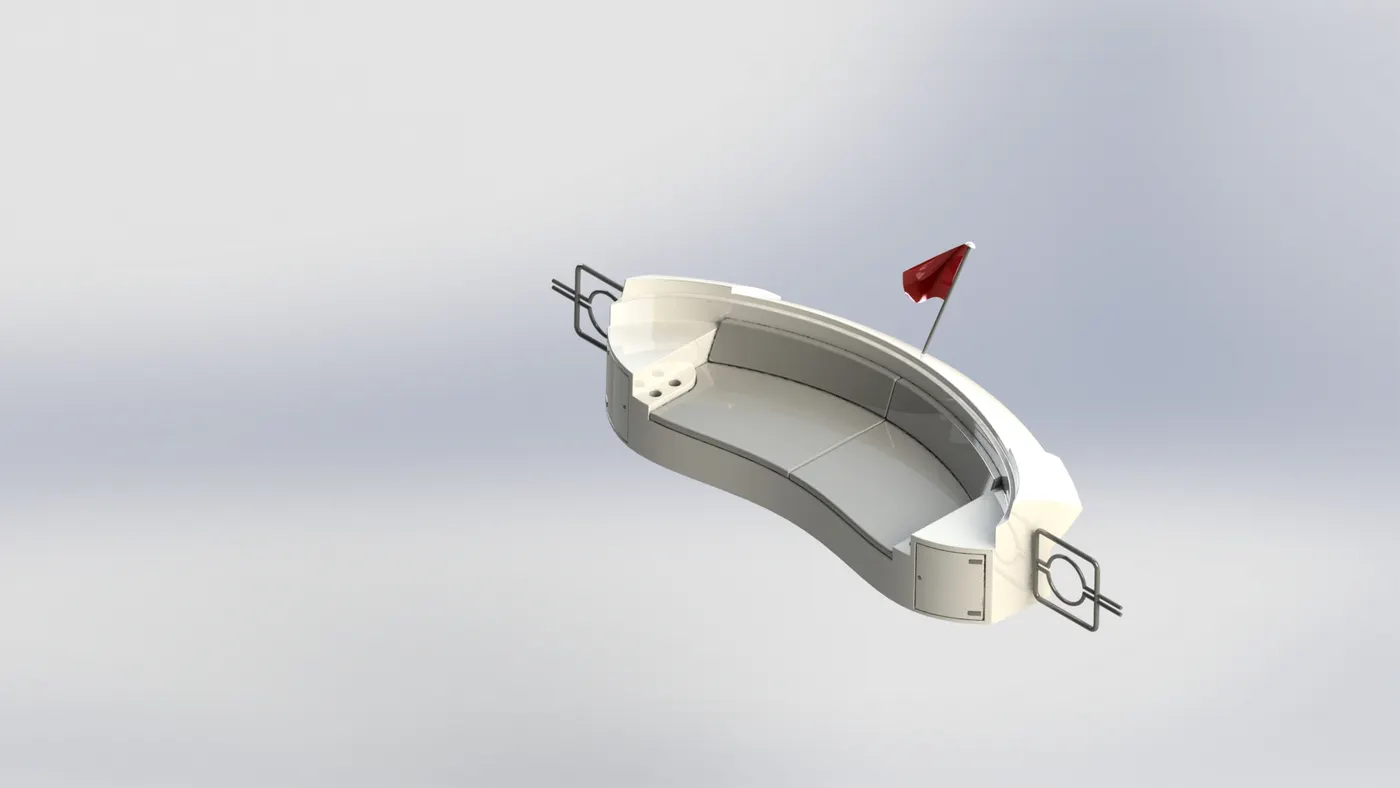
Features used to create seats
- Sketch
- Sweep
- Extrude
- Trim
- Fill
- Loft
- Knit
- Chamfer
- Revolve
- Extrude cut
- Fillet
- Mirror
- Dome
- Ruled surface
- Extend
Whereas,
Ruled surface: The Ruled Surface command creates surfaces that extend out in a specified direction from selected edges.
Extend: Extend Entities to extend a sketch entity to meet another sketch entity. To extend a sketch entity: In an open sketch, click Extend Entities.
- SUPERSTRUCTURE: A superstructure is an extended construction of any building or platform that rises above the rest of the building or platform in a distinct manner. In yacht this is the name given to the part of the yacht that emerges from the deck.
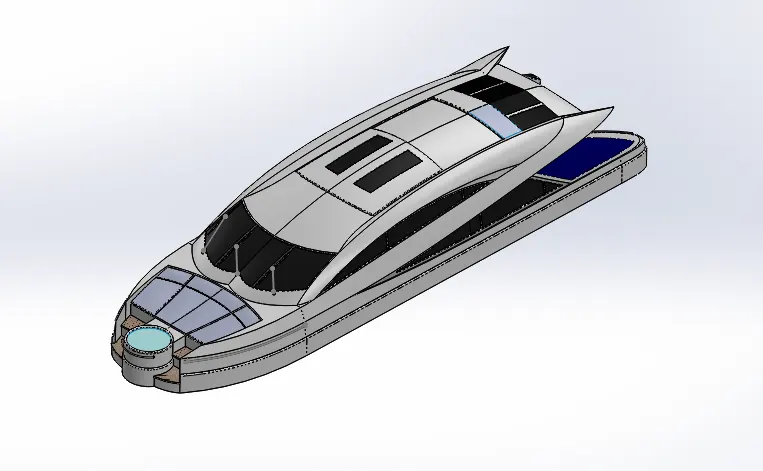
Features used to create superstructure
- Sketch
- Extrude
- Sweep
- Knit
- Fillet
- Ruled surface
- Trim
- Projected curve
- Loft
- Surface fill
- Extend
- Extrude cut
- Thicken
- Dome
- Split line
- Mirror
- Chamfer
- Appearance
Whereas,
Thicken: Creates a solid feature by thickening one or more adjacent surfaces.
- RADAR MAST: it’s a part of yacht placed on superstructure on which radar is mounted it is actually a tallpole used to support a yacht’s sails.
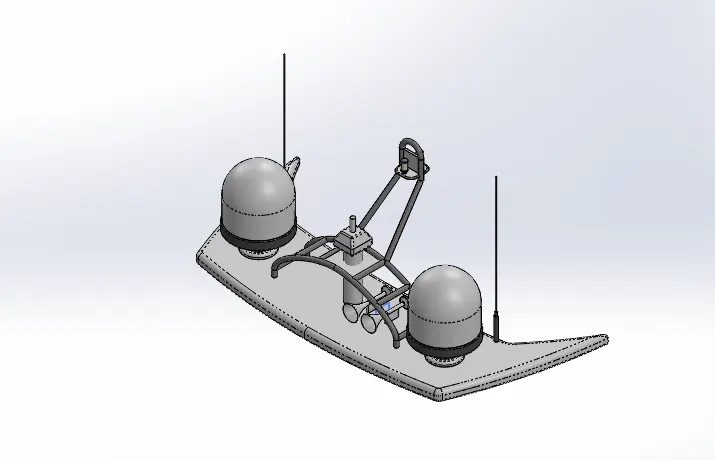
Features used to create radar mast
- sketch
- extrude
- fillet
- revolve
- sweep
- mirror
- projected curve
- chamfer
- dome
- shell
- appearance
- ASSEMBLY: initially the hull part is inserted in the assembly by using insert component/part in the option. After that the hull is inserted in the assembly environment and clicked ok to fix the hull.
After that other part of the yacht are inserted into the assembly and given possible mate conditions. The parts are inserted in the following order superstructure, radar mast, front seat, middle seat, rear seat, garage door, propeller, radar respectively.
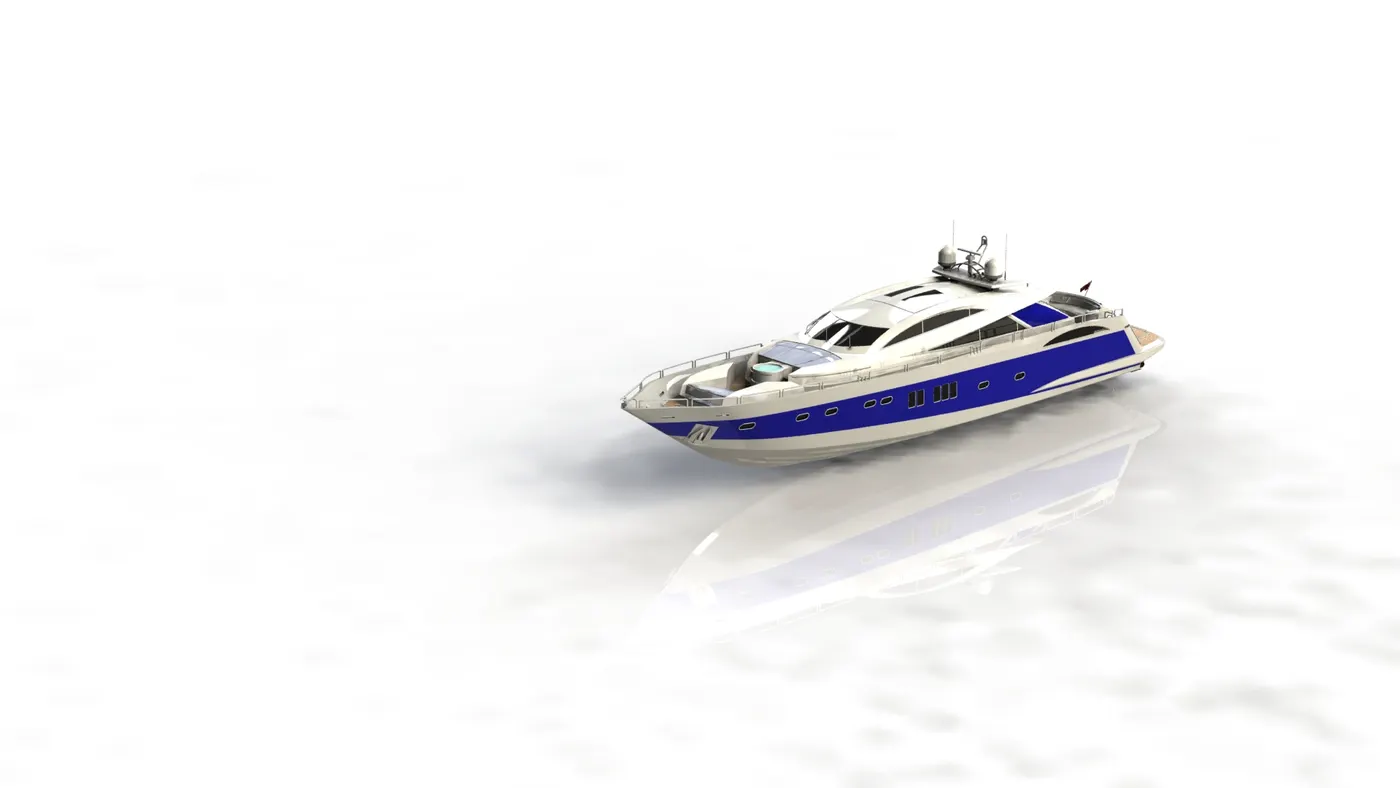
Features used to assemble yacht
- Mates
- Insert part
Whereas,
Mates: mates create geometric relationships between assembly components. As we add mates, we define the allowable directions of linear or rotational motion of the components. We can move a component within its degrees of freedom, visualizing the assembly’s behavior.
PHOTO REALISTIC RENDERING
- Rendering is the process of creating realistic images of the photorealistic model with the environment.
- Rendering has been done in two ways in solidworks.
- The following are the two ways,
- Photoview 360
- Solidworks visualize
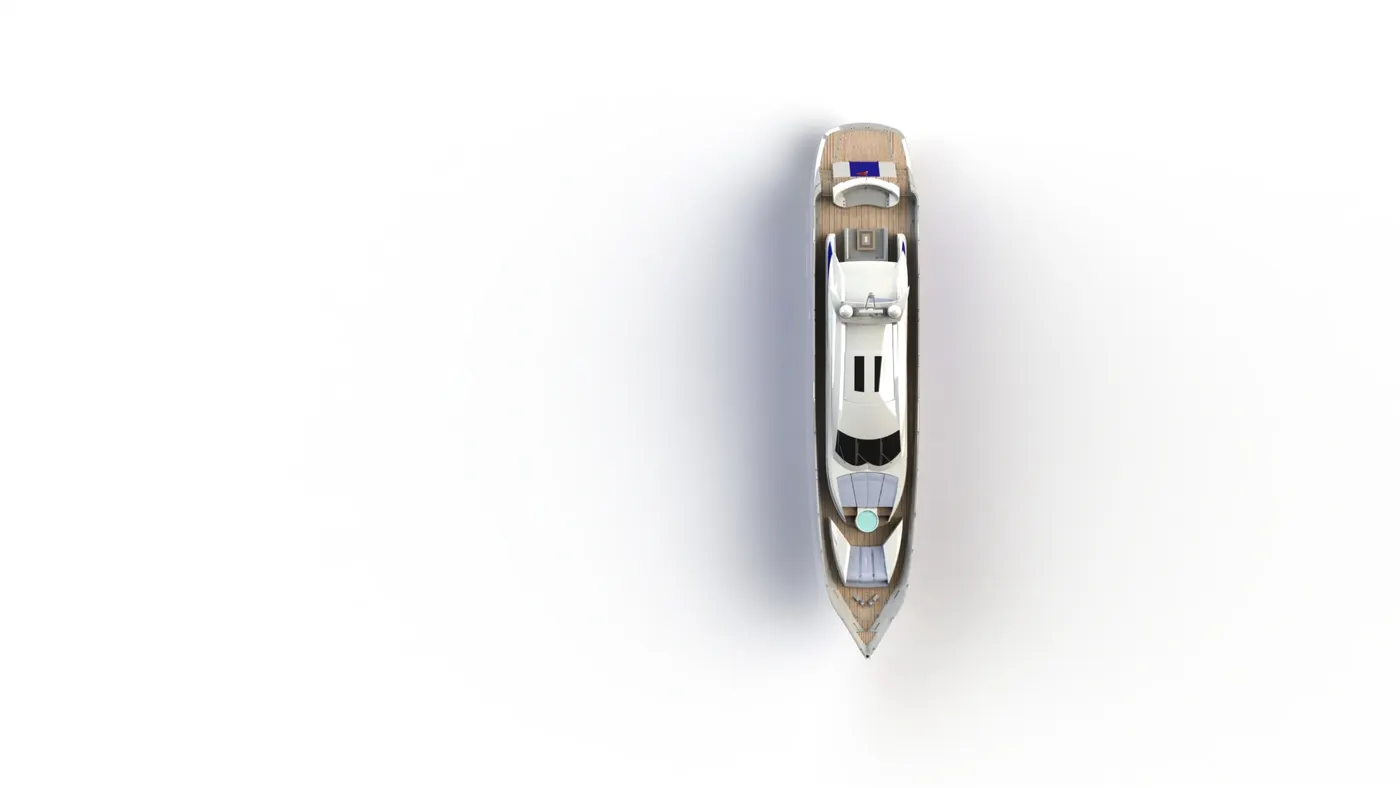
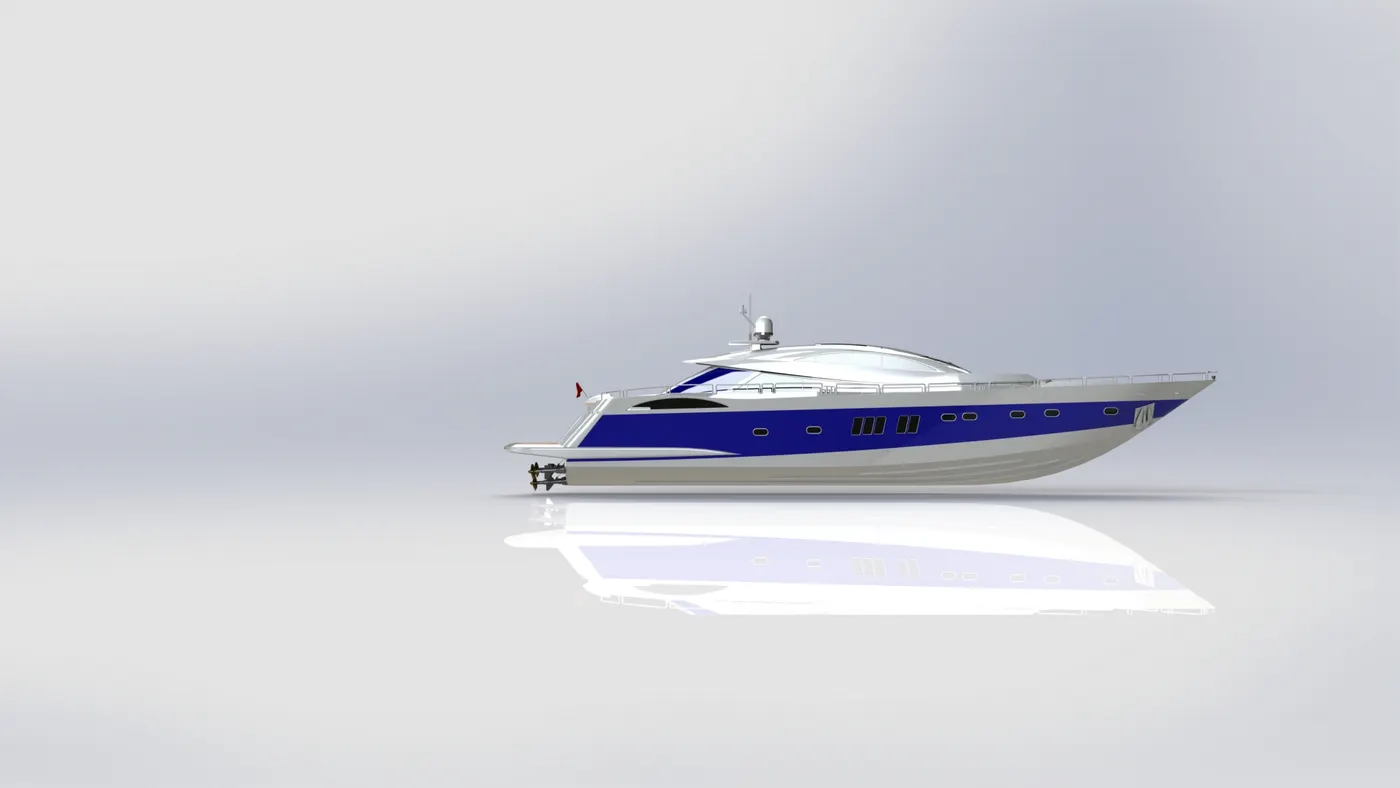
here are some of the rendered images of yacht;
Top view:
Side view:
Front view:
Isometric view:
Camera set up view:
CONCLUSION:
- the parts of yacht are modelled using most of the solid modelling tools in solidworks
- The parts are inserted into the assembly environment and the yacht is assembled. Getting used to assembly module of solidworks.
- The realistic image was rendered with the use of the photoview 360.